Curves To Mesh


What is Curves to Mesh?

Curves to Mesh is an add-on for experienced 3D modellers who need to create mesh surfaces from bezier curves.
Features
- Works on curves with multiple bezier points.
- Arrange a network of curves as quad patches to create more complex objects.
- Use as a complement to more traditional modelling techniques.
- Works on a variety of bezier handle types (Vector, Aligned, Free).
- Compatible with my other add-ons such as the Plating Generator, Bevelled Extrude and Window Generator.
Note!
This add-on assumes understanding of using bezier curves, subdivision surface modelling and a working knowledge of Blender.
How are the meshes created?
Meshes can be created from:
Single Curves:
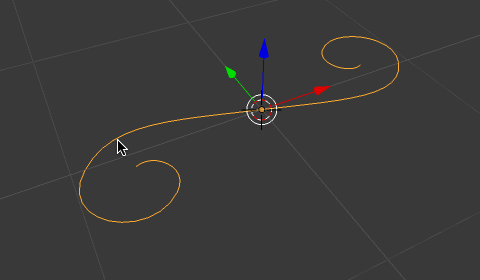
An edge-loop mesh can be created from a singular curve. Curves can be cyclic (joined up in a loop) or non-cyclic.

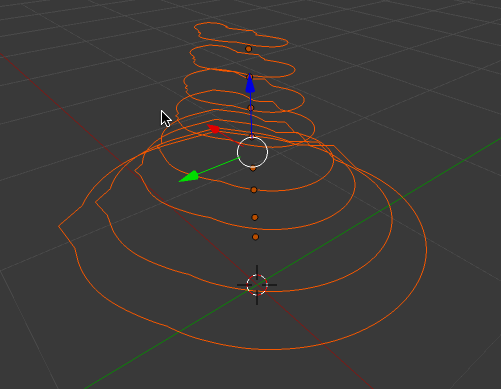
Cross Sections:
A mesh surface can be created by joining curves together. Curves can be cyclic (joined up in a loop) or non-cyclic:
"Profiles to Mesh" mode:


"Sweep to Mesh" Mode:

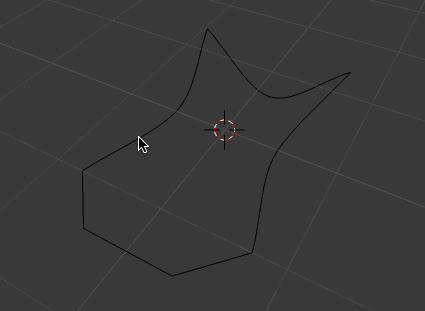
Patches:

A surface can be created by making a set of 4 curves that have their end points snapped to one another:


Example Files
Example files include:


Any Questions?

Do not hesitate to get in touch with me if you have a question, a new feature suggestion, or an image you'd like to share. You can contact me through this website or by my Twitter page.
Updates
Version 2.5.x: Curve ordering in Profiles to Mesh
By default, when in Profiles to Mesh mode, the order in which the curves are joined together is determined by how close they are to one another. There is a new option where you can instead order the curves by Curve Name, which gives you finer control over the order in which the curves are joined.
The new option, called Bridge Ordering, is described in the documentation:
Ordering by Position (the default):

Ordering by Curve Name:
Reversed: When ordering by Curve Name, this reverses the order of the curves, in case the results appear incorrect (a minor Blender bug)
Version 2.5: Sweep Mode
The new "Sweep to Mesh" mode allows you to set up multiple curve cross sections and then extrude them along a guiding curve:
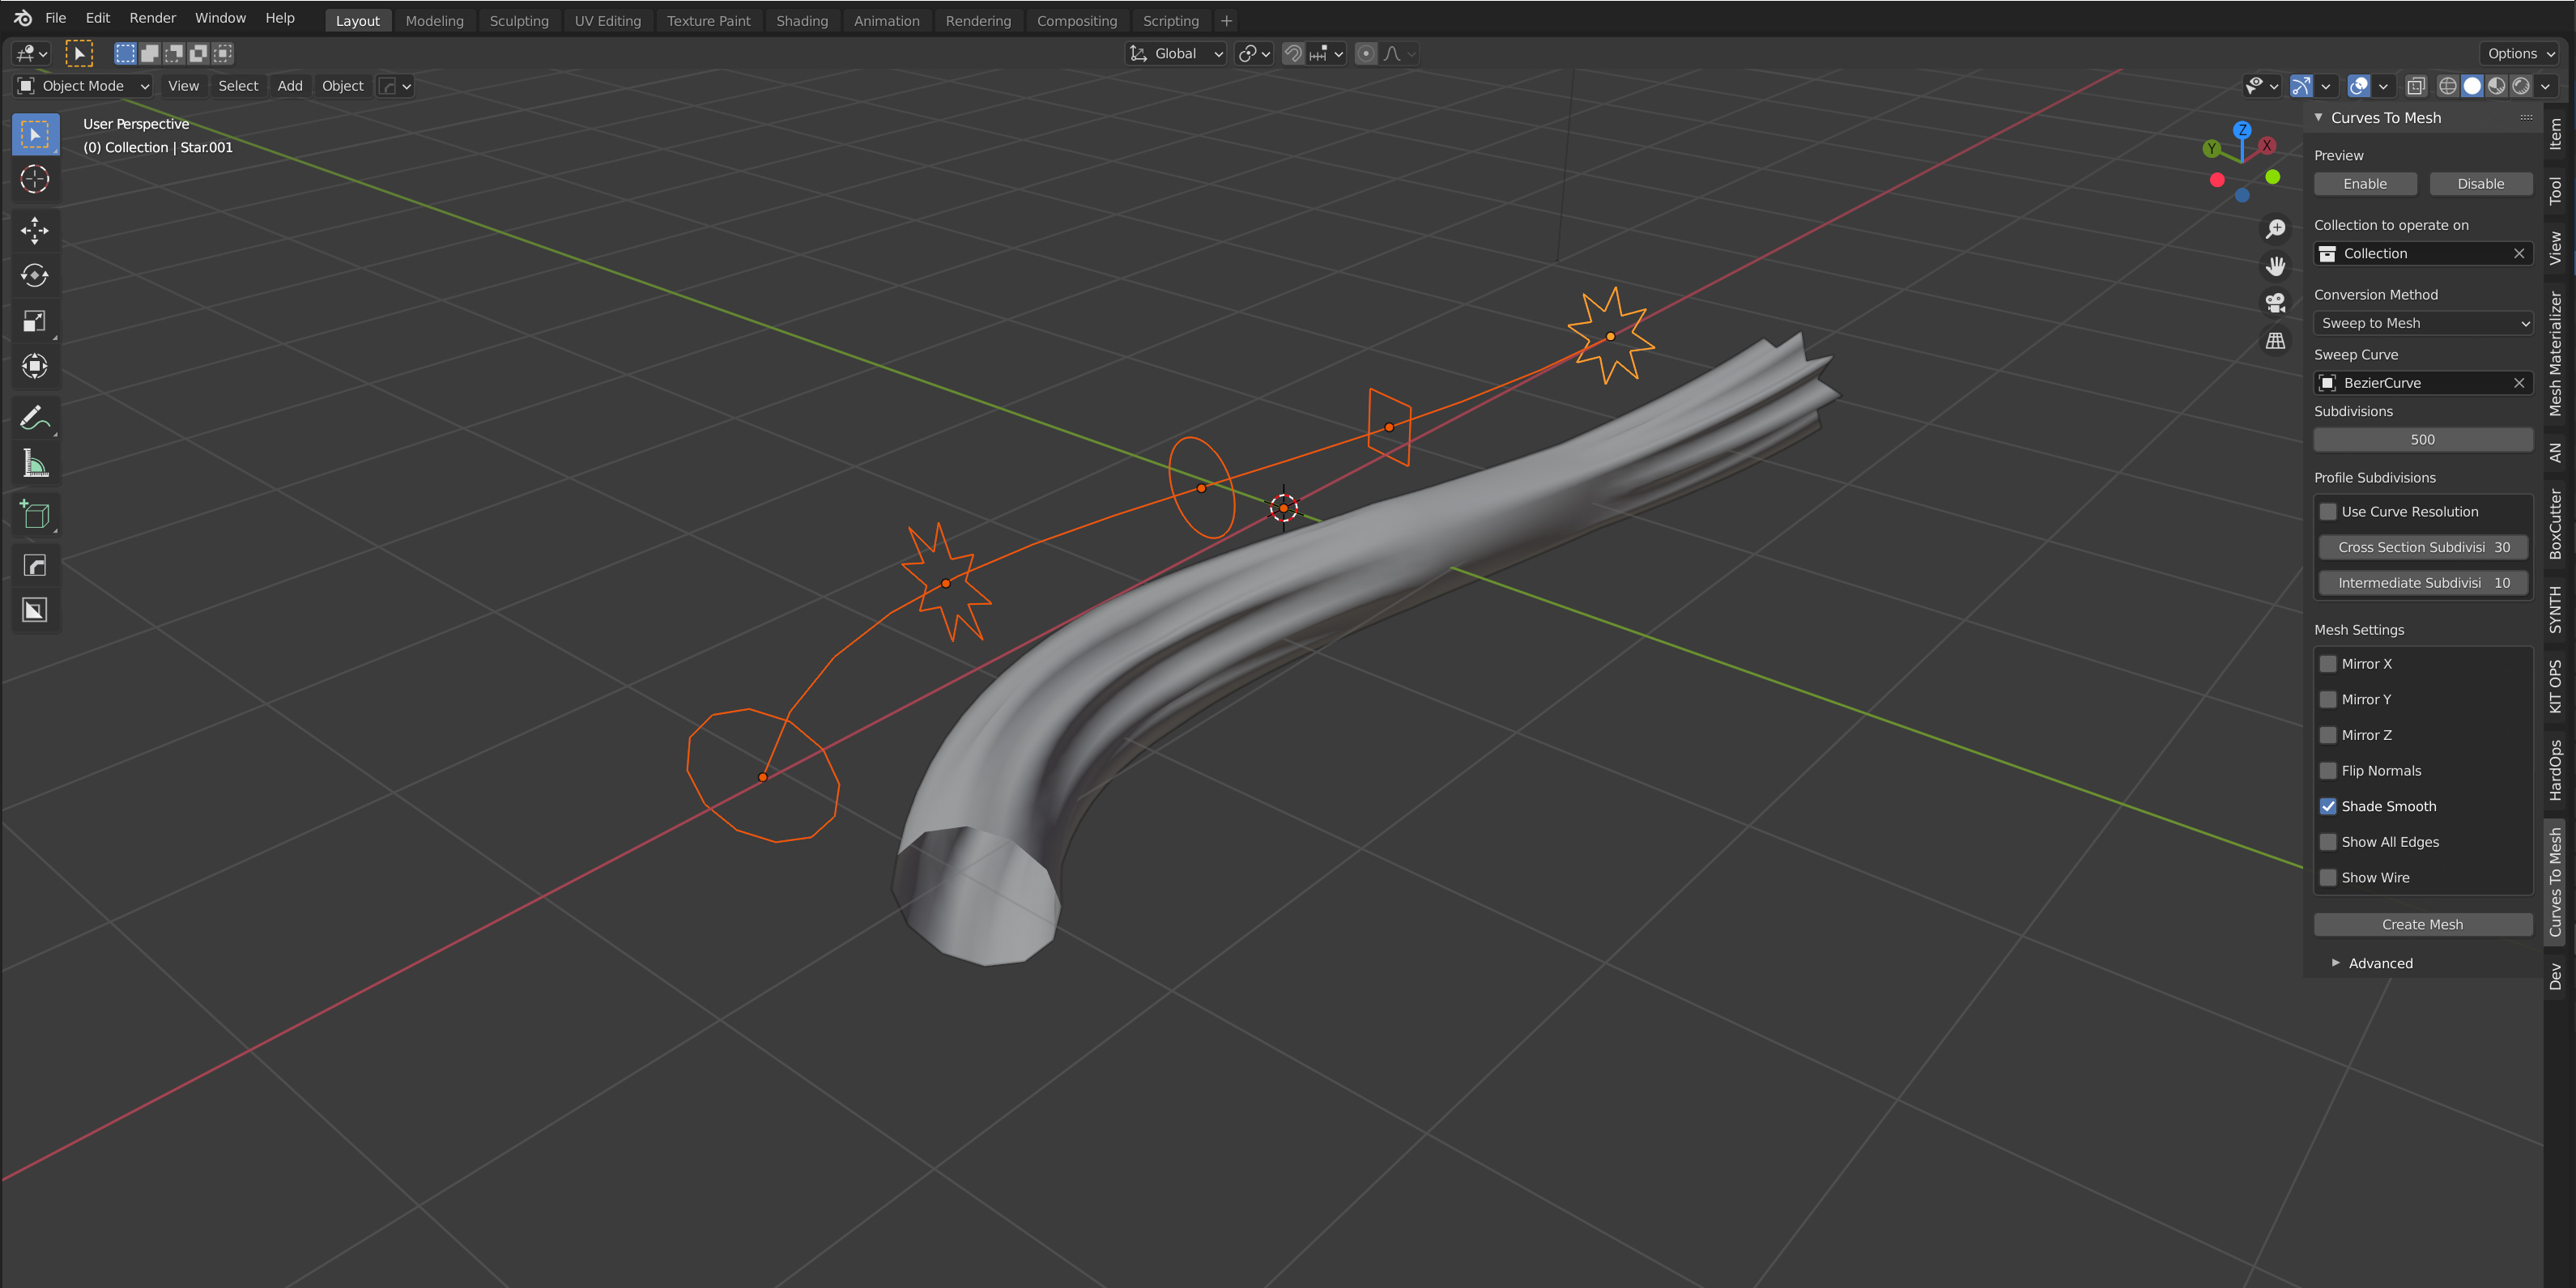
You can then create more sophisticated objects like rings and pipes:

Version 2.4: Performance improvements and UI tweaks
- This version should improve performance by clustering intersecting points together during calculation, rather than finding the distances between each point.
- There are also some minor changes to the UI, where I have moved some of the more advanced parameters into a separate section on the side panel, imaginatively called 'Advanced'.
Version 2.3: Continuous curves


Now you no longer have to go through the trouble of splitting each curve at an intersection: Curves to Mesh will do this for you.
Version 2.2: Animation Nodes
 There is now an additional feature that will allow you to use Curves to Mesh as a node in the freely available Animation Nodes Blender framework.
This will allow you to do the following key things:
- Dynamically edit the curves in realtime, which can be used as an alternative to the 'Preview' mode.
- Animate all the parameters for creating curve surfaces.
Also included is a zip file in the downloads section that contains a set of sample .blend files demonstrating this feature.
Version 2.0

This is a significant update which allows:
- The ability to create more sophisticated meshes such as cars, machine parts and even heads.
- An interactive preview mode to work with the mesh as it is created in real time.
- The ability to mirror the curves.
- The option to control the resolution of the mesh from the curves.
- Automatic snap options that move the nearest vertices to control points.
The add-on is now exclusively integrated into Blender 2.8.
Please see the video tutorial here:
Version 1.0.3: Blender 2.8 Beta

I have now upgraded the add-on for 2.8 beta and put it ready for download alongside the 2.7 version. You will be able to tell the 2.8 zip file version because it ends in 2.8! I'll be updating the documentation once 2.8 becomes the main Blender release.
Blender 2.8 is still in beta, so if you have any problems with the add-on let me know.
Version 1.0.2
New Feature: You now have an additional option called Curve Profiles To Mesh which will allow you to select multiple curves and create a mesh from the edge loops. See the documentation for instructions.
Fixes: When selecting a curve that has multiple splines, such as the figure 8, the add-on did not create all the shapes. This has now been fixed when selecting one curve object.
Before Update:
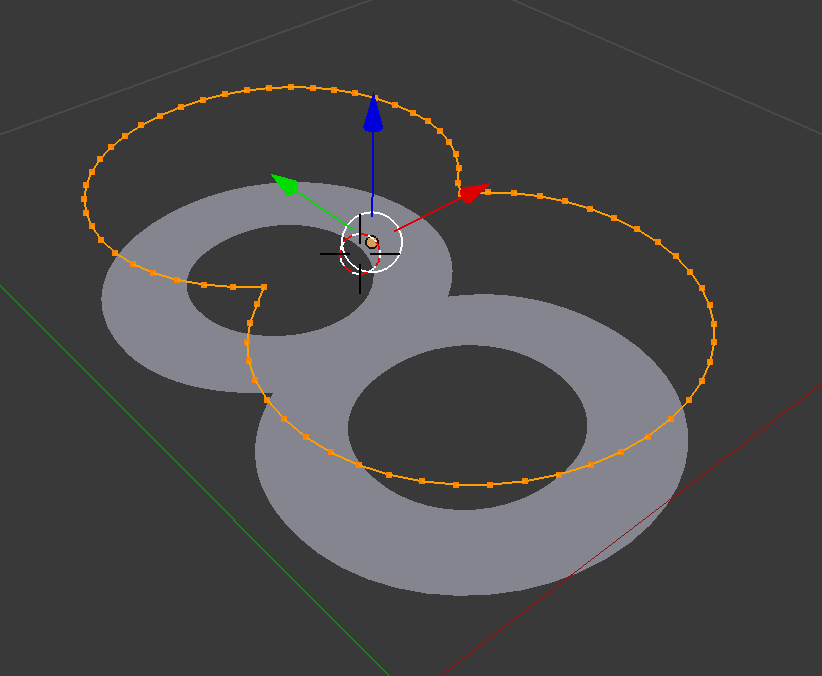
After Update:

| Sales | 3600+ |
| Customer Ratings | 42 |
| Average Rating | |
| Dev Fund Contributor | |
| Published | about 6 years ago |
| Blender Version | 4.1, 4.0, 3.6, 3.5, 3.4, 3.3, 3.2, 3.1, 3.0, 2.93, 2.92, 2.91, 2.9, 2.83, 2.82, 2.81, 2.8 |
| License | GPL |
Have questions before purchasing?
Contact the Creator with your questions right now.
Login to Message