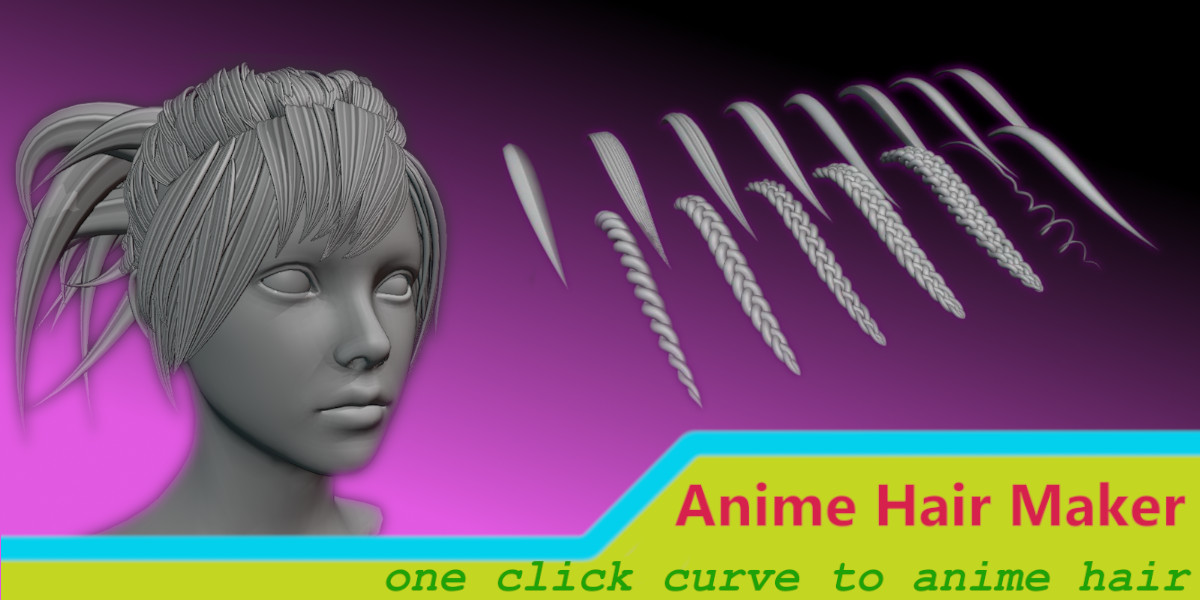
Anime Hair Maker
see Youtube videos listed on bottom of product page for each update version and its added functionality.
here is the written version:
1. installation:
After you download the addon zip file, open blender, go to "Edit - Preference - Addons tab - Install" locate the zip file and press "Install Addon"
for Blender 4.2 or above, click the arrow to expand options and choose install from disk

you can rename the addon tab name to something you like, so that it can group with other addons to save space. (restart blender to take effect). change folder path of the custom bevel profile (more on that later), default location is in addon folder. enable/disable operators and change shortcut keys.

in Blender 4.2, if you want to install addons in custom folder, here is how:
1. go to "Get extension" tab, click drop down "Repositories", you can modify existing "User Default" or add a new one by click plus icon on the right.
2. click "Advanced" below, check "Custom Directory" then set up folder path on the right.
3. now when you install addon and choose the modified directory, addon will always install in the custom folder


2. Setup scale:
the hair strand size is based on default Blender scale.

the default monkey head is about 2 meters high, so scale your head mesh accordingly

3. hair distribution:
there are 4 ways to add hairs:
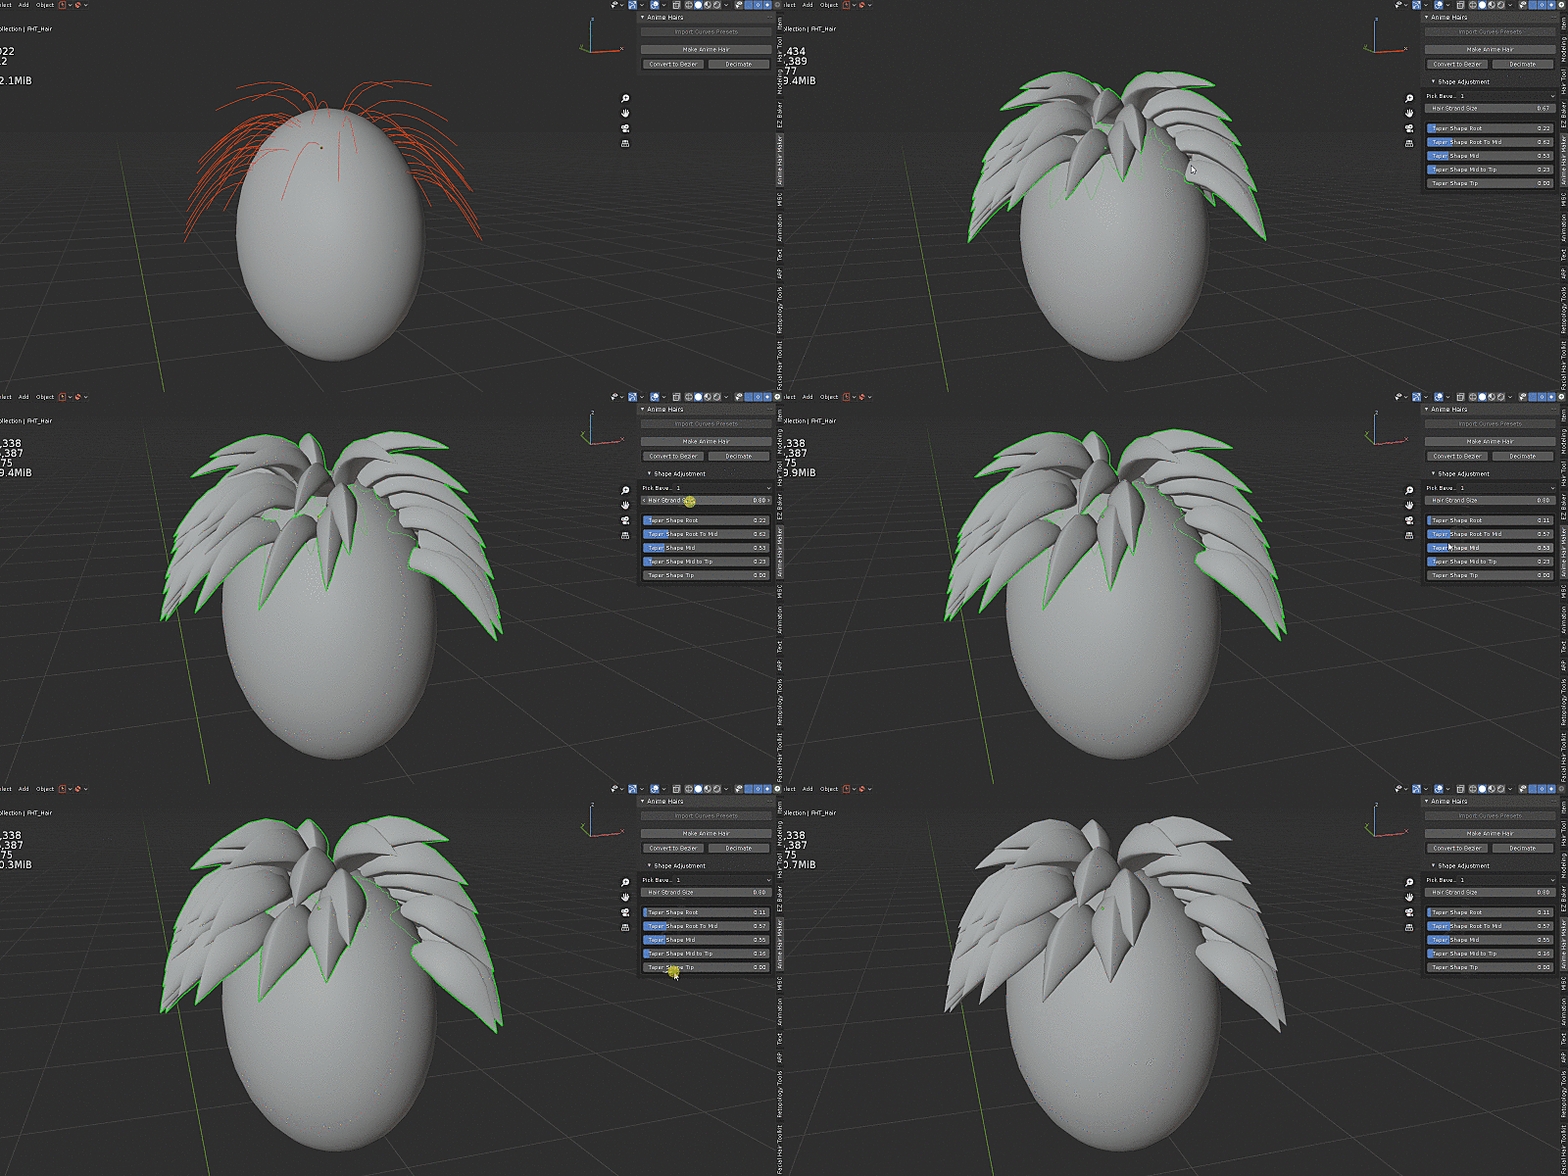
one: draw bezier curve, take a look at this short video for some tips.

two: create new hair curves and use various hair tools to comb/sculpt hairs, make sure head mesh has proper UV.

three: plant hair. pick from bezier or nurbs and use standard modeling tool to shape the hair. this is a model operator, see shortcuts at the bottom left during the operation.

four: for legacy particle hairs, you can convert it to regular curve and add profile to it.

4. hair color:
once you added hairs, you can change the color. to add more color, go to shader editor and adjust the color ramp node.

5. hair shape adjustment:
depends on how the hair strand shape is generated, the adjustment panel shows differently. for hairs that use the new hair system as well as braid/curl hair, they use geometry node to control the shape. everything else is simply a curve with custom bevel shape.

if the select object is CURVE type. you can convert between simple hair and braid hair at any time.

if its CURVES (from the new hair system), first convert it to CURVE then you can switch between simple hair and braid hair

let's adjust the strand shape, starting from simple hair.
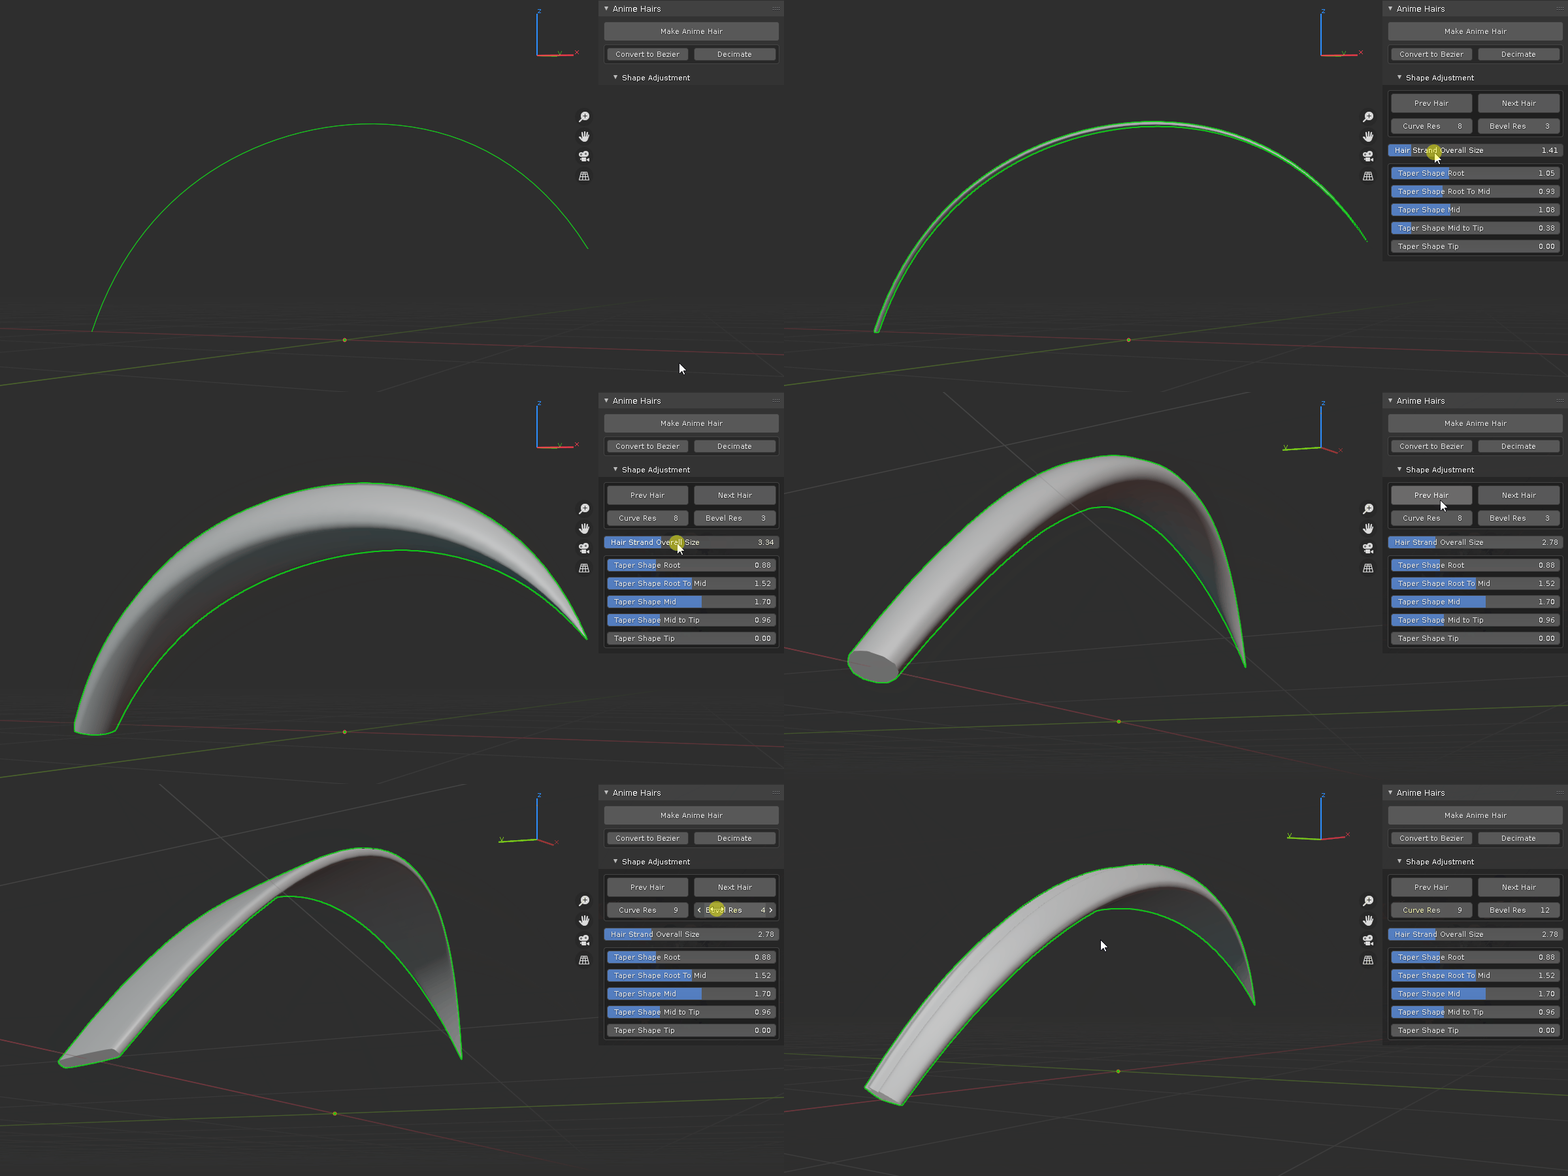
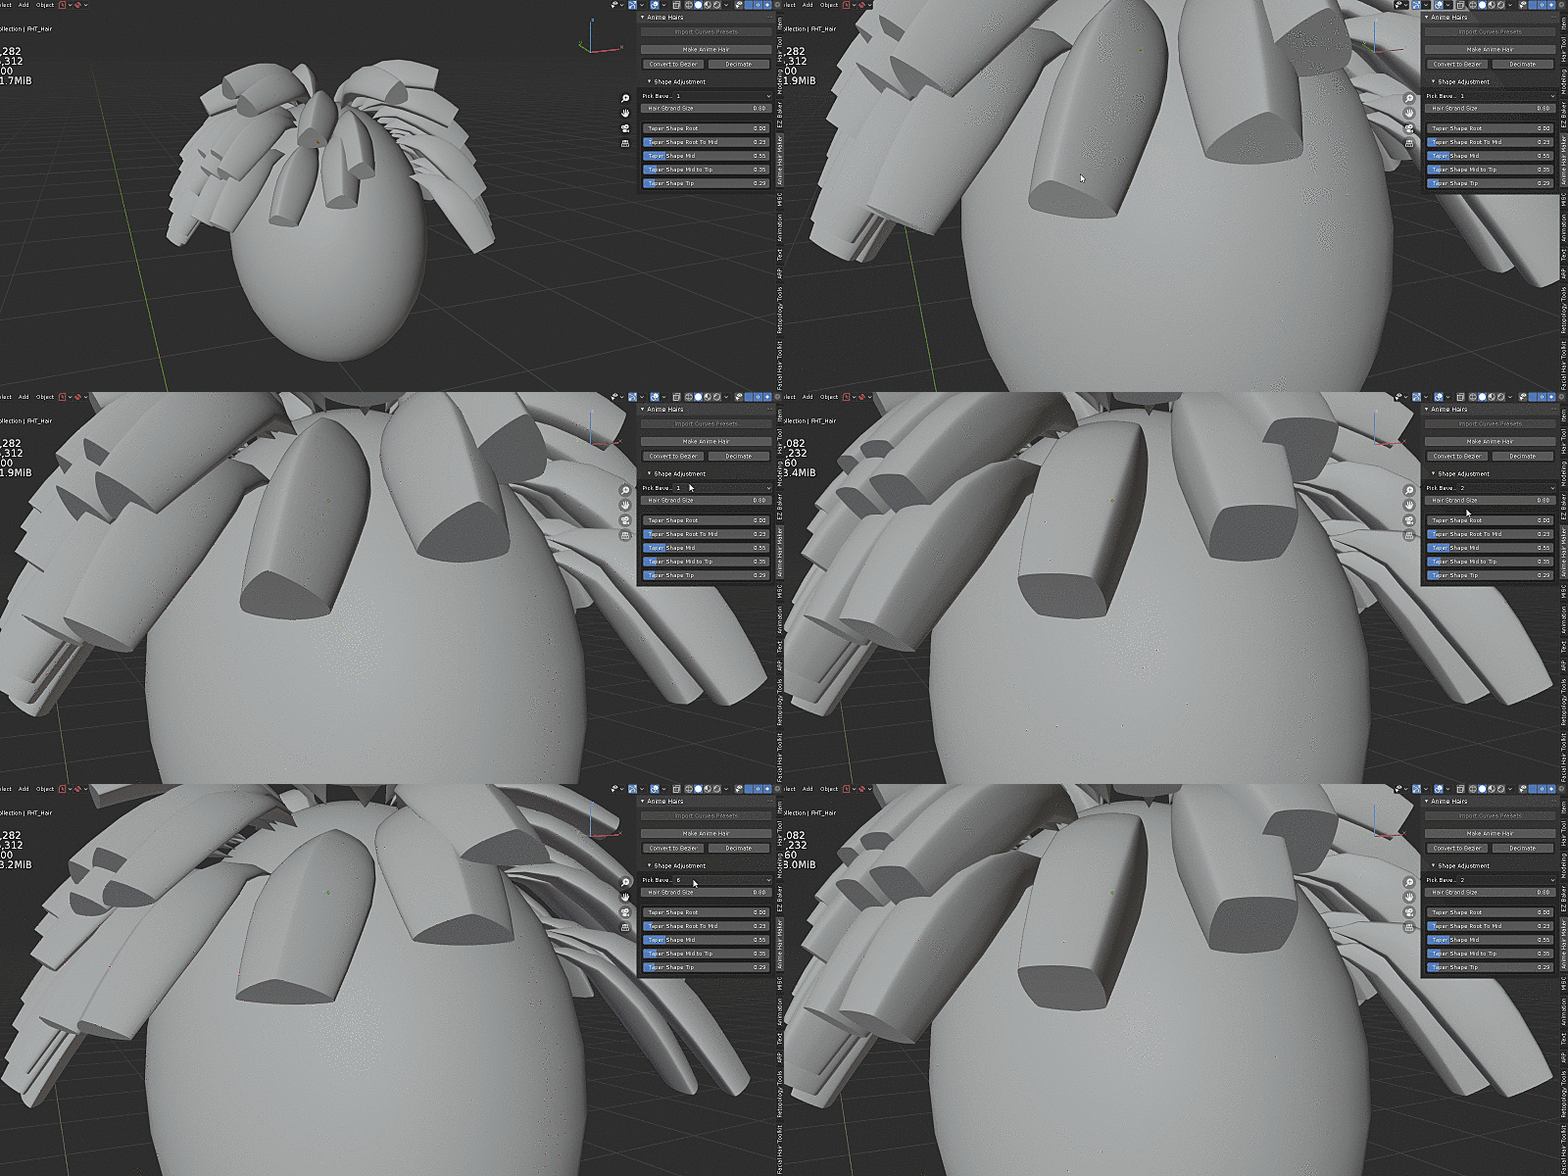
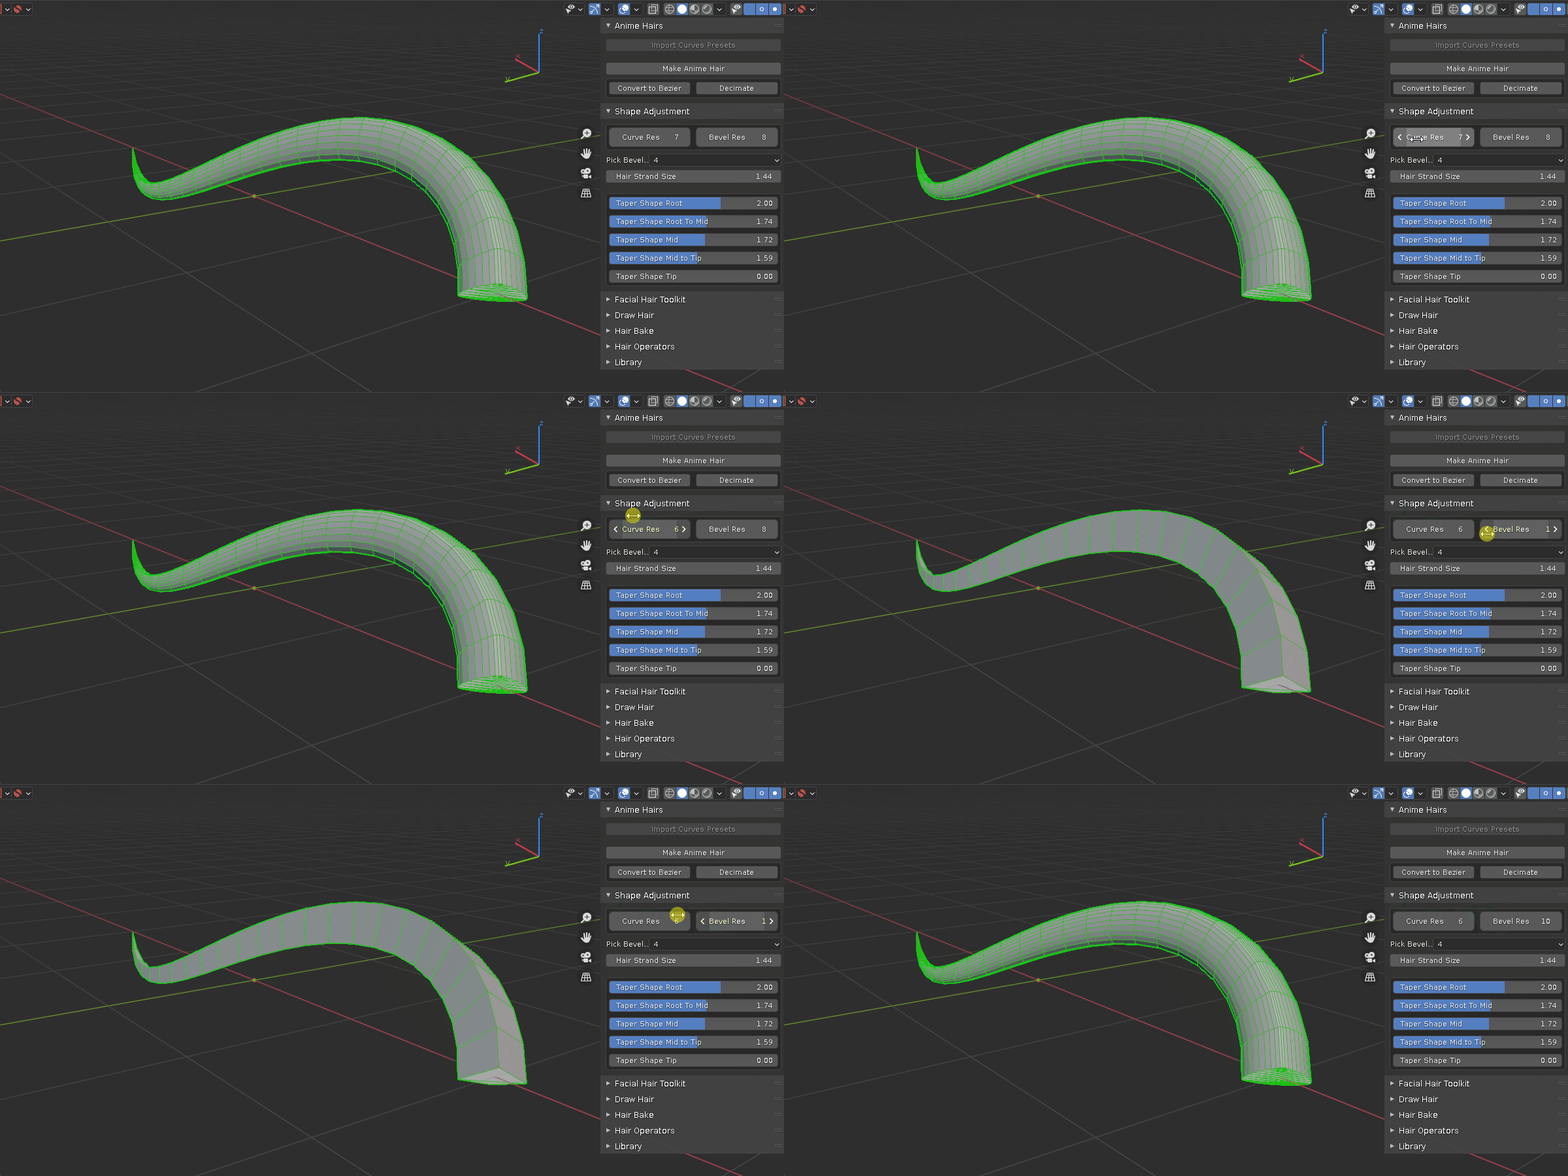
"Prev Hair" and "Next Hair" change the curve bevel object, "Curve Res" and "Bevel Res" adjust the resolution, "Overall Size" adjust the whole strand size, and "Taper Sliders" adjust size of each section. if you turn off "Use Custom Profile" it will use default circle as bevel shape. if you turn off "User Taper Object" you can manually tweak each curve point size using Blender "Radius" tool.

"Make Unique" is used after you manually duplicate a hair object, if you adjust the shape using any slider, both the duplicate and the original will change. "Make Unique" breaks the link and make them independent from each other.

use "Edit Bevel Curve Shape" to edit the bevel object, and press "Restore" when done

when you are happy with the hair shape and density, you can convert it to mesh object. if "Auto Merge" is on, for pointy hair tip, the vertices will merged together. if "Fill Cap" is on, any open holes are filled. if "Root VG" is on, the root part of vertices is assign to a vertex group "Root_Pin"

for braid hair, it uses geometry node, so the adjustment panel shows differently.
"Frequency" adjust segment repetition, "Length Resolution" adjust the mesh density, lower the number, higher the density. if frequency is high, higher density is required to properly display the high frequency. "Per Strand Resolution" adjust each generated strand resolution. "Per Strand Radius" adjust each generated strand size. "Stretch 1" and "Stretch 2" adjust the scale of Y and Z direction where X is the follow along hair direction. "Scale" uniformly adjust Y and Z direction. "Subdivision" to subdivide the mesh,

if you want to have custom bevel shape for the generated hair strand, turn "Use Custom Profile" on, and use "Prev" and "Next" to change the look, "Custom Profile Res" to change the resolution. "Per Strand Tilt" and "Per Strand Radius" to change the strand tilt and size.

for braid hair, you can convert to simple curve and edit each strand manually.

for CURVES object that use the new hair system. it has similar controls as above.

6. MISC Tools:
after using Blender's "Tilt" and "Radius" Tools, "Reset Tilt" and "Reset Radius" will reset selected curve point to default value. "Create Bones" will create a new armature object and position its bones based on the curve points location. "Separate" "Hide" "Isolate Curves" works as it states. "Prev Curve Point" "Next Curve Point" "Left Handle" "Main Handle" "Right Handle" provide quick ways to switch between the control point for faster shape modification.

"Move Curve Point" is designed to be used with hotkey to quickly move curve point under mouse cursor. set the key in addon preference.
the purpose of this operator is to minimize index finger fatigue. for example, with the same goal of moving curve point from A to B, lets compare the following scenarios:
1. default blender control scheme:
-
move mouse over to a curve point and click.
- press "G" and move mouse to new location.
- left click to confirm.
2. industrial standard control scheme:
- move mouse over to a curve point and click.
- press "W" and click & hold gizmo and move mouse to new location.
3. move curve point:
- move mouse near a curve point
- press "D" and move mouse to new location.
- left click to confirm.
It saves 50% of the left mouse button click, thus minimize the index finger fatigue in the long run. With proportional editing, it can adjust overall hair shapes quickly.

custom bevel profile is saved in Curves_Presets.blend in addon folder, you may choose to save it in a different folder, and the folder path can be set and addon preference. if you have a custom bevel shape that you like, you can append it directly into the source blender file without leaving the scene you are working on.


7. Finishing Thoughts:
depends on the hair type (CURVE, CURVES, MESH), they are put into relevant collections. when doing hair conversion, backup is automatically created, hidden and placed in collections based on the type. enable more toggle options to show the original ones


if your target platform is in Blender, such as rendering, 3d printing, the addon should cover the basic, create the shape, adjust the color.
if you plan to use in game engines, you should also consider retopology. using Blender remesh, decimate modifier, manual retopo or other automatic tools to create low poly and bake the high details as normal map.
in any case, Blender's curve is a fast and efficient way to create hairs compare to manually sculpted mesh.
Discover more products like this
bezier curly curve summer24 braid bfcm24 male hair anime hairstyles curls curlyhair hair blender braids hair hair braided spring24 stylized character hair loveblender winter24 female-hair Human character
