Window Generator
Installation
Blender 4.2 and Above
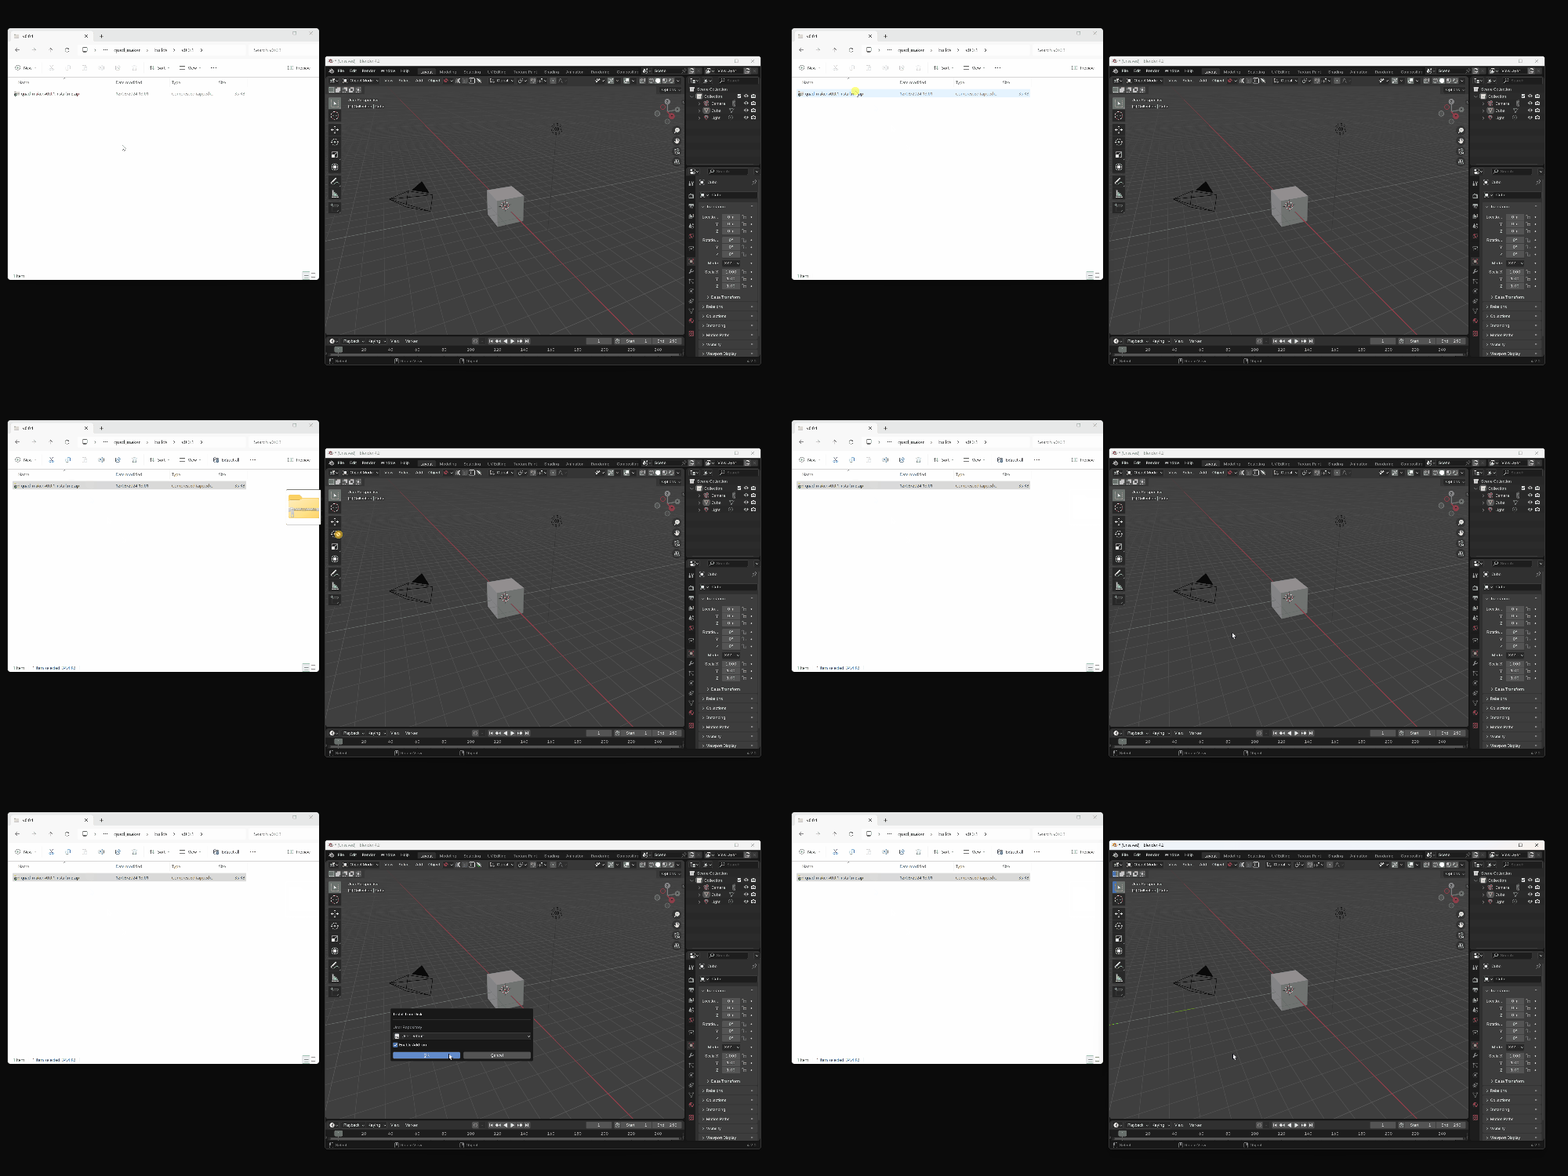
Drag and drop the installation zip file into Blender to install the add-on.
If you have any issues do not hesitate to get in touch via info@configurate.net.
Previous Blender Versions

- Go to Edit -> Preferences.
- Select the Add-ons tab on the left it is not already.
- Select the Install... button along the top.
- This will open a file dialog where you should navigate to where you have downloaded the "Window Generator" zip file. This file should not be unzipped.
- Then, click the "Install add-on from file" button.
- Search for the add-on by typing "Window Generator" in the search box if it does not already appear.
- Make sure the checkbox next to the Add-on (Mesh: Window Generator) is ticked.
Adding Windows

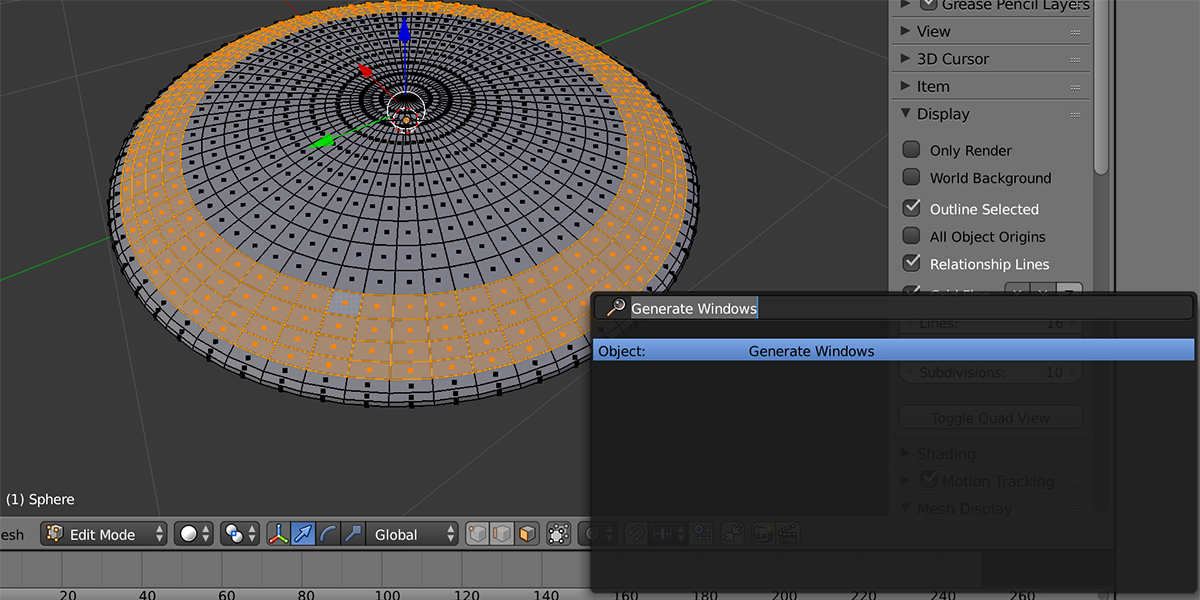
In face edit mode, select the quad faces you wish to add windows to. Then either:
- Navigate to Face-> Generate Windows in the Object menu of the 3D viewport. or
- Press F3 and start typing "Generate Windows" and the menu option will appear.

The configurable parameters should appear as a panel in the bottom left of the Blender View. Expand this panel and you should see the parameters for each section.
Below is an outline on how the add-on works and then a more detailed list of all the configurable options.
How it works
Basic Principle

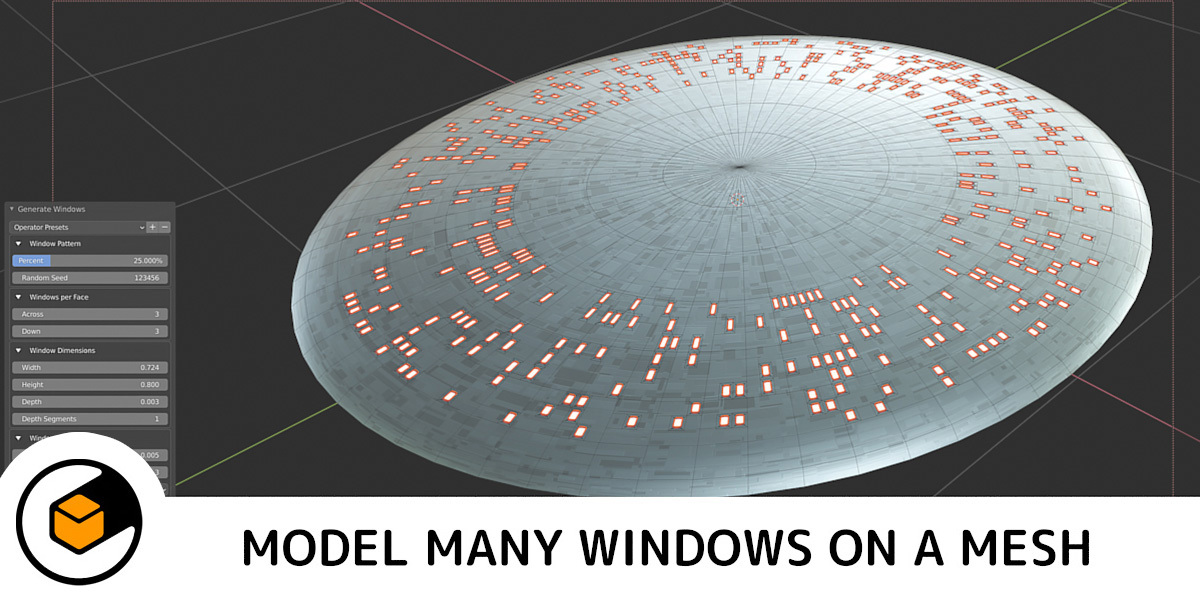
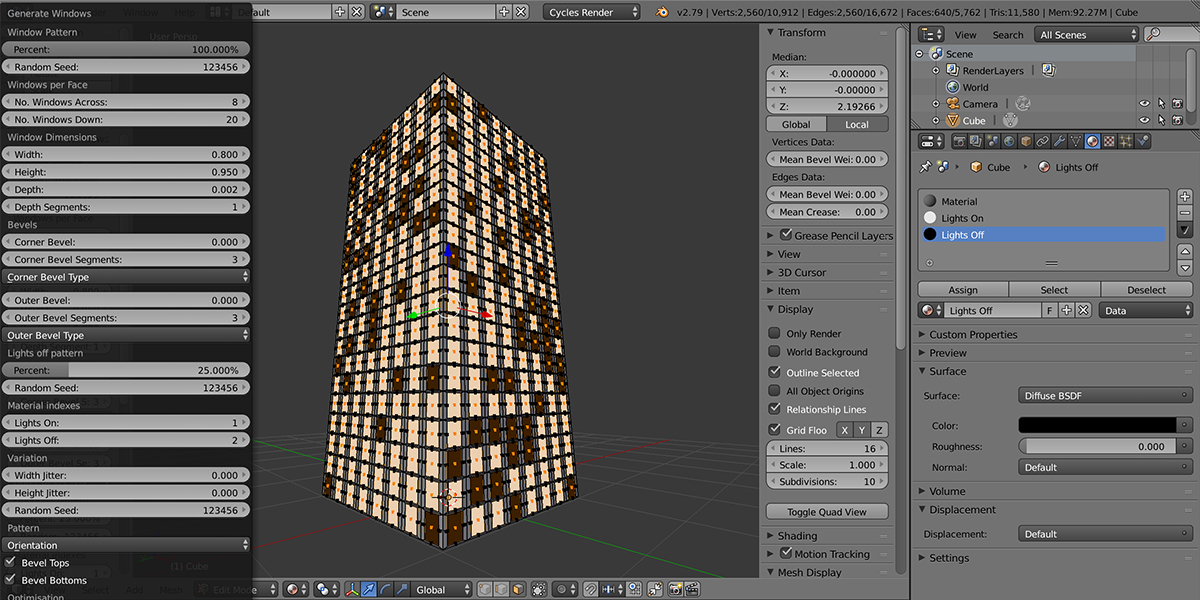
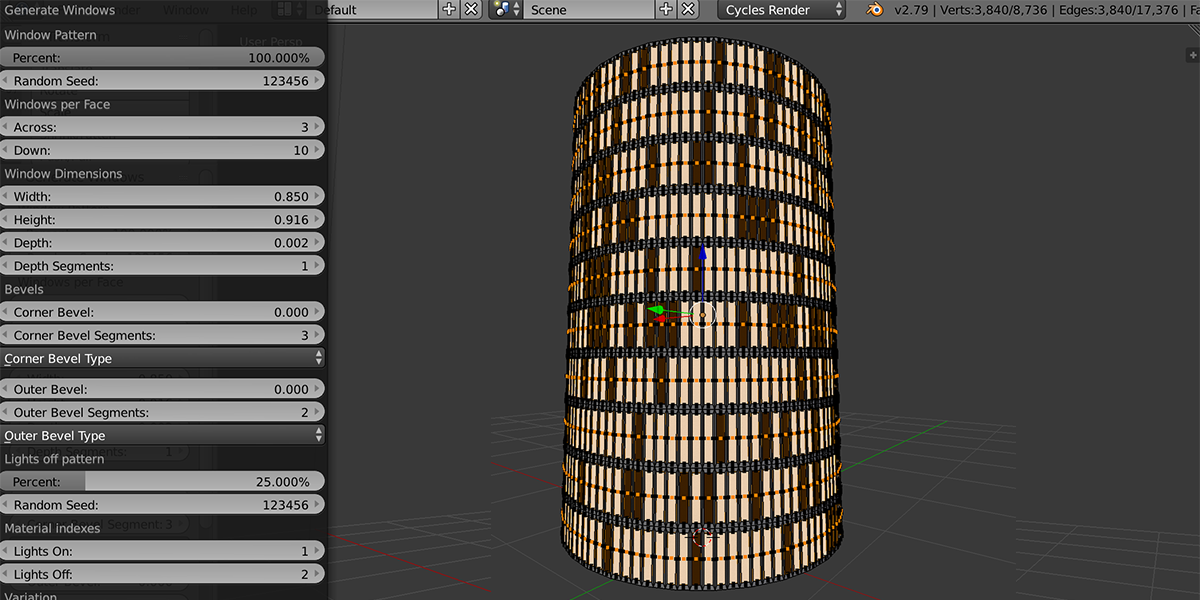
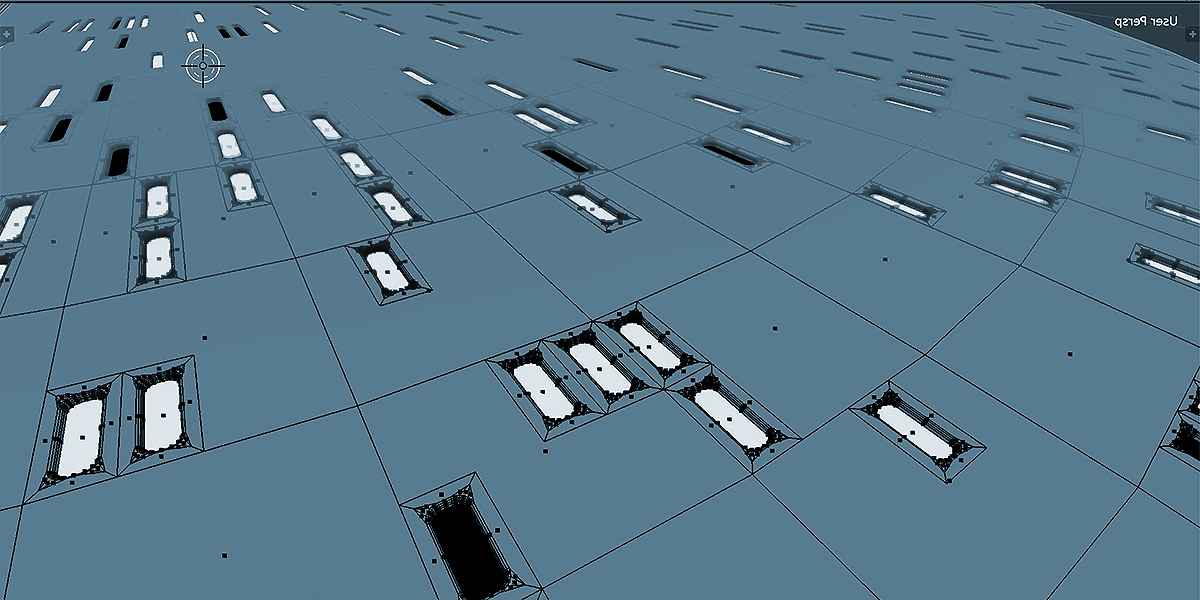
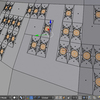
The windows are added on every selected face: Each face is divided up depending on the number of windows across and down you have specified. The pattern works on a top-down basis (by default) on a quad face working from the highest edge to the lowest. The relative width and height of each window can then be controlled.
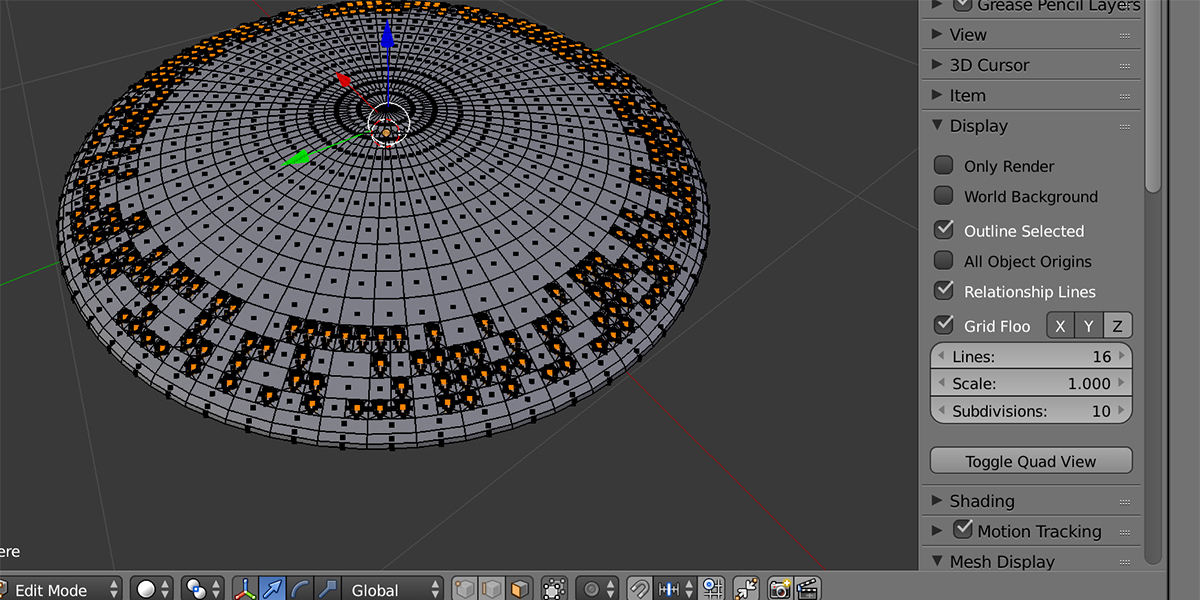
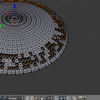
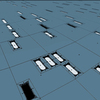
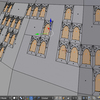
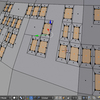
This can be used to produce a variety of patterns on multiple faces:

Bevels

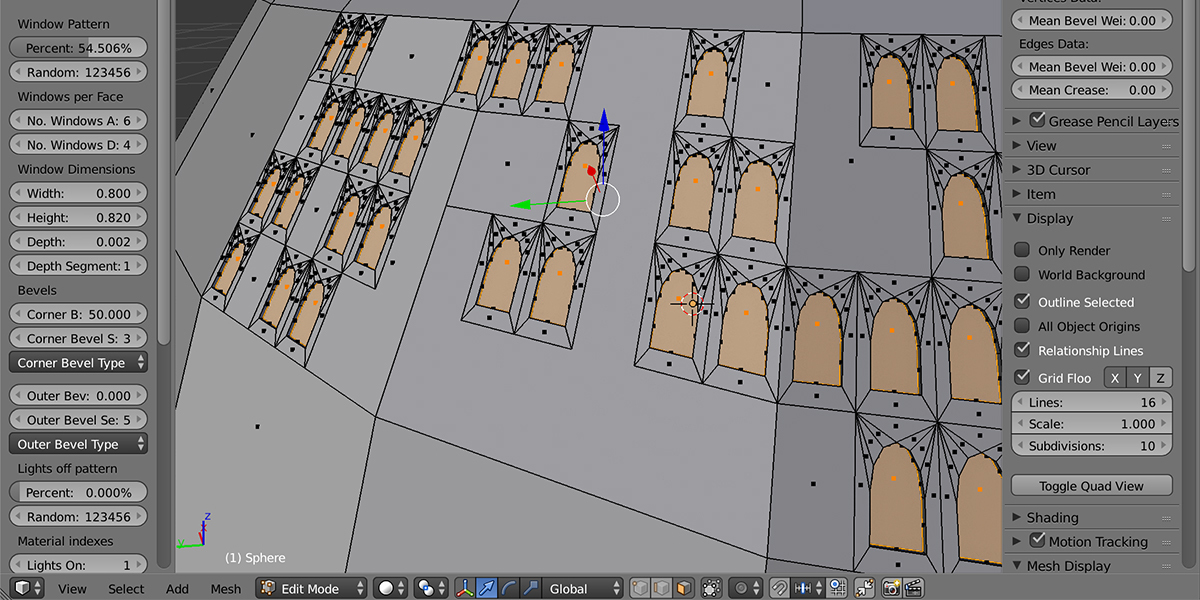
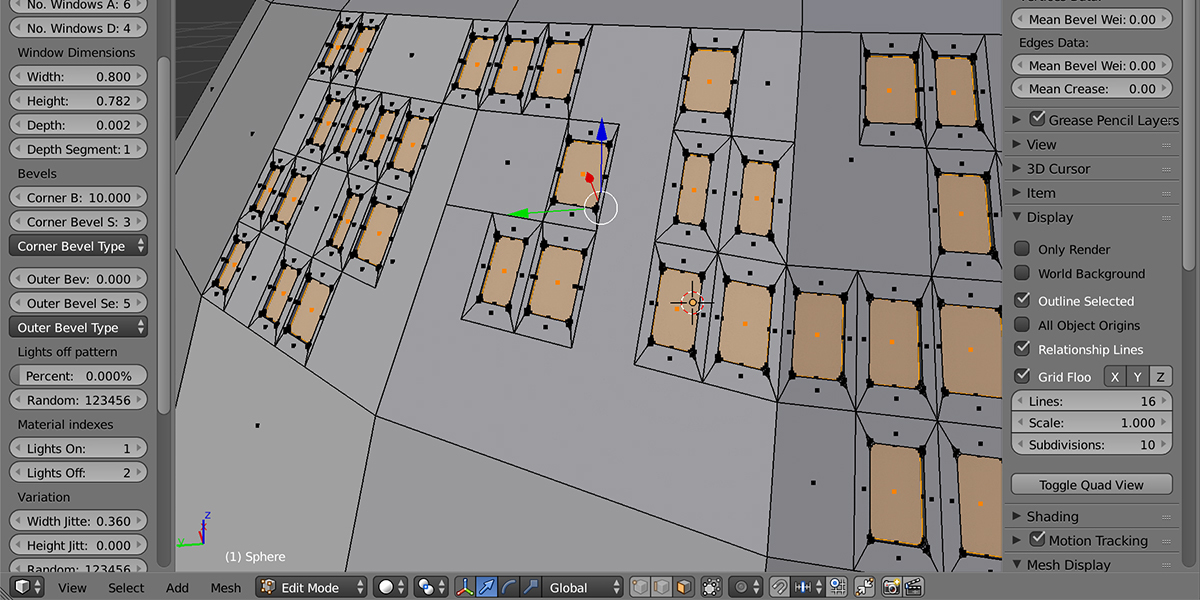
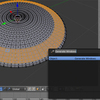
To add more detail to the windows, you have the option to bevel the frames by both adding a corner bevel to each corner of the window, and by also adding a seperate outer bevel of the window rim.
You can disable the top or bottom of the corner bevels to create church window like effects:

How to control these options and more are described below.
Parameters
A screenshot of the menu options when windows are added. Further detail follows it:

Window Pattern
This is the random pattern that is added onto the faces. This works in a similar way to Blender's random selection tool.

- Percent: How many windows are added. You can cover the faces with windows completely by increasing this to 100%.
- Random Seed: Seed number for initialising the random window pattern.
-
Inset Faces: To avoid affecting the topology of surrounding faces, the add-on will automatically inset the selected faces before creating the windows. You can optionally switch this off if you wish.
-
Inset Amount: The amount of insetting to perform.

-
Inset Amount: The amount of insetting to perform.
Windows Per Face

How many windows are added to each face across and down.
- Across: Number of windows across.
- Down: Number of windows down.
Windows Dimensions
For each window on a face you can change the relative dimensions of the face.

- Width: Relative Width of the windows.
- Height: Relative height of the windows.
- Depth: Depth of window recess.
- Depth Segments: Segments in window depth.
Bevels

This controlled how rounded, and how detailed, each window is.
- Corner Bevel: Bevel width of corners.
- Corner Bevel Segments: Segments in window corner bevel.
- Corner Bevel Type: This is the type of bevel to be applied to the corners. See the Bevel Documentation under "Amount Type".
- Outer Bevel: Bevel width of the outer edge of the window recess.
- Outer Bevel Segments: Segments in outer bevel.
- Outer Bevel Type: This is the type of bevel to be applied to the outer edges. See the Bevel Documentation under "Amount Type".
Lights off pattern
There is the option to overlay a material pattern which randomly assigns some windows to have a different pattern. This can give the effect of some windows having their lights switched off.
- Random Seed: Seed for generating window pattern
- Percent: Random Percent for generating window pattern
Material indexes
When the object has material slots added, you can assign a slot index number so that when windows are created they are assigned that material.
- Lights On: Assign material slot index for lights marked on, where -1 means nothing will be assigned
- Lights Off: Assign material slot index for lights marked off, where -1 means nothing will be assigned
Variation
 To add variation to the sizes of the windows added, you can add a random "jitter" to the width and/or height of each window.
- Width Jitter: Width variation.
- Height Jitter: Height variation.
- Random Seed: Seed for generating jitter variation.
Pattern
The following parameters control how the pattern is applied to each face.
For instance, if you want to add windows to the top of a mesh you can use the 'Orientation' setting described below:
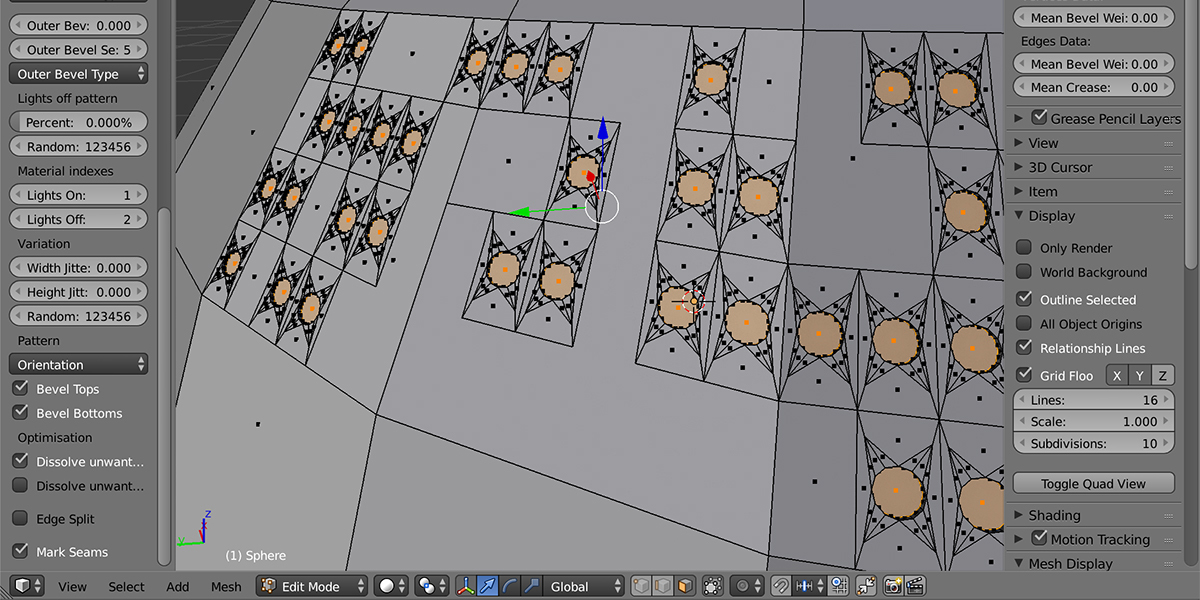
 Orientation: The window pattern is applied based on the orientation of a face. By default, windows are created from the top-most edge of a face to the bottom (Top-Bottom). You also have the option of the face pattern applied from Front-Back or Left-Right.

You also have the option of disabling bevels to either the top or the bottom of the window to create different window shapes.
- Bevel Tops: Bevel Tops of Windows.
- Bevel Bottoms: Bevel Bottoms of Windows.
Optimisation

Random window patterns can create unwanted sub-divisions and edges, which you can choose to remove (or 'dissolve'). This may produce unwanted results however, so you may want to disable them.
- Dissolve unwanted edges: (On by default) dissolve unwanted edges made by random window creation
- Dissolve unwanted vertices: dissolve unwanted vertices made by random window creation.
-
Edge Split: Split edges of windows to improve smoothing effect. To quickly remove unwanted smoothing issues when windows are created on smooth faces, you can choose to apply an edge split which cuts up the edges along the window edges.
UV Seams
You also have the option to automatically add some UV seams to aid in UV unwrapping for texturing operations:
- Mark Seams: Mark the seams of the windows for uv projection
Any Questions?
Get in touch with me by clicking in the 'Contact Creator' button on my main page if you have any questions.
Discord
Share your work and get support through the Configurate support channel here.
