Twisted Extrude
 Mark Kingsnorth


Installation
Blender 4.2 and Above
Drag and drop the installation zip file into Blender to install the add-on.
If you have any issues do not hesitate to get in touch via info@configurate.net.
Previous Blender Versions

- Go to Edit -> Preferences.
- Select the Add-ons tab on the left if it is not already.
- Select the Install... button along the top.
- This will open a file dialog where you should navigate to where you have downloaded the "Twisted Extrude" zip file. This file should not be unzipped.
- Then, click the "Install add-on from file" button.
- Search for the add-on by typing "Twisted Extrude" in the search box if it does not already appear.
- Make sure the checkbox next to the Add-on (Mesh: Twisted Extrude) is ticked.
If you have any problems get in touch via my Main Blender Market page.
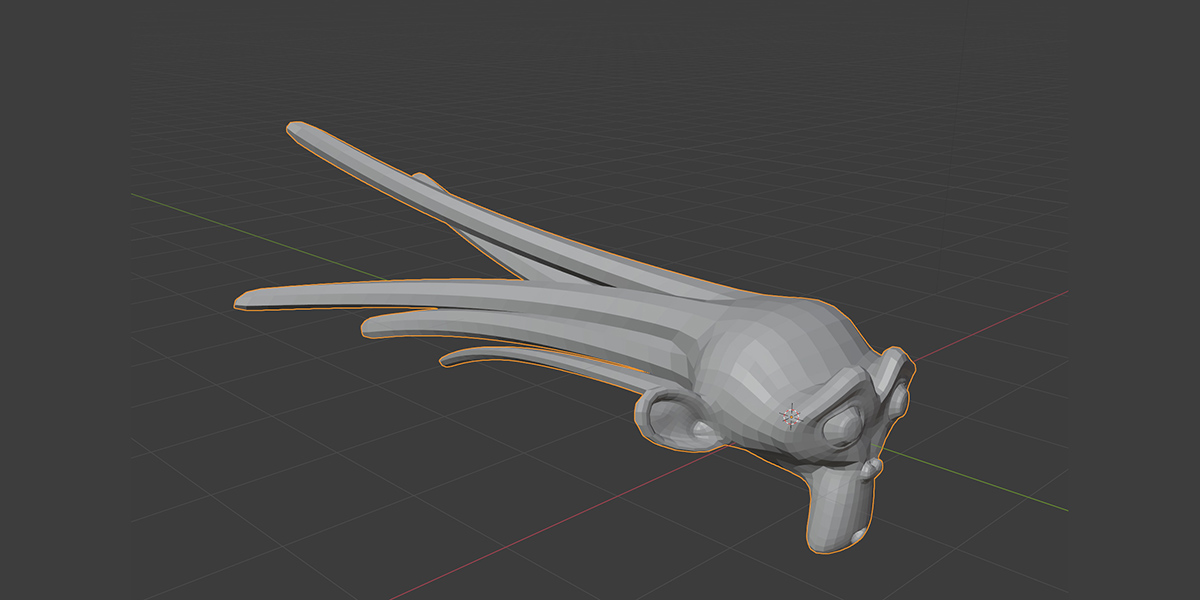
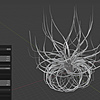
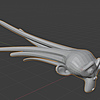
How it Works
The add-on works by extruding selected faces and gradually rotating each section of the extrusion:

You can either extrude faces as a group or individually by selecting "Extrude Individual Faces":

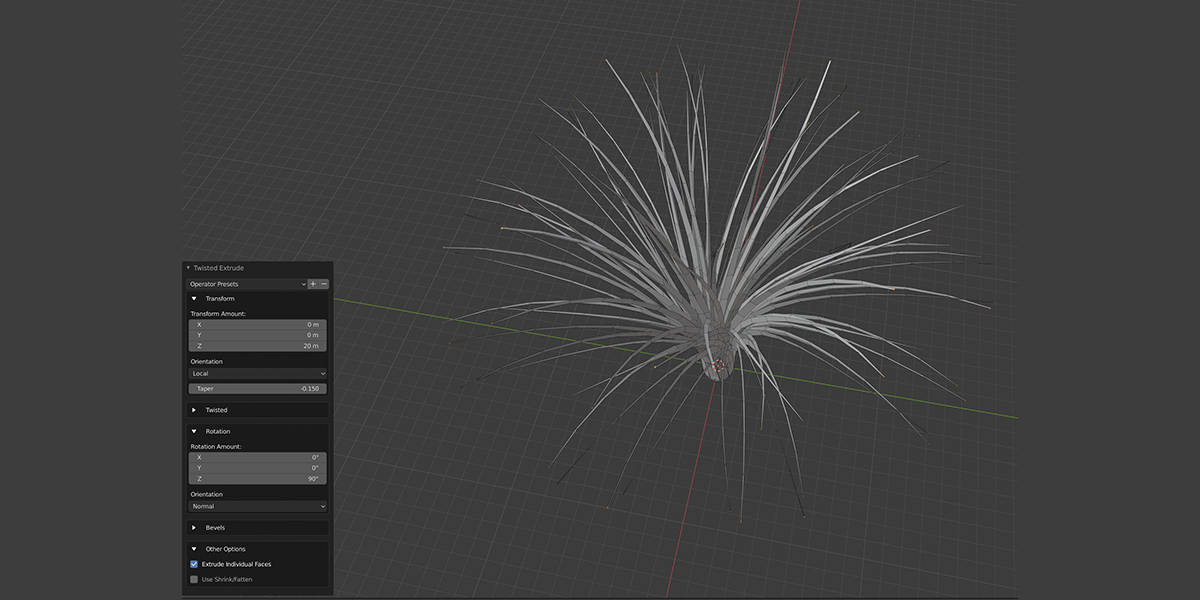
Using Twisted Extrude
You have the following options which allow you to twist, taper, bend, and move the extrusion effect. The add-on should work on face selections of tris, quads or n-gon faces - basically any type of face you can select in Blender.
To perform a Twisted Extrude:
- Select a mesh and go into face edit mode. Select the face(s) you wish to perform a Twisted extrusion on.
- Either:
- Go to Face-> Twisted Extrude
- Press the F3 and start typing 'Twisted Extrude' to select the menu item.
- Move the mouse to set the initial extrusion amount.
Then, a set of expandable panels appear in the Toolbar window, usually on the bottom left hand side of Blender. Expand this menu:

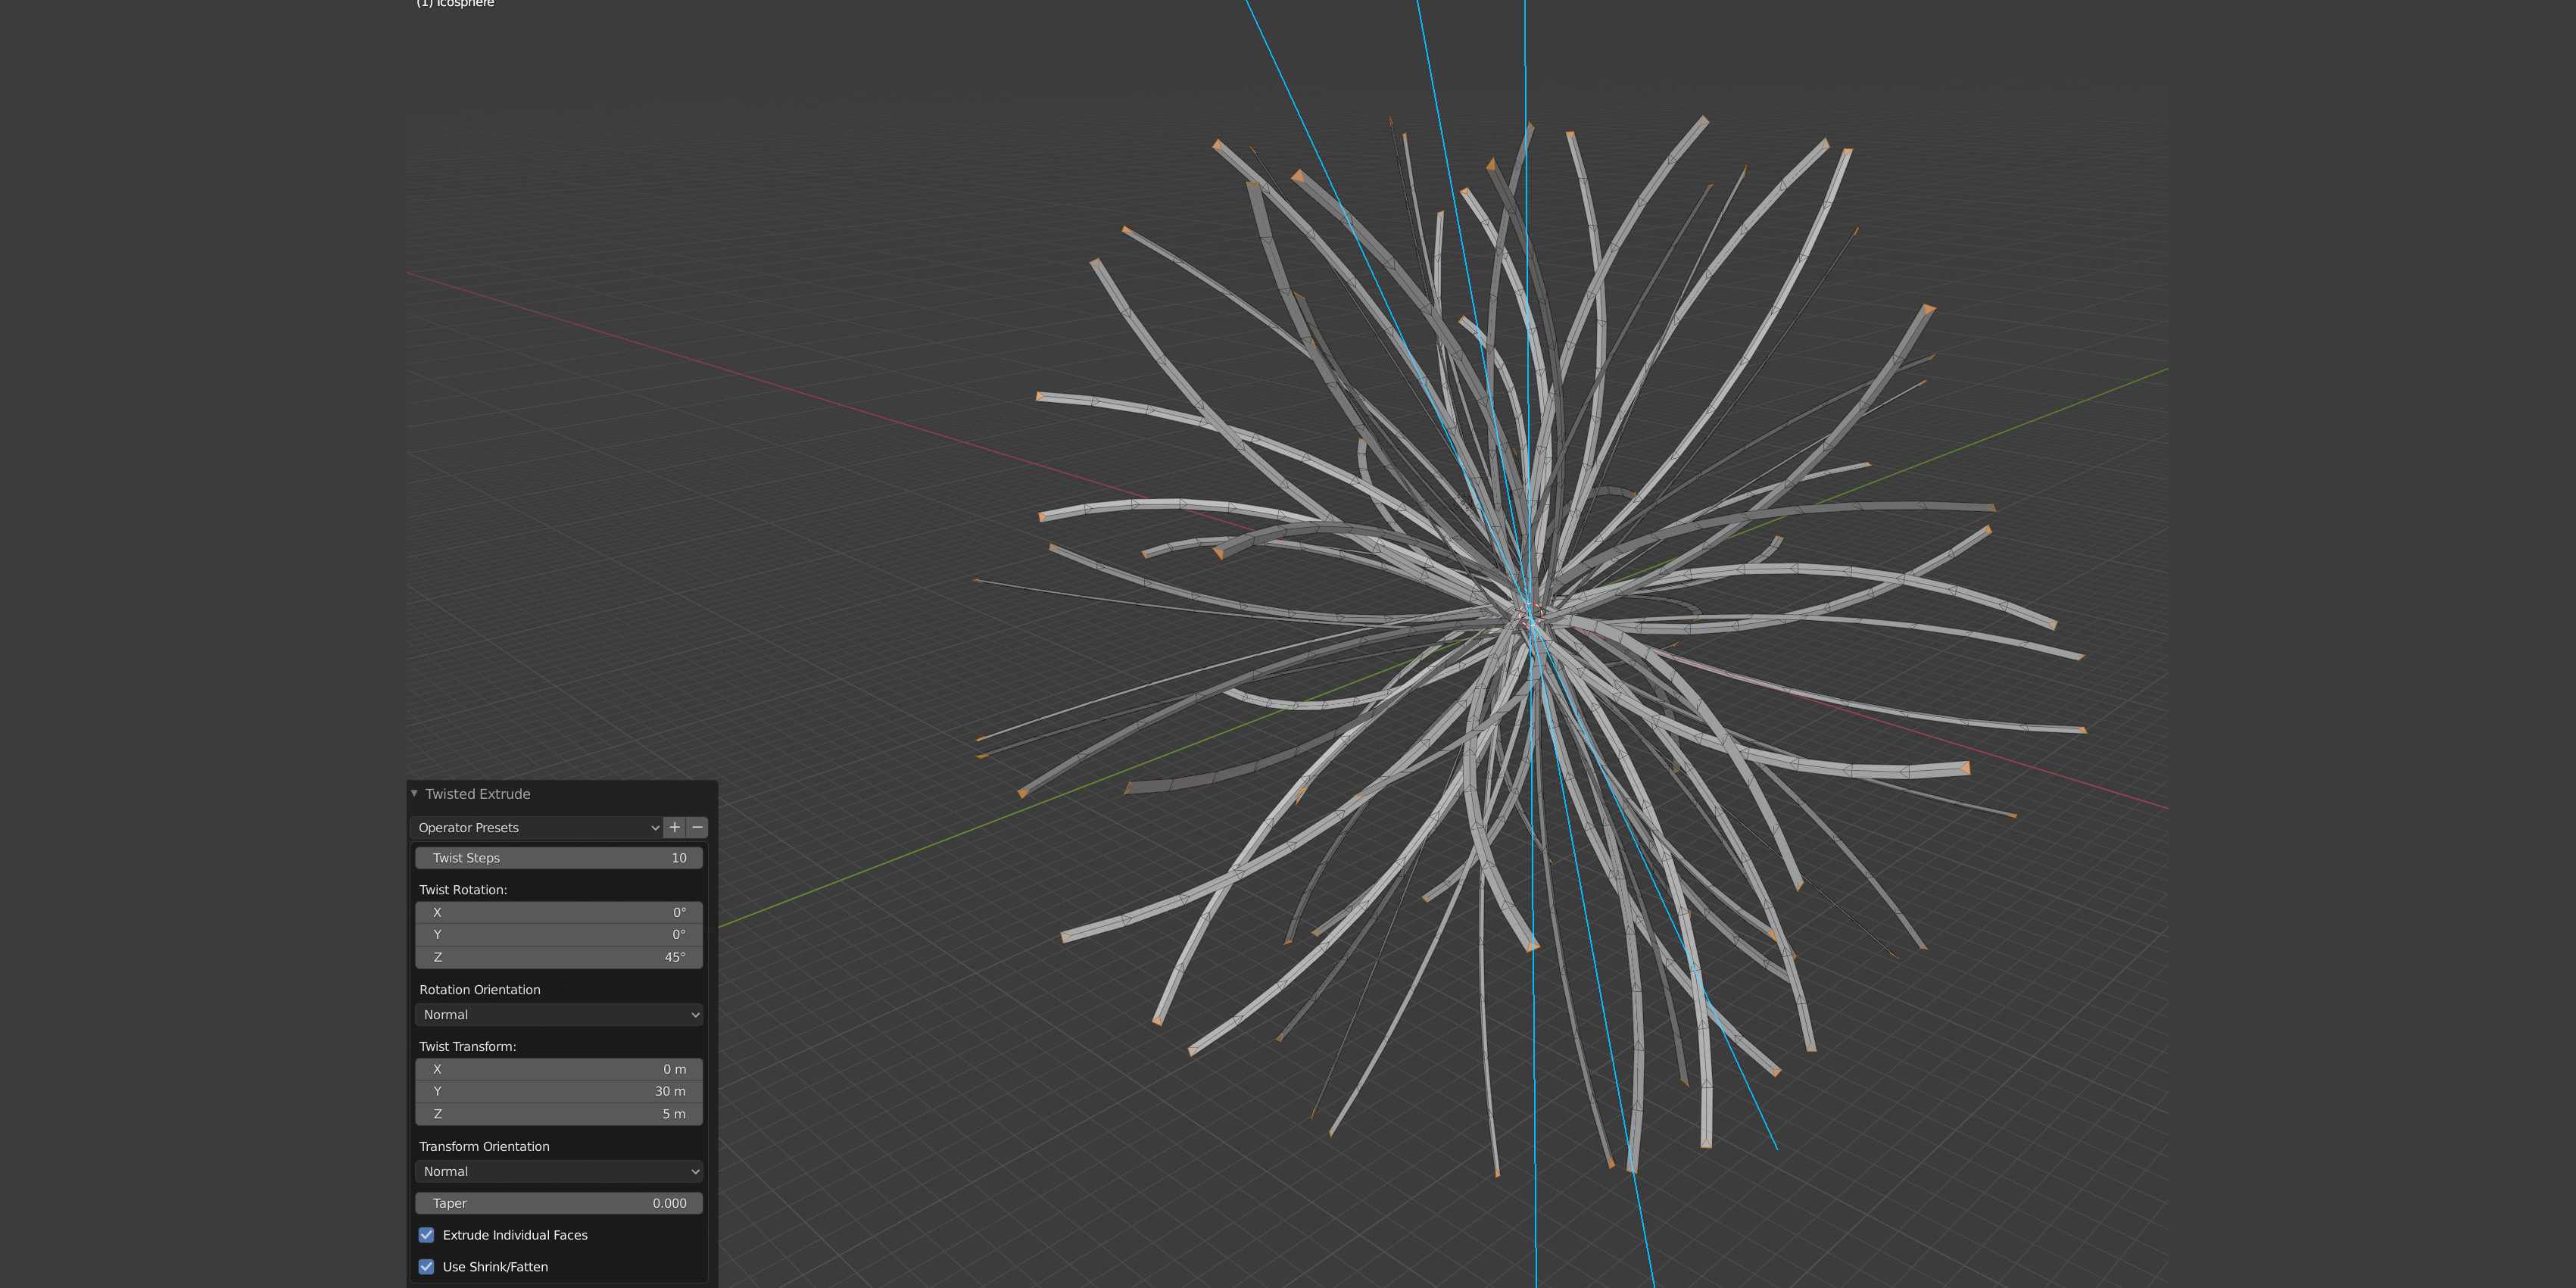
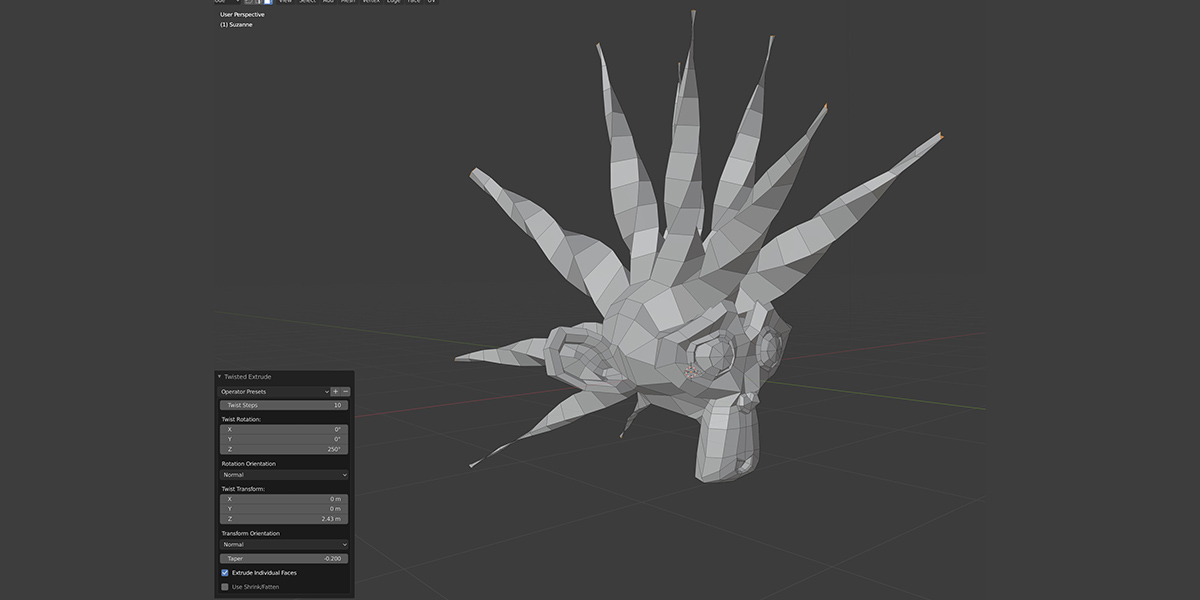
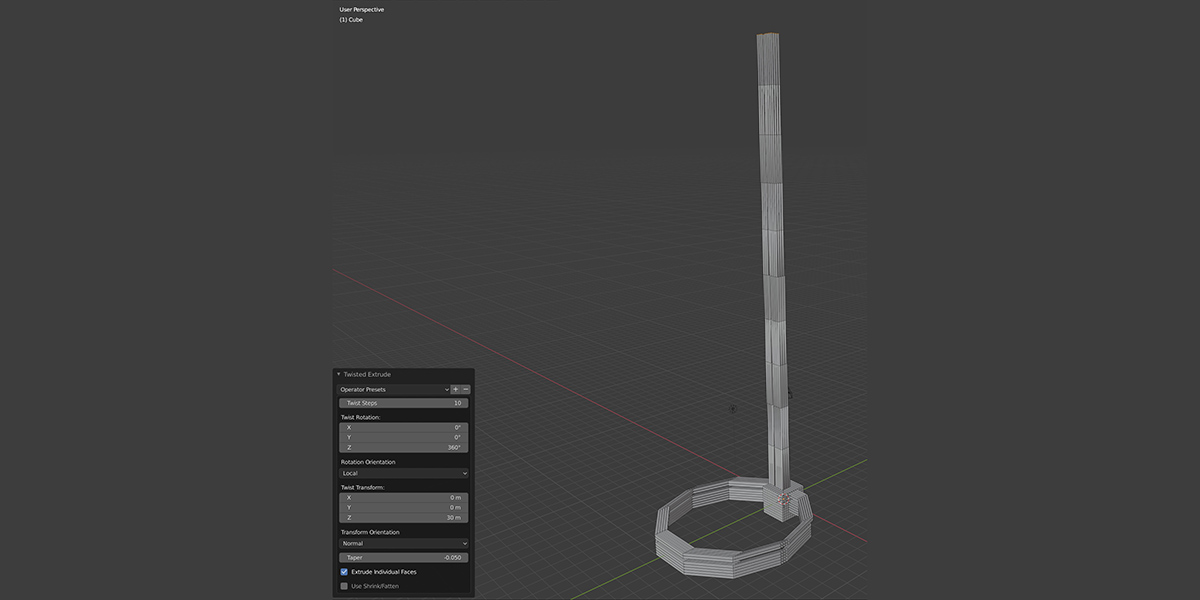
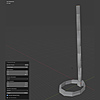
Twist Steps
This is the number of steps on the sides of the edges. Higher values will create more detail:
 Twist Steps: 10

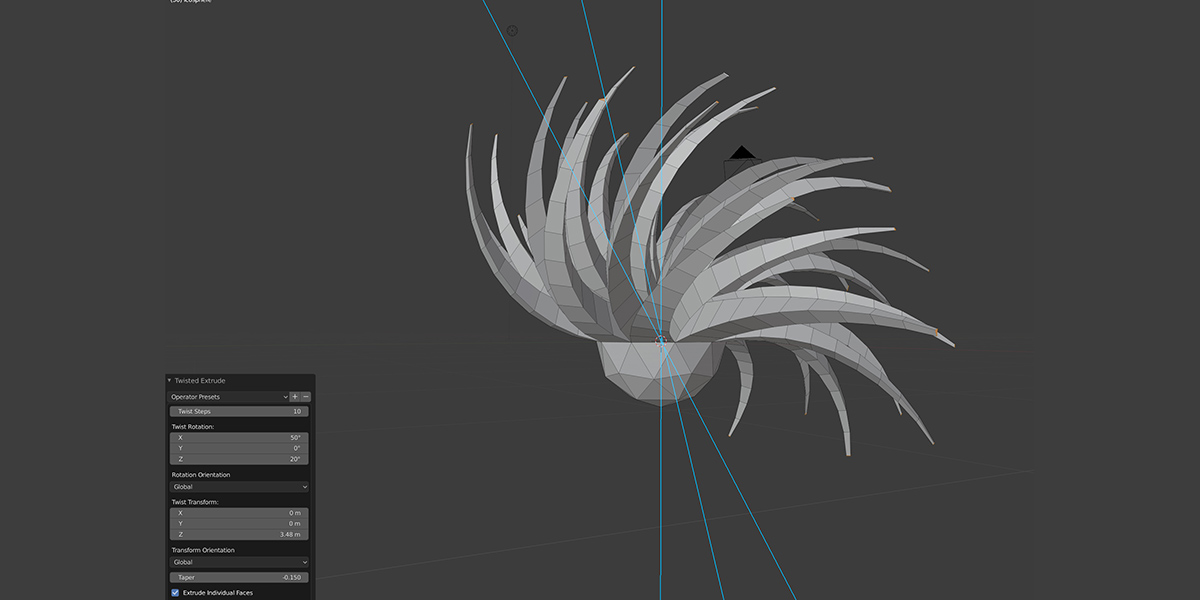
Twist Rotation
Controls the amount of twist primarily by the 'Z' value:


Changing the 'X' and 'Z' values also changes the orientation of the twist along the face normal (by default):


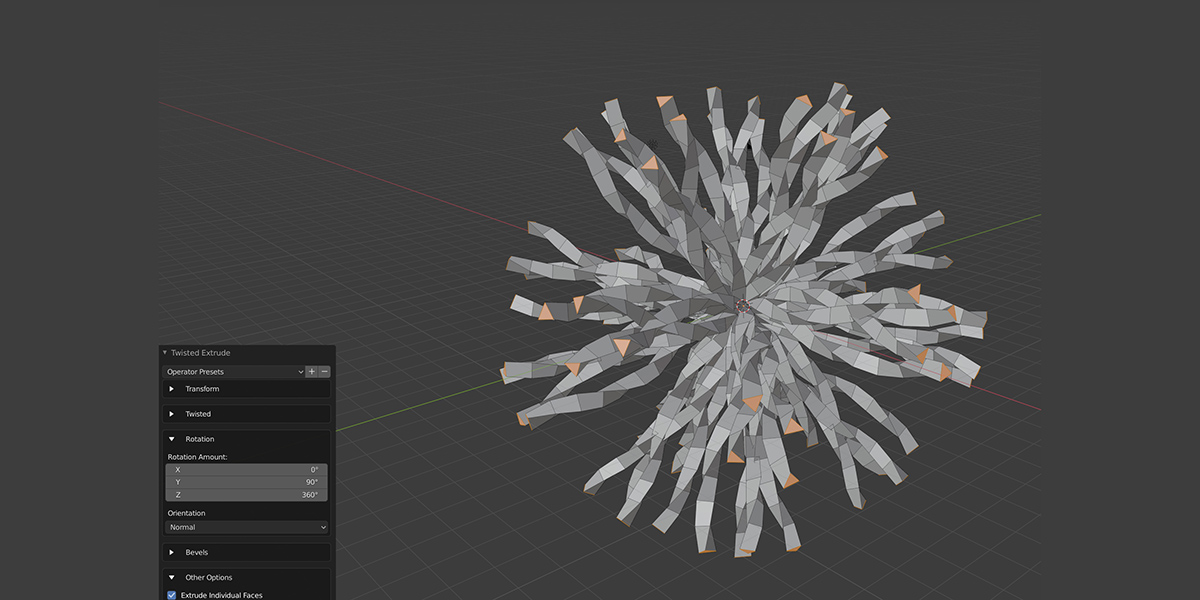
Rotation Orientation
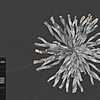
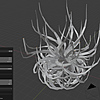
 This determines the direction of the twist. By default, the twist will be calculated along the direction (normal) of the face. You can change this to local or global orientation, useful when extruding multiple faces to get interesting effects:
 'Normal' rotation orientation: the faces are extruded using their outward facing direction (their normals) as a pivot.
 'Local' (or 'Global') orientation: Instead of using the face direction to pivot the twist, the faces can be twisted around the global or local axis of the scene.
Perpendicular Direction (of Normal)

When rotating the twist along the normal direction of the faces, by default the perpendicular X/Y axis is calculated by using face tangent based on the two longest disconnected edges .
You may want to change this orientation when aligning objects like pipes. With this setting you can offset the calculated orientation by giving a number of degrees.
Twist Transform
Control the length of the extrusion along the face direction (by default). The 'Z' component will by default control that height of the extrusion, and you can create offset effects by adjusting the 'X' and 'Y' values:


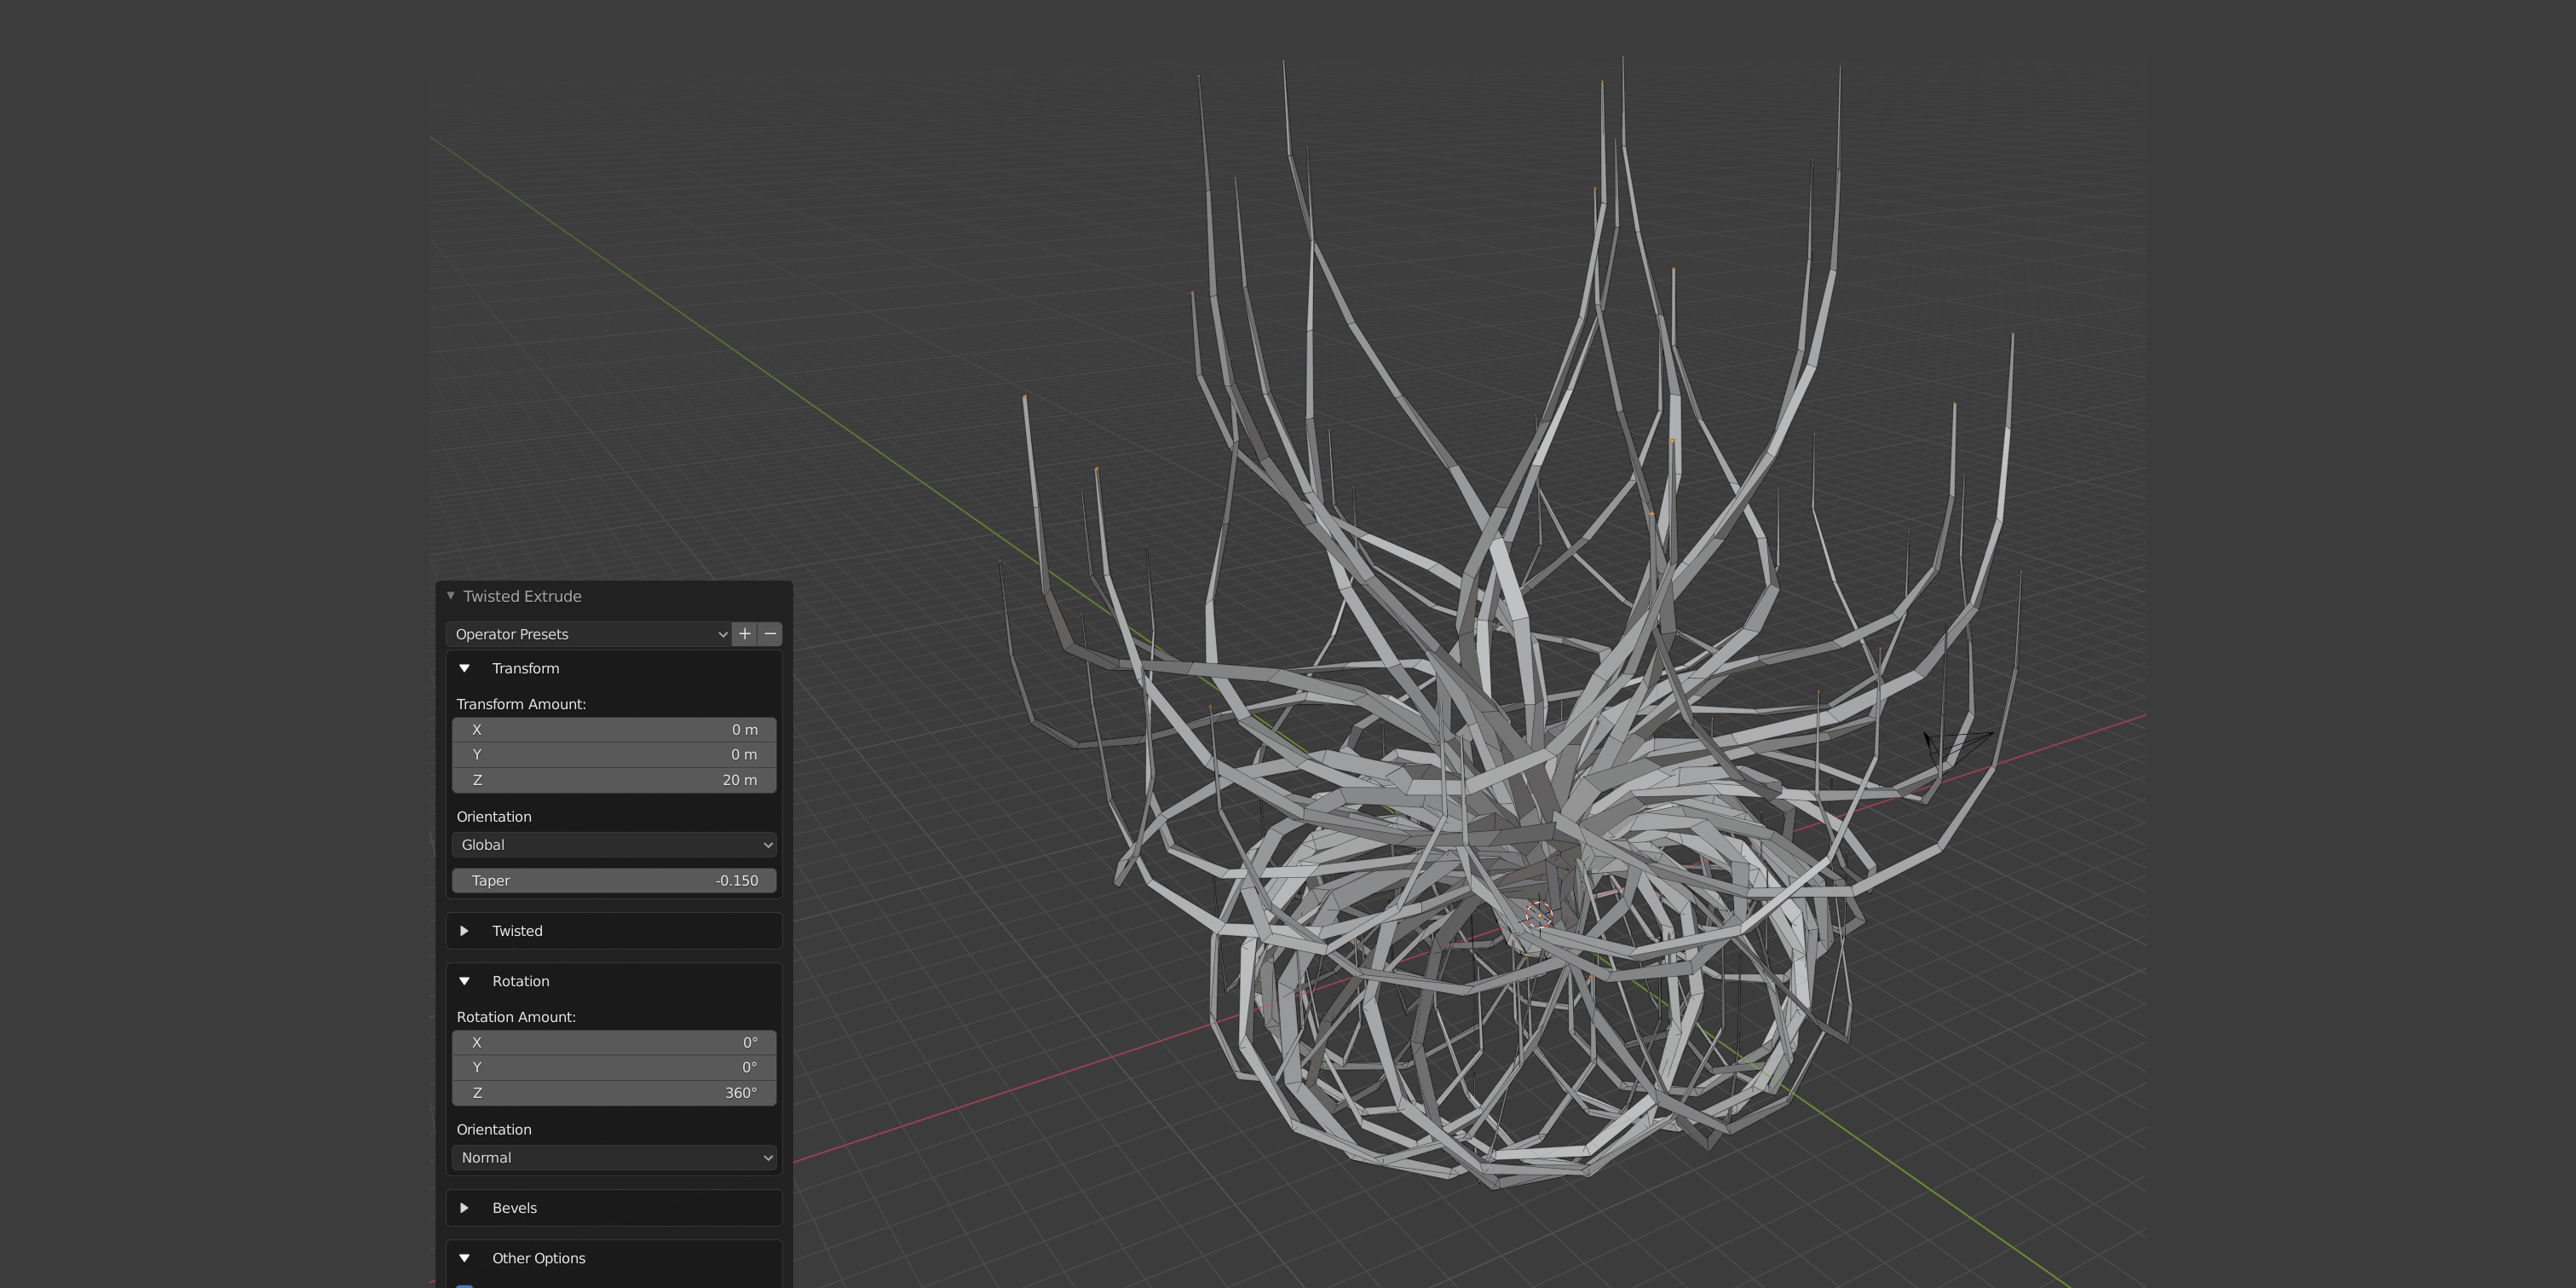
Transform Orientation
 Change the orientation of the extrusion transform. By default, faces are transformed using the face direction as a pivot. You can change this to use the 'global' or 'local' axis as the pivot point to get different effects.
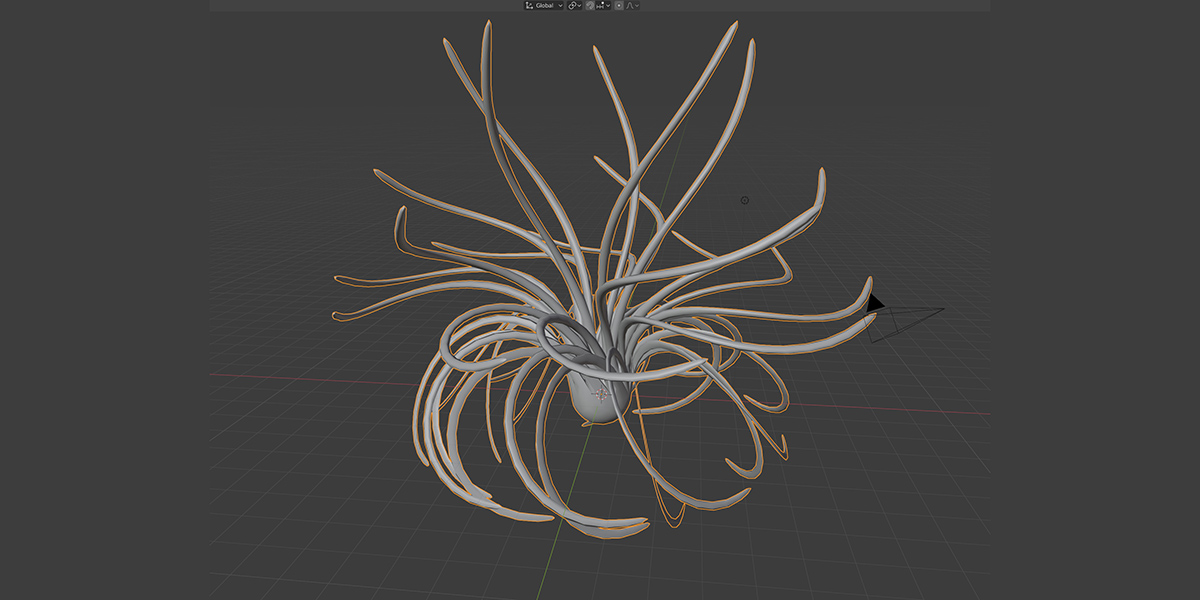
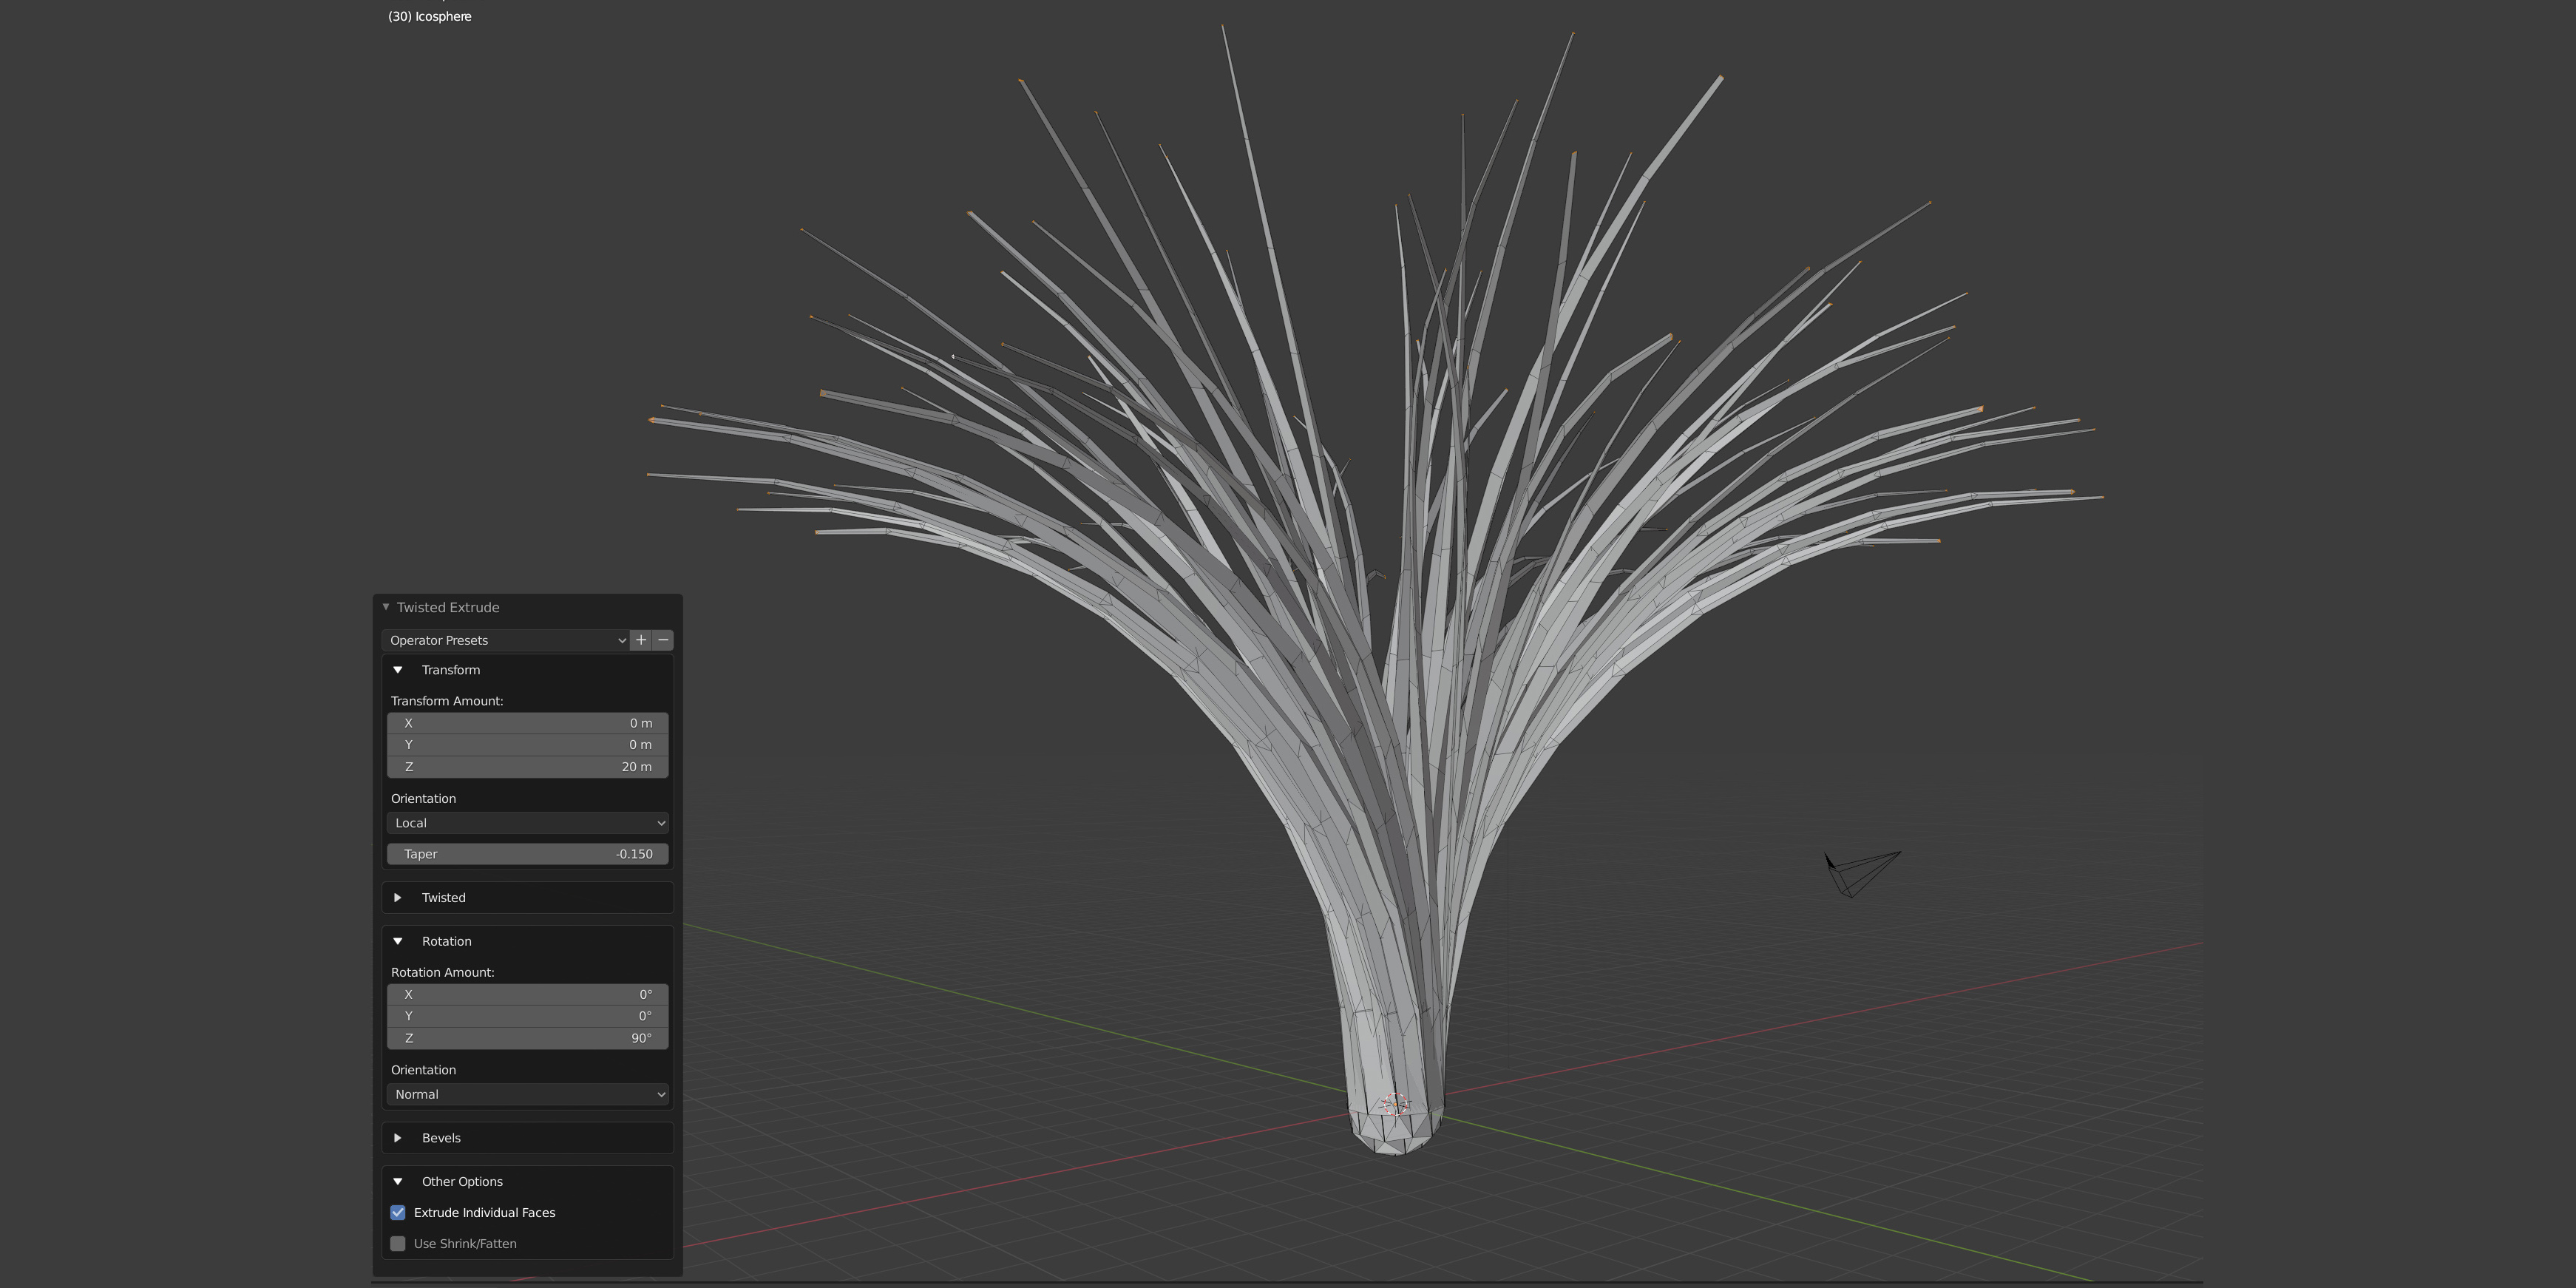
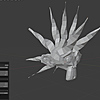
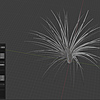
 Default 'Normal' Transform Orientation: The faces from and Ico Sphere object are extruded along their directions (their 'Normal')
 'Local' (or 'Global') Transform Orientation: the faces are extruded along the direction of either the 'local' or 'global' object coordinates.
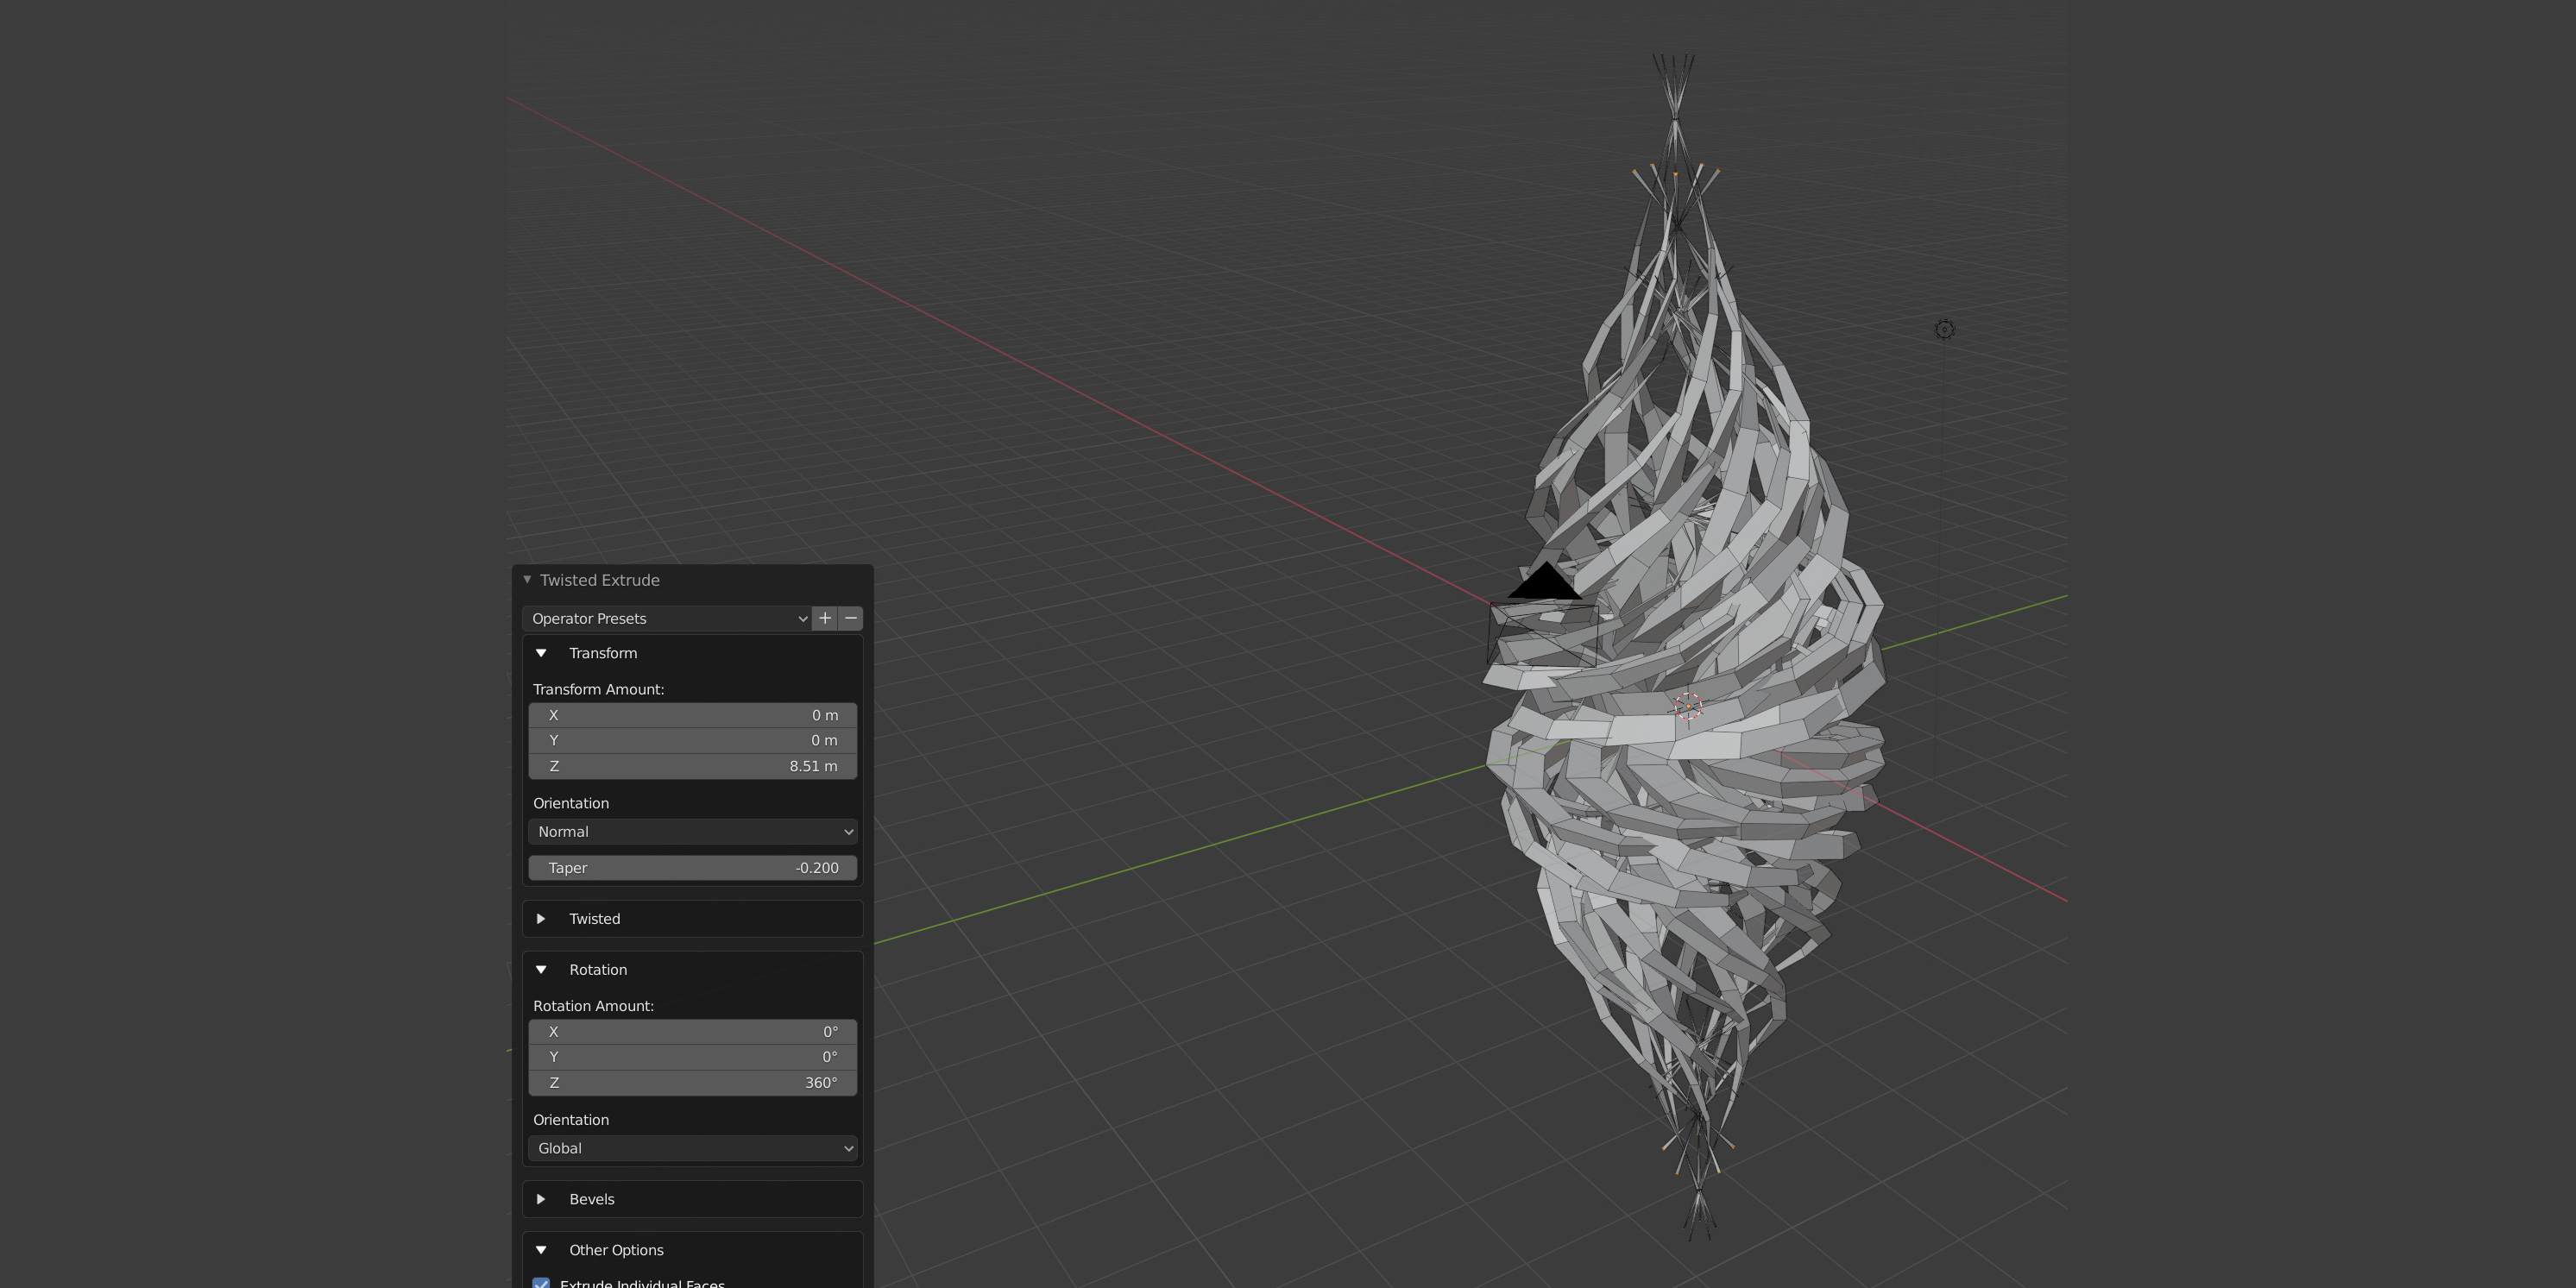
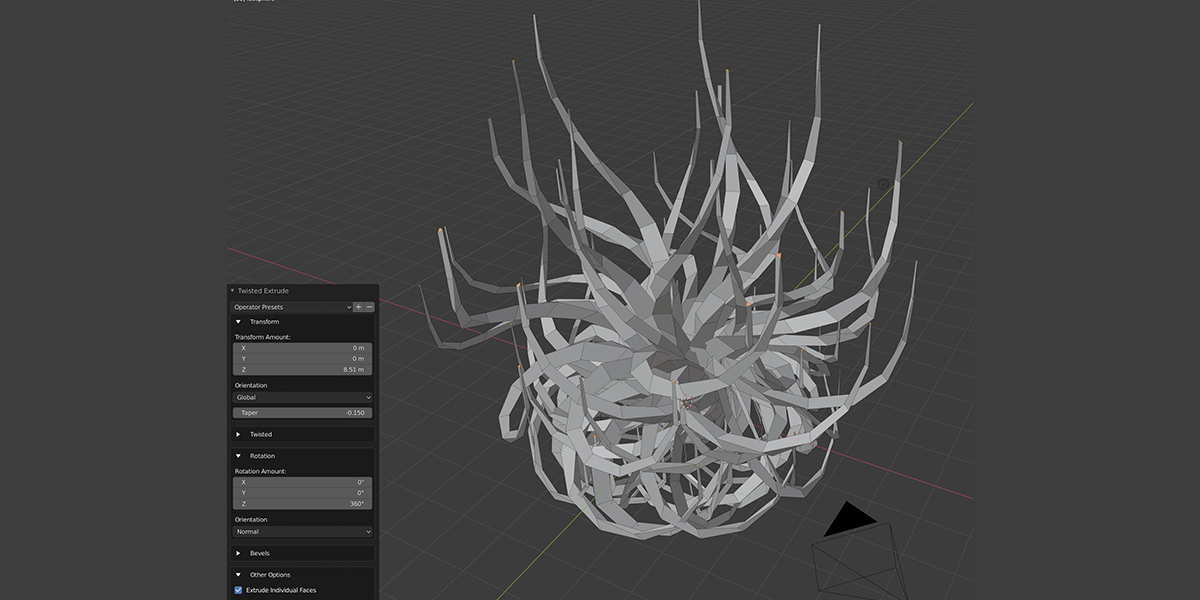
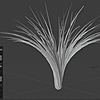
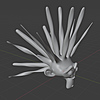
Taper


Control the tapering effect of the extrusion. Note only edges around the exterior of the face selected are tapered.
 Tapering with 'Extrude Individual Faces' selected.
Extrude Individual Faces
Choose to extrude faces as a group or individually:
 'Extrude Individual Faces' is turned on and off.Use Shrink/Fatten
Choose to extrude along the face's vertex normals (creating a shrink/fatten effect) or along the face's axis:
Questions?
If you have any questions or issues with the add-on, don't hesitate to contact me through Blender Market or my Twitter page @markkingsnorth.
Discord
Share your work and get support through the Configurate support channel here.
Have questions about this product?
Login to message