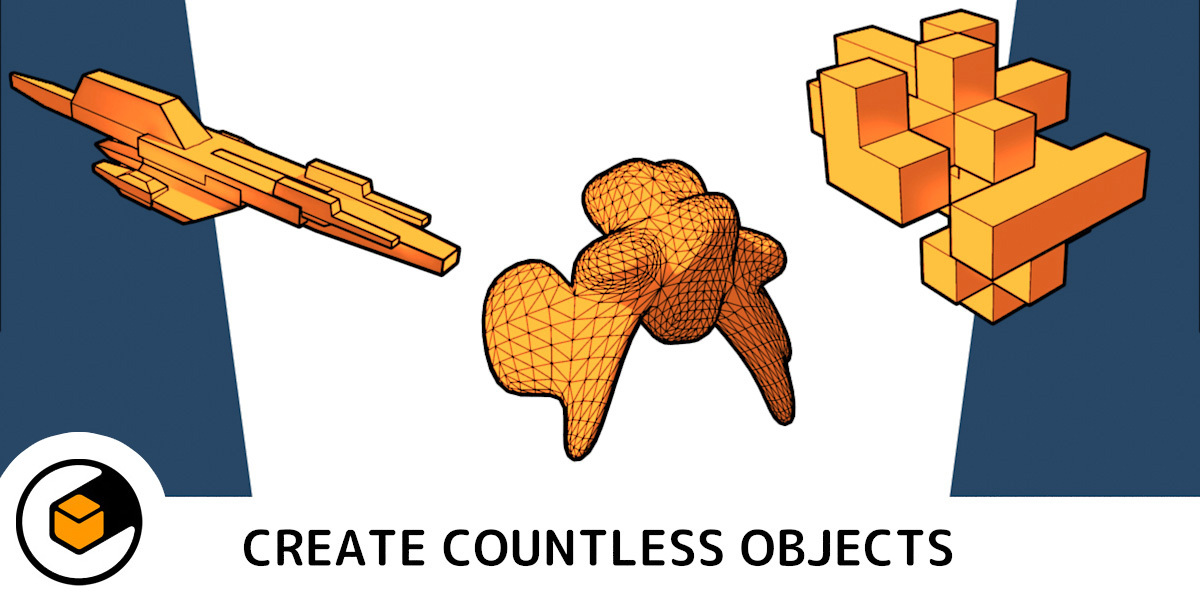
Shape Generator
Installation
You will be provided with the following files:
For Blender installation (do not unzip, install via Blender UI):
- shape_generator.zip - the main add-on file.
Libraries and samples (do unzip!):
- shape_generator_samples.zip - A set of sample .blend files showing some example shapes.
-
animation_nodes_shape_gen_samples.zip - A small set of example files for the animation nodes Shape Generator node (see below).
Main Add-On
Blender 4.2 and Above
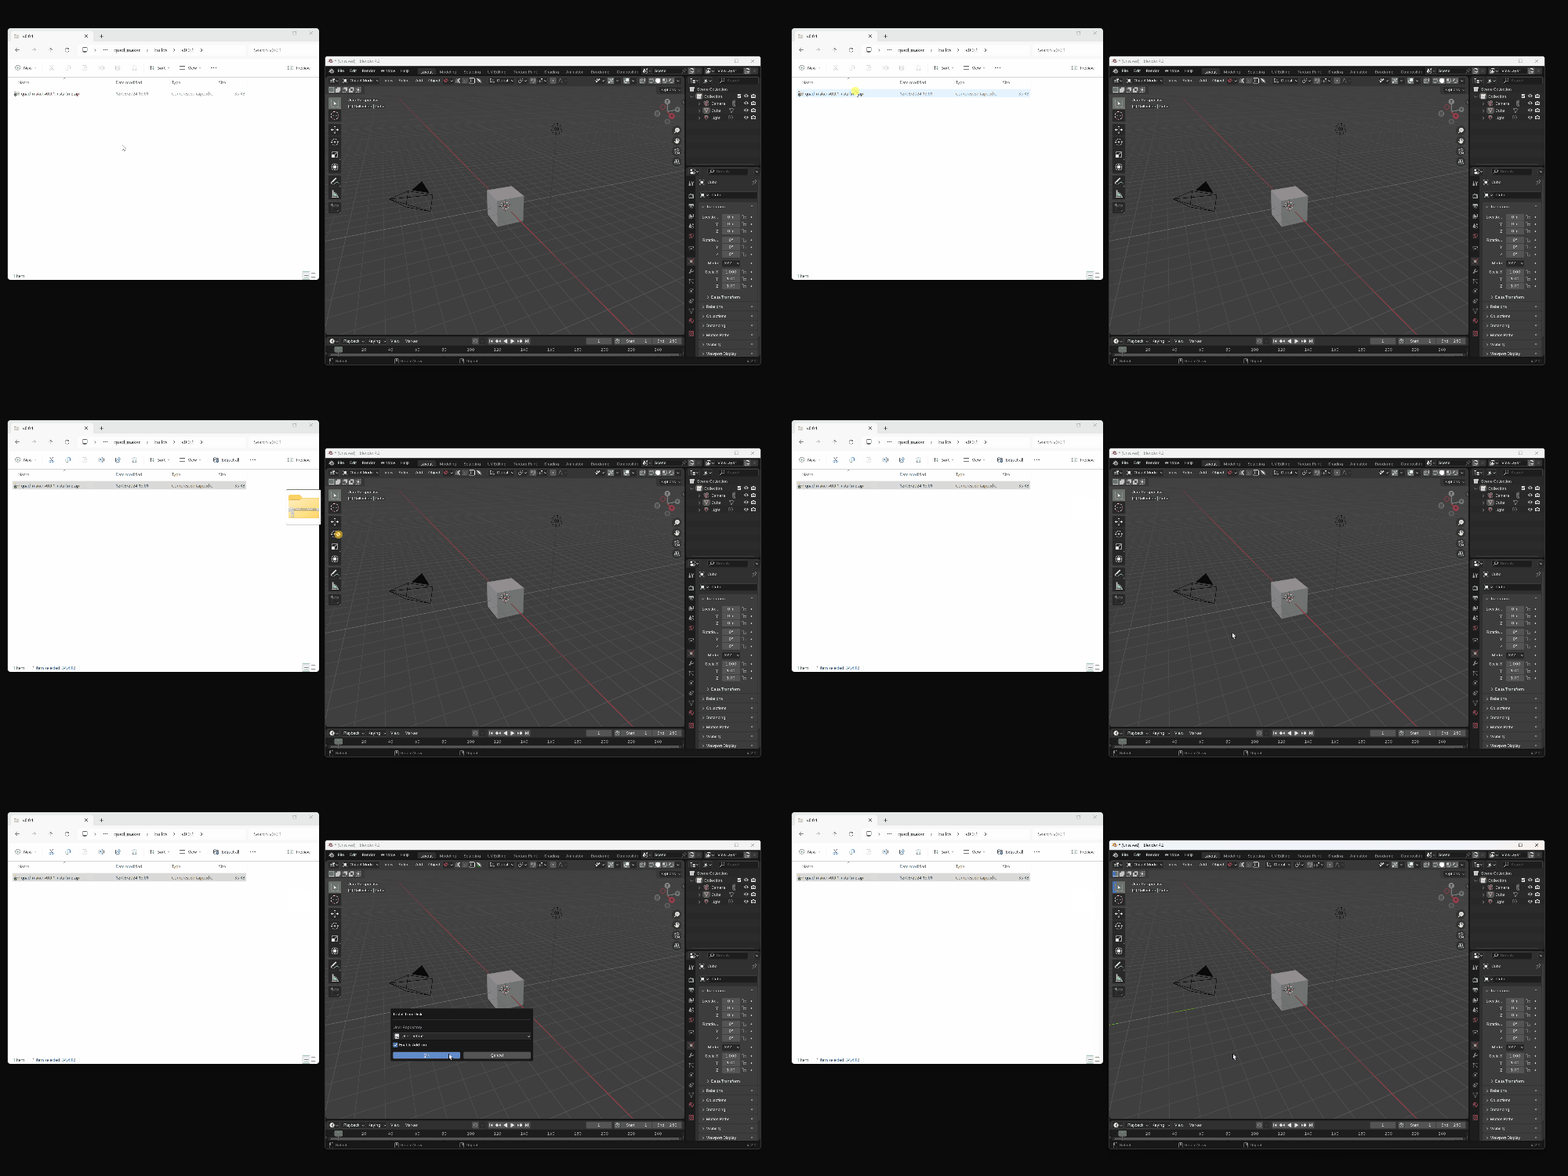
Drag and drop the shape_generator installation zip file into Blender to install the add-on.
If you have any issues do not hesitate to get in touch via [email protected].
Previous Blender Versions
Installation Video
Installation Instructions
The add-on can be installed through the Blender UI with shape_generator.zip:

With shape_generator.zip:
- Go to Edit -> Preferences.
- Select the Add-ons tab on the left it is not already.
- Select the Install... button along the top.
- This will open a file dialog where you should navigate to where you have downloaded the "Shape Generator" zip file. This file should not be unzipped.
- Then, click the "Install add-on from file" button.
- Search for the add-on by typing "Shape Generator" in the search box if it does not already appear.
- Make sure the checkbox next to the Add-on (Add Mesh: Random 3D Shape Generator) is ticked.
Let us know if you have any problems!
Presets
A set of presets come loaded with the add-on for you to get started and you can add your own:

IMPORTANT: When moving Blender versions, make sure you have backed up this directory as it contains any presets you have saved.
Depending on your operating system, navigate to one of the following directories.
- If you are on Linux, navigate to
~/.config/blender - On a Mac:
/Users//Library/Application Support/Blender/ - If you are on Windows, navigate to:
%APPDATA%\Blender Foundation\Blender
How it works
Video
Description
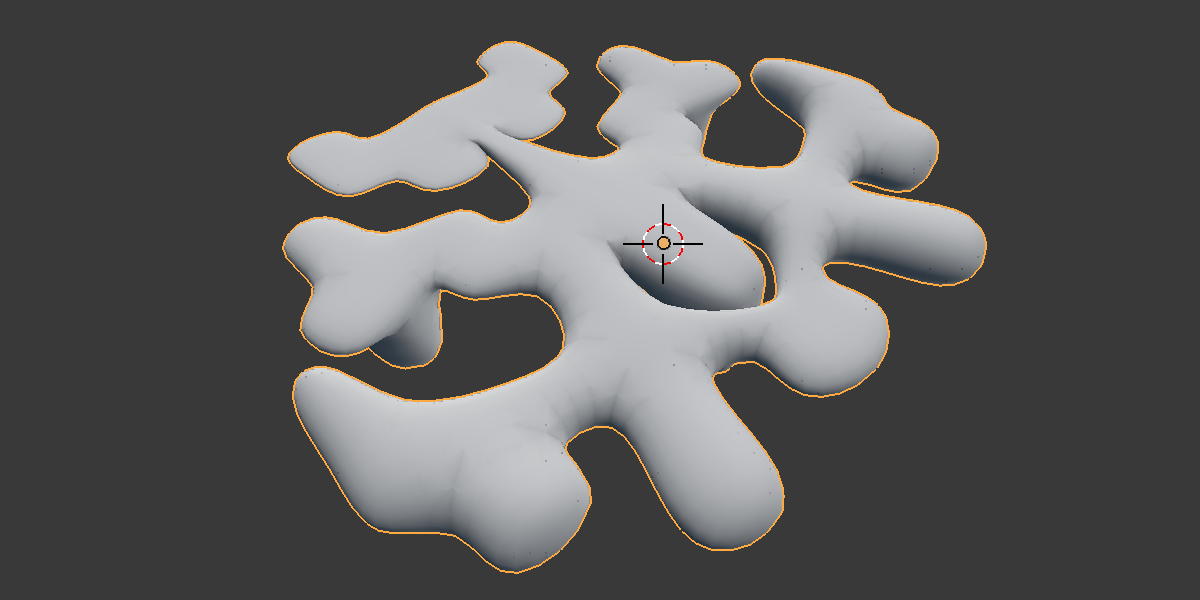
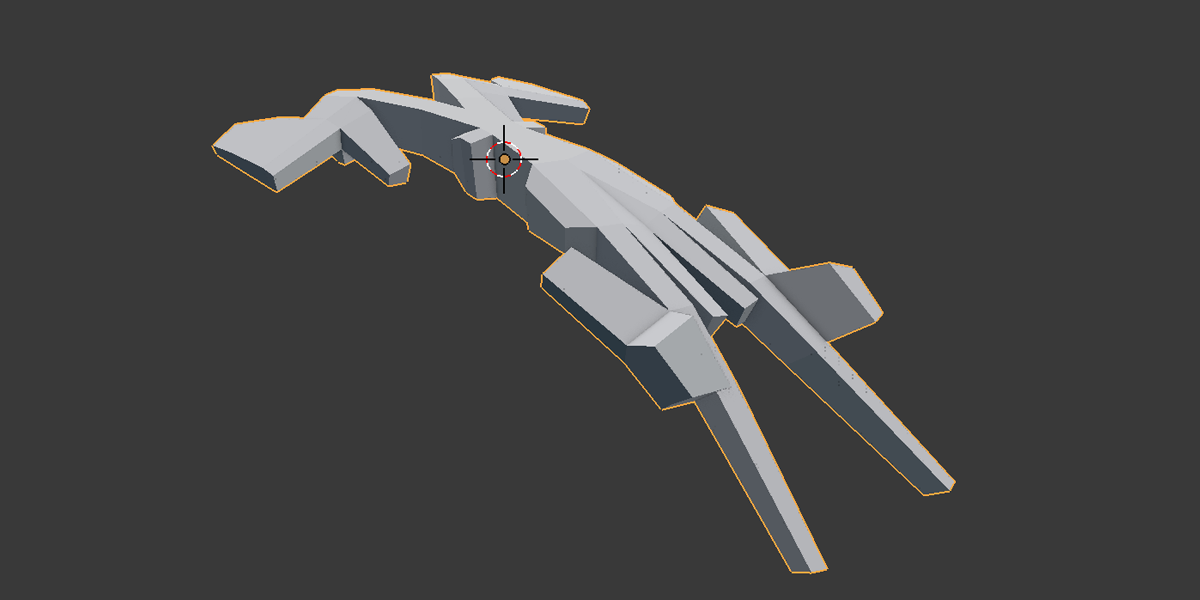
 The add-on first creates a box, and then starts randomly extruding the faces. Each face that is extruded and tapered randomly between a specified minimum and maximum value set by you. The process is repeated by a specified amount. By default, before completing the operation the add-on will check for overlapping faces. If there are, it will attempt to extrude in a different way:

You can also set a minimum and maximum rotation when a face is extruded:
 By varying these minimum and maximum values for Extrude, Taper, and Rotation different effects can be created:
 Note that the faces do not overlap and organically grow out.
When you select the mirror options, you can start to get interesting base meshes:

Use
You can access the Shape Generator through the Add menu in Blender. This menu is either accessible through the top of the 3D view or by pressing Shift+A:

This then creates a Generated Shape object. You can then create different shapes using the controls in the toolbar.
The tool bar is located in the bottom left hand corner and will need expanding:

As this is a temporary toolbar it will disappear after you've added the shape. The shape parameters can always be revisited by selecting any of the generated objects and going to the properties side panel on the right hand side of the viewport (press the 'N' Key if you do not see it).
There is a tab called "Shape Generator" that remembers all your previously set parameters for the shape that the selected object is part of:

Options
Operator Presets: You can load, edit or save a selection of pre-prepared configurations. At the top of the panel, click the bulleted drop down. Press the '+' and '-' keys to add or delete entries.

Each of the parameters are described in the next sections.
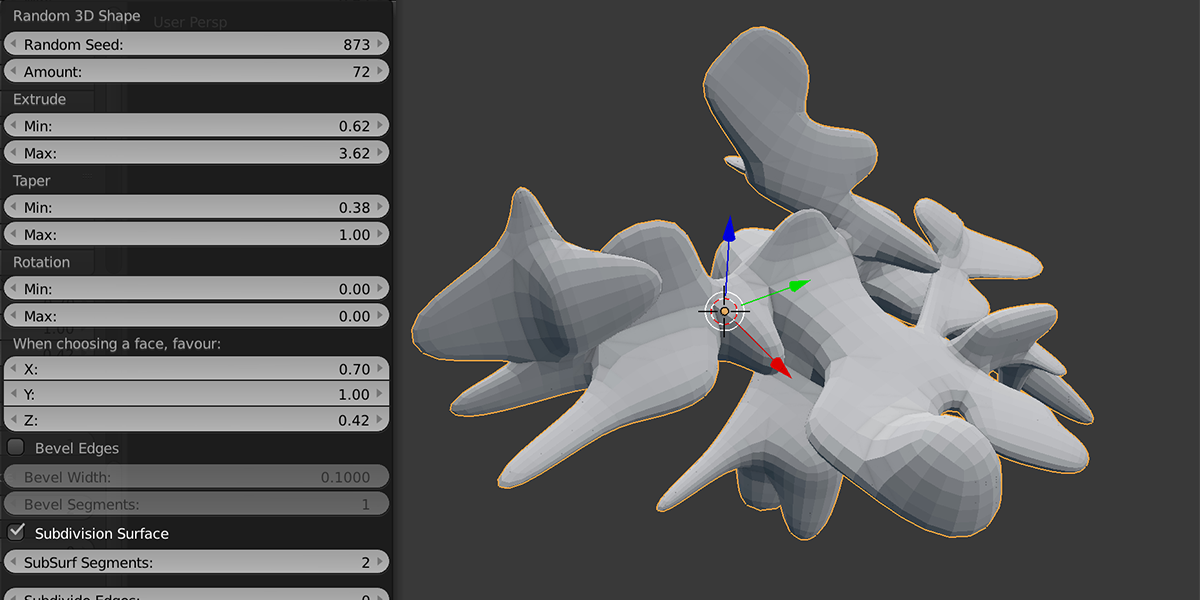
Master Seed

- Random Seed: Different random shapes will be created by changing this value to another number.
Extrusions

- Amount: This controls the number of extrusions that are performed to to create the shape. This higher the number, the more extrusions occur. The user interface will stop the mouse dragging beyond 100, however you can enter higher numbers by clicking on the control and entering it via the keyboard.
- Extrude: This provides the minimum and maximum values that the random extrusions in the shape will be restricted by.
- Taper: This provides the minimum and maximum values that each new extruded edge is shrunk or grown by. A value of 1.0 will keep the face the same as it was before it was extruded; smaller values will shrink the face and higher values will make the face bigger than it was before.
- Rotation: Control how much a face is bent when it is extruded. This can create more varied shapes.
When choosing a face, favour...
The X, Y, and Z options here put some control over which faces are chosen as the add-on extrudes the shape. By default, all faces in any direction have an equal chance of being selected (1.0, 1.0, 1.0). If you decrease the Z value to zero, the faces that will be extruded are a lot less likely to be in the Z direction.
This sort of control can create, for example, flatter shapes:

Note that changing these settings does not guarantee that, for example, a face pointing in the Z axis will never be selected; it just reduces the chances significantly.
Bevel

These options add a Bevel modifier to the shape so that you can create more chamfered shapes. Check the checkbox if you wish to use the effect:

- Bevel Width: the width of the overall bevel on the edges. Note that if the shape is complex ith many concave edges, the width will be limited.
- Bevel Segments: the number of segments in a bevelled edge. The more segments, the smoother the bevel effect.
- Bevel Profile: The shape of the bevel, from concave to convex. It has no effect if Segments is less than 2.
- Width Method: Declares how Width will be interpreted to determine the amount of bevel. See the documentation for this under Bevel Modifier.
- Clamp Overlap: Stop when faces overlap.
Subdivision Surface

This will add a Subdivision Surface modifier on top of the base mesh, for creating a much smoother shape. Check the checkbox to activate it:

- Catmull-Clark/Simple Switch between Blender's different subdivision methods.
- Adaptive Subdivision (Experimental): Switch on Blender's experimental adaptive subdivision for applying displacement textures.
- SubSurf Segments: the number of intermediary segments the mesh will divide the surface into.
Subdivide Edges

Separately, there is also the option to subdivide the edges of the base mesh. This will not smooth the mesh, it will just add more faces to the sections:

Mirror X, Y and/or Z


You can choose to add a mirror modifier to the shape in the X, Y or Z axes. This will also bisect the shape along the selected axis.
By default, the shape is mirrored in the X axis. This is good for creating uniform shapes like vehicles or spaceships.
A good tip if the mirror modifier mirrors the side you don't want: in the scale settings, described next, set the appropriate axis to -1.0. Then select Flip Normals, also described later.
Materials
You can add a pre-defined material when creating a 3D shape under the Materials shape:

 Here an material with an image is applied dynamically
Prevent Face Overlaps

By default, the add-on will attempt to prevent face overlaps when extruding out a shape. At higher amounts of extrusions, this operation can be slow even though it is effective in creating meshes that are tidier. If you don't want this option and don't mind overlapping faces, you can uncheck it:

- Face Check Limit: For performance purposes, you can limit the number of checks the tool will do on other faces every time it does an extrude. Low numbers may still create good meshes without the thorough checks. Zero will mean the check will check the whole mesh (this is the default).
Transformation


These parameters control where the object is positioned, how much is it rotated by, and what scale the object should be along the x/y/z axis.
- Location: The location of the mesh.
- Rotation: Rotate the mesh.
- Scale: Scale the resulting mesh. Good for producing longer or higher meshes during the creation process:
Randomisation


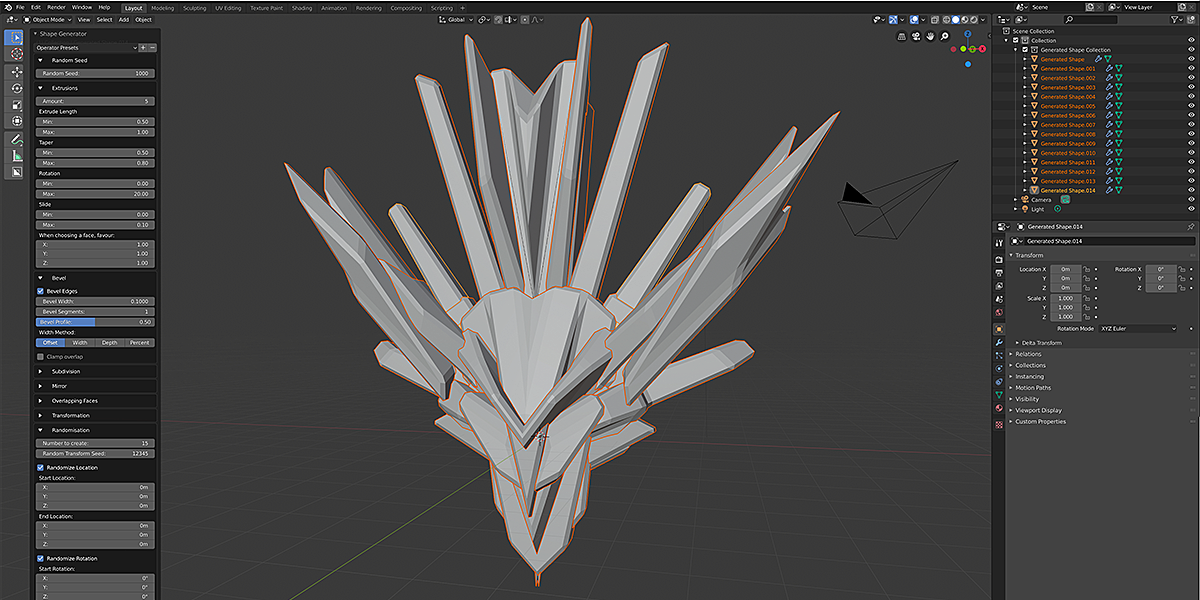
This is the ability to create lots of random objects at the same time and randomly change each of those shapes' location, rotation & scale properties. This creates lots more interesting combined shapes.
- Number to create: You can increase the number of randomised shapes you create.
- Random Transform Seed: the random seed value by which they are created and positioned.
There will be checkboxes against each of the location, rotation & scale properties you wish to change. For instance, the location property has minimum & maximum values, to control the minimum & maximum location of each generated shape.
Here are the options in detail:
- Randomize Location: Check the box to randomize object creation by location.#
- Start Location: The start limit of where to locate an object.
- End Location: The end limit of where to locate an object.
- Randomize Rotation: Check the box to randomize object creation by rotation.
- Start Rotation: The start limit of where to rotate an object.
- End Rotation: The end limit of where to rotate an object.
- Randomize Scale: Check the box to randomize object creation by scale.
- Start Scale: The start limit of how much to scale an object by.
- End Scale: The end limit of how much to scale an object by.
Boolean Operation

When multiple objects are created, you can perform a boolean operation to subtract the objects from a main object.
- Main Object Index: This is a reference number to the main object in your collection of objects. Zero will the the first object that was created.
- Parent Booleans: This will automatically parent the objects to the main object when a boolean operation is used.
- Intersect/Union/Difference: Choose the type of boolean operation to apply.
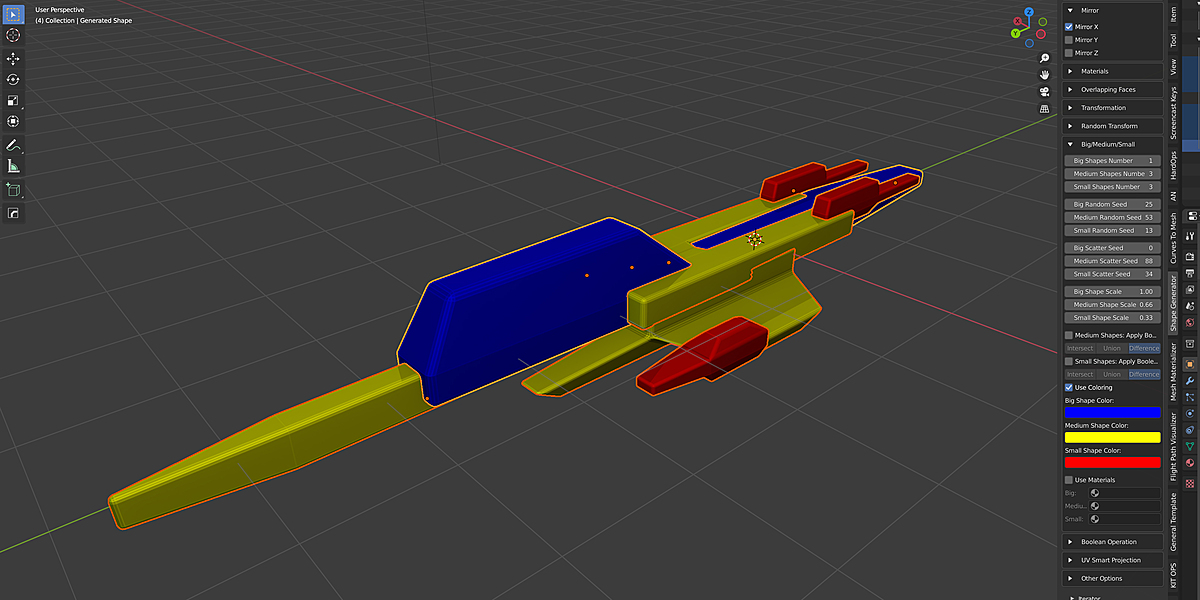
Big/Medium/Small Controls
The concept of creating aesthetically pleasing shapes using a combination of big, medium and small objects is outlined by Sinix Design here:
The Shape Generator can use these ideas to combine different objects into one overall shape. See this video here:The shapes are added hierarchically in collections – one for the large shapes, one sub-collection for the medium shapes, and another for the small.
The controls to use this set up are as follows:

- Number: Control the number of big, medium and small objects that make up the shape.
- Seed: Change the individual random seeds that create the objects inside each Big/Medium/Small collections.
- Scatter Seeds: Change the scattering patterns used when the objects are scatters across the surface.
- Scale: These settings control the sizes for each collection of shapes. They are set by default to follow relative sizes in the design theory, but can be changed if necessary.
- Apply Boolean: The medium and small collections of objects can be applied as booleans, if you wish to for instance subtract the objects from the main object. As the objects are added hierarchically, the big object is not used as a boolean.
- Use Coloring: This changes the colors for each collection of big, medium and small objects.
- Use Materials: Apply different materials to each object collection. Setting the first material only will apply that material to the whole object.
Boolean Operation
This controls the overall settings for the Boolean operations that are optionally applied to the shapes.
- Fast/Exact: Choose which type of solver is used for the Boolean operation.
- Self: Allow self intersectionwhen applying the boolean.
- Hide in Viewport: Hide the object when in the viewport.
- Hide in Render: Hide the object when rendering.
UV Smart Projection

The addon uses a version of Blender's UV Smart Project to generate a UV Map of the object which can then be edited later.
- Angle Limit: This controls how faces are grouped: a higher limit will lead to many small groups but less distortion, while a lower limit will create fewer groups at the expense of more distortion.
- Island Margin: This controls how closely the UV islands are packed together. A higher number will add more space in between islands.
- Area Weight: Weight projection’s vector by faces with larger areas.
- Stretch to UV Bounds: Stretch the final output to texture bounds.
Other options

- Shade Smooth: mark the faces to smooth shading when they are created.
- Flip Normals: The normals on the faces of the mesh will be flipped.
- Align: Change how the shape is aligned.
Iterator
The Iterator will use the camera in your scene to automatically render a range of Shape Generator master seed combinations to a directory of your choosing.

A video outlining its use is here:
Iterator Parameters:- Seed Range: set the master seed range used to render out different combinations of shape.
- File Path: The output directory for the file images.
- Render Engine: Optionally choose a render engine different to the main scene. The Iterator will then use the settings of the alternative renderer.
- Start: start an iterator process. Whilst the images are rendering, Blender may appear to freeze. You can check whether the images are being output by navigating to the output directory to see if the images are being created.
Whilst running, there is a file called running.ack that you can use to stop the iterator and unfreeze Blender. Remove running.ack, and after rendering an image Blender will check for the presence of this file. If this file no longer exists, it will cancel the operation.
This is similar to the iterator function in KIT OPS SYNTH.
Baking

When you are ready to edit your object further, this section can collapse your objects into one and also remove the properties associated with the shapes. This will disable the panel and allow you to edit your shape without worrying that the add-on will overwrite your changes.
- Join Objects: This will join all the separate objects into one, removing any individual modifiers that have been automatically applied.
- Smooth Result: This will apply a Remesh and Smooth modifier to the joined object, which makes the object smoother overall and also is useful in readying the shape topology for sculpting.
- Voxel Size: This is essentially the 'resolution' of the smoothed mesh, where lower values e.g 0.02 will increase the resolution. Be careful of very low values, however, as this can cause performance issues in Blender as the resolution will increase exponentially.
-
Smooth Iterations: The number of times the Smooth modfier will apply its smoothing process. Higher values will produce a smoother result.
- Remove Shape Properties: This will remove the Shape Generator parameters and prevent further edits a the side panel. This is useful when readying the object for editing or sculpting.
See this video on baking:
Operations

This will perform operations on the selected object:
-
Delete Shape: This will delete all the objects associated with a shape, and remove the collections that were created.
Examples
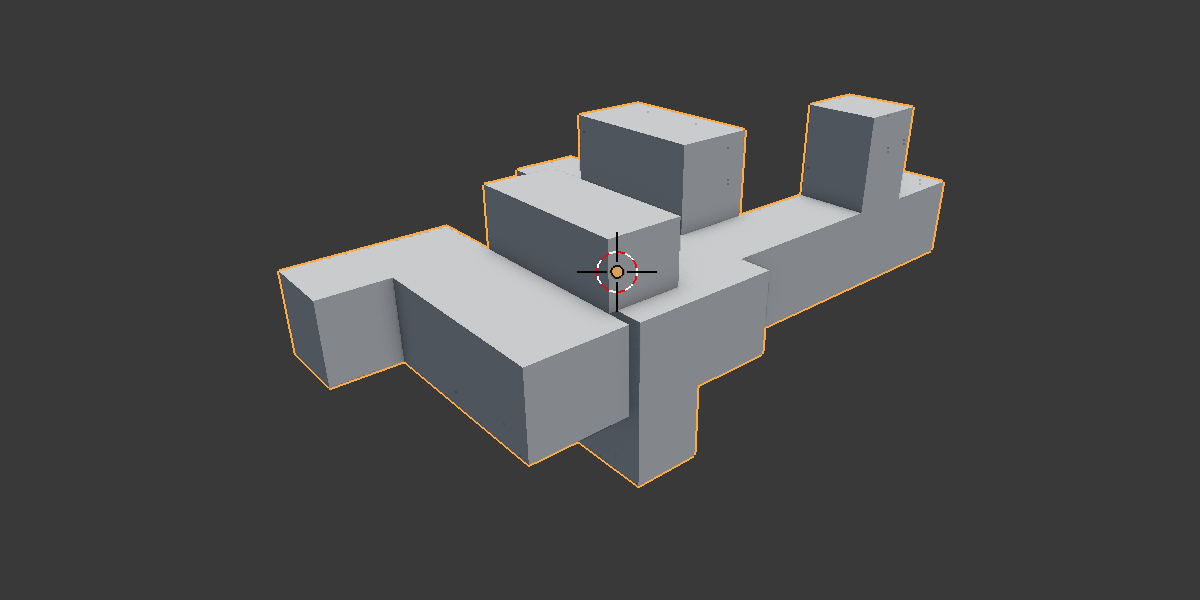
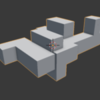
Blocky Cubes

- Set Extrude Min and Max settings both to 1.0.
- Set Taper Min and Max settings both to 1.0.
- Uncheck Mirror X.
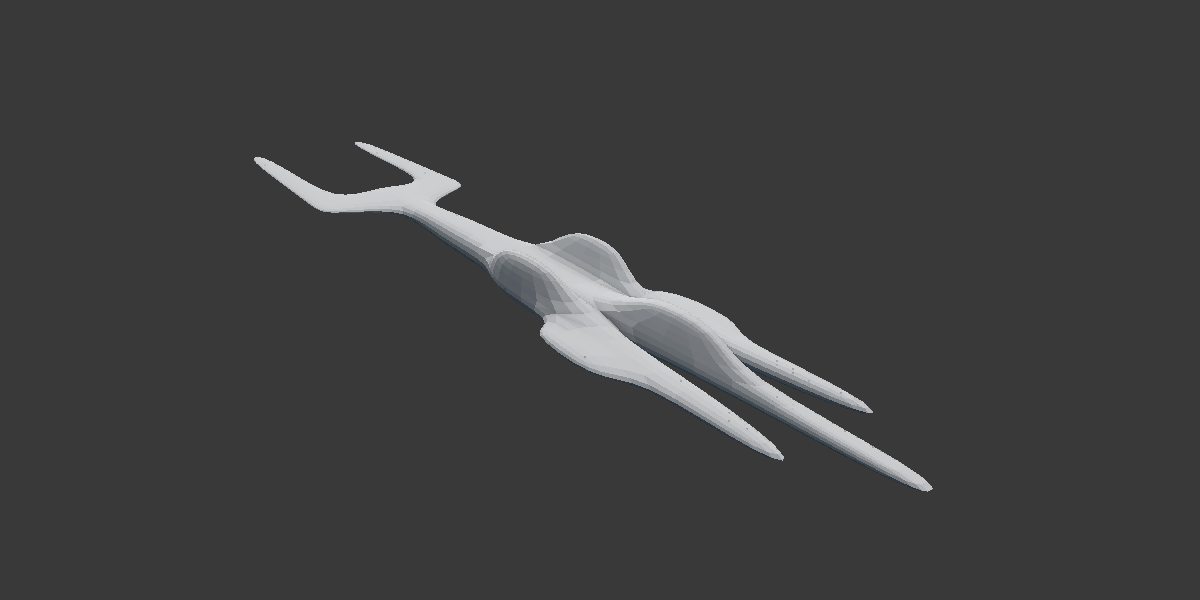
Organic

- Check Subdivision Surface.
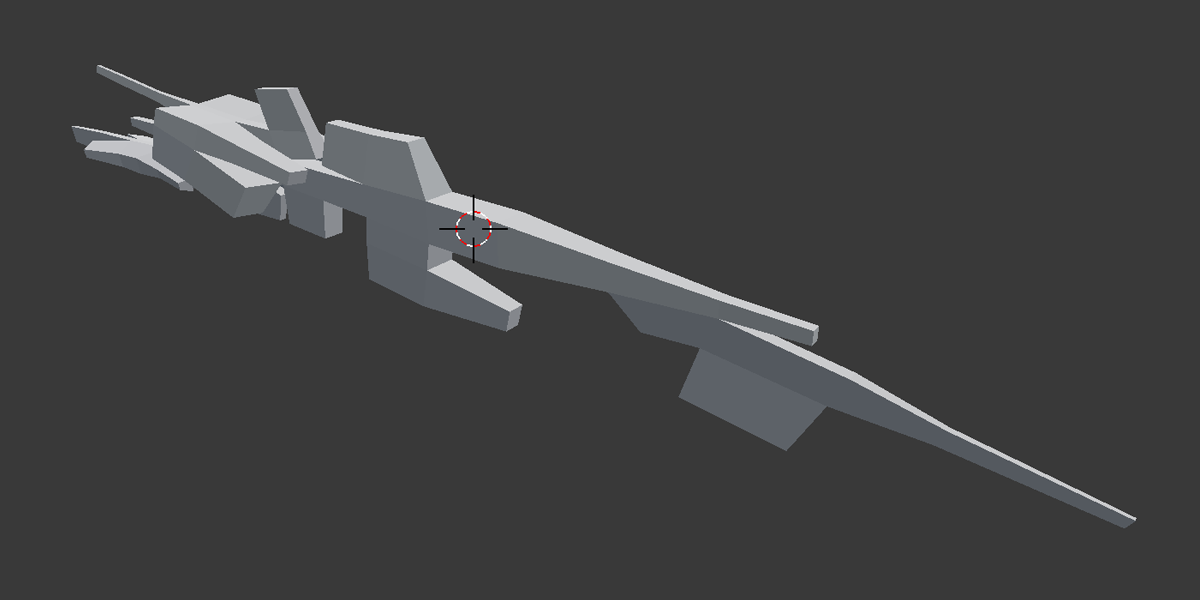
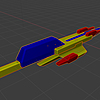
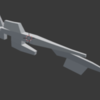
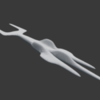
Spaceships
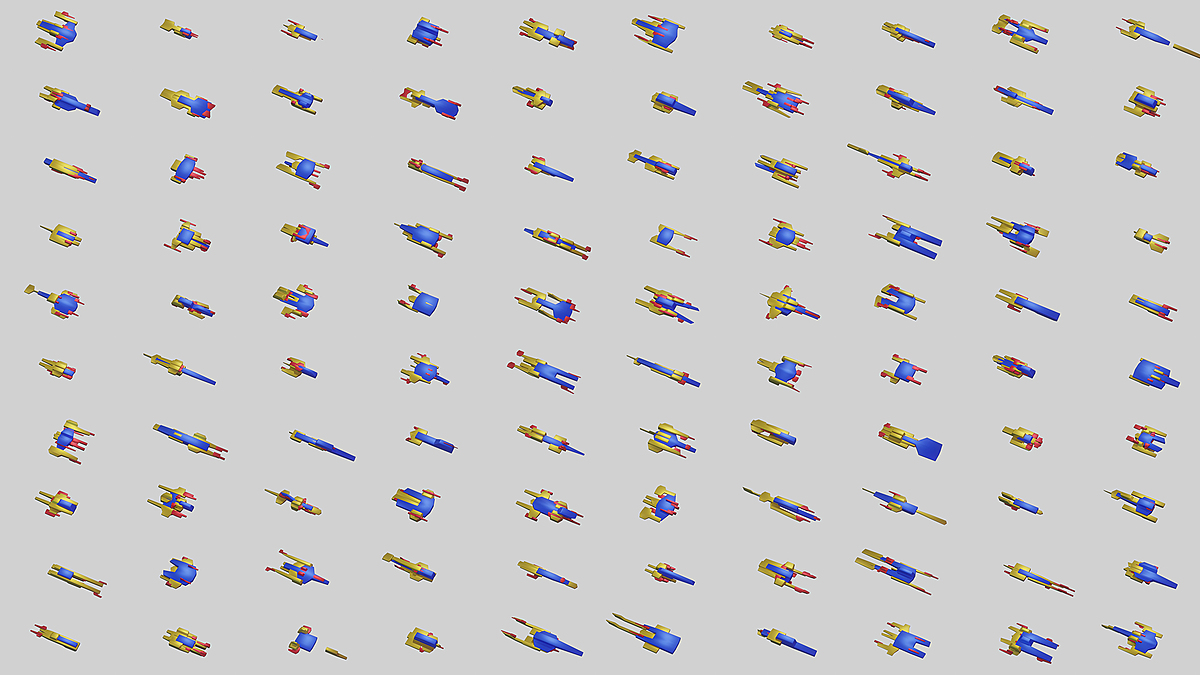
(...or weapon/vehicles!)

- Increase Amount to approximately 20.
- Set Rotation Min/Max both to 0.
- Set When choosing a face, favour: to X: 0.10, Y: 1.0, Z: 0.20
- Ensure Mirror X is selected.
- Set Scale to X: 1.0, Y: 2.0, Z: 1.0 to stretch the shape out.
- Also set Subdivide Edges to 2 so that uou automatically have extra faces to add details to when you go into Edit Mode.
- Check the Bevel Edges option.
Gotchas
Islands

When you are Mirroring the shape in the X, Y, or Z axes, separate shapes may appear. This is because the missing part that connects the shape is hidden in the Mirror effect:

If this occurs and you don't want that island, simply delete it in edit mode once you are happy with the rest of the shape.
Animation Nodes Version
In-built into the add-on is an node that works with the Blender Animation Nodes add-on so that you can animate you shape:

These have similar controls to the main add-on and require Animation Nodes to be installed in order to function. The animation_nodes example zip file contains some basic examples and do let me know if you have any questions about it.
Any Questions?
Do not hesitate to get in touch with me if you have a question, a new feature suggestion, or an image you'd like to share. You can contact me through this website, my blog, or by my Twitter page.
Discord
Share your work and get support through the Configurate support channel here.
