Procedural Toolkit V1.6
V1.6 (Blender 2.8)
Only v1.1 is compatible with Blender 2.79.
Installation:
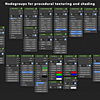
Open the .blend titled “0Nodegroups.” Within it, all node groups will be already saved. Save this as your startup file (File>Save Startup FIle). If you instead wish to import the node groups to a previous startup file, open your normal one, select append (File>Append), navigate to the 0Nodegroups blend file, select it, navigate to NodeTree, and select all node groups and click Append.
Reference:
Note: groups and textures will function differently depending on the texture coordinates used. For instance, using UV coords and switching to Object coords may require you to tweak settings. I personally prefer using object coords but there are many situations where UV would be necessary.
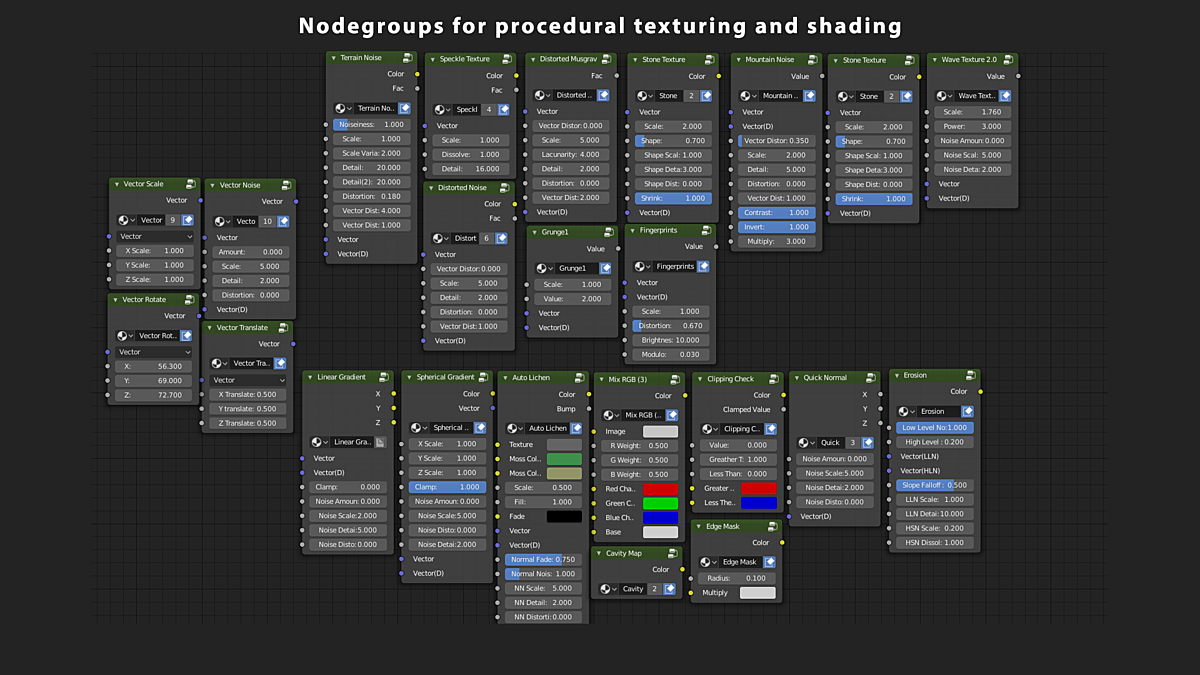
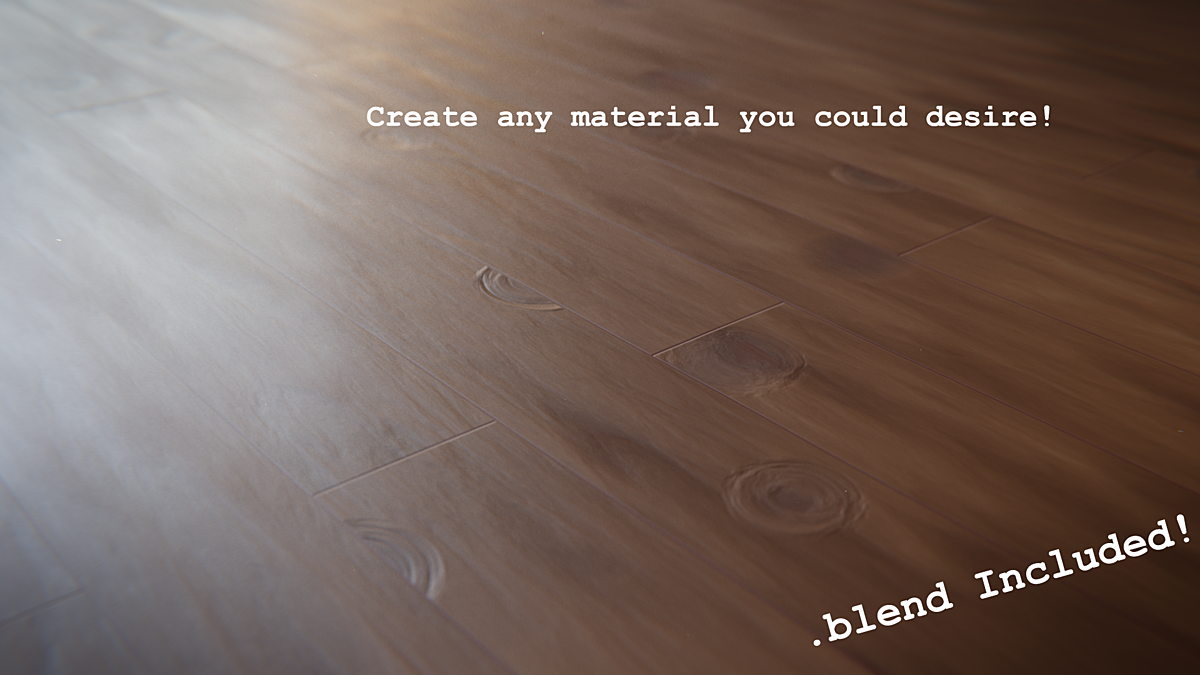
Vector Noise: A node that can be quickly plugged into the vector of any texture to displace the texture via a normal Noise Texture. Very handy!
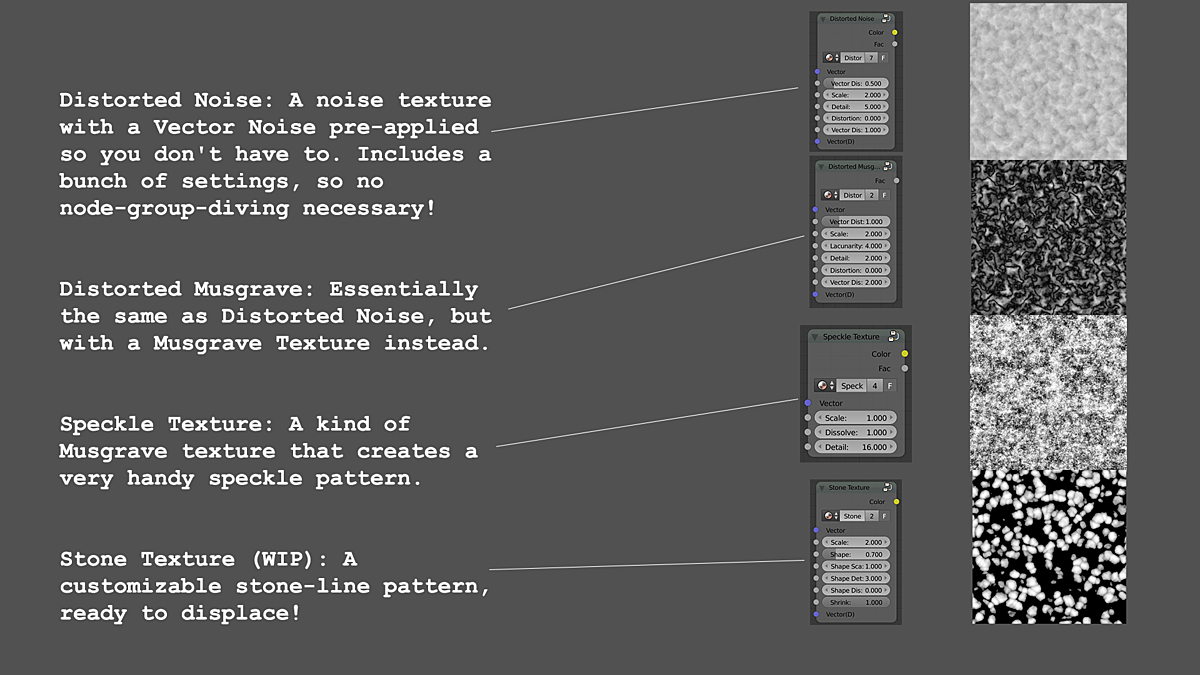
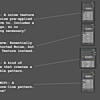
Distorted Noise: A noise texture with a Vector Noise pre-applied so you don't have to. Includes a bunch of settings, so no node-group-diving necessary!
Distorted Musgrave: Essentially the same as Distorted Noise, but with a Musgrave Texture instead.
Speckle Texture: A kind of Musgrave texture that creates a very handy speckle pattern.
Stone Texture: A customizable stone-line pattern, ready to displace!
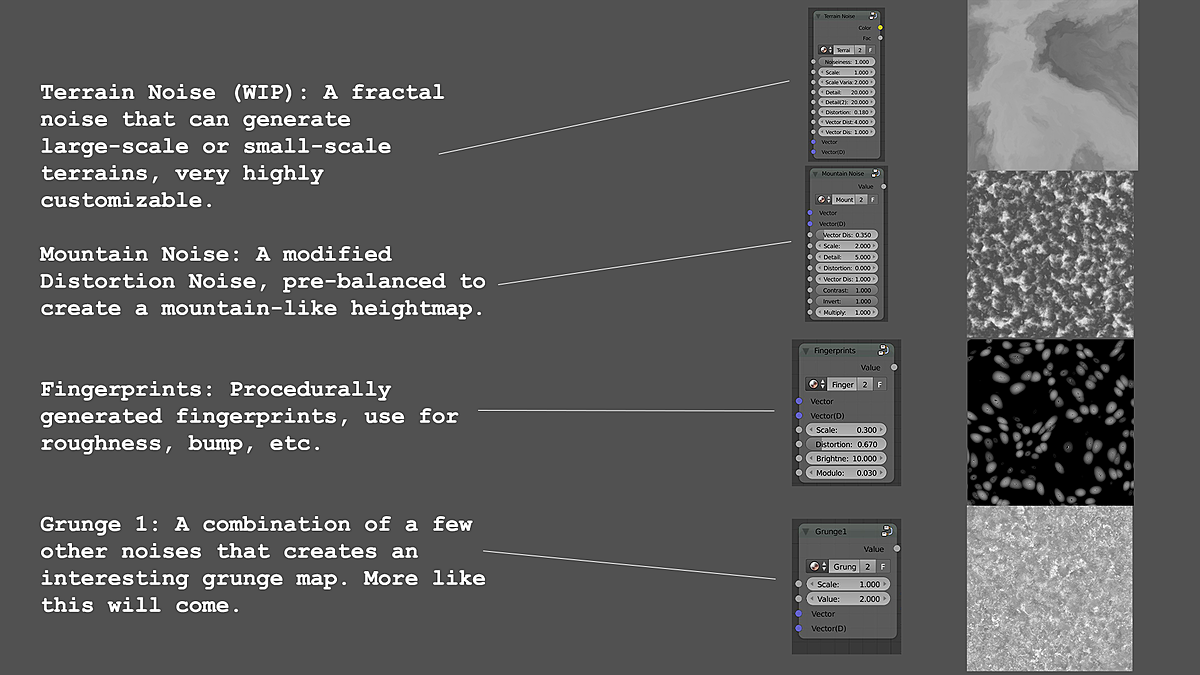
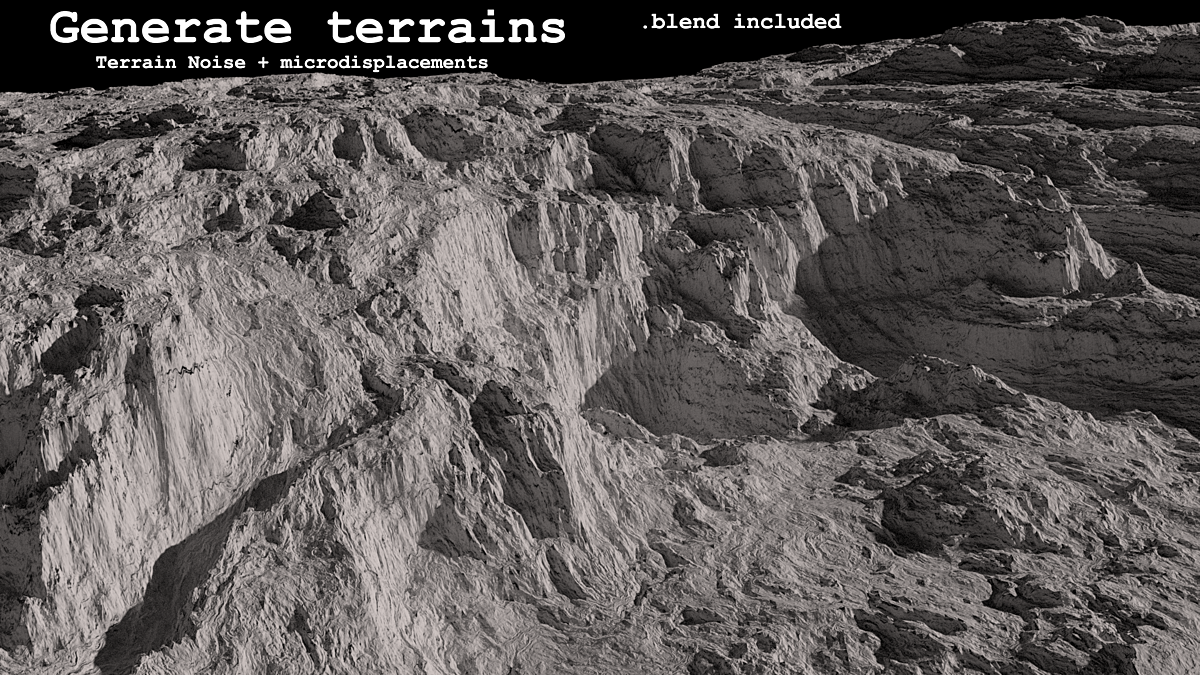
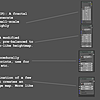
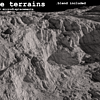
Terrain Noise (WIP): A fractal noise that can generate large-scale or small-scale terrains, very highly customizable.
Fingerprints: Procedurally generated fingerprints, use for roughness, bump, etc.
Mountain Noise: A Distorted Noise texture, rebalanced with an RGB curves node to increase the mid levels, and lower the high levels, creating a mountain-like pattern.
Grunge 1: A combination of a few other noises that creates an interesting grunge map. More like this will come.
Wave Texture 2.0: A custom, better version of Blender’s default Wave texture. It is pre-aligned with the X axis, and has more customizable options.
Radial Wave Texture 2.0: Same as above but in a radial, outwards projecting pattern.
Vector Translate: Just like it sounds, translate a vector on the X, Y, and Z axis however you like. Allows for variable input, unlike the Mapping Node.
Vector Scale: Scales the vector along the X, Y, or Z axis, also allowing for variable input.
Vector Rotate: Rotates vectors along the X, Y, or Z axis, but the ability for variable input allows for some very cool stylized effects.
Quick Normal: Quickly generates a mask via the normals of the geometry (X, Y, Z)
Spherical Gradient: Creates a high-quality spherical gradient. Awesome for making things like for instance, a volumetric atmosphere for a planet. This is better than the regular spherical gradient in Blender, as you have the option to prevent clamping.
Linear Gradient: Same as the spherical gradient. Just like the normal Gradient texture in Blender, but can go beyond 0 or 1.
Mix RGB 3: This is a work-in-progress, but still cool nonetheless. Unlike the normal Mix RGB, this allows for three channels of input (RGB), unlike the usual two (BW).
Clipping Check: The output of this visualizes any values of a texture than exceed 1 or fall below 0, and gives the option to clamp these values.
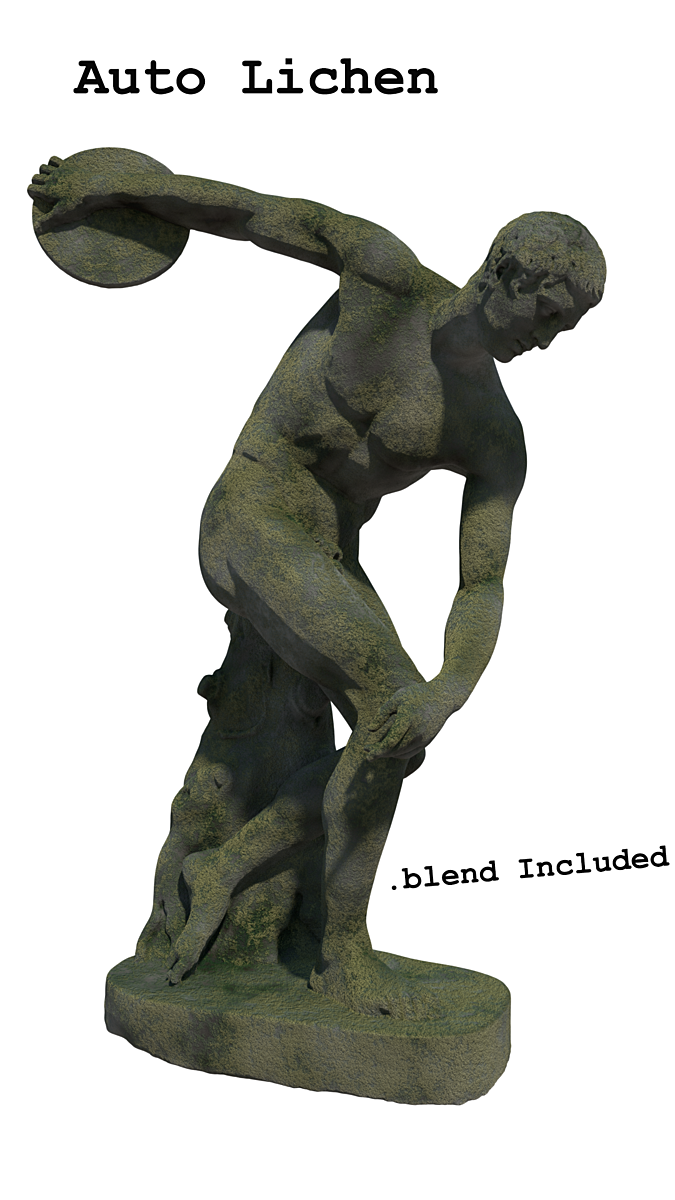
Auto Lichen: Procedurally generates a customizable lichen-like substance over any texture/shader you could desire. No more dull outdoor objects! Great for applying to trees, rocks, statues, etc. Could also be customized to create a dust or snow effect.
Edge Mask: Creates an outline of changeable width of any edge or crease. Credit to Wayward Art Company on YouTube for this method!
Cavity Mask: Creates a cavity mask similar to what you would see when baking one (highlights are bright, cavities/insets are dark) Credit to Jacob Merrill on YouTube for this method!
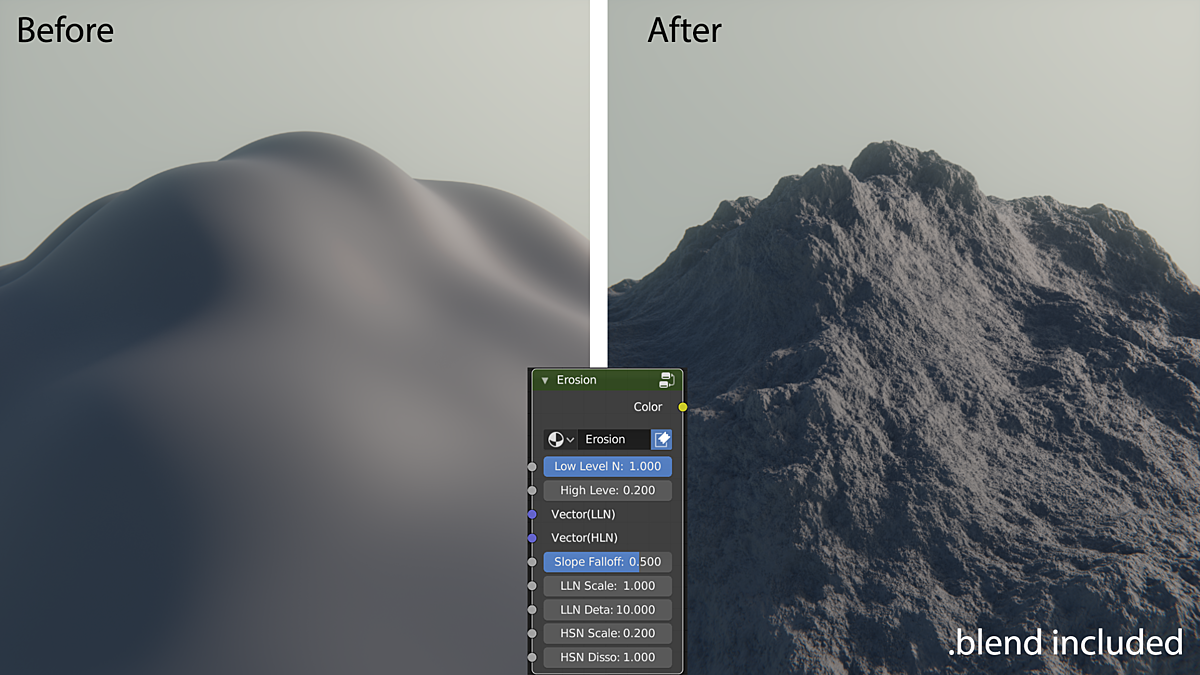
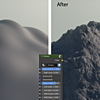
Erosion: Creates a mask based on the geometry of your mesh to create an erosion-like effect to enhance your terrain.
A few notes about premade scenes:
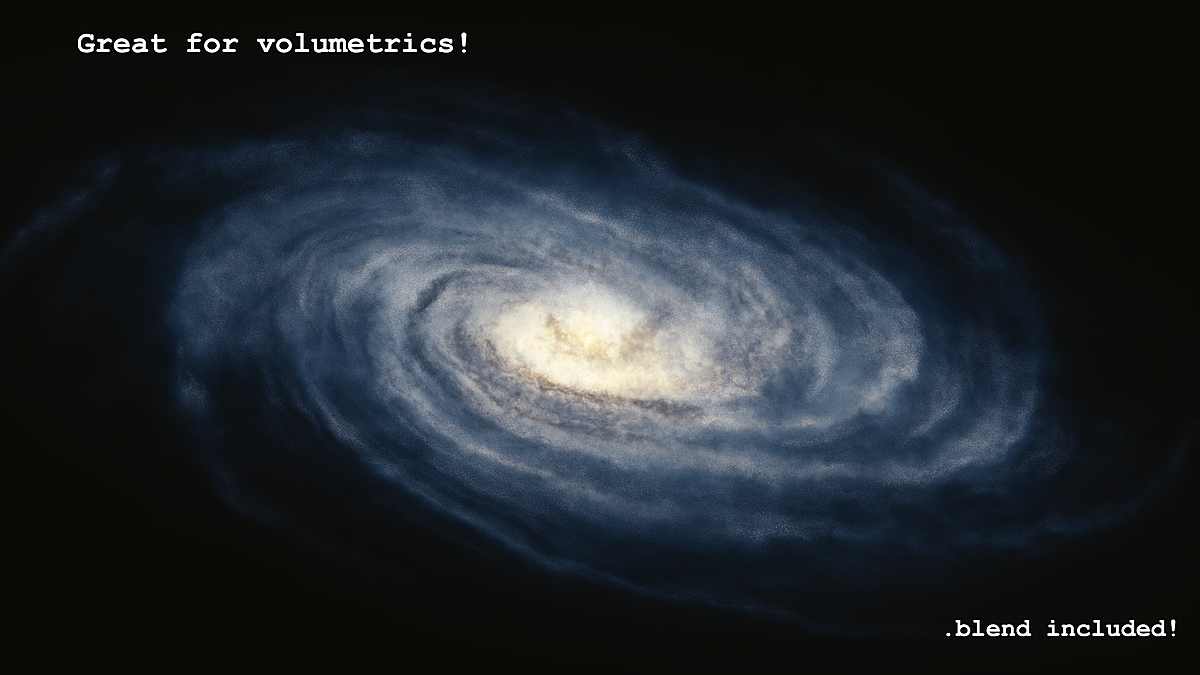
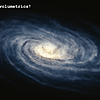
Procedural Galaxy: This scene is very performance heavy. If your computer is having trouble rendering it, try increasing the step size of volumetrics (under the “Geometry” dropdown in the render settings)
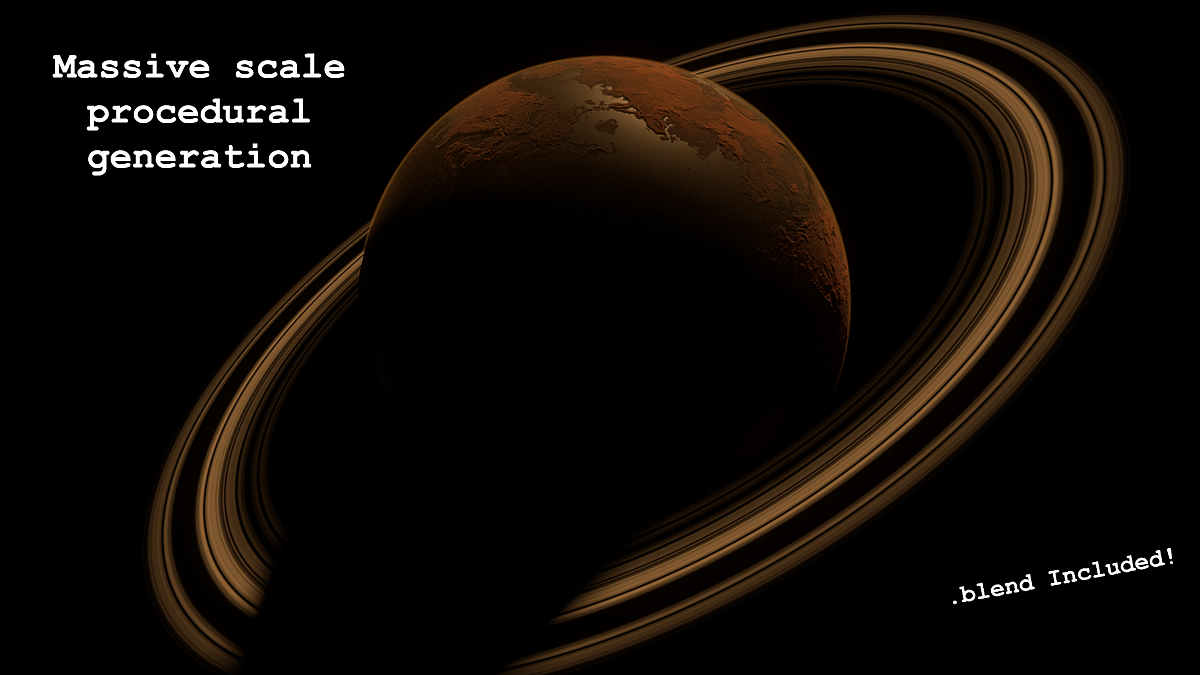
Procedural Planet: This planet uses microdisplacements, which means you can zoom in very close with the camera and get good detail of the surface. Try it out! (If you are rendering on GPU, you may run out of memory rendering high levels of subdivision. If this happens, turn up the adaptive subdiv scale)
Terrain Example: This can have the same problem as the Procedural Planet (see above for fix)
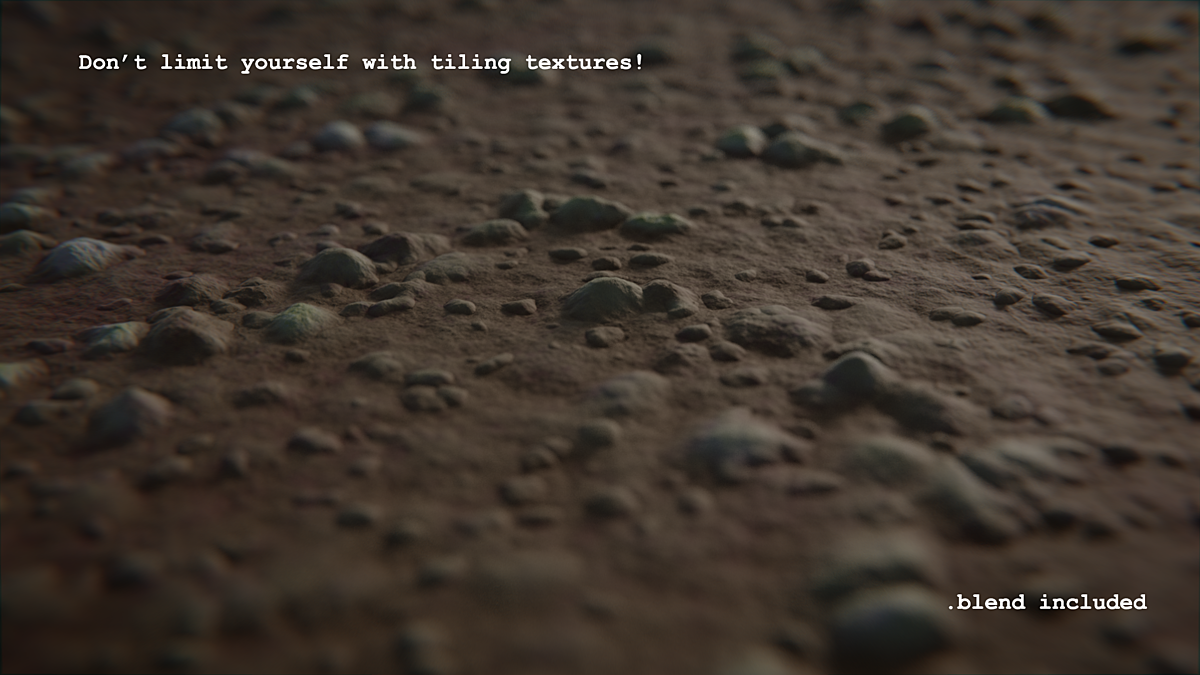
Rocks and Dirt: Same problem as Terrain Example or Procedural Planet (see above for fix)
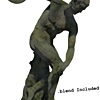
Statue: Credit to SMK National Gallery of Denmark on turbosquid.com for this model.
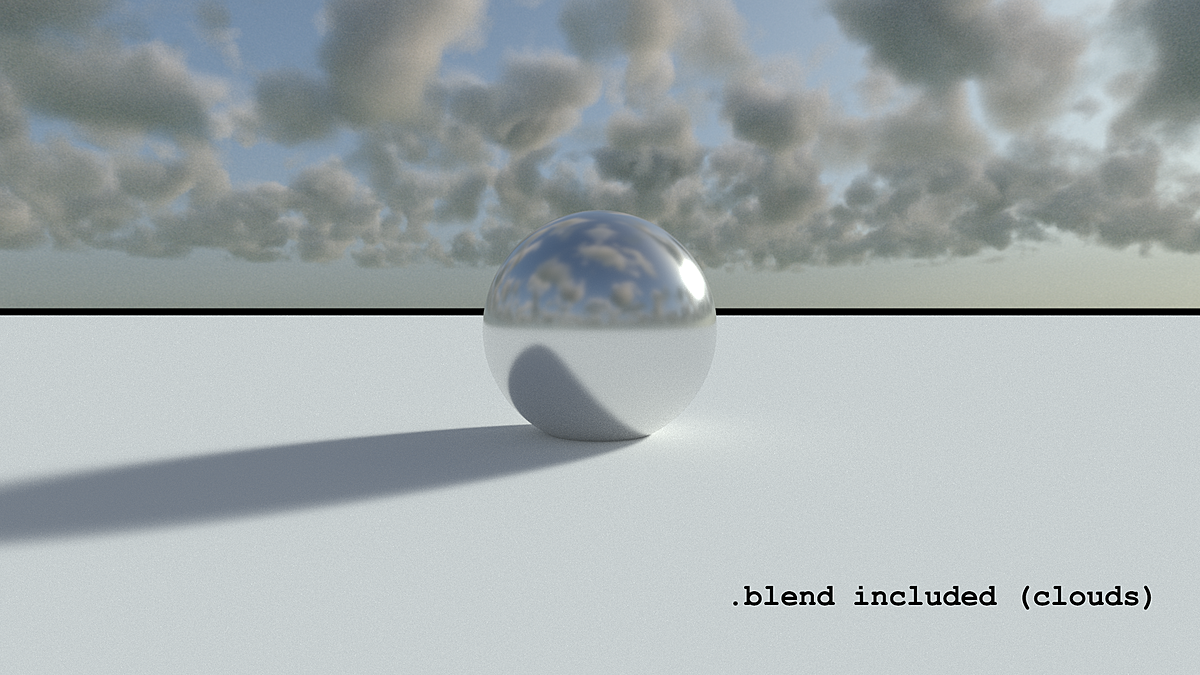
Procedural Cloud HDRI: This scene uses volumetrics to create realistic clouds rendered as an HDRI to use for background images and lighting. Be warned: this uses HEAVY volumetrics and may crash your GPU. If your GPU continues to crash when rendering, try switching to your CPU (and remember to turn down tile size).
Erosion Example: uses microdisplacements, again, same fix as the others.
EVanimEnvironment: A simple, procedural, animated sea+sky+clouds environment for the new Eevee render engine.
Discover more products like this
node group summer20 nodes procedural Node Editor nodesetups procedural shader
