Procedural Honeycomb Tiles
In you current project or working blend file append or link the Cycles Honeycomb Tiles node group by:
- Going to File > Append > or File > Link
- Browse to locate the unpacked file
Cycles_ProceduralHoneycombTilesR##.##.blend - Click on the file and navigate to the NodeTree datatype
- Choose the Cycles Honeycomb Tiles node group.
- Use it in any of your own node material by adding a new node group
- Press Shift + A to open the menu to add a new node
- Under Groups pick Cycles Honeycomb Tiles
A node with the following appearance should be added
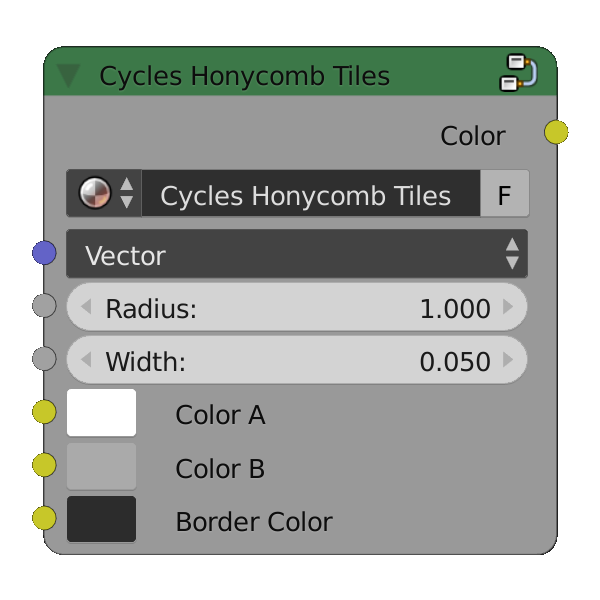
Now use it as any regular Cycles texture node.
Be sure to provide it with adequate texture coordinates with a Texture Coordinate node. Object or Generated should do fine for most situations and are quick and simple to use. For additional refinement you may use UV mapping for better control.
You can then use the node freely either directly to control color of a shader or as a mask. Like with all Cycles textures you can use it to mask both colors, textures or even between shaders.
Combine it in inventive ways, by changing texture UV offset or rotation and scale, in different blending modes to achieve creative new patterns.