Mesh Materializer
Documentation
Documentation is at https://mesh-materializer-docs.readthedocs.io/

Legacy Documentation
There is an older version of Mesh Materializer which has the following documentation. You can re-activate the panel that this add-on uses by ticking the Enable Legacy Version setting under Edit -> Preferences -> Add-ons -< Mesh Materializer in Blender:

Discord
Share your work and get support through the Configurate support channel here.
How it does it work?

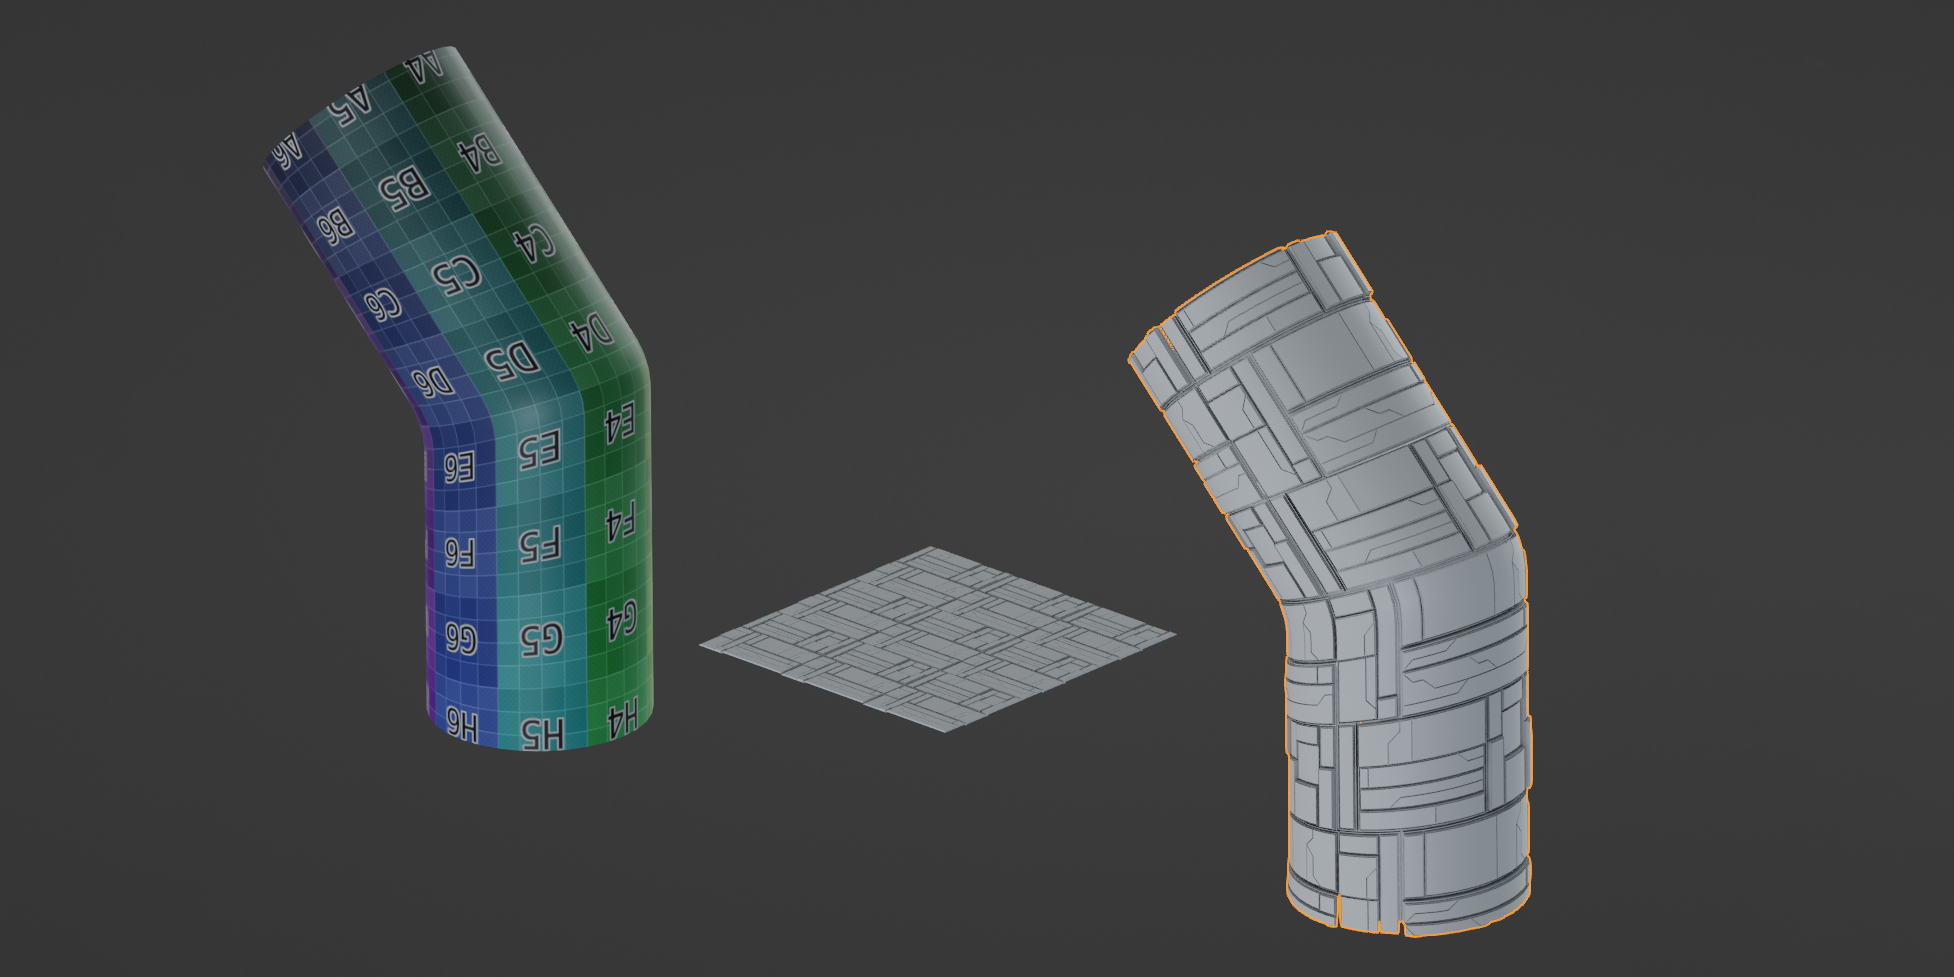
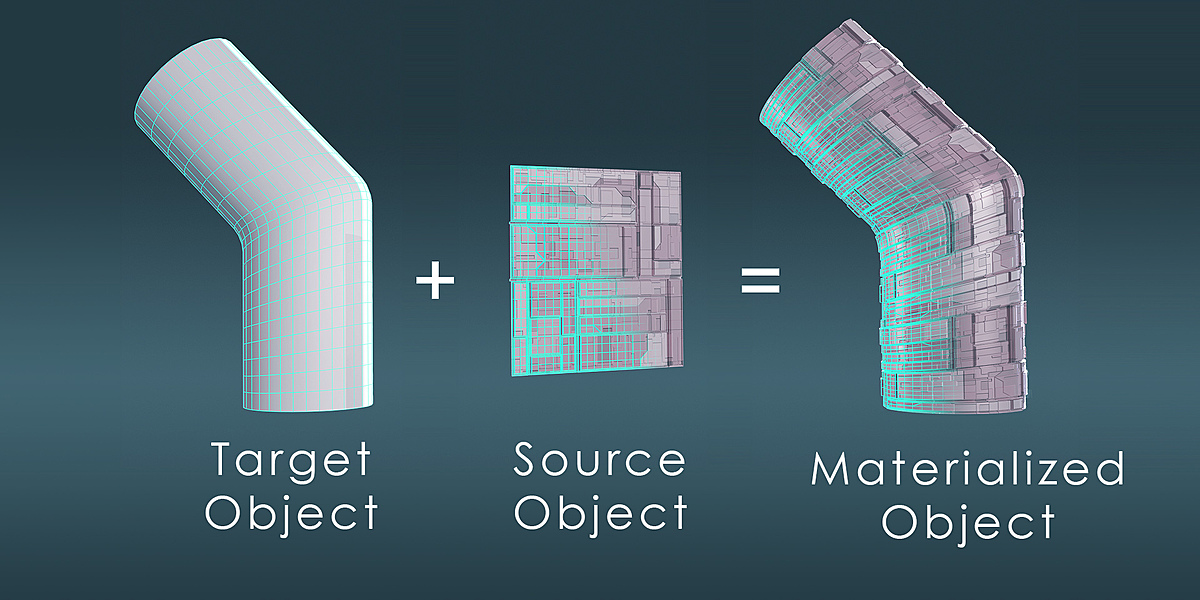
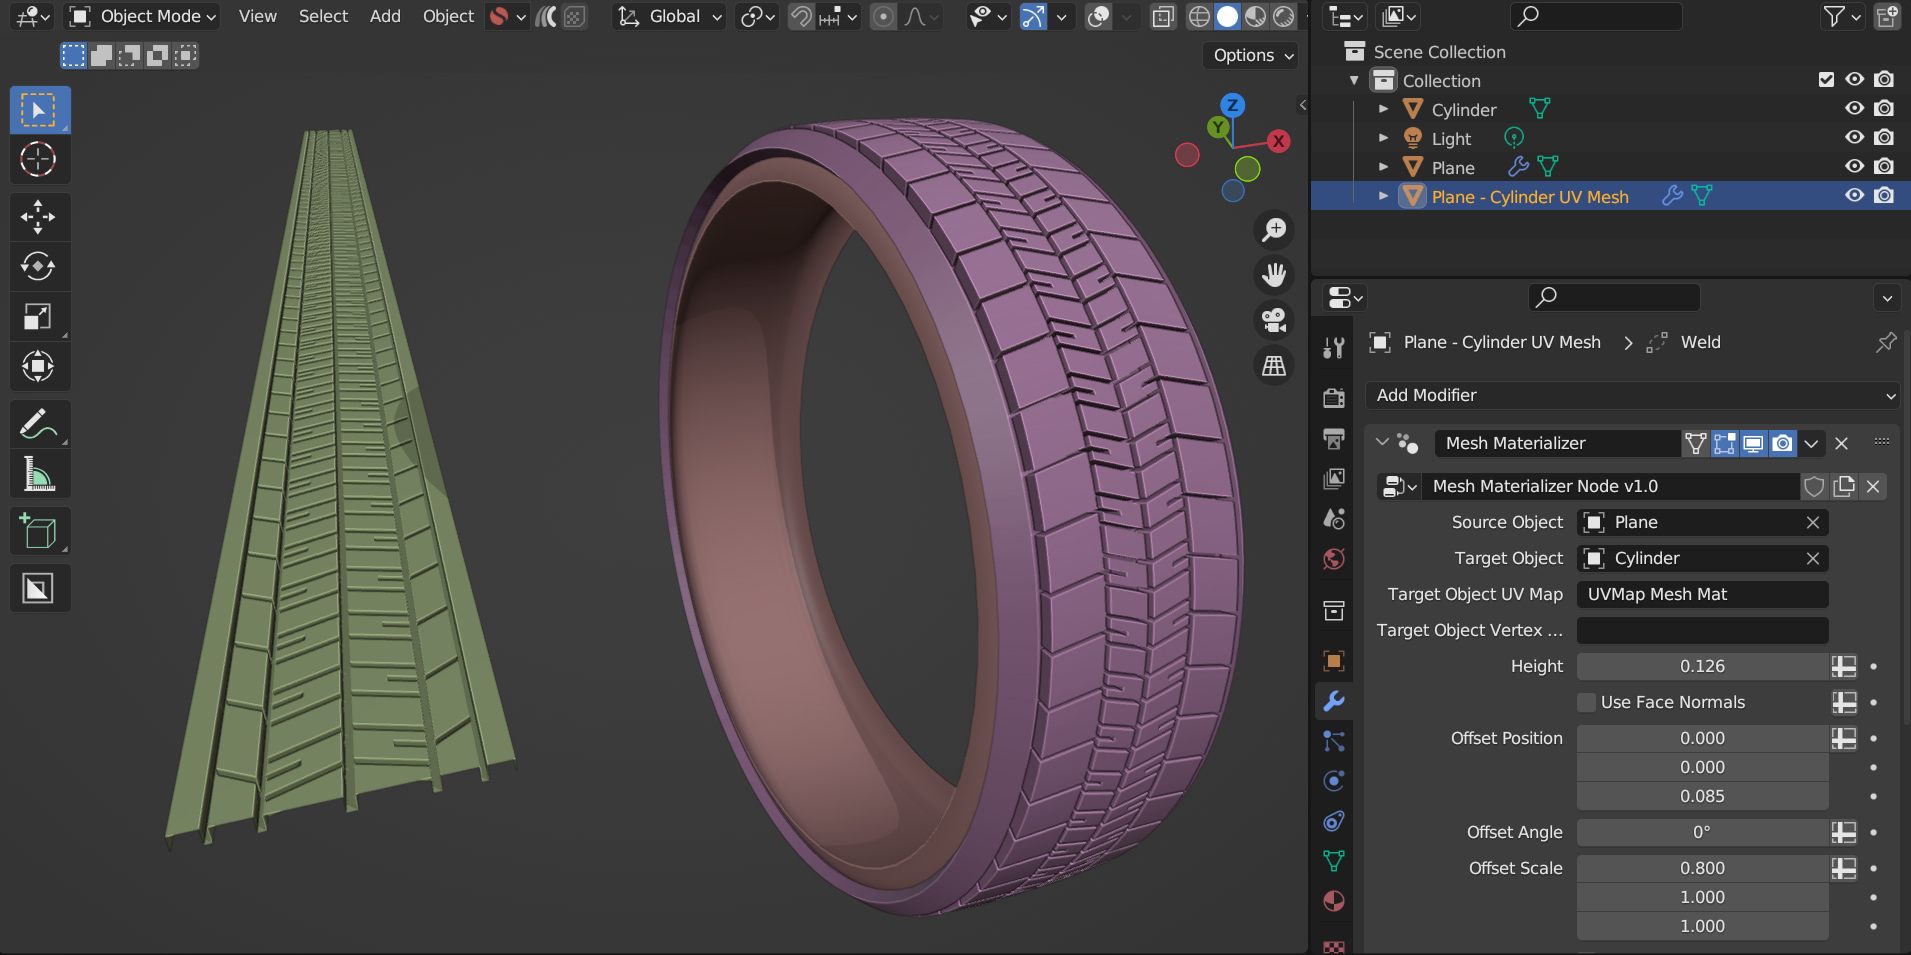
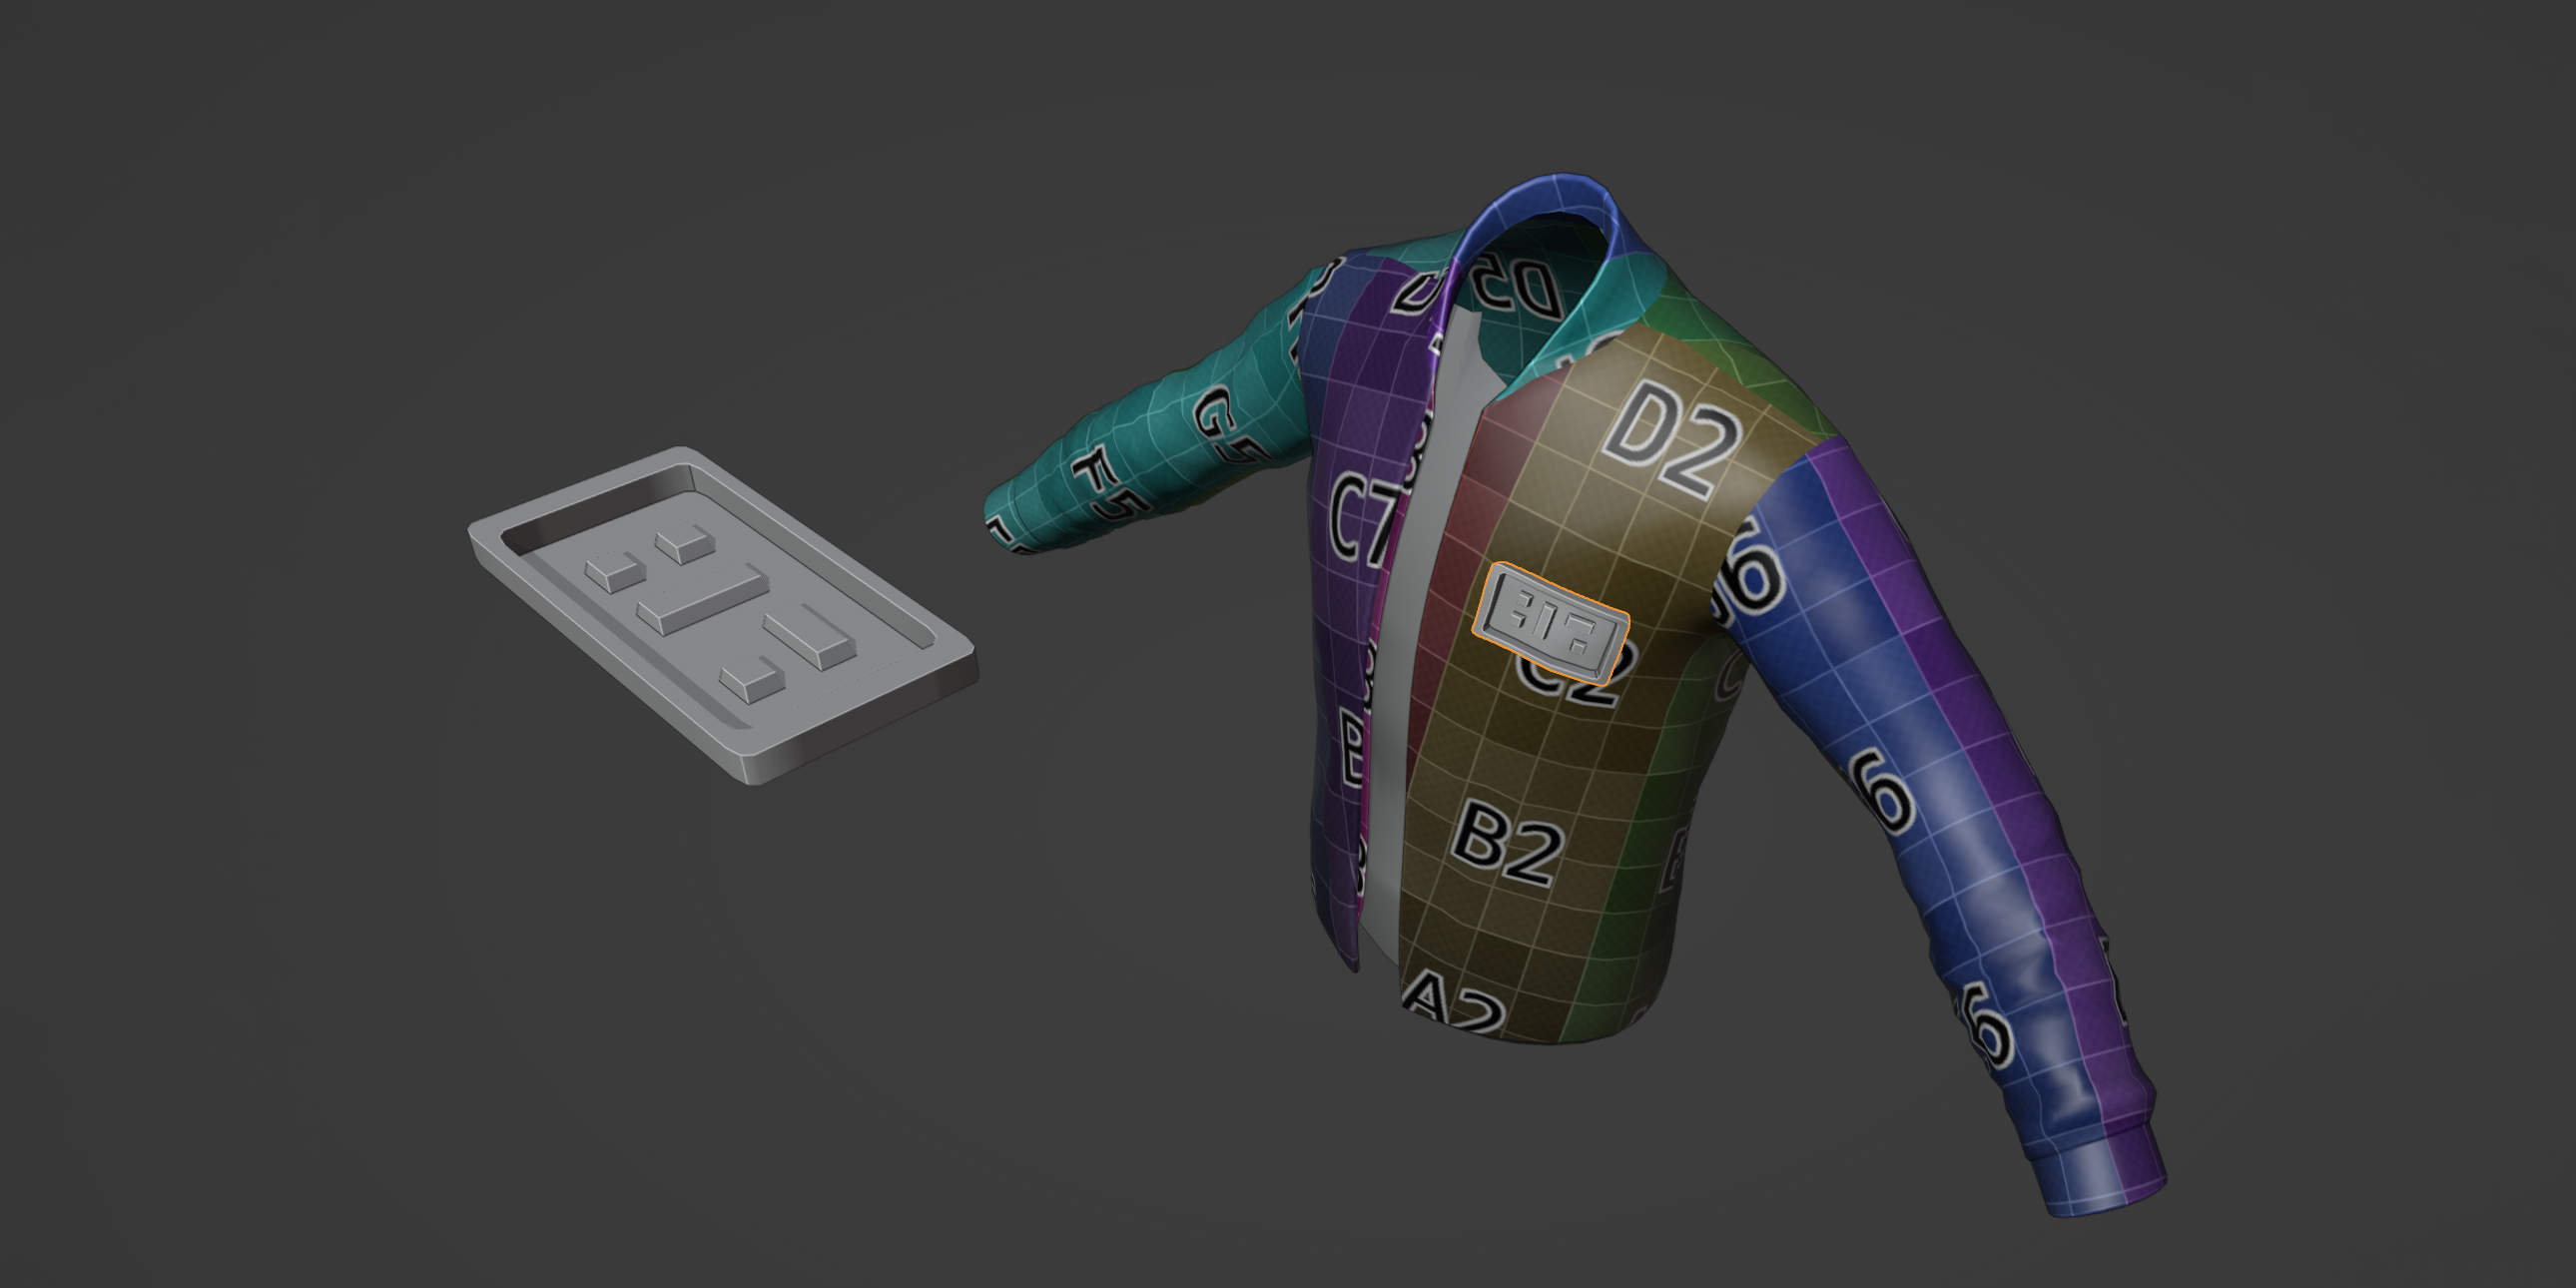
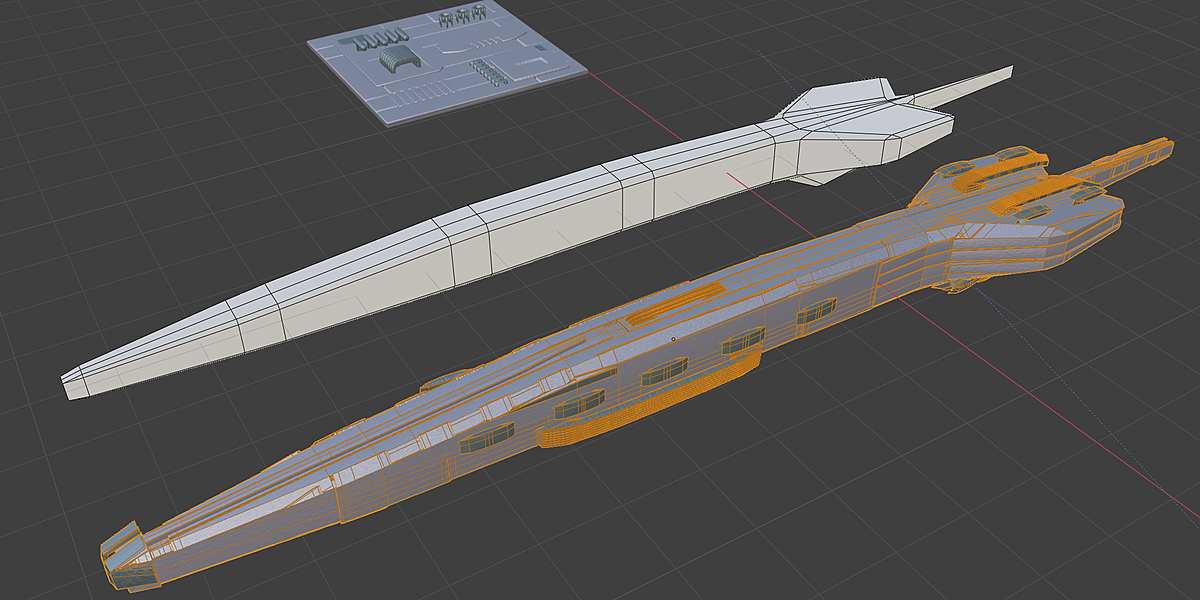
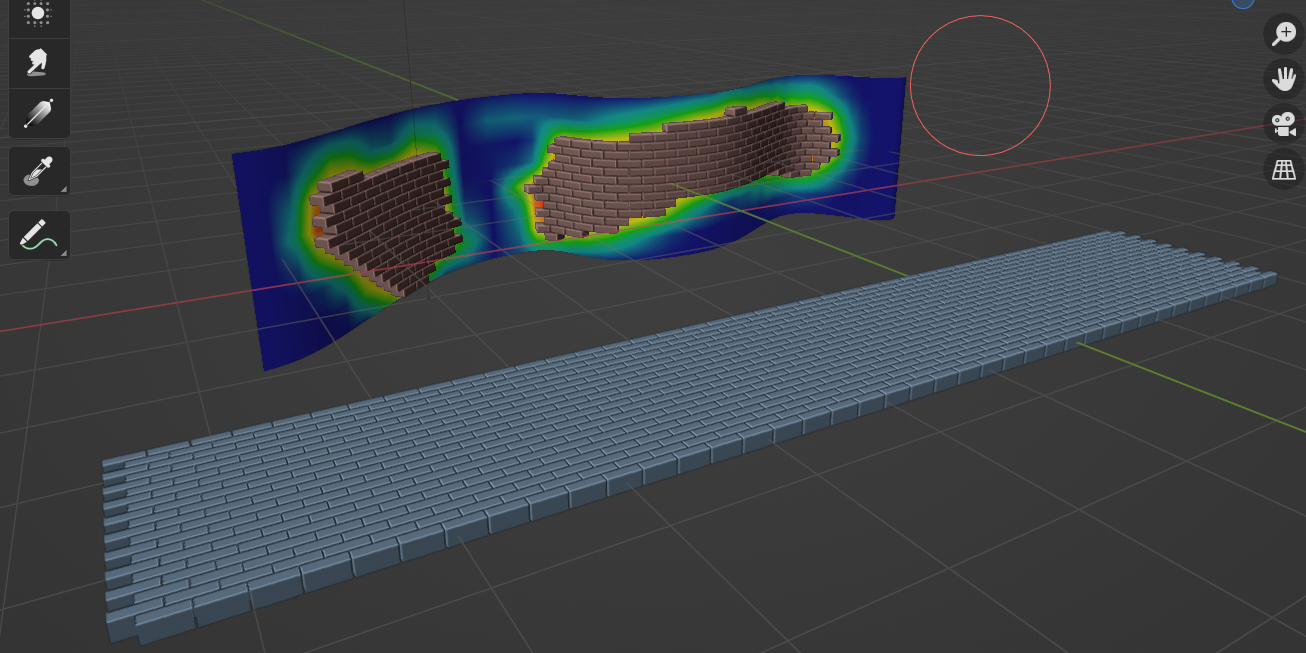
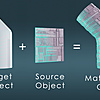
The older version of the add-on works by taking the face of a Target Object and then mapping a pattern of Source Object (or Objects) on to it according the target’s active UV texture coordinates. The pattern is checkered by default, but can be bricked.

For each face edge on the target, slices ‘cut’ the source object into pieces. This allows parts of the source object to be ‘painted’ onto the target mesh.
The ‘direction’ of the source object height is aligned with the target object’s vertex normals. This can be changed either to the face normal or a custom direction.
A new object is then created.
 A 'Dissolve Cuts' operation being applied after the mesh is created.
The pieces are then optionally re-assembled by a ‘Dissolve Cuts’ operation that merges the cuts and then dissolves them.
Workflow

Here is a simple example using a Target Object (A subdivided cube) and two Source Objects (A Torus and a Cylinder). Once you have tried this do experiment with other objects.
If there you have any issues please get in touch by clicking the 'Contact Creator' button on my main Blender Market page:

- Select the default cube and press tab to go into edit mode. Right-click and select Subdivide. In the pop-up menu that appears in the bottom right, increase the number of cuts to 10. We will be ‘painting’ the Torus and the Cylinder onto the faces of this object.
-

Press tab again to exit edit mode and add a Torus and a Cylinder to the Scene (Use Shift-A to add them). You can move them wherever you like in the scene.
- Open the right-hand viewport menu (Press the n key). Select the Mesh Materializer tab. This contains all main settings for the add-on:

-
 First, set the Source Objects. You can either add them by selecting then under the drop-down box labelled Add: or by selected them through the eye-drop picker. The objects should then be automatically added.
- You should then see the objects listed. You can also add collections:
 You may get a 'Failed to set faces' warning which you can ignore.
 - Under the General Parameters tab, set Tiles Across and Tiles Down settings to 10:

- You can then start using the add-on. The add-on can be used in three different ways:
- Select faces in Edit Mode and then press Apply to Selection:

- Select the whole object and press Apply to Selection:

- Select the object, click the Paint button
and begin ‘painting’ on the faces of the mesh. The left mouse button will add faces, the right mouse will remove them. Press Escape to finish or click the paint button again:
- Select faces in Edit Mode and then press Apply to Selection:
- A new object, called ‘ Mesh Mat’ will be created as a result of the operation.
Settings
Here is a description of the settings in more detail:
Main Panel
This panel is found on the left hand side by pressing the 'n' key. It is on a tab labelled 'Mesh Materializer':

Operations

-
Target Object: These buttons are about how to apply source objects to the target:
- Apply to Selection: this will apply the add-on either to a face selection or an object selection of an active object. A new object is created to start with called ' Mesh Mat'. This object is then added to in subsequent operations.
- Delete from Selection: this will remove objects from the created object, using the of the selected faces target object. If the target object is selected in object mode, this will delete all the faces of the created object.
- Paint: This activates Paint mode, were the Target Object can have source objects painted onto it per face. Left click will paint on objects, right click will remove them. You can complete the operation either by pressing 'Escape' or by pressing the button to turn the Paint mode off.
- Brush Size: This will adjust the number of faces near the brush grabbed one a single brush stroke.
-
Materialized Object: These buttons are for when the Materialized Object (the object created by the add-on). They mostly perform clean-up on operations on the created object:
-
Dissolve Cuts: this will remove/dissolve the edges and vertices created by the slicing operation performed to create the Materialized Object. This can improve the resulting topology:

- Merge Vertices: If you don't want to dissolve the cuts but just weld the vertices of either the cuts or geometry, this provides a customized function.
- Fill Holes: This performs a standard "Fill Holes" operation on the mesh, where holes created by the cutting operation can be filled. Usually best applied after 'Dissolve Cuts' which will seal the geometry first.
-
Remove Slice Objects: Again best after 'Dissolve Cuts', this will remove peripheral geometry around the edges that was cut by the add-on:

-
Recalculate Normals: Performs a standard "Recalculate Normals" to address any normals that may have been expectantly flipped during the creation process. Operates on selected faces in edit mode:

- Tris to Quads: Peforms the standard "Tris to Quads" operations, to help improve topology. Operates on selected faces in edit mode.
-
Dissolve Cuts: this will remove/dissolve the edges and vertices created by the slicing operation performed to create the Materialized Object. This can improve the resulting topology:
-
Source Objects: The Source Objects that are painted onto the Target Object are added and managed here. You can add objects and collections of objects:

-
Objects:
-
Add: By clicking on the eye dropper or the drop down menu and pressing the '+' button, you can add source objects from the scene. Each object has the following options:
-

- The tick icon is used to 'activate' the object, do you don't have to keep adding and removing objects.
-

- This buttons activates a panel that allows you to customize the object parameters and overrides the general object parameters.
-

- This removes the object from the list of source objects.
-
-
Add: By clicking on the eye dropper or the drop down menu and pressing the '+' button, you can add source objects from the scene. Each object has the following options:
-
Collections:
- Add: This performs a grouped add of objects by collection. The objects can then be activated, customized and removed from the source object list as before.
-
Objects:
-
Tiles: This section controls the overall pattern:
- Checker/Brick: This drop down controls the type of pattern for the source objects.
- Random Seed: This changes the random pattern of multiple objects being painted onto the source mesh. This will have no effect if only one source object is selected.
- Tiles Across: The number of objects that will be painted across the UV space.
- Tiles Down: The number of objects that will be painted down the UV space.
- Offset/Rotate/Scale: This controls the translation of each source object added in the pattern. This allows you to control how spaced out the objects are or how they are rotates. The X/Y/Z coordinated are relative to the object being applied to the face: Z is generally 'up' or 'away' from the face, X/Y is equivalent to the object in UV texture coordinates.
-
Maintain Aspect Ratio: This changes the scaling so that each object is the pattern maintains it's original proportions:

-
Randomize Parameters:
 This will provide configurable randomization against each source object's parameters such as location, rotation and scale. Each parameter that can be randomized will have a '+/-' parameter appear. This will adjust the range of randomization:
-
Normal Alignment: This controls how the objects are pointing outwards from the target object:

- Use Face Normal: This will point the objects in the same direction of the average face normal. Good for flat surfaces, but can create splits in the resulting mesh.
- Use Vertex Normal: This will point the objects along the direction of the closest vertex normal of the target mesh. Better for curved surfaces.
-
Use Custom Normal: this will point the objects along a custom direction. Good for trees on a landscape.
- Normal Multiplier: multiply the normal vector. This can help with 'pulling out' the shape away from the faces.
-
Object Position: This controls how the object is positioned on a face:
- On Top of Face: Position objects on top of a face.
- In Middle of Face: Position objects half way through the face.
- Below Face: Position objects below a face.
-
Mesh Creation approach:
- Use Faces: This removes the triangulation effect by just using the original target object faces.
- Use Triangulated Faces: The target mesh is temporarily slit into triangular faces in order to do accurate painting of the object. This can result in less ideal topology but can sometimes improve accuracy.
- Add Edge Split Modifier: By default, an Edge Split modifier is added to the resulting mesh. This can remove some mesh smoothing artifacts but can be turned off.
-
Parameters Update Selection:
 This will make all the parameters in the panel update the selection: In other words, it is like pressing "Apply to Selection" every time a parameter is changed. This can speed up the work flow, but use with caution as it can freeze Blender on higher poly counts. It can not be used whilst in paint mode.
General
This panel configures the general parameters for the source objects and the overall pattern that is painted onto the Target Object:

Advanced
This panel controls some additional functions for mesh creation.

Gotchas
Questions?
If you have any Send any questions do not hesitate to contact me by clicking the ’Contact Creator’ button on my Blender Market page.
-
Target Object: These buttons are about how to apply source objects to the target:
Discover more products like this
summer24 wrap Texture Paint mesh bfcm24 bfcm22 spring24 bfcm20 greebles uv maps modifier uv mapping spring21 textures displace summer23 materials displacement spring23 modelling uv summer22 summer20 deform winter24 texture uvmaps Object spring22 bcon22 bfcm21 loveblender conform bfcm23 uvsquares uvs summer21

