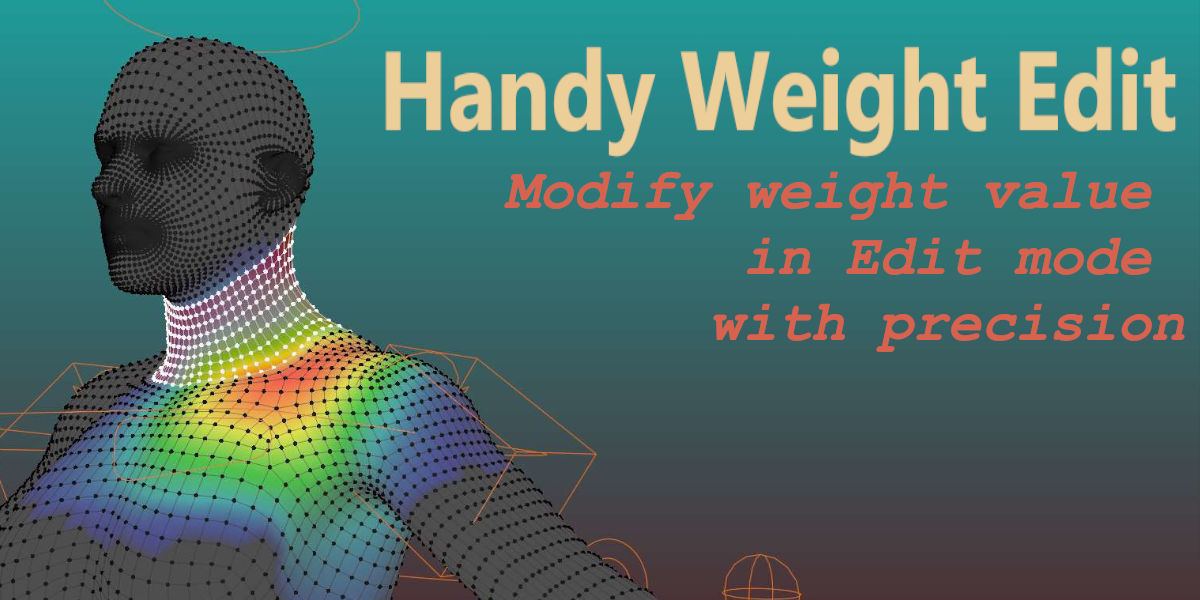
Handy Weight Edit
installation:
grab the zip file at download page, open blender - edit - preference. in the addon side panel click install. find the zip file and install.

for Blender 4.2 or above, click the arrow and "install from disk", then locate the zip file and install as usual.

here you can change the addon side panel name, operators hotkeys. depends on your habit, turn on/off auto normalize, locked vertex group, smooth active vertex group and save the preference. it will be the default behavior. you can also found those toggle on the side panel, turn them on/off in the fly. more details on those toggle below.

in Blender 4.2, if you want to install addons in custom folder, here is how:
1. go to "Get extension" tab, click drop down "Repositories", you can modify existing "User Default" or add a new one by click plus icon on the right.
2. click "Advanced" below, check "Custom Directory" then set up folder path on the right.
3. now when you install addon and choose the modified directory, addon will always install in the custom folder


To Start: have a mesh ready and bind it to an armature. Select a Single mesh object and enter edit mode.
1. Vertex Weight Toggle: this acts like a master switch to determine if any of the operators would run, at the same time, it turns on some viewport shading.
2. Increment and Increment Macro sliders: these determine how much weight should add/remove when using Add Weight, Add Micro Weight, Reduce Weight, Reduce Micro Weight (both fill and gradient)
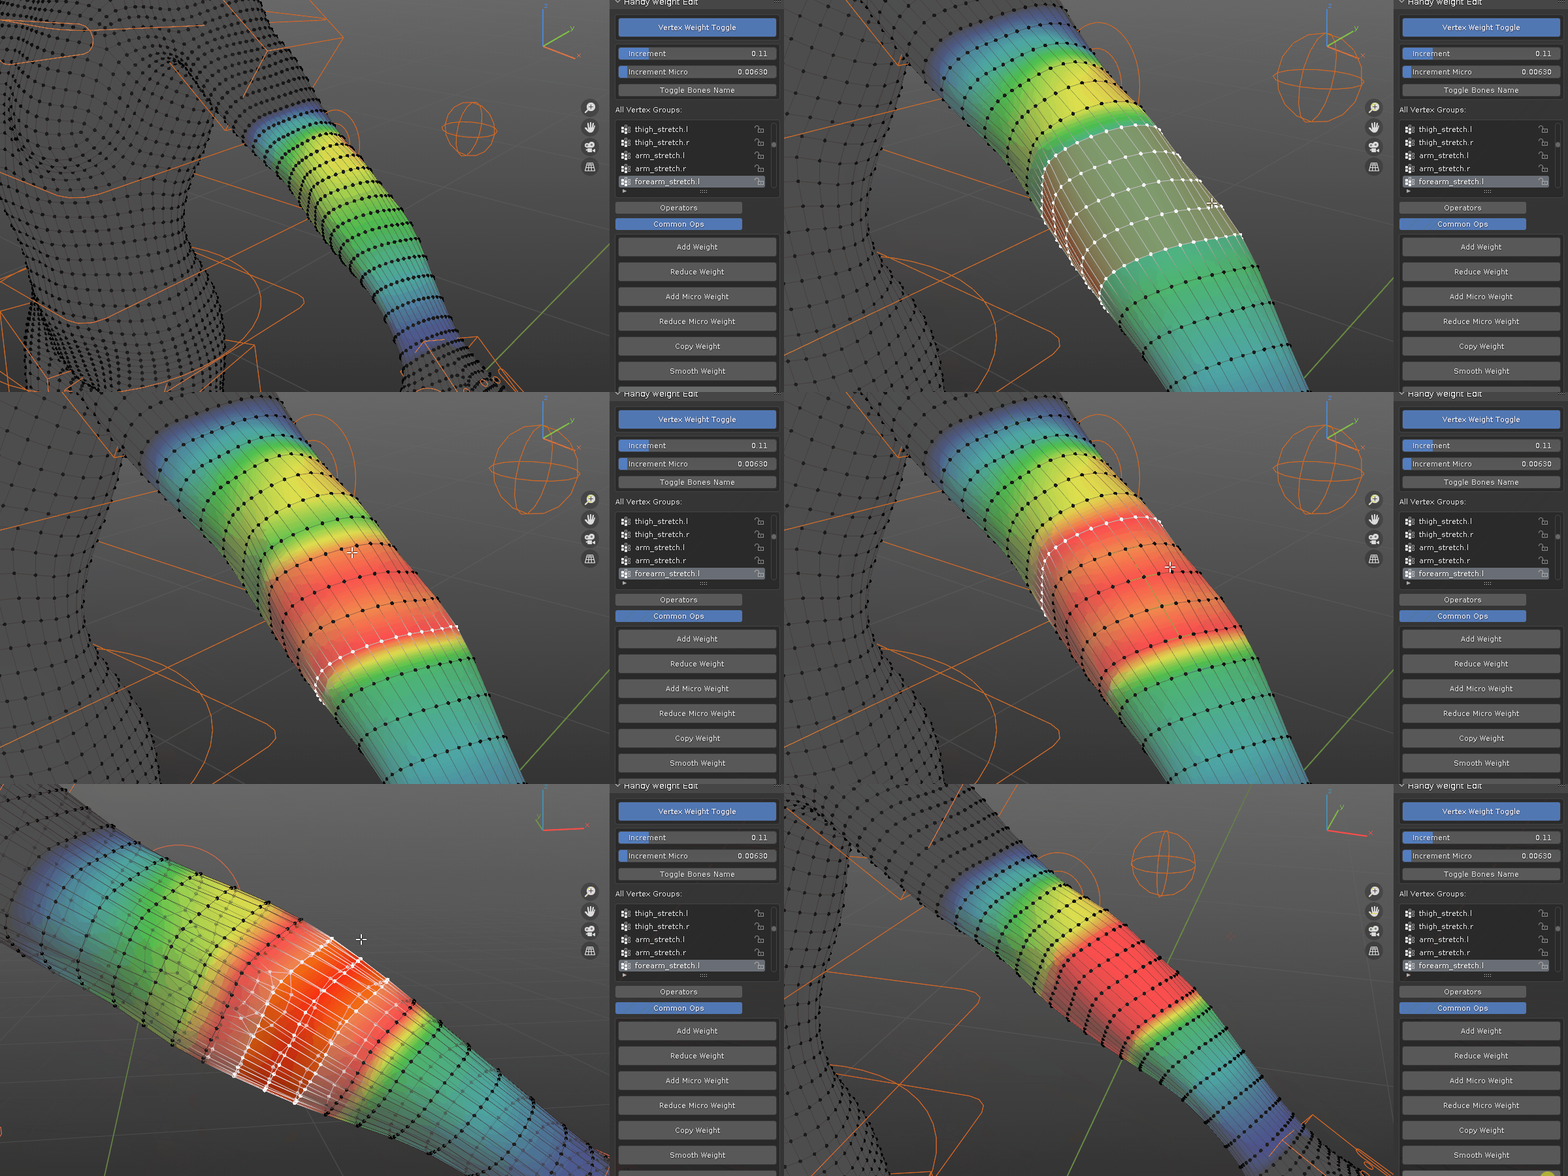
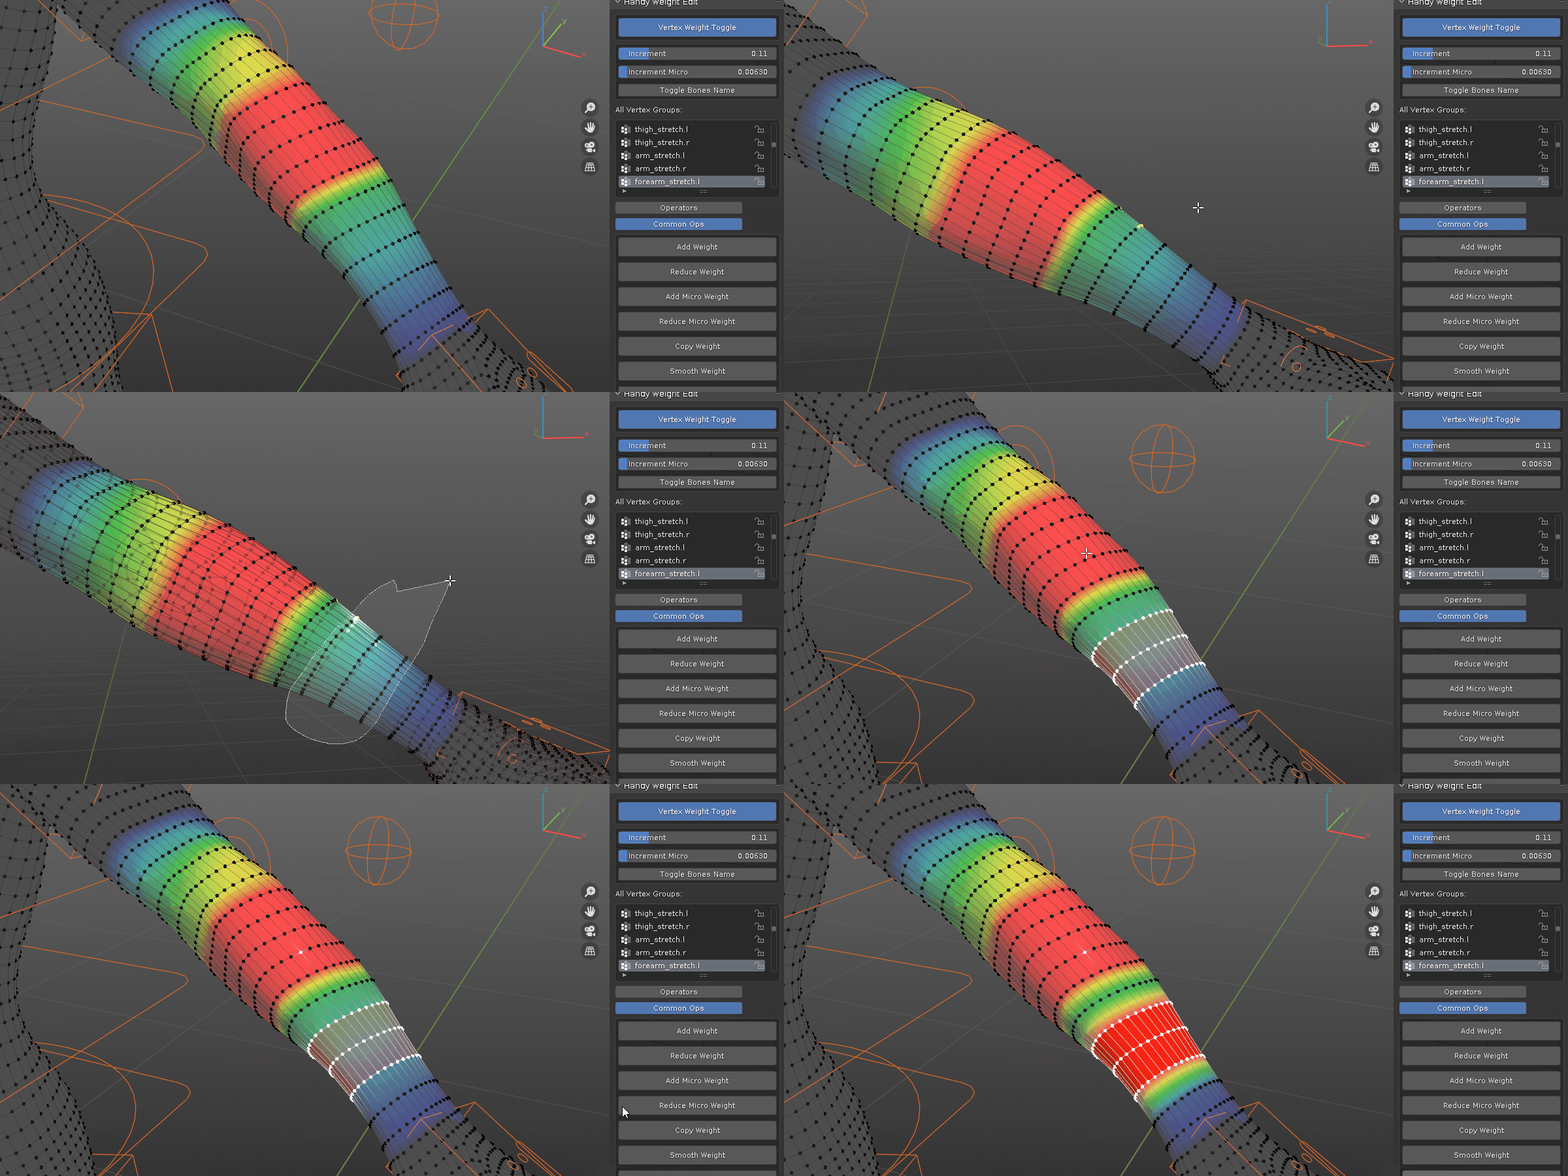
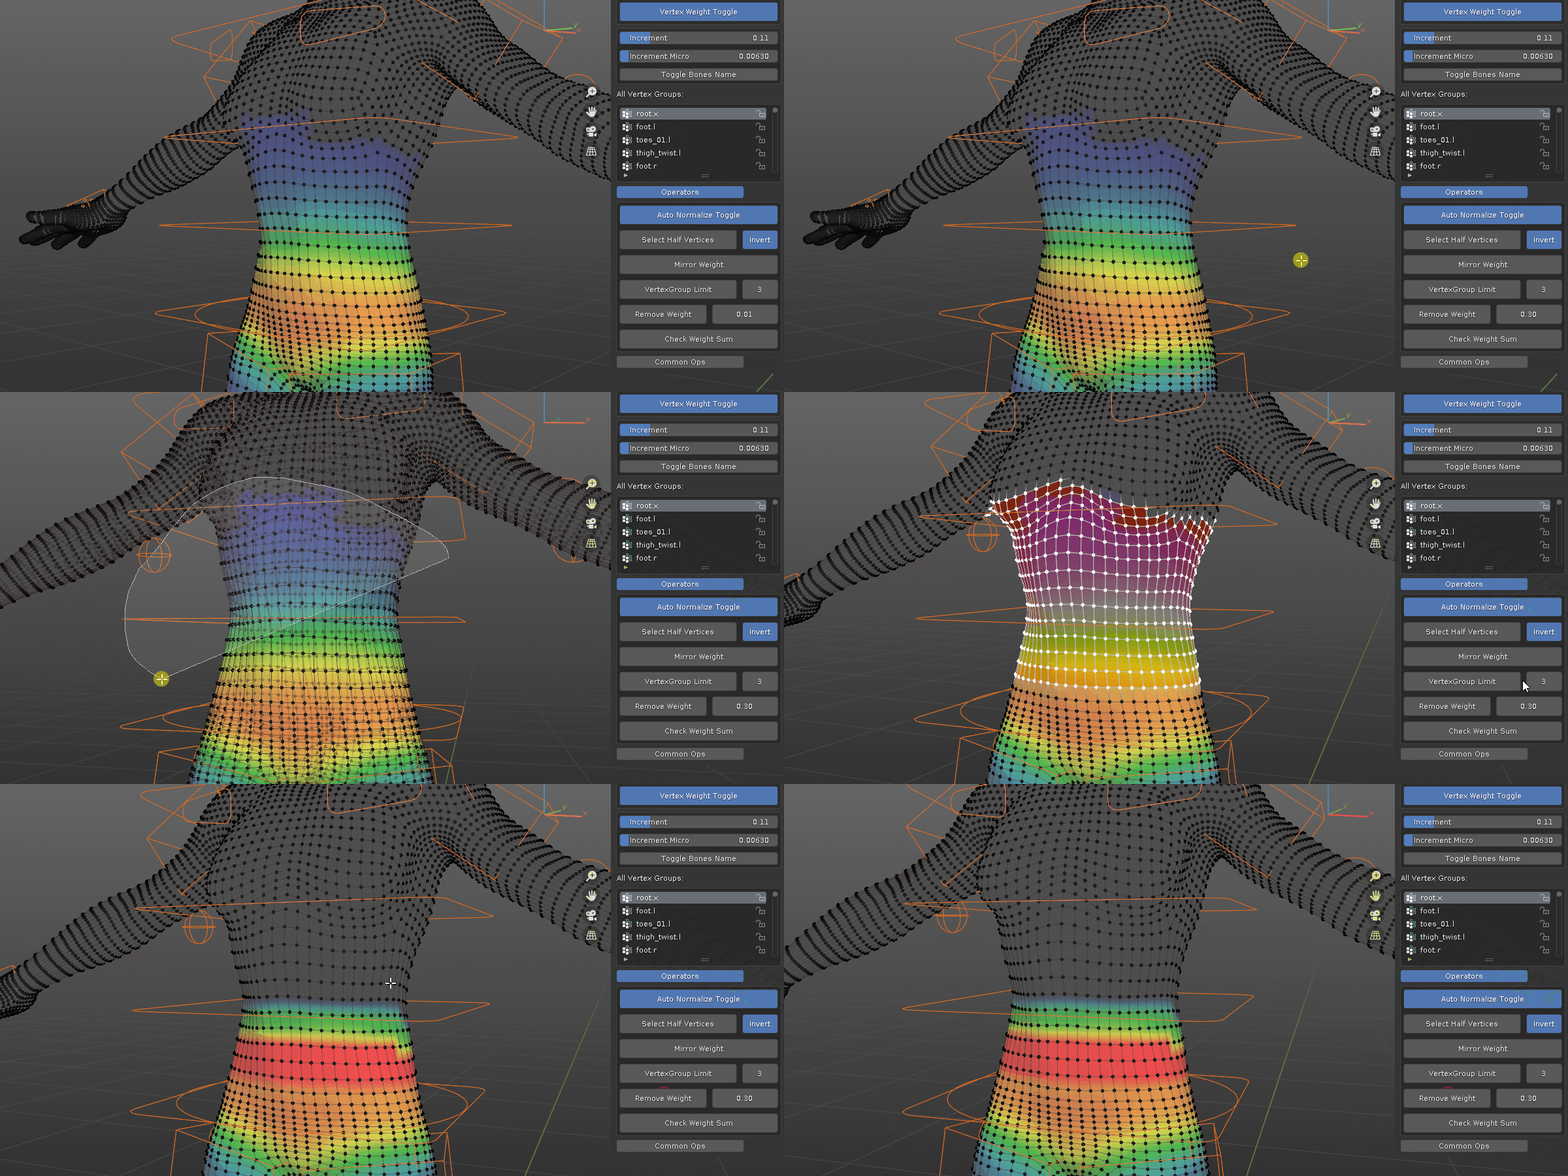
3. Add Weight, Add Micro Weight, Reduce Weight, Reduce Micro Weight (both fill and gradient): after you have select more than 1 vertices, use shortcut to adjust their weight value. for example, I have selected 3 vertices from vertex group A, vert1 has 0.1 weight, vert2 has 0.2 weight, vert3 has 0.3 weight. Fill method will first sample the first vert in the order and use its weight as start point, uniformly adjust the value, such as all of their value will increase from 0.1 to 0.2 to 0.3 etc. Gradient method will adjust them individually, such as vert1 from 0.1 to 0.2 to 0.3 while vert2 from 0.2 to 0.3 to 0.4 etc.
by default, Shift + Scroll use fill method, Ctrl + Shift + Scroll use gradient method. you can change hotkeys and enable/disable operators in addon preference.
4. Copy Weight: this will copy all weight value as last selected vertex. take the previous example of 3 vertices. if I select vert1 then vert2 and lastly vert3, use copy weight will make all their weight value to 0.3. if I select vert3 and vert2 and lastly vert1, use copy weight will make all of their weight to 0.1
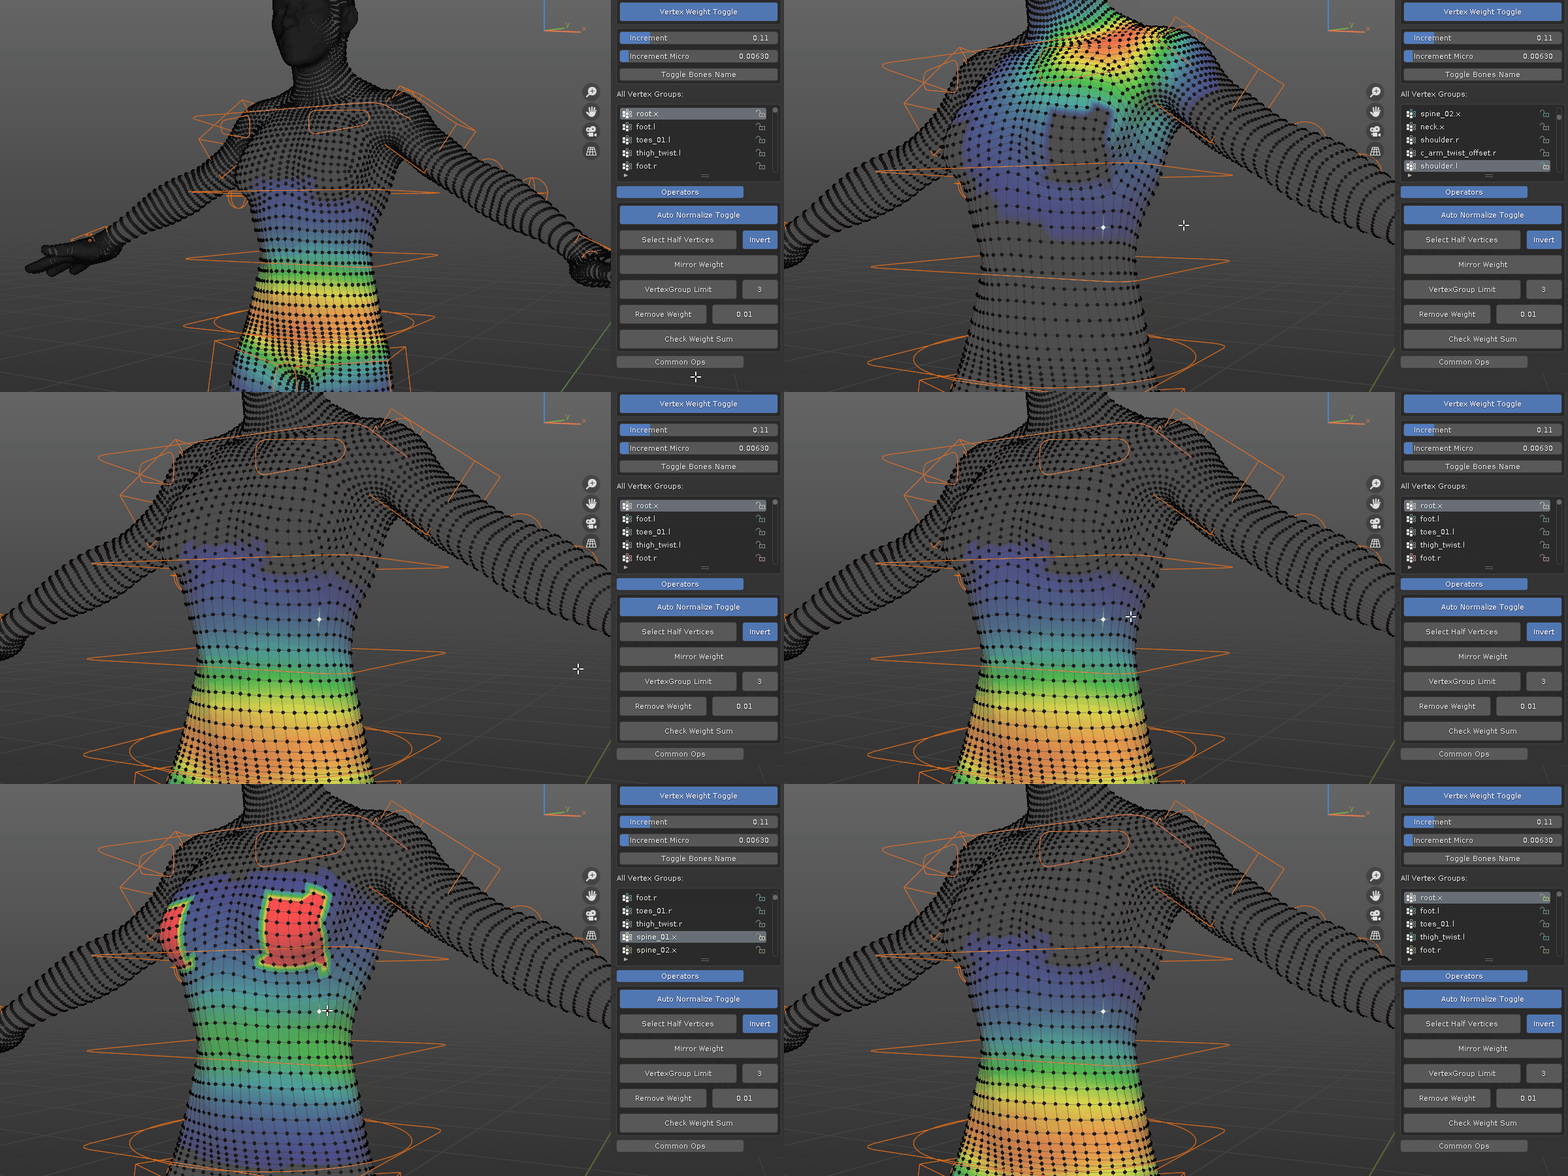
5. Smooth Weight: this will smooth the selected vertices weight value with regarding to their adjacent vertices, if the selected vertex and its adjacent vertices have the same vertex groups, it will average their values. if there are new vertex groups that not present in selected vertex, the new groups will be added and average their value. I usually use Smooth Weight to ease the transition area.
by default, the smooth operator works on active vertex group, if you want to smooth multiple vertex groups at the same time, turn off Active toggle next to the smooth operator in Common Ops tab

if the locked vertex group toggle is on, when you use smooth weight, any locked vertex groups will be taken into account and not modified.

the selection matters. for example, from selected vertices, if one vertex has a vertex group others do not have, with every smooth operation, it will spread to its adjacent vertices and spread again with every smooth. at some point it will spread to all selected vertices.

please note, if you have symmetry turn on and the mesh is symmetric, it will affect the other side, which usually is not intended.

a common mistake would be that: the symmetry is turned on and select some part of vertices from one side and keep on smoothing, at some point, selected vertices and its mirrored part will have more or less bone influences from both side.
6_1. Switch VG: when adjust the vertex weight, it work on active vertex group. for example, a single vertex may have weight 0.1 with vertex group A, but weight 0.5 with vertex group B, Switch VG provide a easier way to pick which vertex group to be active rather than going through the vertex group list and click it. With nothing selected or more than 1 vertex selected, you can move mouse cursor near a bone and use shortcut to run the operator. it will switch to the vertex group under the mouse cursor.

if a single vertex is selected, it will cycle all its influenced vertex groups

6_2: Switch Bone: previous method rely on vertex group weight value (greater than 0) to switch between different bones. when binding mesh to armature with automatic weights, there are some initial weight values, so it works as intended. However, for some who bind with empty groups, a clean slate is what they prefer. this method use closest bone distance to mouse cursor to switch between them.

7. Auto Normalize Toggle: it is off by default, when it is on, any weight adjustment will make sure the total value is 1. for example, vert1 has influence in 3 vertex groups A B and C. weight 0 in group A, weight 0.5 in group B and 1 in group C. when group A is active and Auto Normalize Toggle is on. every increment of 0.1 in group A, group B and group C will decrease but maintain a 1:2 ratio until weight value get to 1 in group A, group B and group C goes down to 0.
if you are new to weight painting, keep it off to better visualize bone influence, and later normalize the weight value.
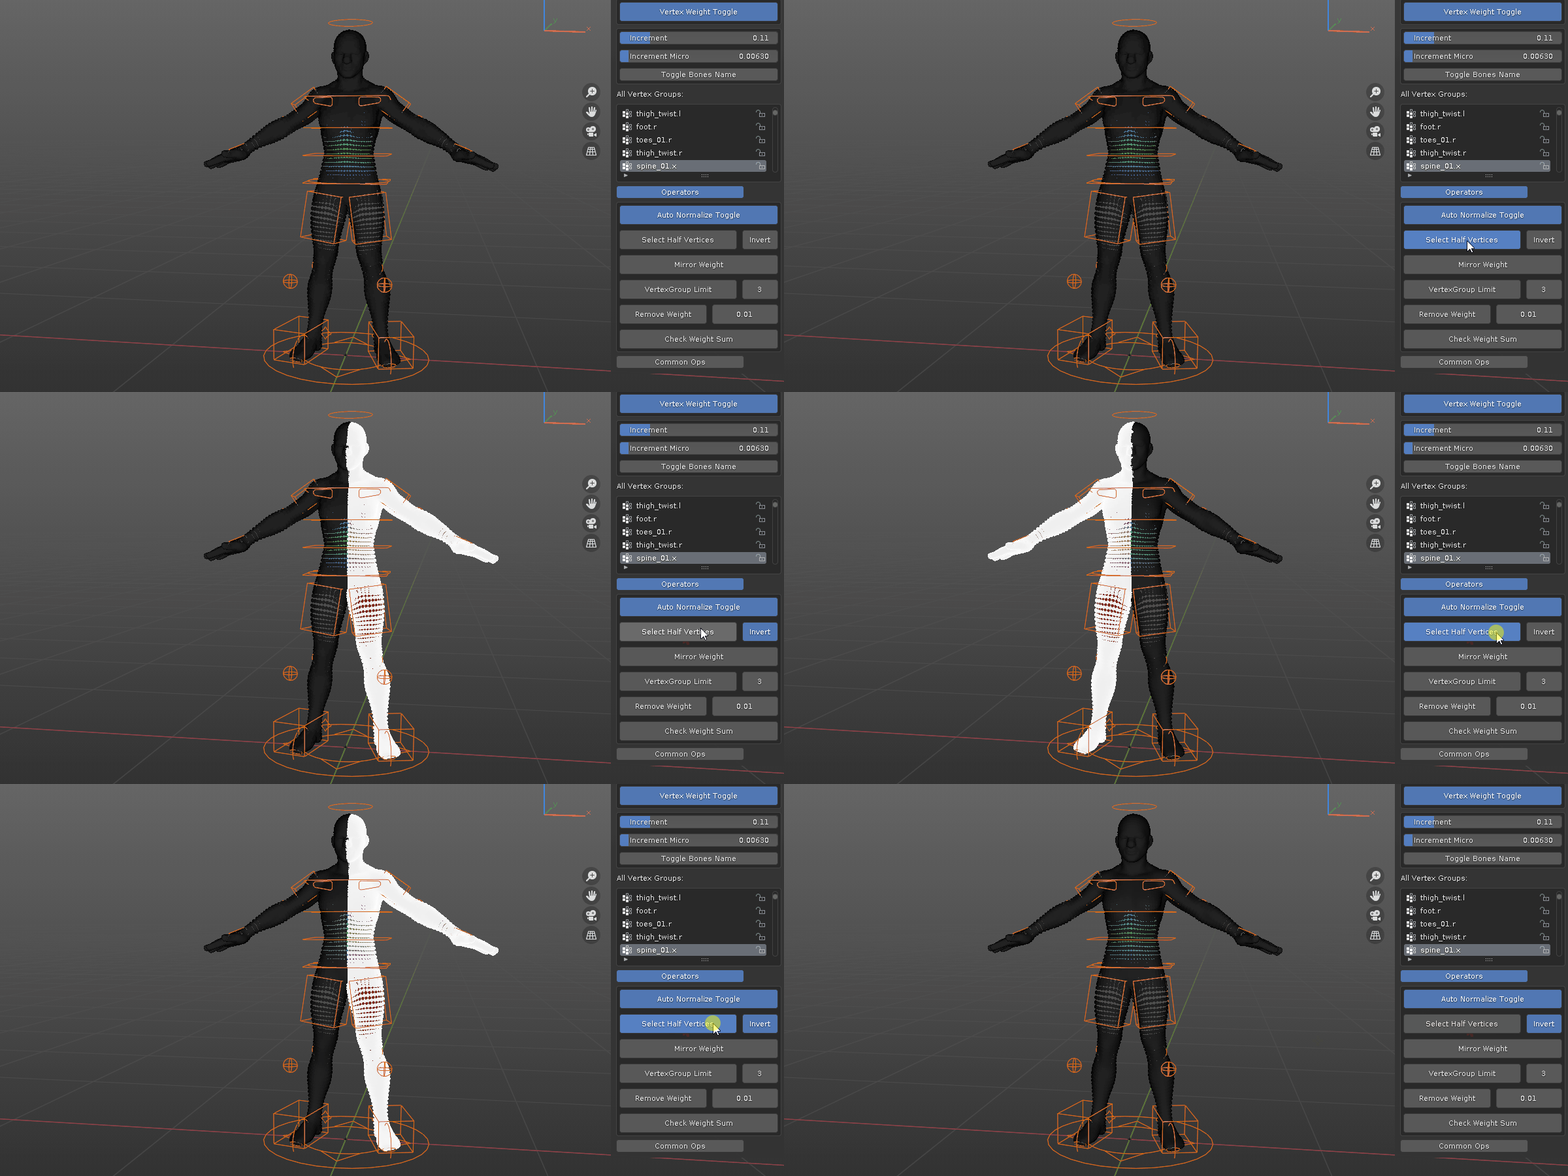
8. Select Half Vertices: it will select half of the vertices along x positive direction, if Invert toggle is on, it will select the x negative direction.
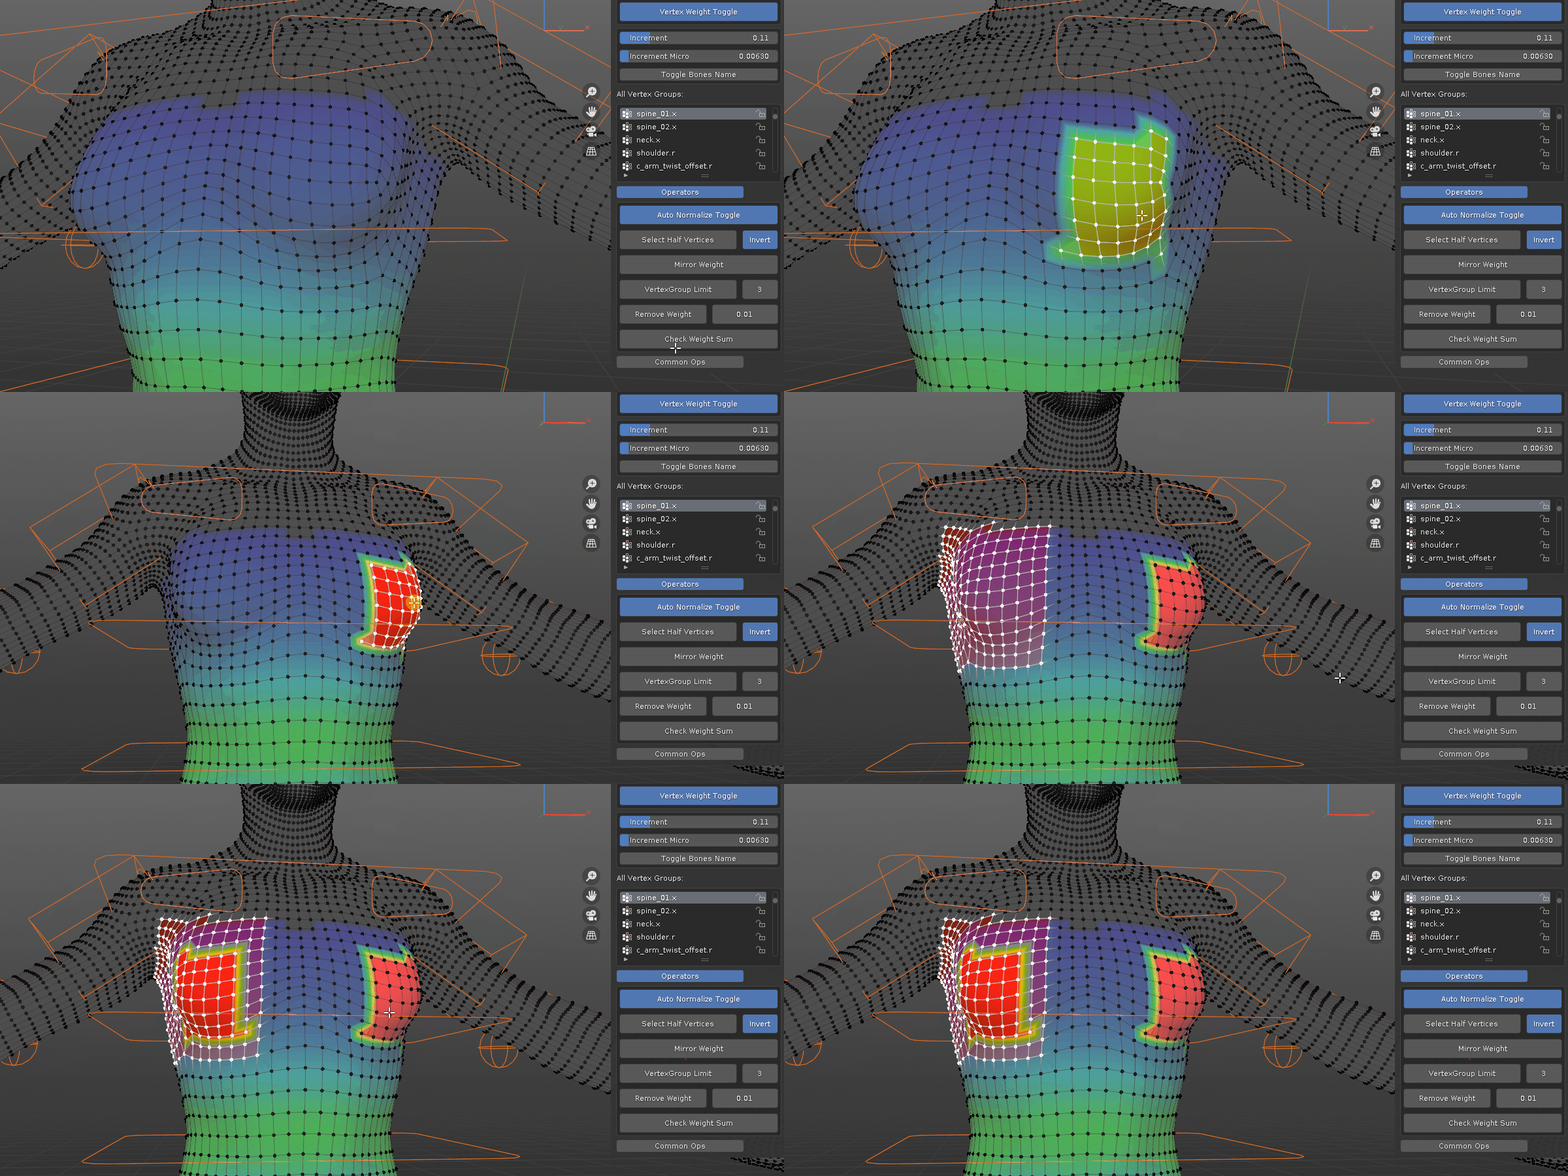
9-1. Mirror Weight (symmetric): it will transfer weight value to selected vertices from relevant mirror parts. for example, I have model half of a human character, mirrored it and done a simple binding. I adjust the weights on left forearm and left leg. then I select all right side vertices and press mirror weight. right forearm and right leg would have similar mirrored weight.
for proper left/right side bone naming, an easy way to to test if it works in Blender is: in armature edit mode, create bone, rename the bone with any prefix or suffix you prefer such as leftxxx, xxx.l, xxx.left, xxx_L etc, use Armature - Symmetrize. if new bone is created, then it works.
9-2. Mirror Weight (asymmetric): for character base, it is likely symmetric and the above operator works fine, but with clothes and/or gears, often it is asymmetric. this operator can mirror the asymmetric mesh part. make sure the mesh has center pivot and is symmetrical proportion wise. check out this video. when using this, make sure mesh is in default pose and no mesh part is hidden, otherwise it could generate unexpected result.
"x to -x all": this will mirror all vertices weight from positive x to negative x.

"-x to x all": this will mirror all vertices weight from negative x to positive x.

"x to -x active" and "-x to x active" for bones that does not have corresponding left and right set. such as spline bone. this will mirror only what the active bone influence, other bones are not effected.


take LeftUpLeg and RightUpLeg for example, the RightUpLeg is toward negative x direction, whereas LeftUpLeg is toward positive x direction. when select LeftUpLeg as active, it is toward positive x, so choose "-x to x active" and mirror weight.

when select RightUpLeg as active, it is toward negative x, so choose "x to -x active" and mirror weight. in short. when dealing with pair of bones, whichever direction it is toward, choose the "to direction active" to mirror weight. Worst case scenario, just try both options, one has no effect, the other mirror the weight.

9-3. Set custom Prefix, Suffix: open addon preference, enable custom Custom Prefix and/or Custom Suffix toggle, enter the custom name, it is case sensitive. then the mirror weight operator will treat them as if they are pairs. However, it is recommended to use common naming convention that Blender recognizes.
10. Vertex Group Limit: it will remove vertex group from the smallest influence and only keep total vertex groups based on a set number. take the previous example of vert1 in groupA(0), groupB(0.5) and groupC(1), if set number is 3, nothing will change. if set number is 2, the smallest 0 from group A will be removed. if set number is 1, group A and group B will be removed.
11. Check Exceeded Groups: it will select any vertices that have more than the set number of vertex groups. for example, if the set number is 3, any vertices that have more than 3 vertex groups will be selected.
12. Remove Weight: on selected vertices, it will check every single one's vertex groups. if the vertex group's weight value is below the set amount, it will remove the vertex group. take previous example of vert1 in group A (0), group B(0.5) and group C(1). if set number is 0.6, group A and group B will be removed.
13. Check Weight Sum: each vertex may have multiple vertex group and each has different weight value, this operator will select any vertex that have total weight below or above 1. the previous example if vert1 in groupA B and C will be selected, since the total value is 1.5 (0+0.5+1).
14. Normalize Weight: this will auto adjust the weight value based on the ratio and make sure total equal to 1. regardless the vertex group lock state.
15. Active Vertex Weight Groups: when a single vertex is selected, it will show its vertex groups value, it may offer assistance of the set number of Remove Weight.
16. Scrub Timeline: when Vertex Weight Toggle is on, you can scrub the timeline by holding "J" key and move mouse left and right. Generally, when I adjust skin weight, the character bones has some animation data, scrubbing the timeline, it is easier to spot the problem area and make finer adjustment.

there are two area for scrub timeline, all in 3d viewport. Scrubbing in orange area is straight forward. the speed can be adjusted with Scrub Multiplier in MISC tab. Scrubbing in red area is corresponding to the whole timeline, regardless how many frames there are, scrub to the right will always reach the end frame.


If it is not already, Enable the on cage and edit mode toggle from armature modifier

if you want to change the hotkey "J", here is how: find the addon folder, C:\Users\UserName\AppData\Roaming\Blender Foundation\Blender\3.6\scripts\addons\Handy Weight Edit, open "__init__.py" with text editor and search keyword "change". in these two places replace "J" with another CAP letter, such as "K". save the file that is it.

17 Isolate Active Bone. while adjusting different vertex groups, use the toggle to only show the corresponding bone, so that you would never modify the wrong bone influence. for complex rig with hundreds of bones close to each other, make only the relevant bone visible together with the bone name shown, greatly reduce the possibility to modify the wrong one.
in blender 3.x, armature use bone layers to organize the visibility. toggle the deforming bone layer on in Armature -> Data -> Skeleton -> Layers. if you use rigify, it is layer29, whereas with auto rig pro, it is layer 31.

18 Import and Export Weight. you can save the current weight file and re-use it later.
first, set the save location. uncheck the "Relative Path".

second, export/back up the weight, it use object name as file name, so rename it accordingly. please note it will overwrite file with the same name.

when you have at least one back up weight file, you can select it in the drop down list and import the weight. it only affects existing vertex groups from the saved file. for example, if the mesh have weight 1, 2, 3 and export it, later add weight 4, 5, 6. when import weight back from the saved file, only 1, 2, 3 are overwritten.

click the gear icon on the right you can pick a few options when import weight.
if you move object from their original location, the default import weight by distance would not work. you can use by topology. this requires the mesh vertex order is the same. you can check the vertex order in mesh edit mode and toggle "Viewport Overlays - Indices". in some scenarios it might be altered, for example, export to another application and import back. or use "Mesh - Sort Elements" will change the vertex order.

you can also choose to import the source file and manually transfer weight. either by distance or topology. first select source object then the target object. you can also use this function to transfer weight from character body to character clothes.

Discover more products like this
vertex group loveblender bfcm24 painting Character rigging spring24 armature rigging skin weight paints weight paint tool handy weight painting skinning vertex weight summer24 weight addon winter24
