Fit Lattice
Installation
Blender 4.2 and Above

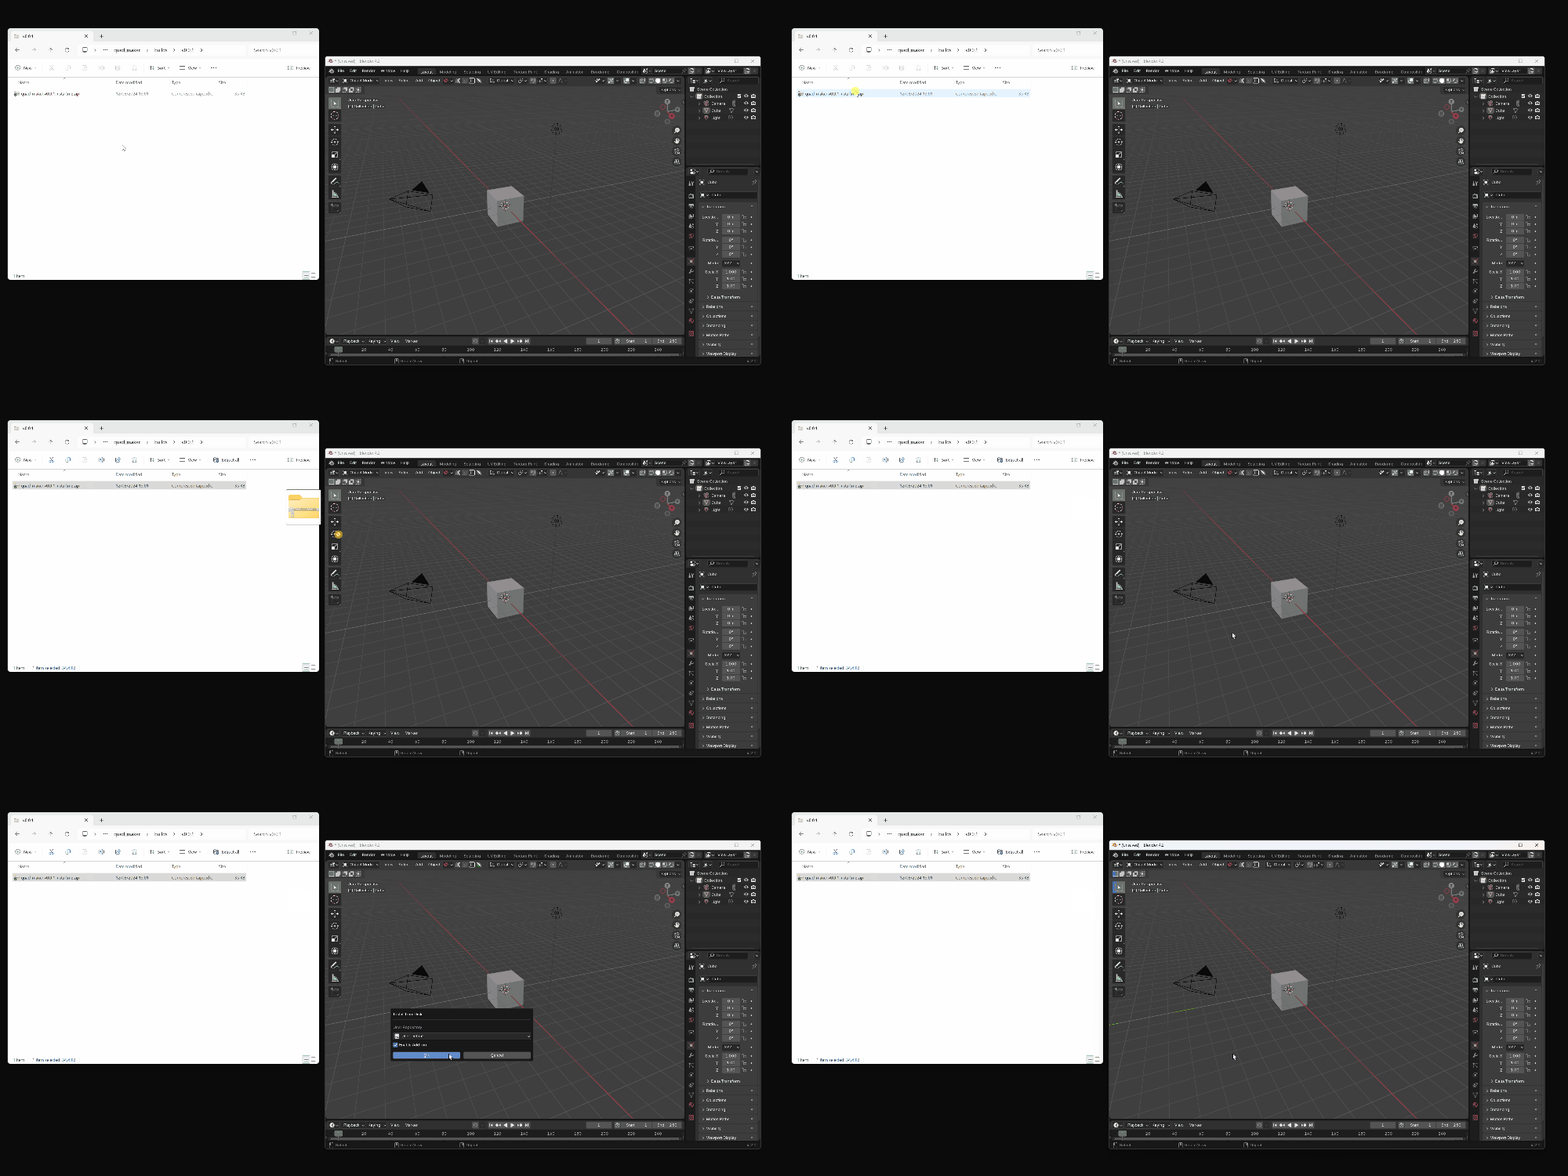
Drag and drop the installation zip file into Blender to install the add-on.
If you have any issues do not hesitate to get in touch via [email protected].
Previous Blender Versions

- Go to Edit -> Preferences.
- Select the Add-ons tab on the left if it is not already.
- Select the Install... button along the top.
- This will open a file dialog where you should navigate to where you have downloaded the "Fit Lattice" zip file. This file should not be unzipped.
- Then, click the "Install add-on from file" button.
- Search for the add-on by typing "Fit Lattice" in the search box if it does not already appear.
- Make sure the checkbox next to the Add-on (Mesh: Fit Lattice) is ticked.
How it works
The add-on works out the size and position of the bounding box(es) of the object(s) you select and then creates a Blender lattice object that fits to that size. It then adds a 'Lattice Modifier' to the original object (or objects), and then automatically links that modifier to the lattice object.

Use
Adding the Lattice:
Object Mode
- Select the object or objects (by pressing shift + click) you want to fit the lattice around.
- Either:
- Go to Object -> Fit Lattice.
- Right click in the viewport and select Fit Lattice -> Fit Lattice.
- Access the tool by pressing F3 and then start to type Fit Lattice.
- The lattice object should appear around the object(s), ready for editing by pressing the tab key.
Edit Mode
- Enter edit mode (by selecting the object and pressing the Tab key) and select the faces/edges/vertices you with to manipulate.
- Either:
- Go to Mesh-> Fit Lattice.
- Right click in the viewport and select Fit Lattice -> Fit Lattice.
- Access the tool by pressing F3 and then start to type Fit Lattice.
- The lattice object should appear around the object, ready for editing by pressing the tab key.
When the lattice object is first created, you can also configure the lattice object segments at the time through the side menu, described below.
Removing the Lattice:

To remove the Lattice including the associated modifier and vertex groups in one go:
- Select the lattice you want to remove
- Press F3 and search for the "Remove Fit Lattice" command.
- The lattice should be removed along with the modifier and vertex group.
Options
When you run Fit Lattice, a side menu will appear in the bottom left of the 3D viewport. Configure the lattice object being created by expanding the menu that appears:

Operator Presets
You can load, edit or save a selection of pre-prepared configurations. Press the '+' and '-' keys to add or delete entries.
The default presets are:
- 2x2x2: a lattice split into 2x2x2 segments.
- 3x3x3: a lattice split into 3x3x3 segments.
- 4x4x4: a lattice split into 3x3x3 segments.
Lattice/Mesh:
Choose between creating a lattice (the default) or by creating a Mesh object with a Surface Deform modifier attached.
U, V, W:
These settings control the the subdivisions of the lattice in the x, y and z direction.

You can change the parameters of the Lattice or the Lattice modifier after it has been created. See the Blender documentation for Lattices and the Blender Lattice Modifier.
Rotation:

The Rotation parameter allows you to set a rotation for the lattice, which will then shrink to wrap around the boundary of the object or sub selection.
Interpolation Type (Lattice mode):
You can choose how the deformation of the lattice affects the object:
- Linear: This is the most basic form of interpolation, where the deformation between control points is calculated in a straight line. The result is a more rigid and less smooth transition. It's useful when you need precise control and less smoothing between points.
- Cardinal and BSpline: These types introduce more smoothness into the deformation, with Cardinal providing a moderate level of smoothness and BSpline being even smoother. These methods use mathematical formulas to create a curve that passes near or through the control points, resulting in more natural and fluid transitions.
- Catmull-Rom: This interpolation type provides a balance between smoothness and control, offering a smooth transition while still closely adhering to the path defined by the control points. It's useful for achieving organic deformations that need to closely follow the lattice structure.
Scale Mesh (Mesh mode):
In Mesh mode, this controls the relative scale of the generated surrounding mesh. Sometimes, the Surface Deform modifier may not bind all the surrounding vertices. Setting this Scale Mesh parameter to something slightly bigger to increase the size of the mesh reduces this effect.
Bind (Mesh mode):
Perform the Surface Deform modifier bind operation. This can slow down Blender and make the application appear to temporarily freeze, and therefore is switched off by default.
Any Questions?
Do not hesitate to get in touch with me if you have a question, a new feature suggestion, or an image you'd like to share. You can contact me by clicking the 'Ask a Question' button or by emailing [email protected].
Discord
Share your work and get support through the Configurate support channel here.