 KVD
KVD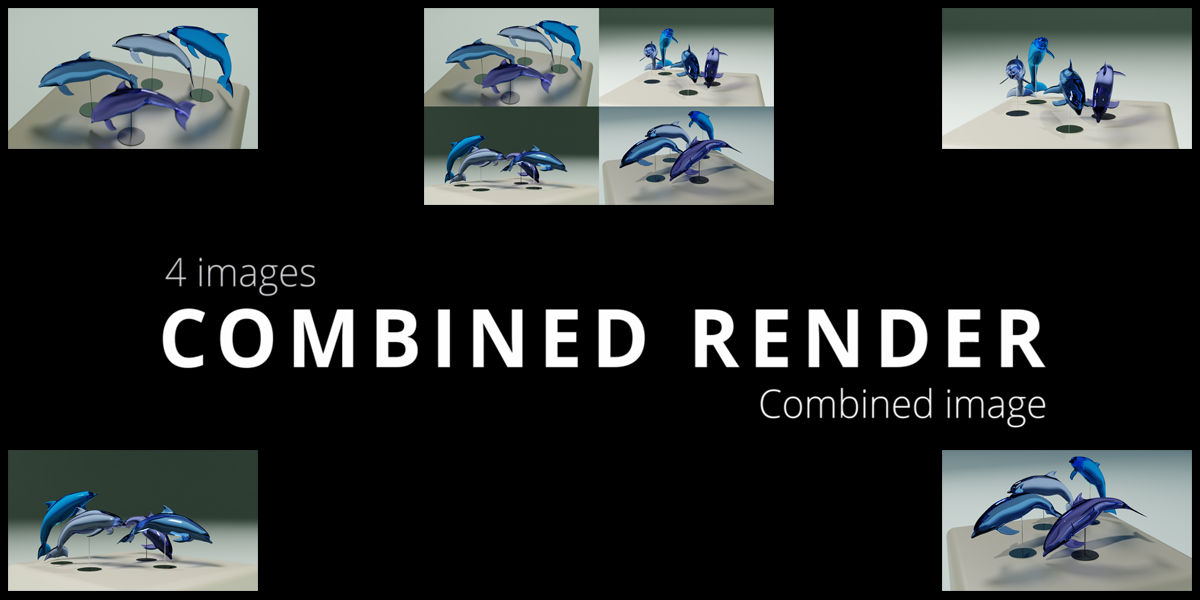


If you have your scene composition ready to render, and you have not already got 4 scenes in your blend file, you press the 'Add 3 scenes Copies' button'.
This will make 3 exact copies of the selected scene.
If there are more than 4 scenes available, there is an option in the panel where you can select 4 scenes.
Now that you have 4 scenes available, you can adjust your camera distance to the 3D cursor if needed.
Pressing the 'Add Cameras' button will add a camera to each scene that was checked in the panel.
You will see that for each checked scene, there is a camera added at the distance you have set previously.
By pressing the 'To Scene' button, next to the scene name in the panel, there can be switched between scenes to make adjustments in that scene.
Each checked scene, will have a collection where the camera and linked empty is located.
For each scene you adjust your camera as desired.
The camera will always follow the position of the linked empty.
The depth of field can also be selected for each camera.
In each scene you can add, remove or change objects like you normally can.
When everything is set and you like to have your renders, you add a name for your image, select your render output path and select your resolution.
The default is the 1920 by 1080, but can be changed to your need.
Pressing the insta-default button, will switch to Instagram resolution, or back to the default.
Do not forget to press the 'output Settings' button, to confirm your settings.
The initial scene will automatically be set as the active scene.
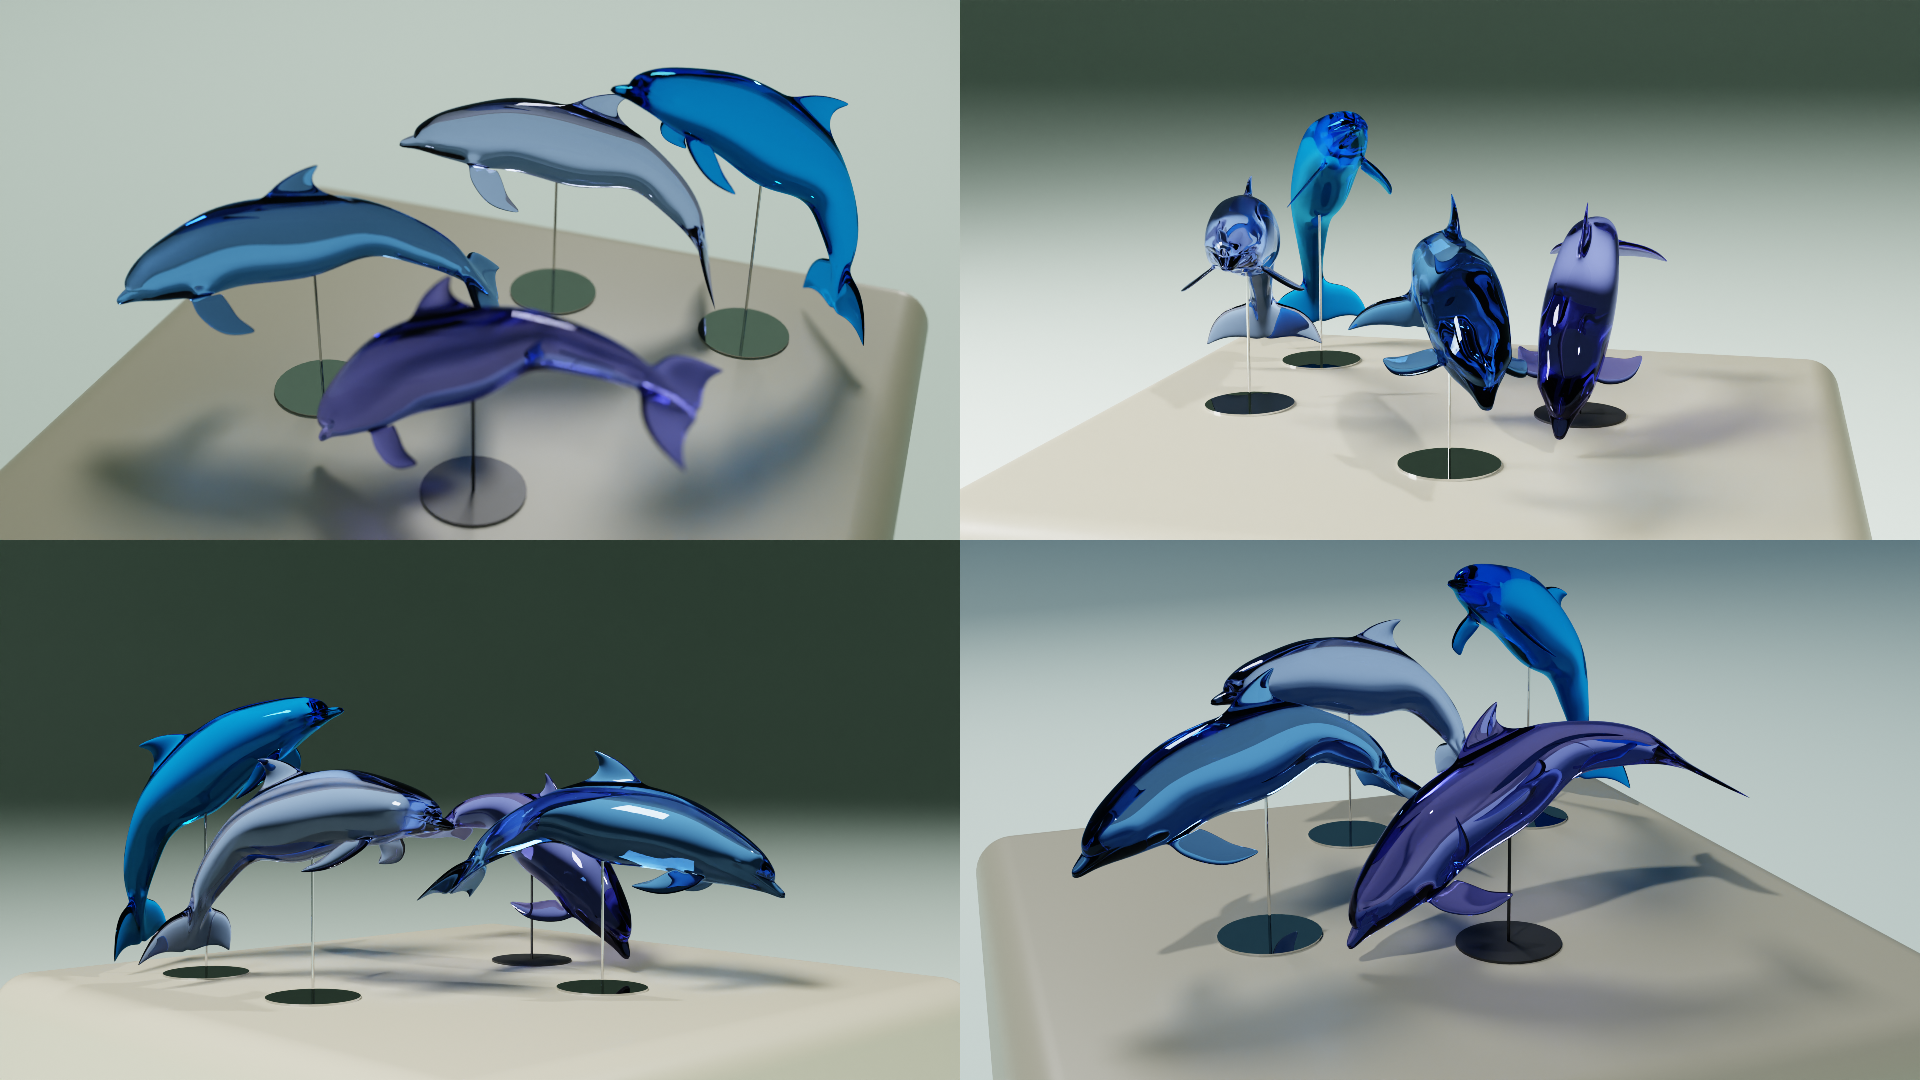
Pressing render will render 5 images.
One image for each camera of the selected scenes, and 1 combined image of all 4 cameras.
By default the selected folder will open once the rendering is done.
Deleting the cameras in the panel, will only delete your cameras.
The added scenes will remain.
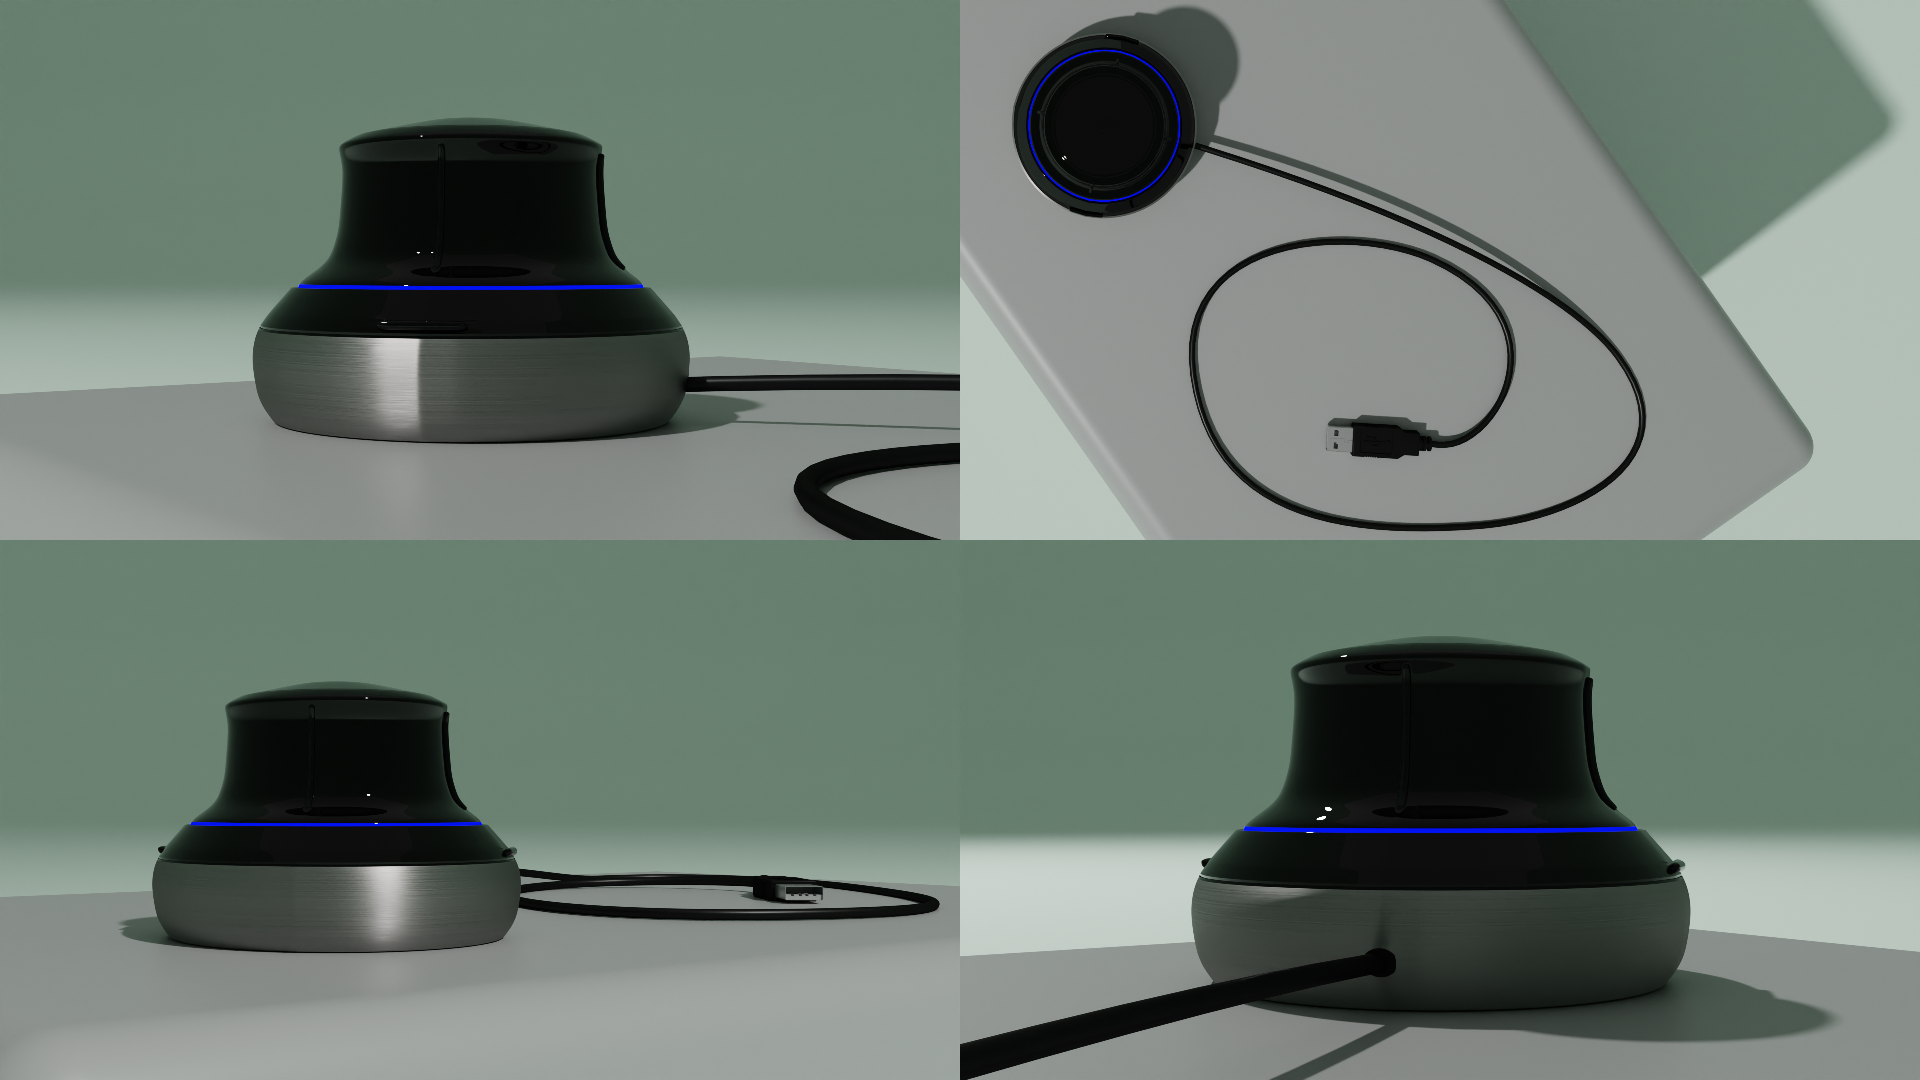
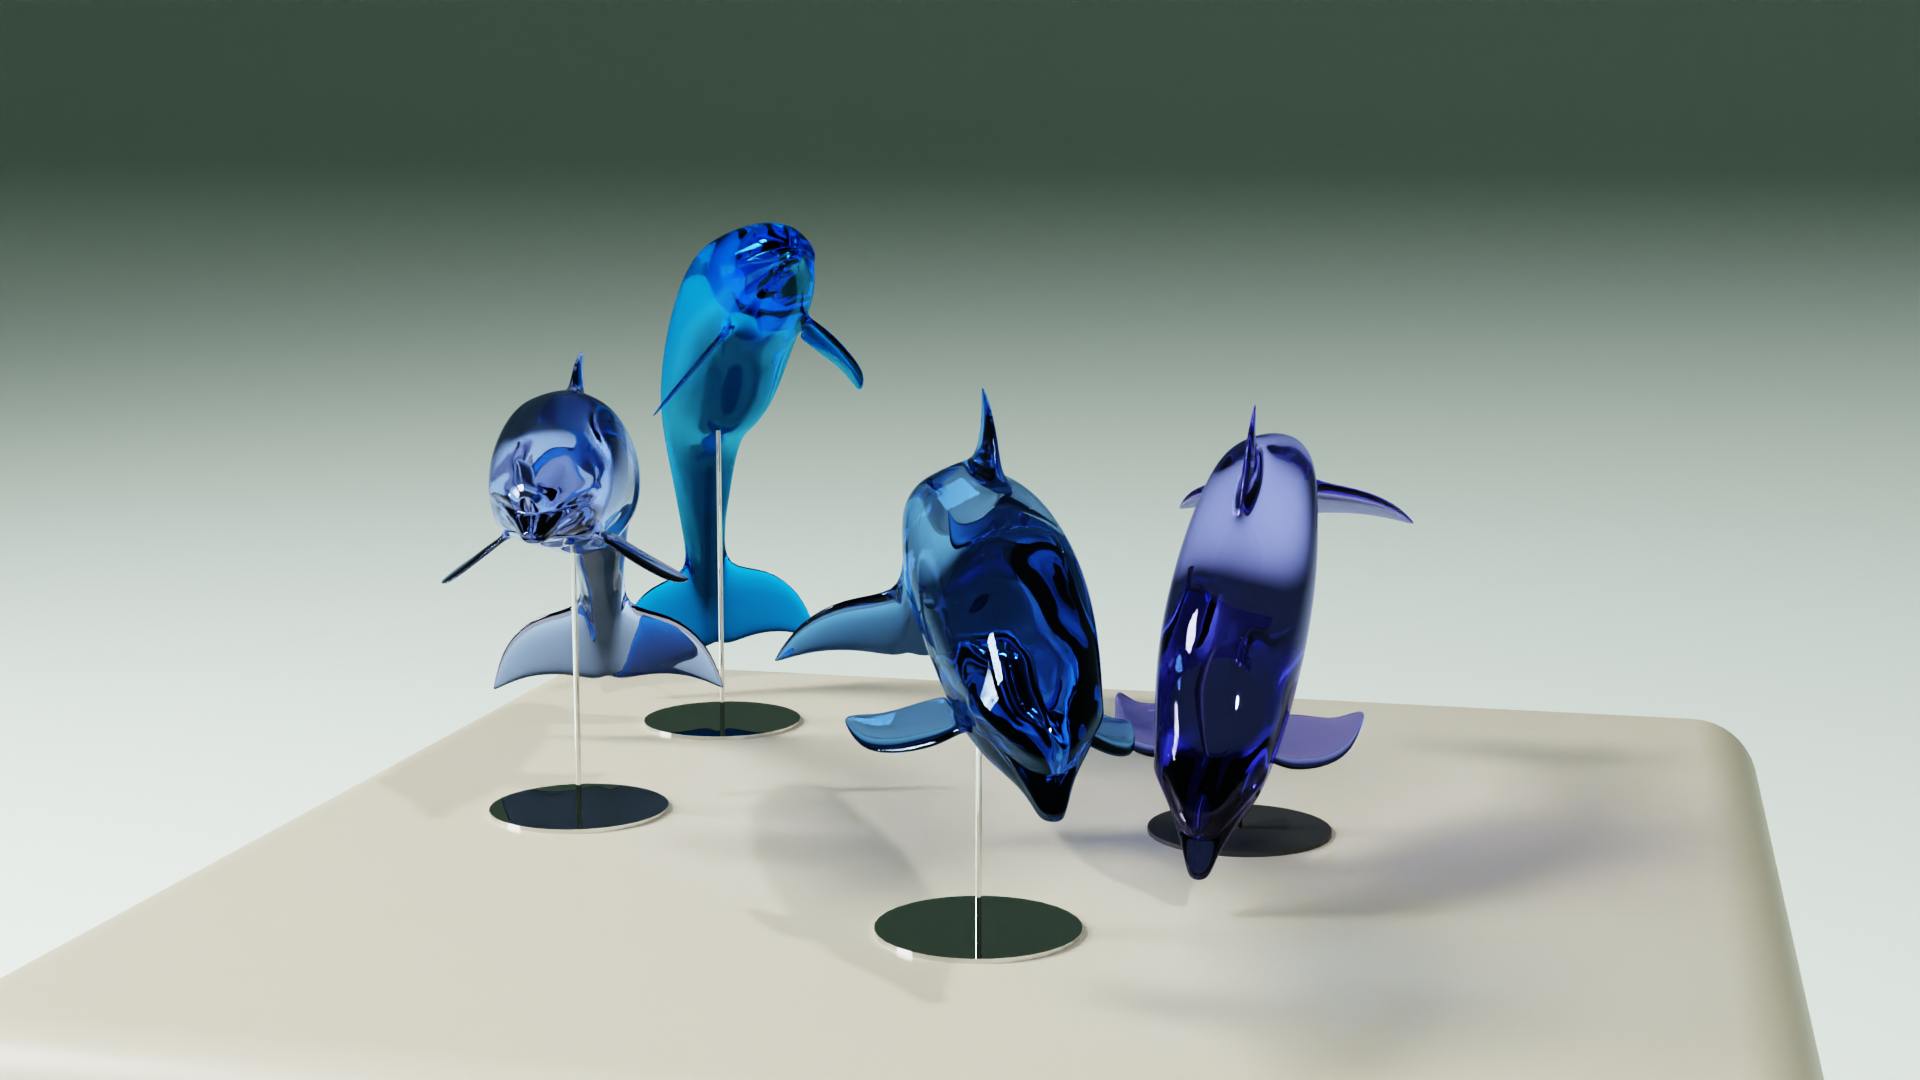
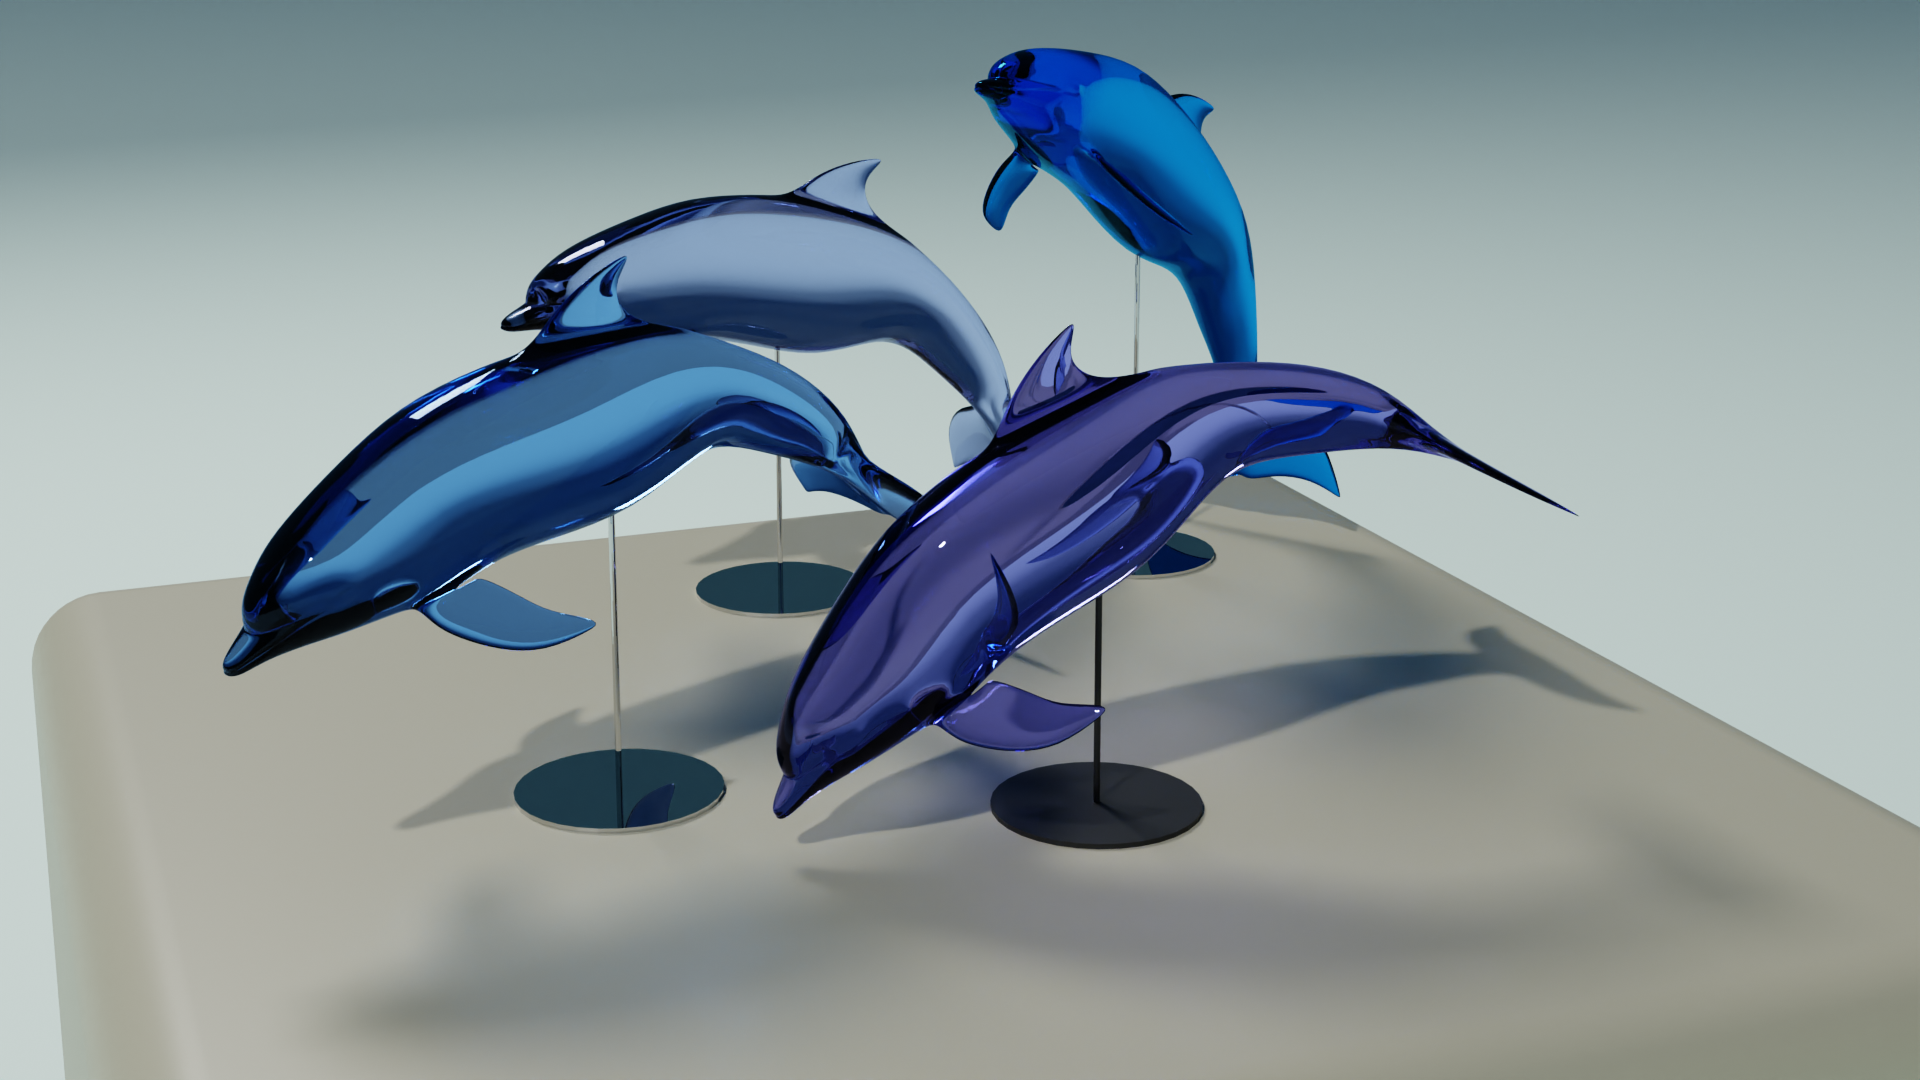
If you want to have a more product like render, where you need some shots from the front, top, left and right, you use the 'object cameras' panel functions.
Choose your scene if you have more than 1 scene.
You select your object and press 'add view cameras'.
The selected scene will become the 'main scene'
Four cameras are been added facing the object.
Selecting the camera positions in the panel, will switch between the 4 views.
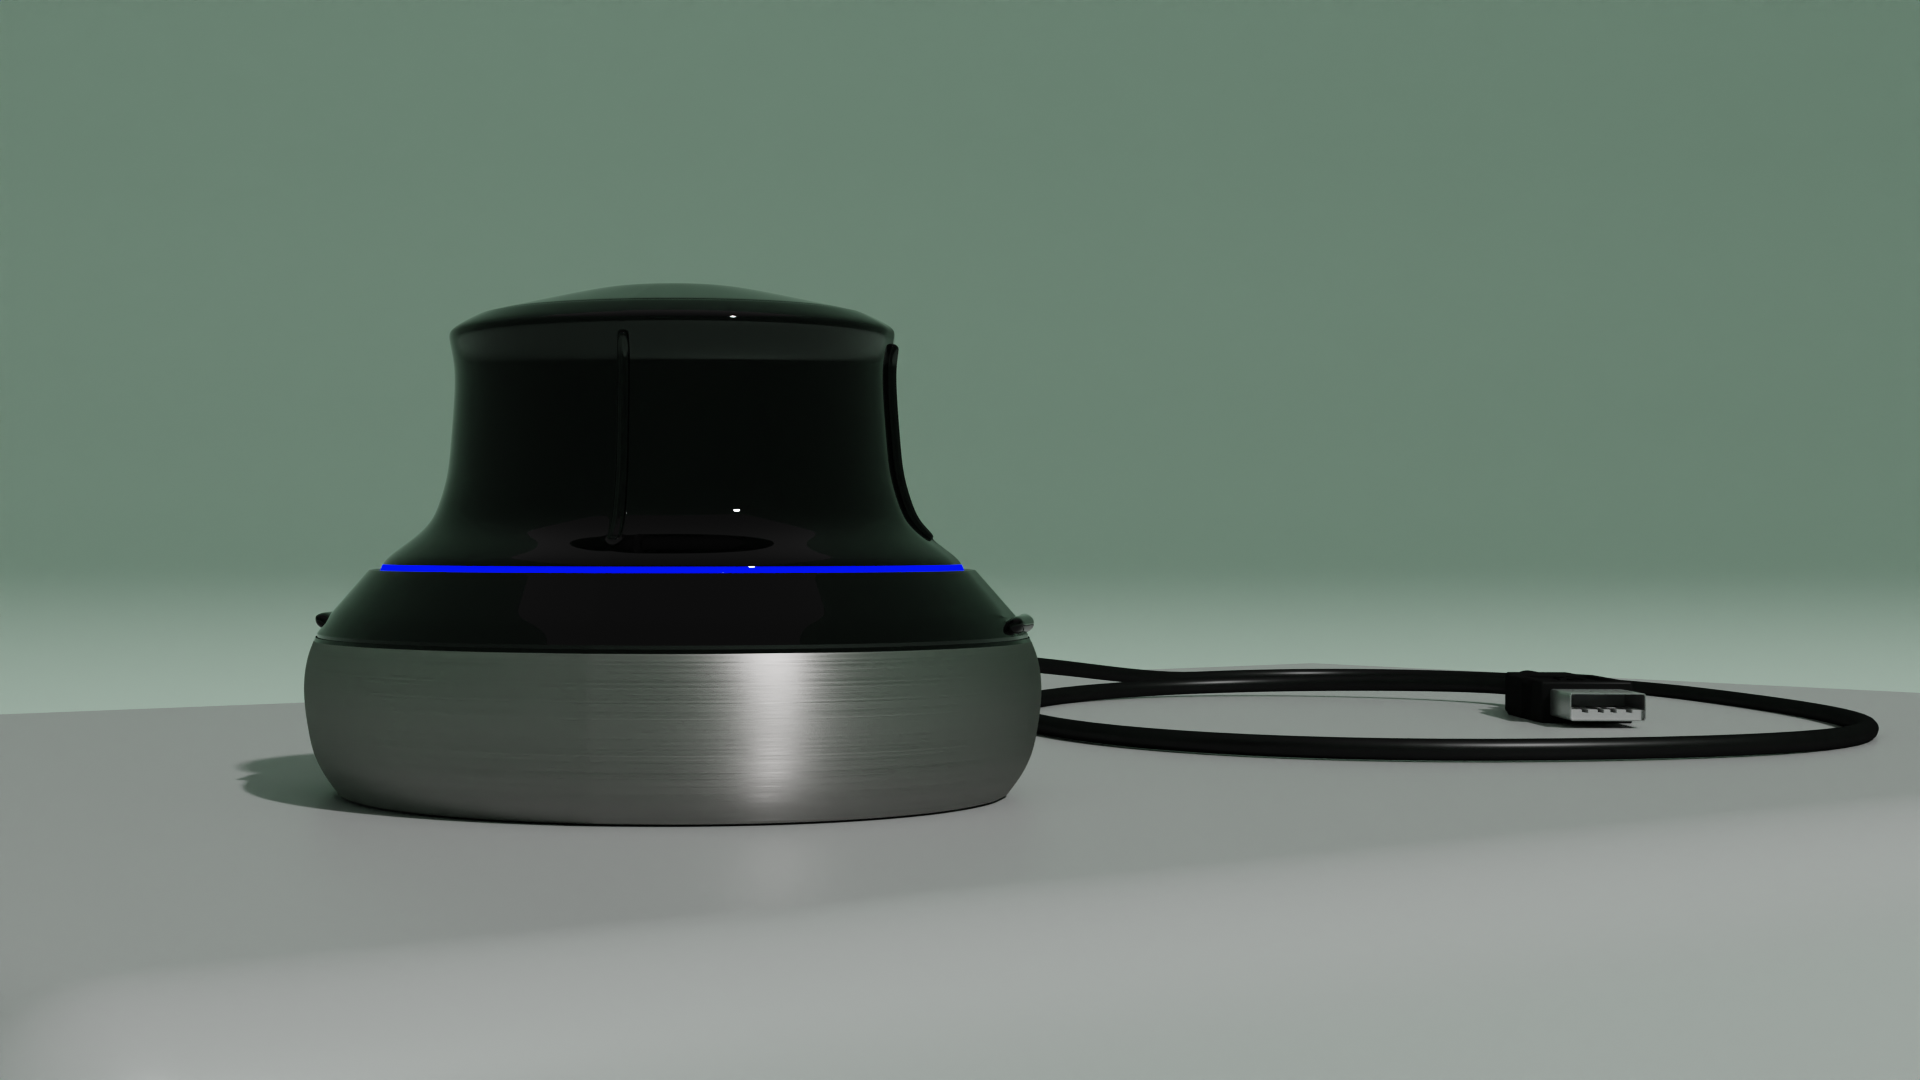
The camera will always be facing the object if moved.
Moving the empty or object has the same result.
The camera settings can be changed for each view.
If you like to track another object, just press the 'switch to source scene' button.
One tip, new objects that are created, after the camera views were added, must be moved into an already existing collection, before the camera views were added.
Otherwise these objects will not be visible in the views.
Select the other object, press the 'track selected object' button first, and the 'center cameras' button last.
Now this object will have the cameras following its position.
Selecting the other object again is as easy as before.
For the rendering it is the same procedure.
You add a name for your image, select your render output path, and select your resolution.
The default is the 1920 by 1080 but can be changed to your need.
Pressing the insta-default button will switch to Instagram resolution, or back to the default.
Do not forget to press the 'output Settings' button to confirm your settings.
Pressing render will render 5 images.
One image for each view and 1 combined image of all 4 views.
By default the selected folder will open once the rendering is done.
Deleting the cameras in the panel, will delete your 4 view scenes and its settings.
Have questions about this product?
Login to message
| Dev Fund Contributor | |
| Published | 8 months ago |
| Software Version | 4.3, 4.2, 4.1, 4.0, 3.6, 3.5, 3.4, 3.3, 3.2, 3.1, 3.0 |
| Extension Type | Add-on |
| License | GPL |
Discover more products like this
Multiple Cameras multiple images Product shots 4-views Combine 3DRendering