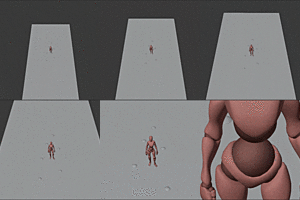
Cinepack: Pre-Animated Camera Moves
Once downloaded from Blender Market, unzip the Cinepack.ZIP and inside you will see the assets folder and another zip file called 'addon.zip'
Open Blender > edit > preferences > addons > install
Then choose the 'addon.zip' to install to Blender
After you'll see a Cinepack tab, ensure that the check box is selected.
Under preferences you'll see 'Select Cinepack Folder' -- click the folder then choose the 'Assets' folder as the directory.
Save preferences.
That's it! You should now see Cinepack as a tab when you hit N on the right hand side.
Easy!
Simply choose from the 10 categories in the Cinepack addon user interface, then hit IMPORT -- it's that easy.
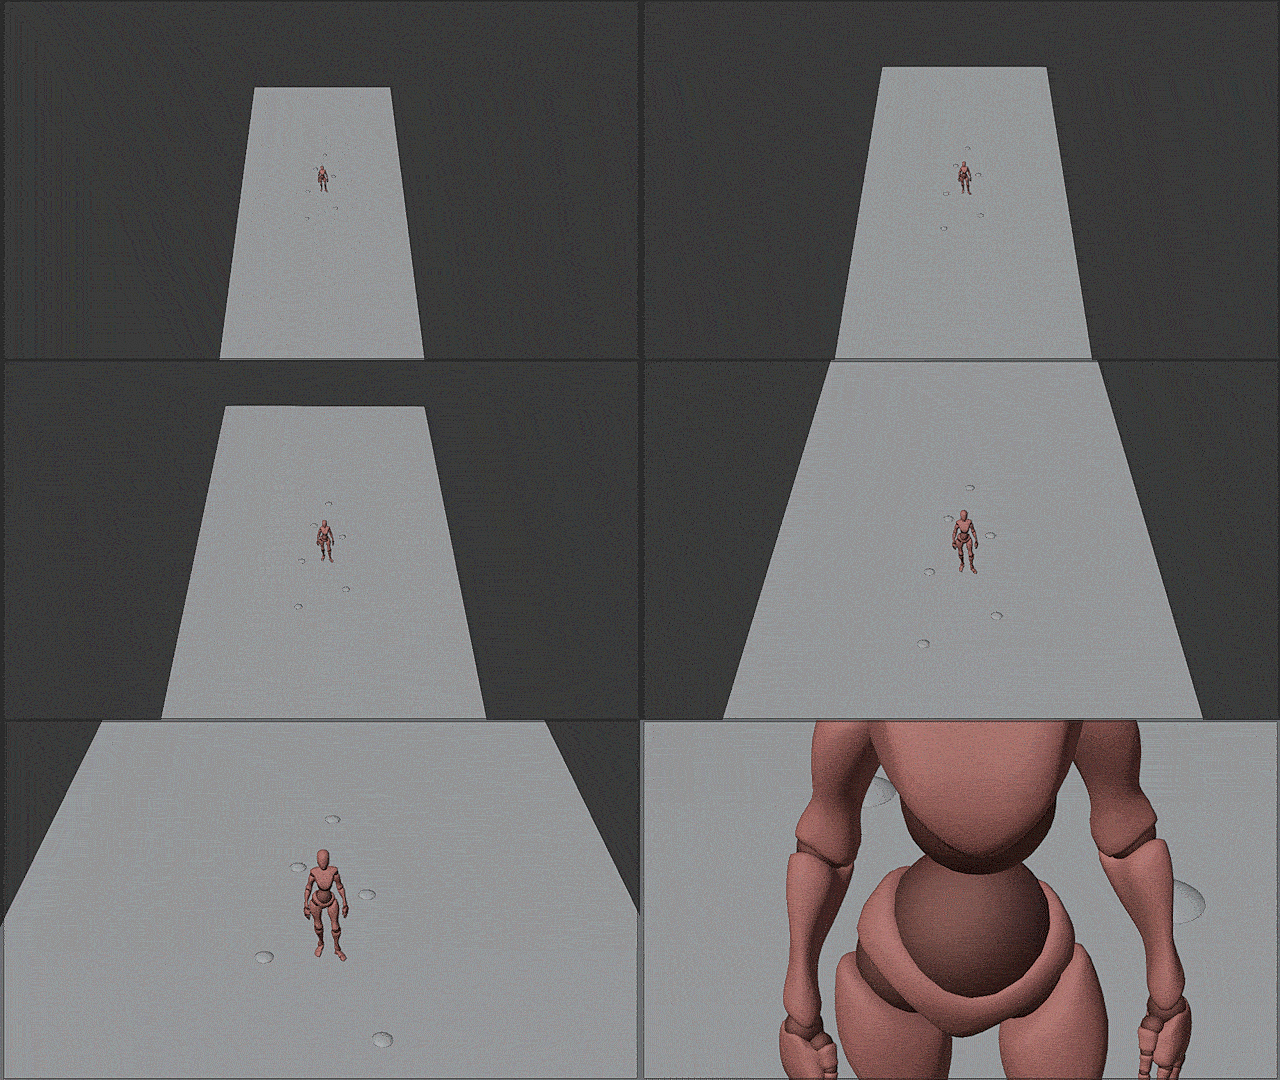
Click on a camera move you want to use and hit the 'Preview' button within the Cinepack addon user interface to view in your systems default Image Viewer
Simply click on either the camera or the cross-hair and move the keyframes around until the desired speed is achieved
YES! Simply click on the arrow attached to the camera rig and move, rotate and scale to your hearts content!
Discover more products like this
spring24 filmic First person spring22 Blaze cinema summer24 cinematography pack summer23 filmmaking film bfcm24 spring23 bfcm21 animator summer22 animation rig summer21 loveblender pre-animated ultimate bfcm22 winter24 bfcm23 Blaze Add-on film camera cinepack FPV moves camera bcon22 product motion
