Brushflow - 3D Normal Map Painting
 Tradigital3D
BrushFlow Studio
Introduction
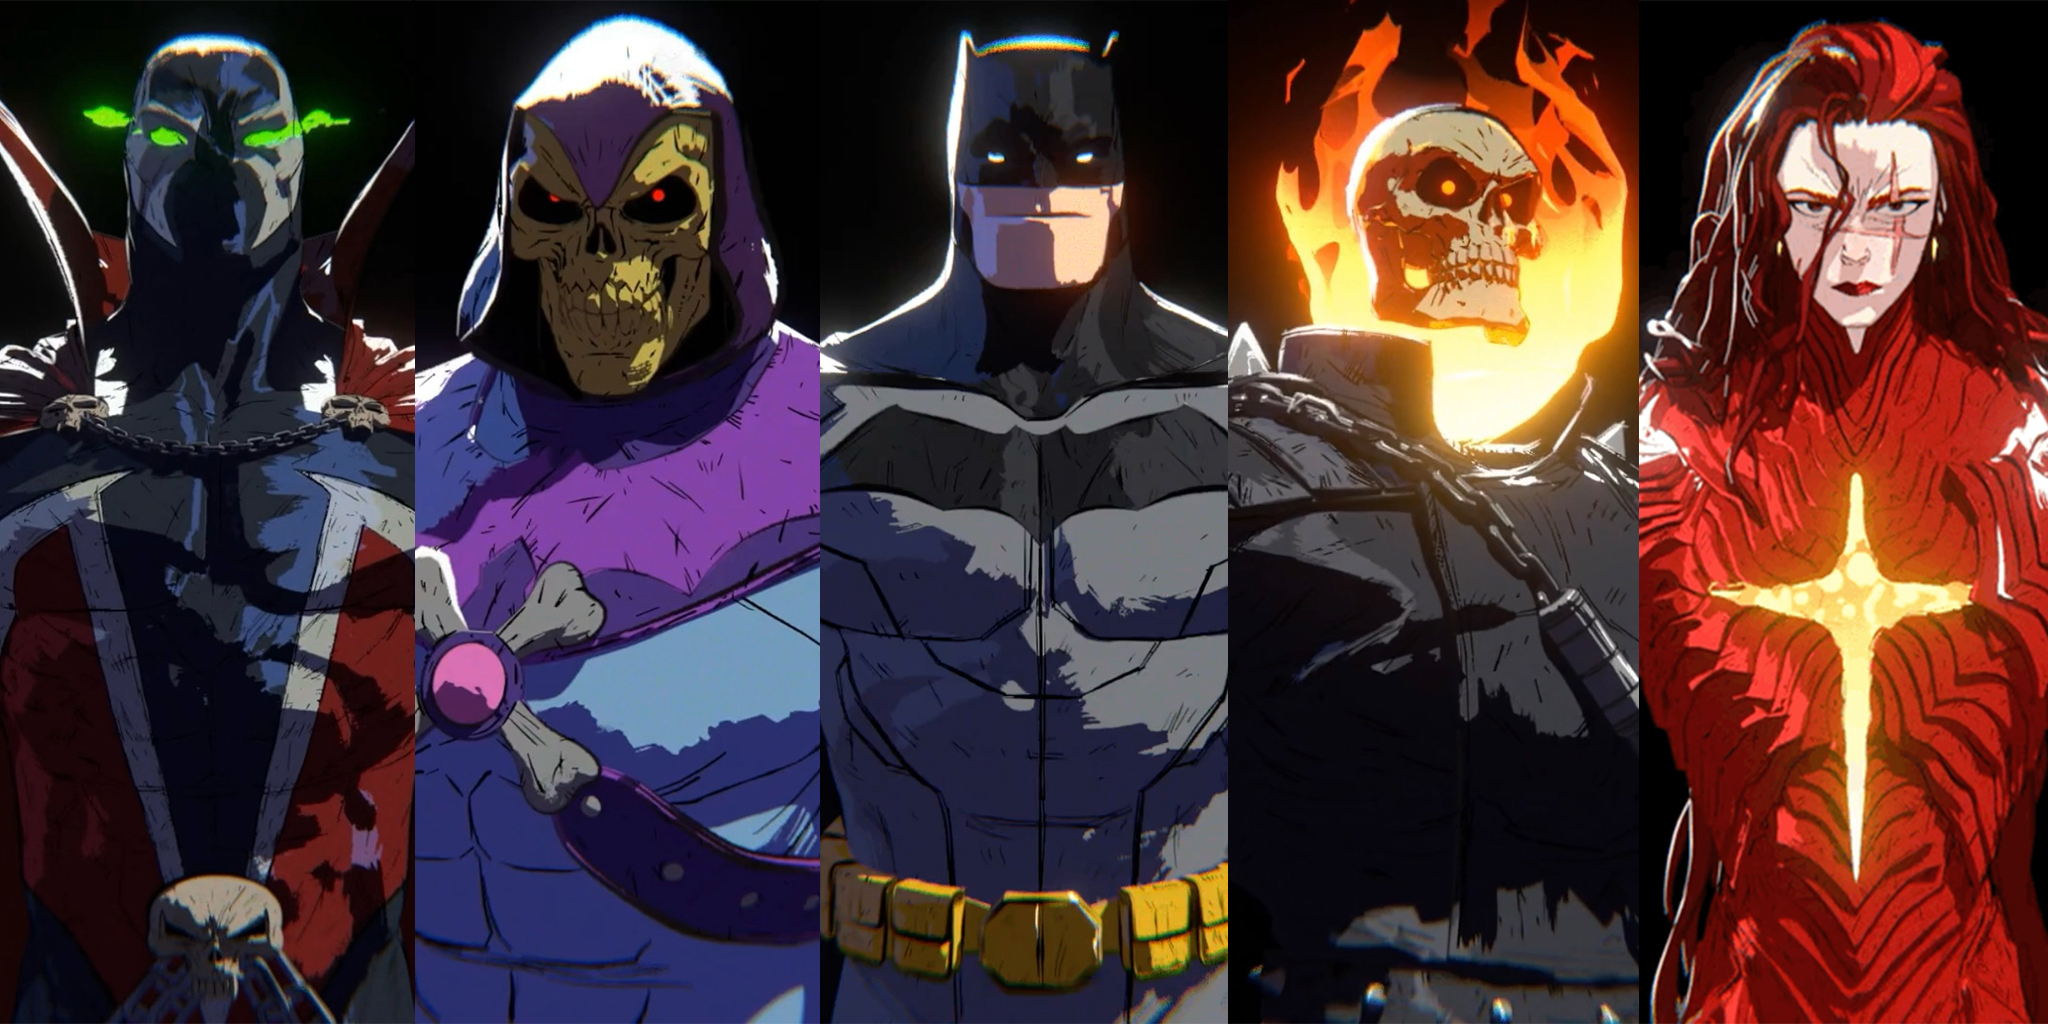
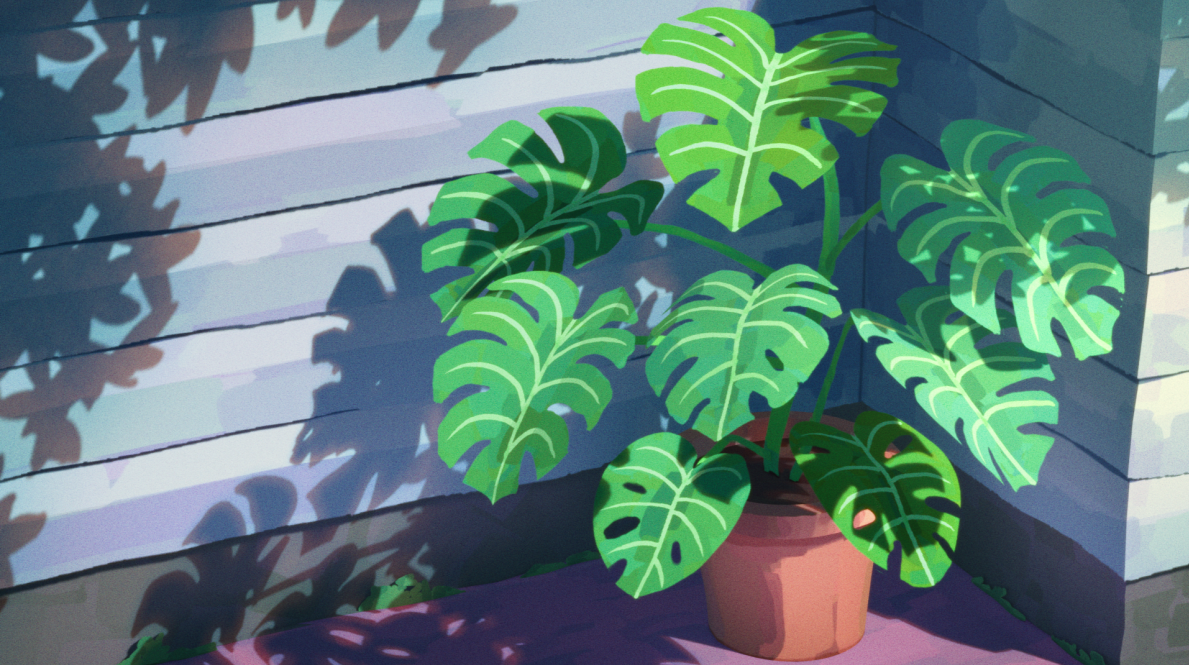
BrushFlow Studio is a powerful 3D normal map painting generator for Blender 4.2. It allows you to create tangent normal maps with ease, featuring curve interpolation to fill in the blanks between your painted strokes. This tool is a significant time-saver for artists and designers working on 3D texturing projects.
System Requirements
Blender 4.2 (Will not work with earlier versions)
Cycles rendering engine for live preview
Getting Started
Step 1: Open the File
Open BrushFlow Studio file in Blender 4.2.
The file will open in quad view by default. To disable quad view:
Go to View > Area > Toggle Quad View
Step 2: Import Your Object
Go to File > Append or Import your object.
Ensure your object is properly UV unwrapped.
Step 3: Set Up BrushFlow Studio
In the Modifiers tab, locate "BrushFlow Studio".
Replace the default object (currently set to "head") with your imported object.
Ensure the UV map name matches your object's UV map name.
Step 4: Start Painting
Enter Edit Mode.
Select the Curve Tool for painting.
Begin painting strokes on your object or UV map.
Step 5: Adjust Curve Tool Options
Click the three dots next to "Cursor and Surface" in the top left.
Adjust Max Radius and Min Radius to change stroke thickness.
Step 6: Explore BrushFlow Settings
Familiarize yourself with these key settings:
Image Input: For inputting existing texture maps.
Max Layer Height: Adjusts the depth of stroke interpolation.
UV Margin: Cleans up edges around UV maps.
Bump Strength: Adds depth to strokes for a more painterly look.
Random Color per Stroke: Useful for creating variation in post-processing.
Render Preview: Shows a live preview (may slow down performance).
Curve Radius Smooth: Smooths out shakiness in strokes.
Curve Radius Multiplier: Adjusts overall stroke thickness.
Stroke Alpha Seed: Changes the alpha of strokes.
Interpolation: Enables curve interpolation (use sparingly due to performance impact).
Exclusion Vertex Group: Excludes specific areas from painting.
Interpolation Method: Choose between "Flowing" and "Curling" methods.
UV Seams as Curves: Uses UV seams as guidelines for interpolation.
Interpolation Density: Adjusts the number of interpolated strokes.
Interpolation Detail: Controls the resolution of interpolated strokes.
UDIM Tile: Supports UDIM workflows for complex UV layouts.
Step 7: Rendering Your Normal Map
Once satisfied with your painting, click RENDER.
Wait for the tangent normal map to generate completely.
Save the rendered map as a high-quality image (TIFF or PNG recommended).
Use the generated tangent normal map in any 3D application that supports normal maps.
Have questions about this product?
Login to message
| Sales | 30+ |
| Rating | 1 ratings |
| Published | 9 months ago |
| Software Version | 4.2 |
| License | Royalty Free |
Discover more products like this
3d painting custom normal 2d-illustration baking custom-normals