Bio-Art Blender
 Julian Melendez
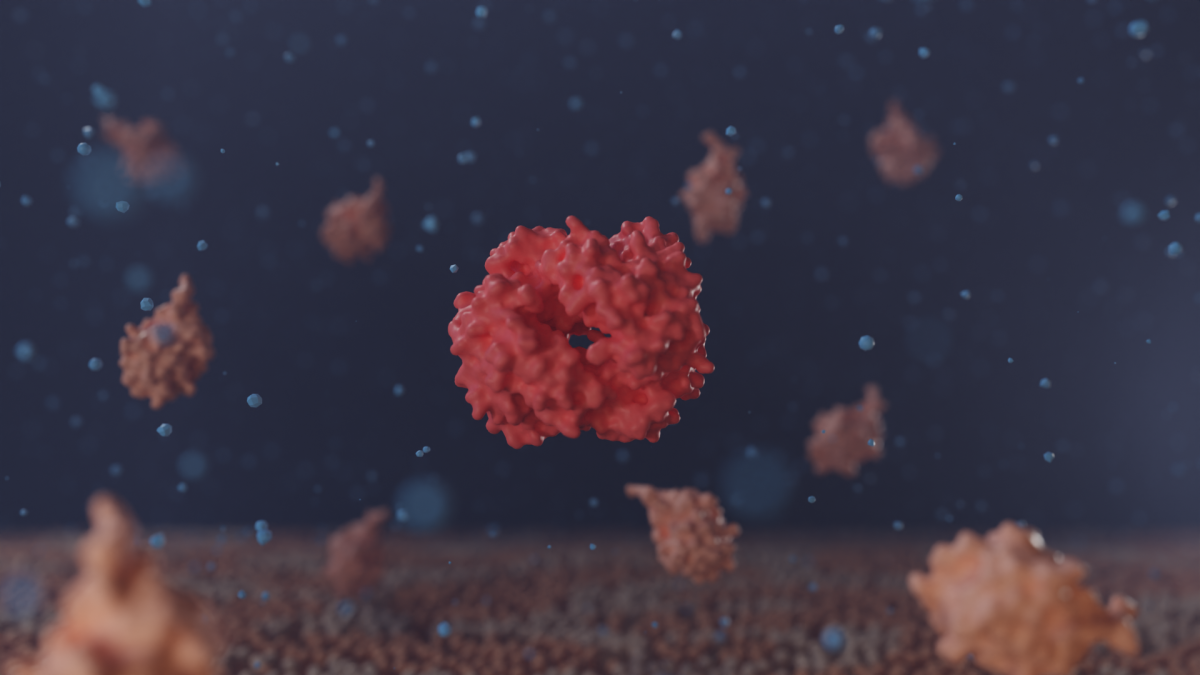


Workflow/Units
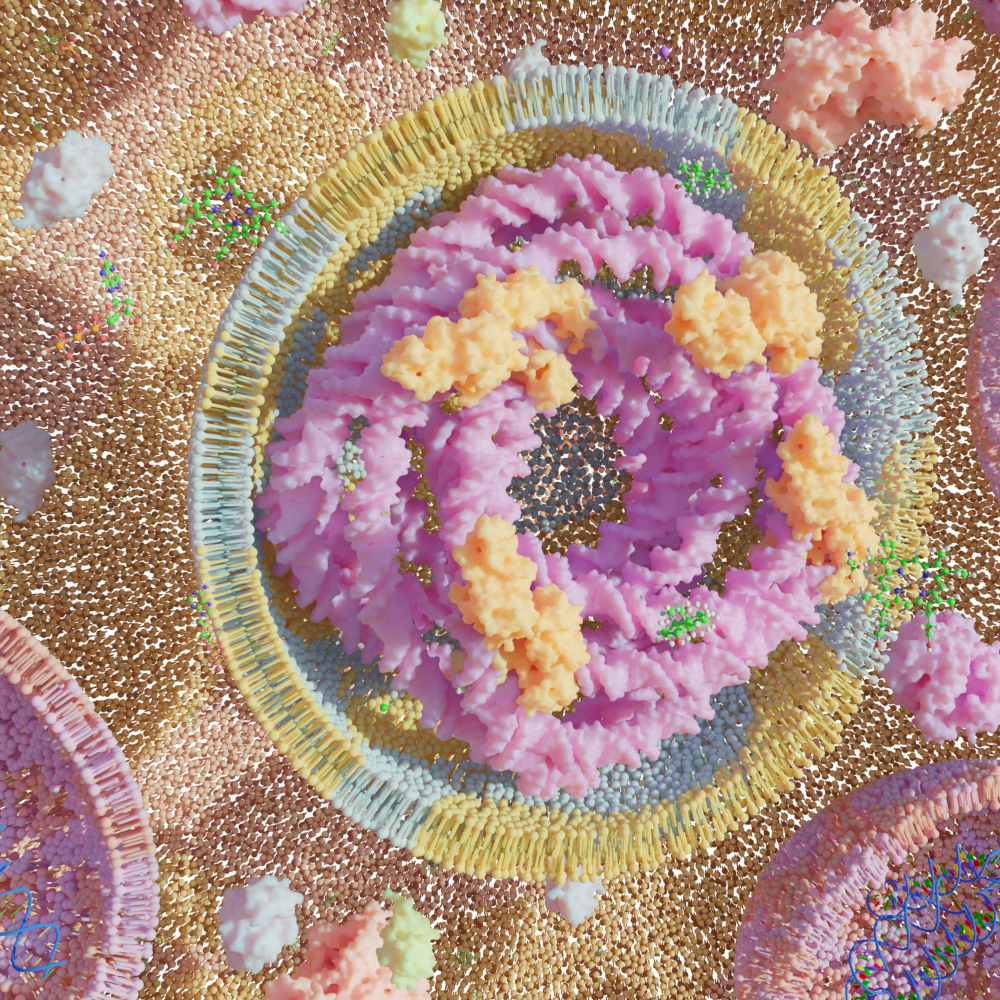
Regarding the units, 1 centimeter equals 2 angstroms. The default thickness of the membranes is around 4.9 nanometers and the default diameter of the cell is around 76 nanometers. All the individual modules can be used separately but they are also designed to work together following this workflow:
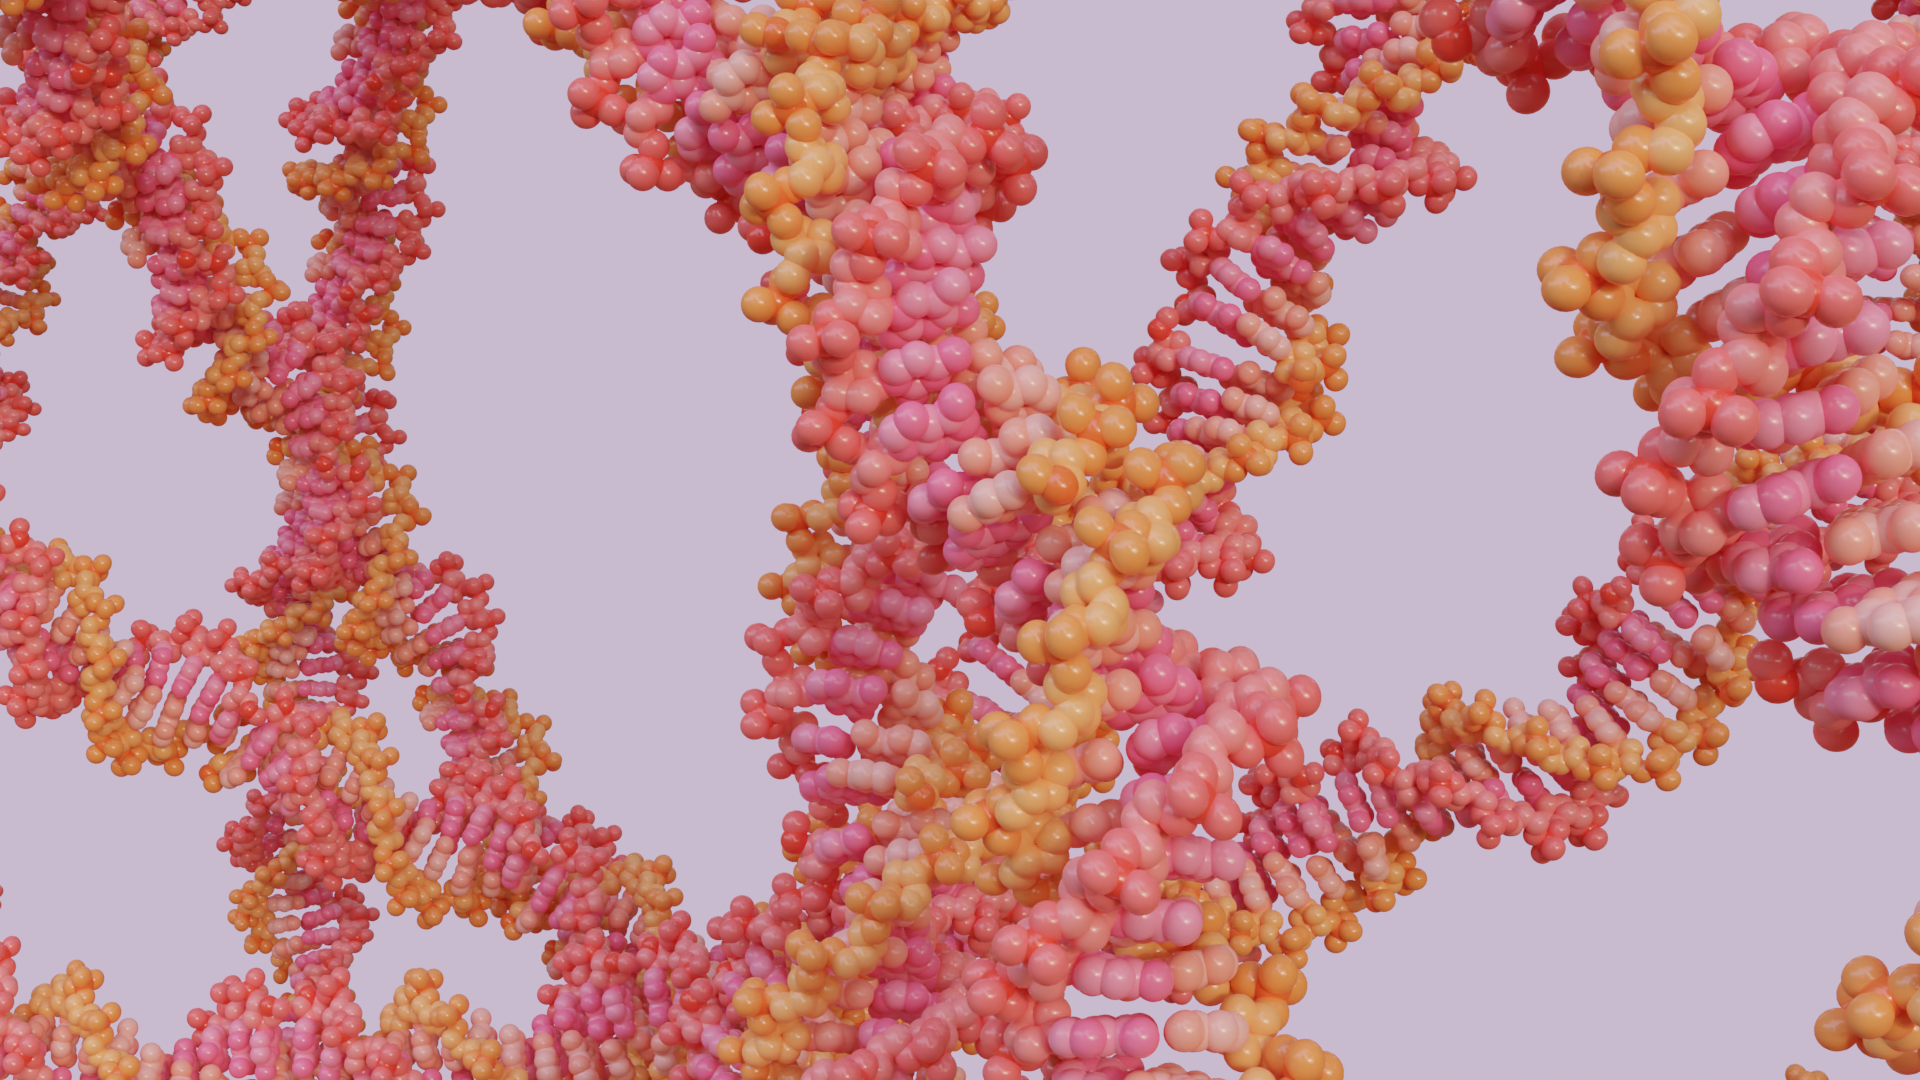
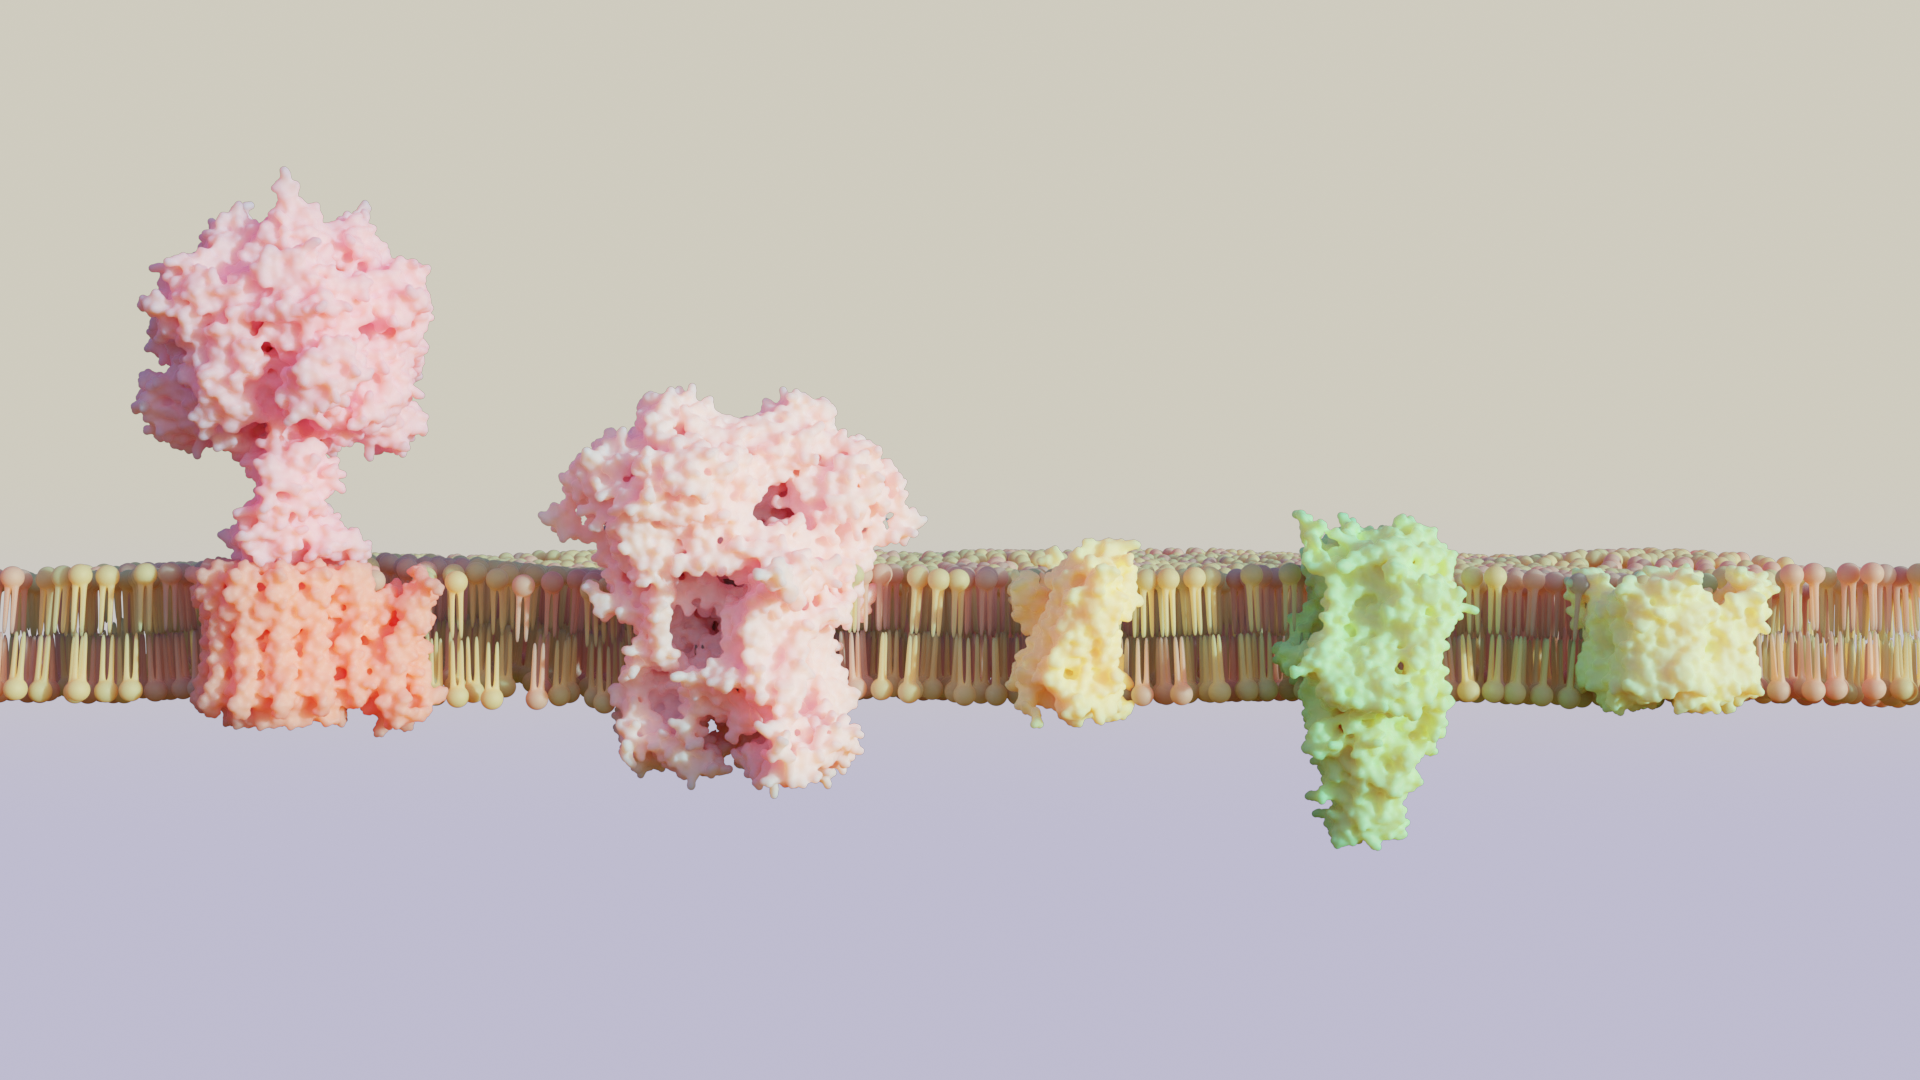
- Batch import the proteins you want using the Protein/DNA/RNA type and typing the PDB ids separated by a comma. (3d9s,1ubq,3w5a,6k7j)
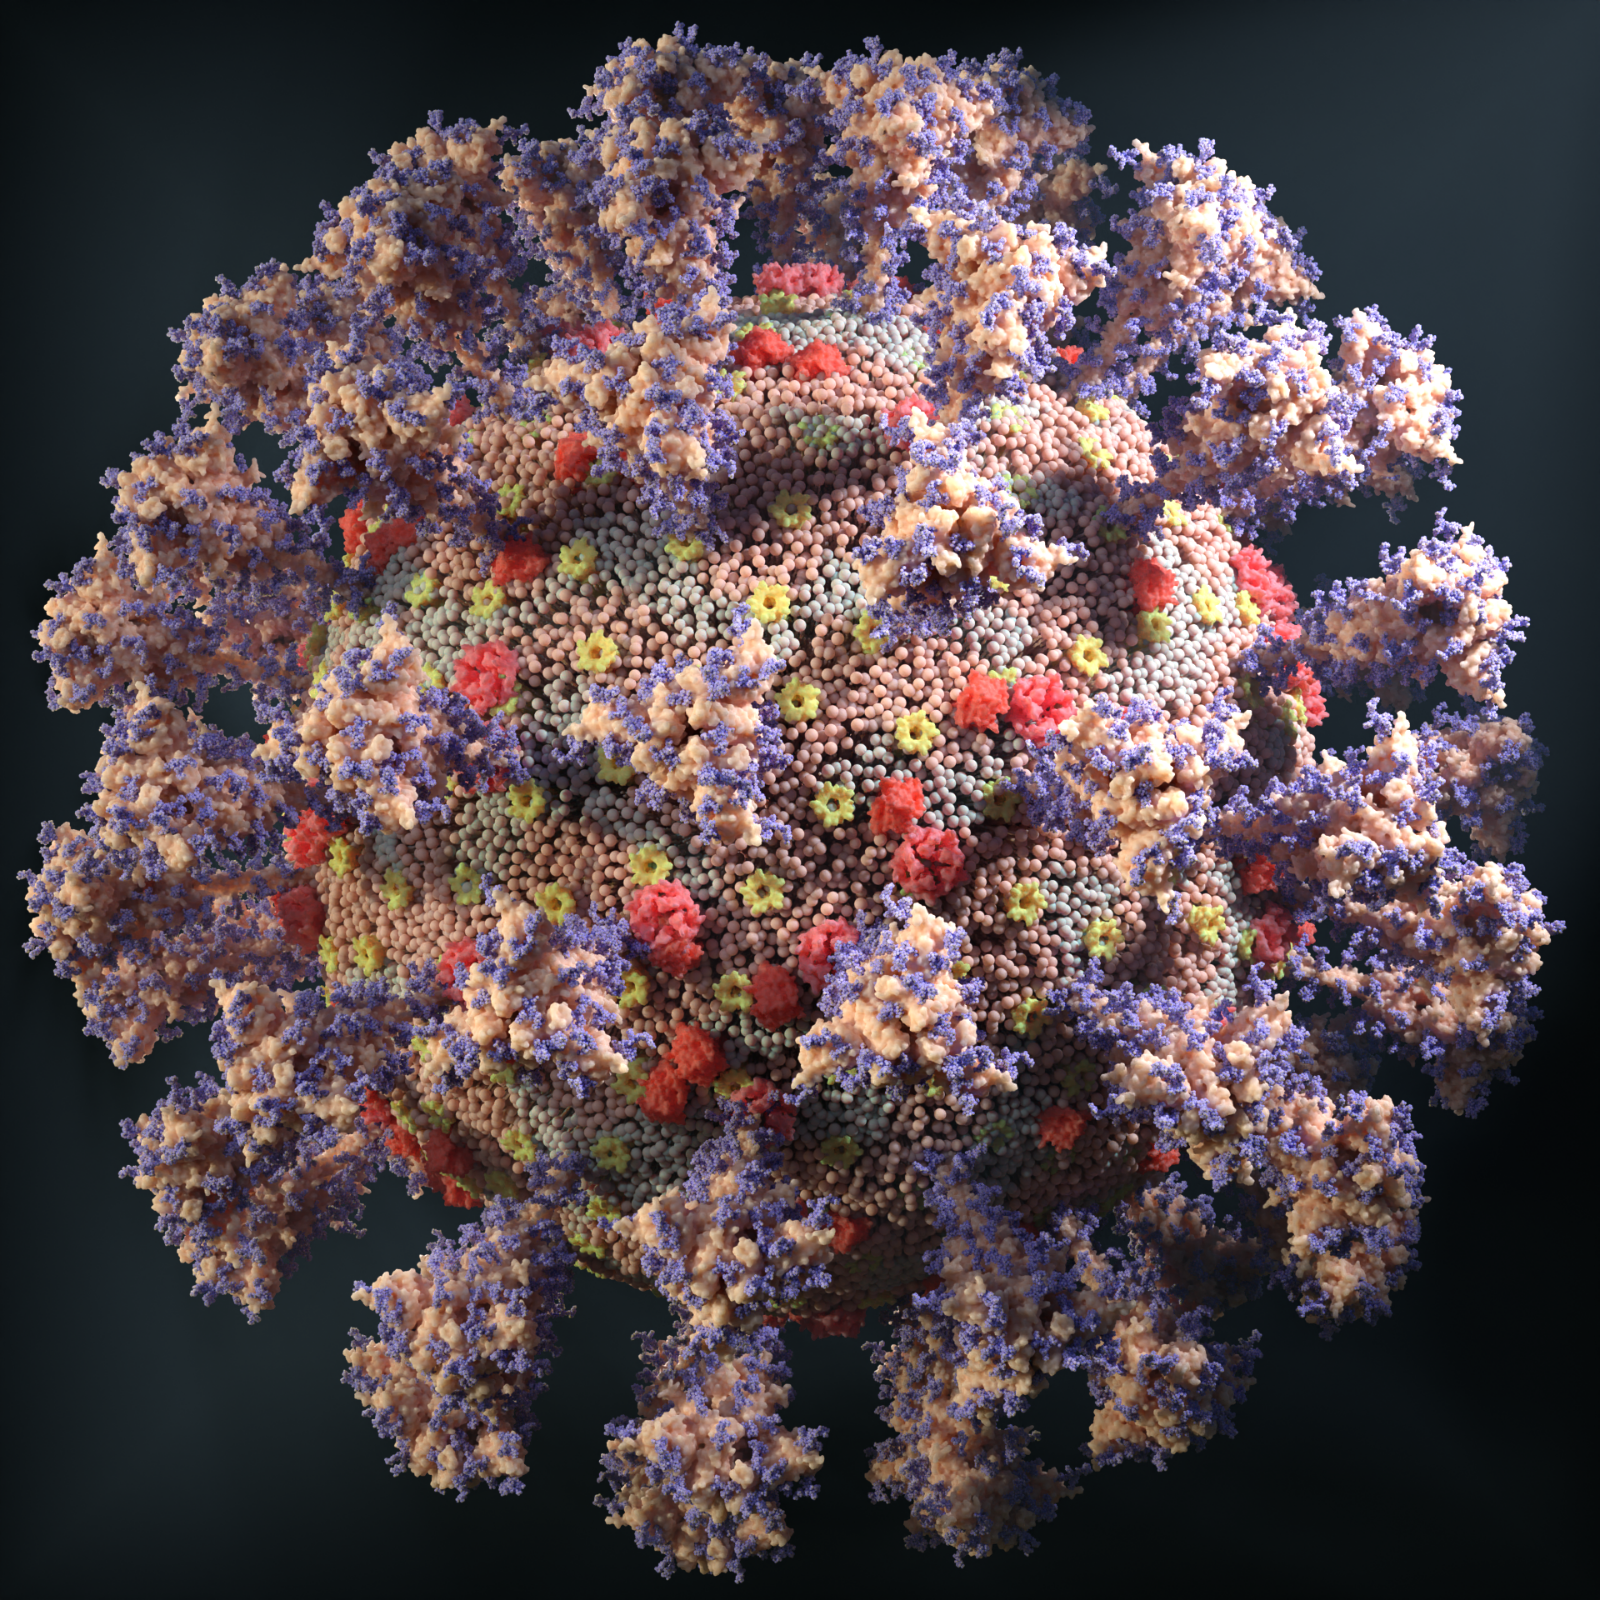
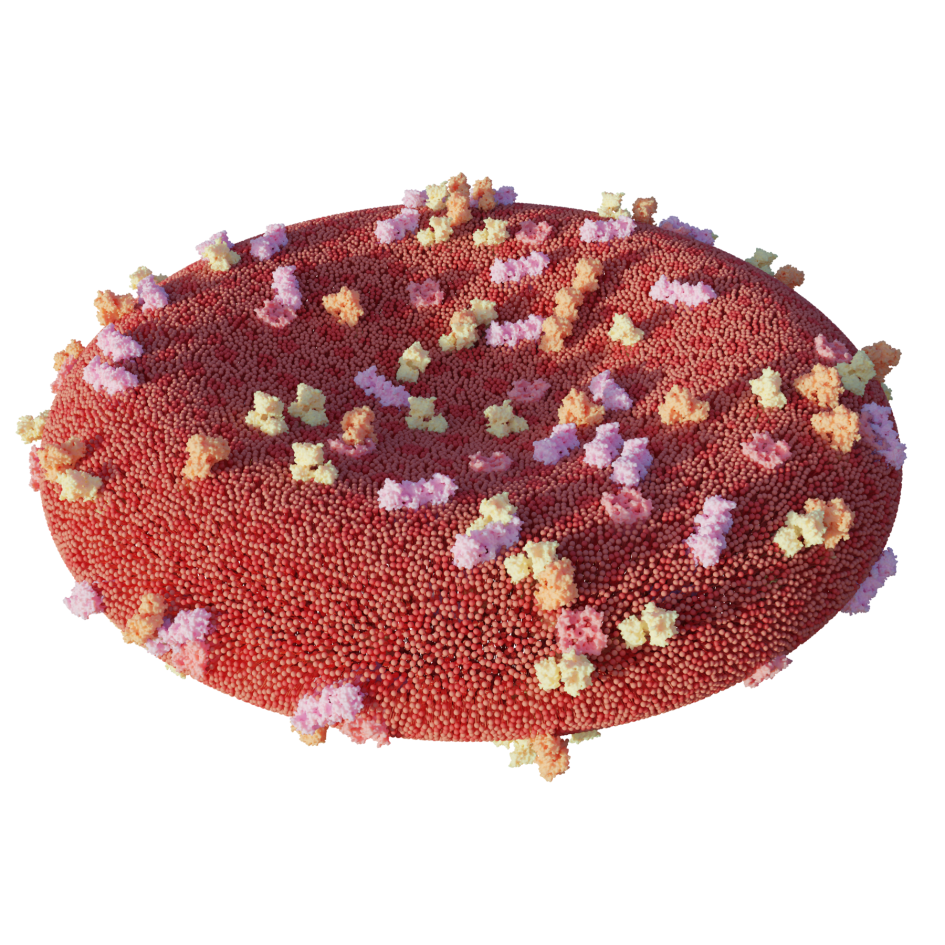
- Make a vesicle with any phase and add displacement to it.
- Select the proteins you want to scatter along the membrane (3d9s,3w5a,6k7j) and put them in a collection named Proteins.
- Select the vesicle and use scatter to add the proteins. If you add to the name of the proteins _main prior to scattering, they will be spaced out between one another otherwise it is random. (3d9s_main,3w5a_main,6k7j)
- Now you can import any ligand (GLC,HOH,PO4) you would want to have in the scene and add it to the collection Molecules. Then use the emit button with the vesicle selected to create thousands of molecules that surround your cell.
- If your goal is to visualize the outside, at this point you can add materials and prepare the scene for your render.
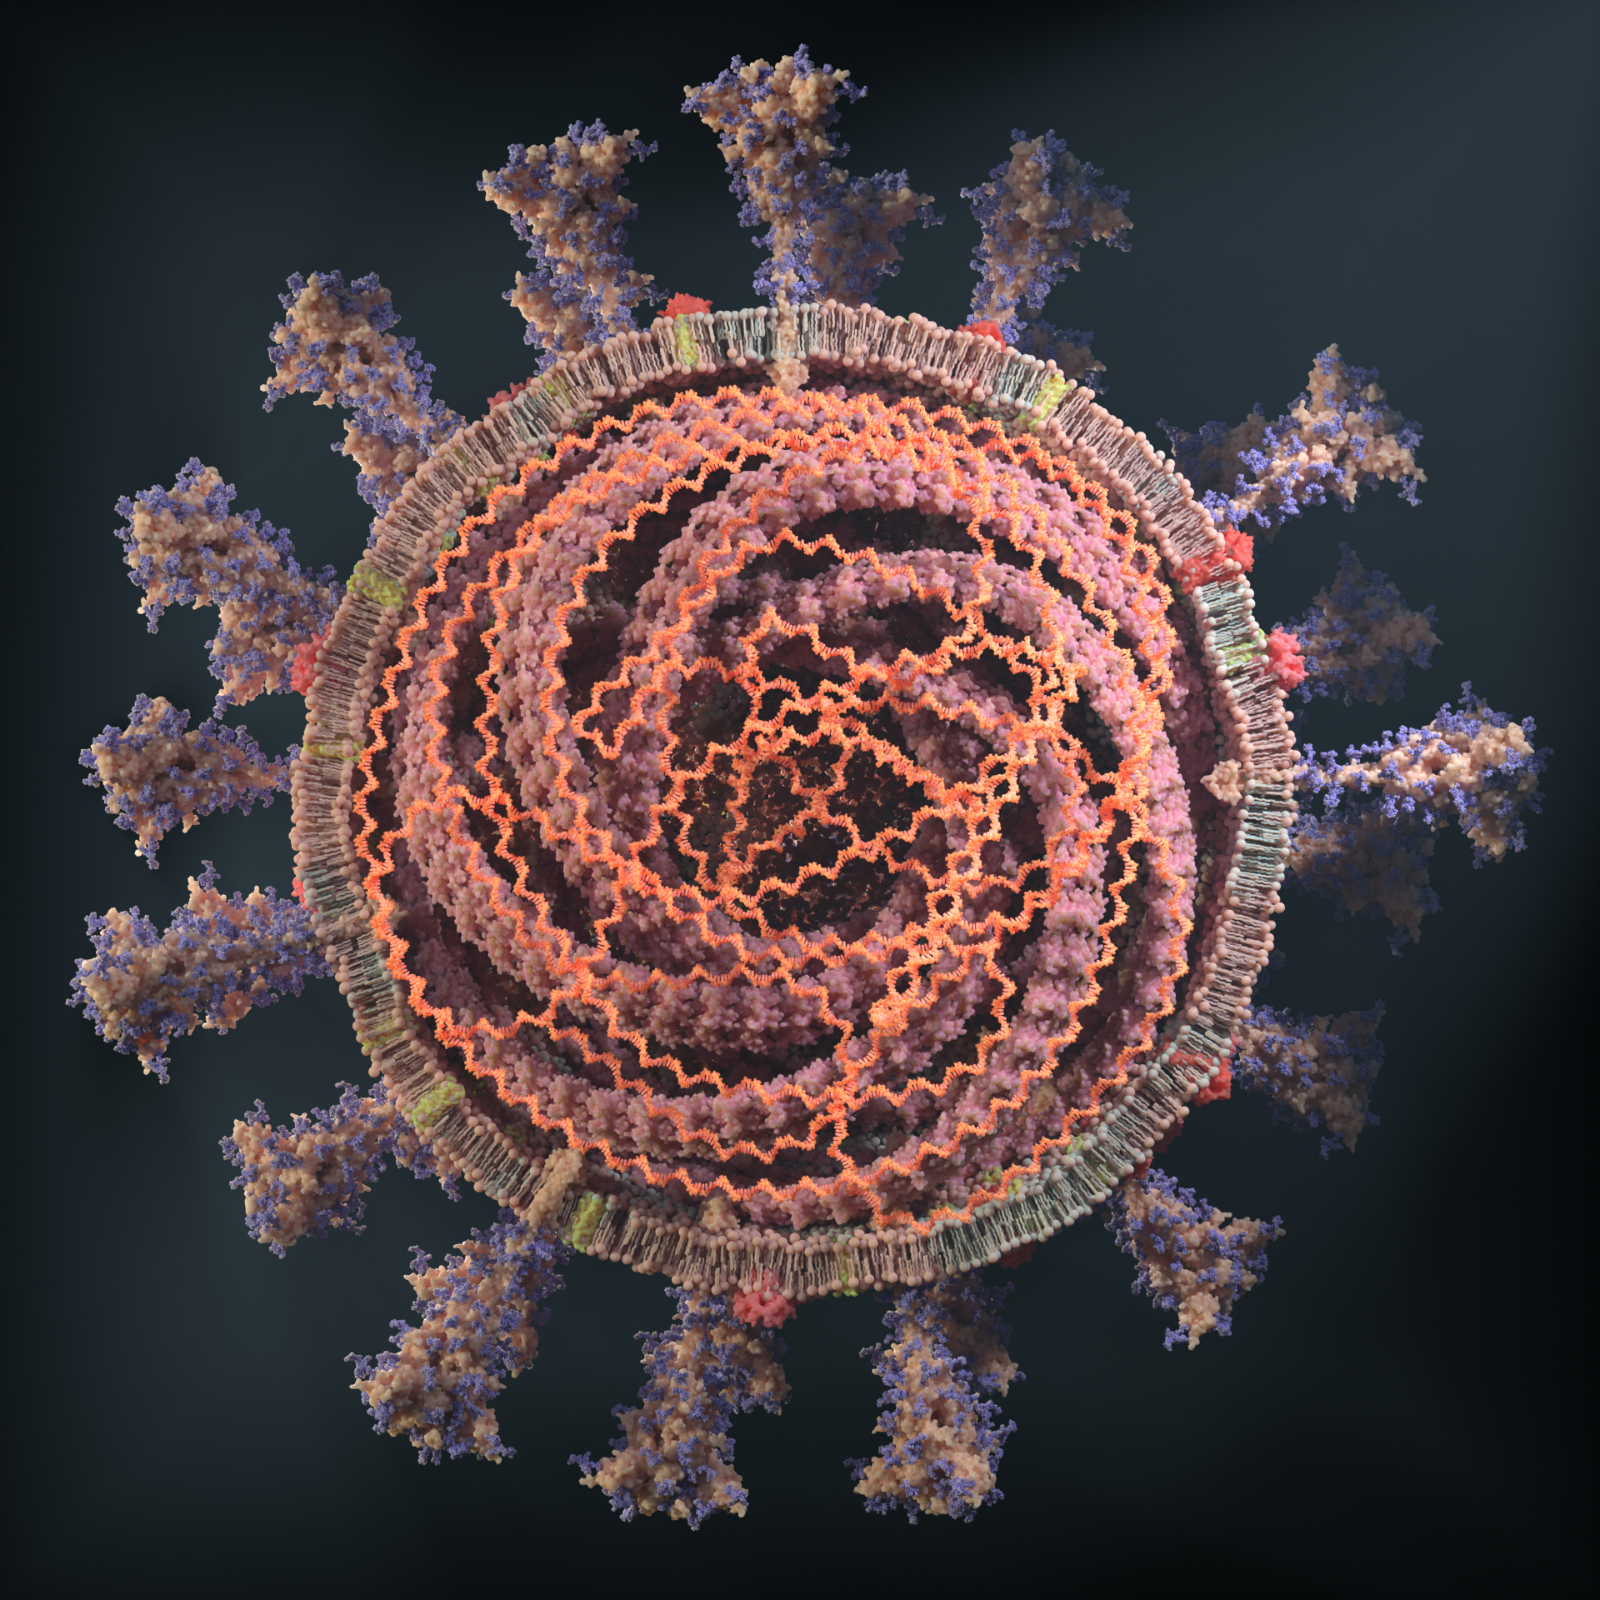
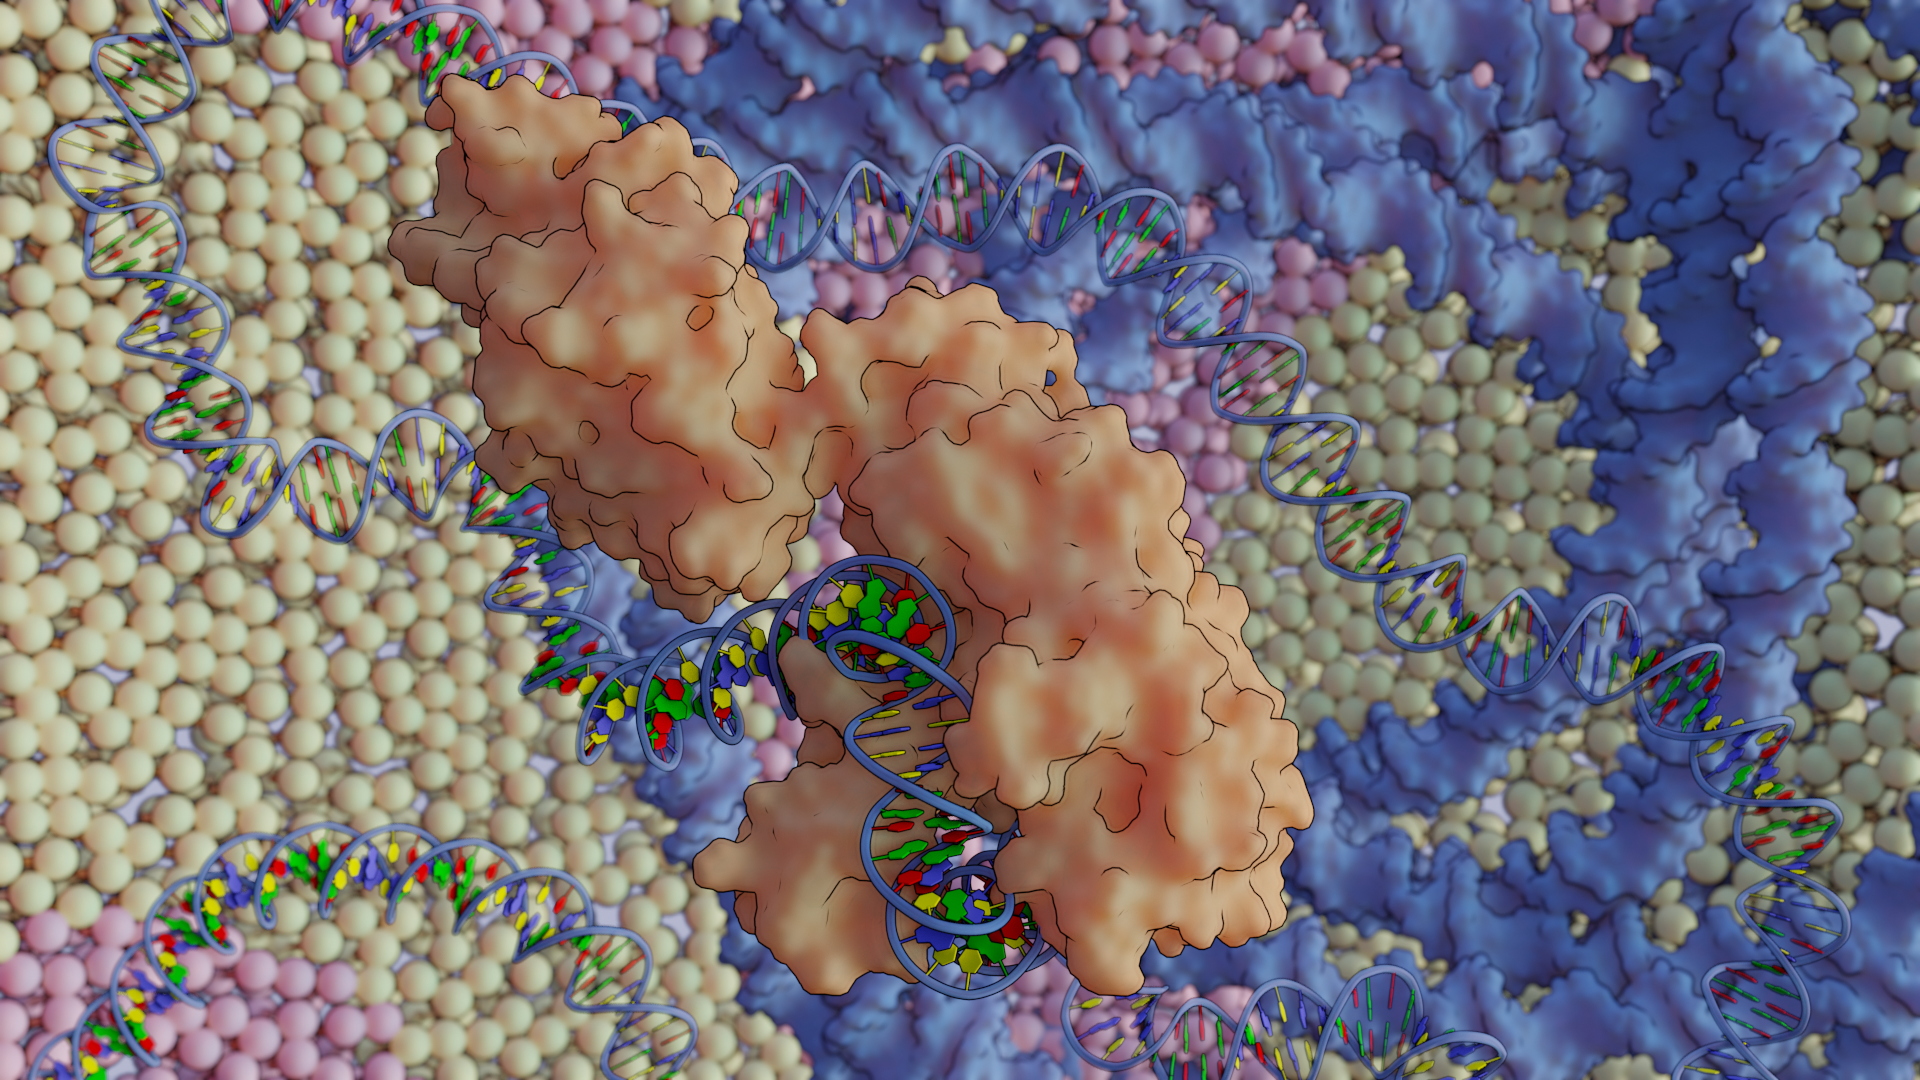
- If you want to model the inside, you can select a cross-section for both the membrane emitter and the protein emitter and add DNA/RNA inside. You can also use the remaining proteins or import new ones to add to the inside.
- Finally, you can modify the parameters found in the modifiers of each object as well as the material tab to achieve the visualization you want. The functionality of each module is explained in more detail in the remaining sections below.
Installation
In order to have full functionality of the importer, this add-on requires two open-source programs that can easily be installed. The first one is PyMOL, it is needed to automatically download and create the main visualization types. PyMOL can be installed from https://github.com/schrodinger/pymol-open-source. The second program that is needed to import vertex color, as well as the visualization balls and sticks, is MeshLab. In this case, any version before 2020.02 works and can be installed from https://github.com/cnr-isti-vclab/meshlab/releases/tag/Meshlab-2020.02. Of course, Blender is also needed. This add-on works with any 2.9 versions, however, I suggest any of the 2.93 LTS versions that can be found in the following link https://www.blender.org/download/lts/ in the changelog as a zip file. The final thing to do is to modify a text file found within the addon zip to inlcude the path to PyMOL and Meshlab the following youtube videos describe the process in more detail. For linux and mac open-source PyMOL needs to be compiled. For windows pre-compiled versions exists please follow the instruction provided in the following page of the PyMOL wiki https://pymolwiki.org/index.php/Windows_Install.
Windows
https://www.youtube.com/watch?v=nUlEhR4-3uI&t=3s
Linux/Mac
https://www.youtube.com/watch?v=Q6c2sBccwhA&t=13s
The install method below only works for Bio Blender version 1.2
Linux
After you have unzipped all the downloaded packages in the respective folders you want to keep them. In my case, it will be /home/USERNAME/programs then you can add the path to the .bashrc or the .profile found in the home directory by adding the following 3 lines:
export PATH=/home/USERNAME/programs/blender/blender-2.93.3-linux-x64:$PATH
export PATH=/home/USERNAME/programs/MeshLab2020.02-linux/meshlab_linux_portable:$PATH
export PATH=/home/USERNAME/programs/PyMOL-2.5.2_293-Linux-x86_64-py37/pymol:$PATH
For MeshLab you also want to go to the folder and do chmod +x meshlabserver. Then you can reopen the terminal or type source .bashrc or source .profile then you can type blender and it will open and you can now install the add-on by downloading the zip and using the user preferences, install the add-on and select the downloaded zip file.
Mac
For MacOS I suggest installing PyMOL from a package manager such as Homebrew. To install this you can type in the terminal:
/bin/bash -c "$(curl -fsSL https://raw.githubusercontent.com/Homebrew/install/HEAD/install.sh)"
After Homebrew has been install you can install PyMOL by typing:
brew install brewsci/bio/pymol
To link PyMOL to you path you can finally do:
brew link pymol
After you have installed PyMOL and installed Blender and Meshlab using the appimages then you need to edit the .profile file found in the home directory to do this you can open the file with any text editor for example for vim it would be vi .profile once it is open you want to add the paths of both these applications by adding the following lines at the end of the file.
export PATH=/Applications/Blender.app/Contents/MacOS:$PATH
export PATH=/Application/meshlab.app/Contents/MacOS:$PATH
After doing this, open the command prompt, and type blender.
You can now install the add-on by downloading the zip, going to
Blender, and selecting edit, preferences, add-ons, install and select
the downloaded zip file.
Windows
After you have installed both PyMOL, MeshLab, and Blender. Type env in the search bar, press the Environment Variables button, under the system variables look for the one with the variable name Path, select it and press edit. Then press the new button and add the path for each of the programs if you kept everything default they should be the following paths:
C:\Program Files\VCG\MeshLab
C:\Users\USERNAME\AppData\Local\Schrodinger\PyMOL2
C:\Program Files\Blender Foundation\Blender 2.93
After doing this, press ok on all the menus, open the command prompt, and type blender. You can now install the add-on by downloading the zip, going to Blender, and selecting edit, preferences, add-ons, install and select the downloaded zip file.
Have questions about this product?
Login to message