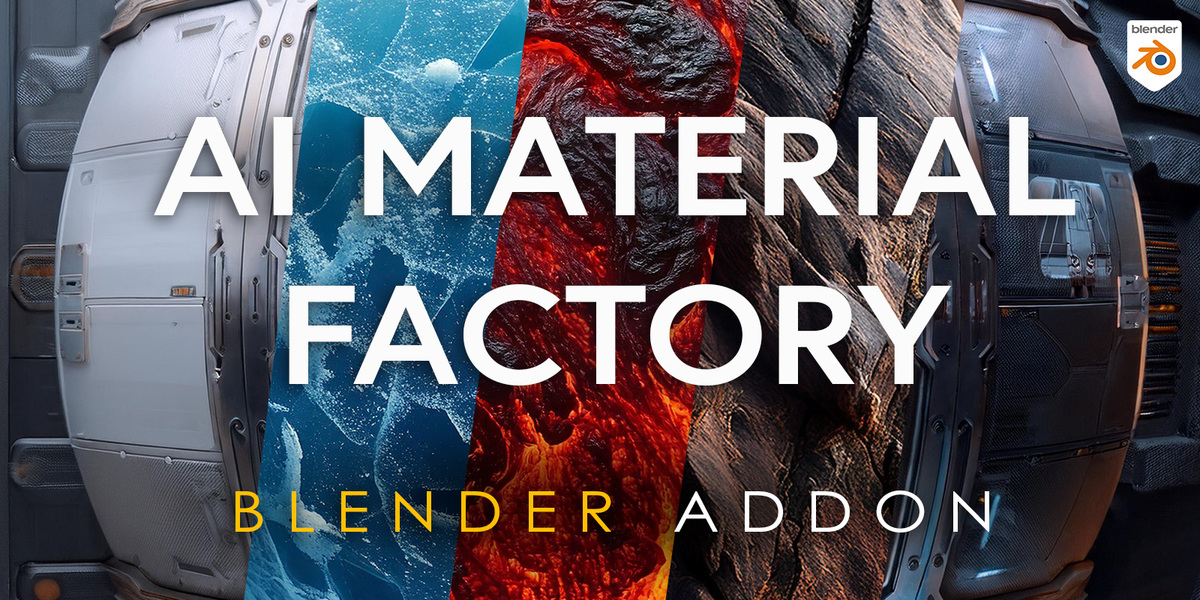
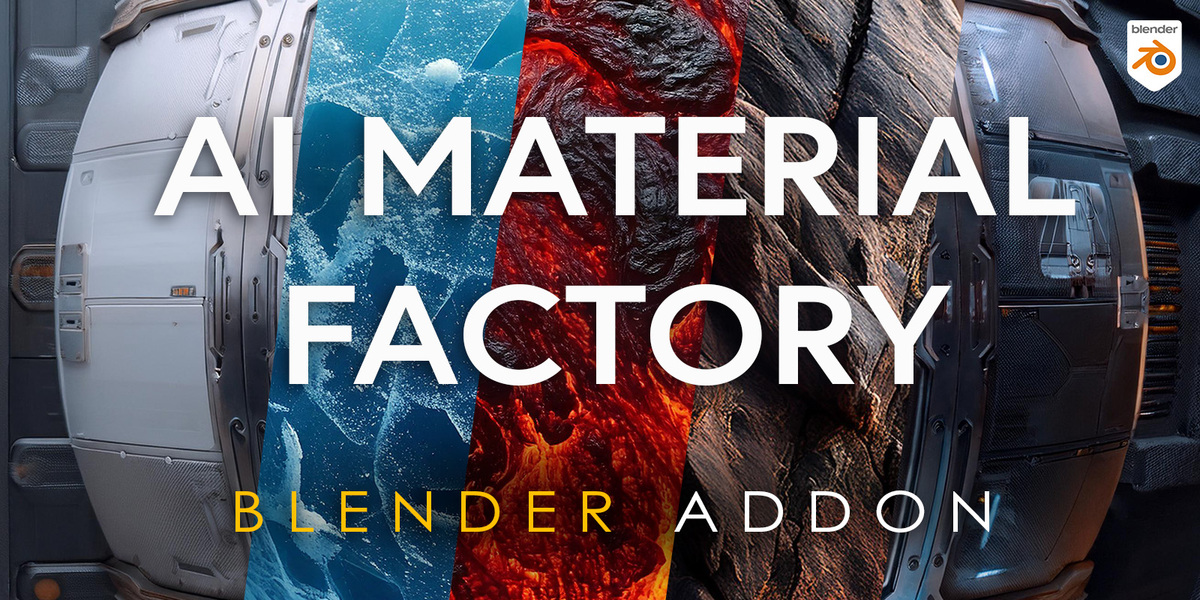
Ai Material Factory
AI Powered PBR Texture Generation in Blender
Introducing a powerful new tool for Blender that takes the hassle out of creating high-quality PBR material texture maps. This addon leverages the advanced capabilities of Stable Diffusion AI to generate stunning textures for your 3D models, with resolutions up to an impressive 8K.
Whether you're working on games, animations, or any 3D art project, this addon provides the detail and realism you're after. Plus, with built-in AI upscaling, you can easily enhance textures without losing quality.
Key Features:
- AI-Generated PBR Textures: Easily create realistic textures with just a few clicks.
- Up to 8K Resolution: Get super high-quality textures for any project.
- AI Upscaling: Automatically enhance lower-res textures to higher resolutions.
- Automatic Installation: Simple and intuitive interface right inside Blender.
Cut down on time spent searching for textures or manually creating them. This addon is perfect for anyone looking to add more realism to their 3D models without the extra effort.
AI Material Factory Addon Documentation
This guide will help you install, set up, and use the PBR Texture Generator addon for Blender, which allows you to create stunning PBR material texture maps with AI-powered Stable Diffusion.
Installation Guide 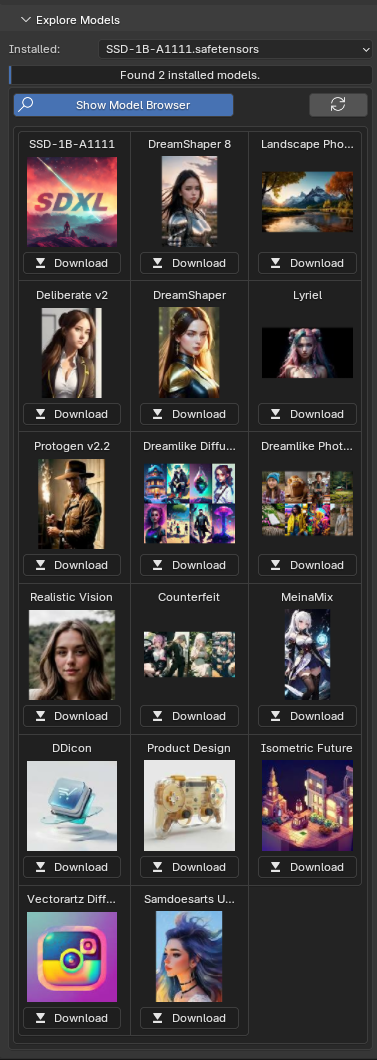
1. Install Git
Git is required to manage the AI model files. You can download and install Git from the following link:
Follow the instructions to complete the installation.
2. Install Python 3.10.6
This addon requires Python 3.10.6 to function properly. Download Python 3.10.6 from the official Python website:
During installation, make sure to check the option "Add Python to environment variables" to ensure that Blender can use Python.
3. Install the Addon and Dependencies
Once you have Python and Git installed, follow these steps:
- Open Blender and navigate to Edit > Preferences > Add-ons.
- Click on Install and select the PBR Texture Generator addon
.zipfile you downloaded. - After installation, find the addon in the list and enable it.
- In the addon preferences, click the "Install Dependencies" button. This will automatically install all required libraries.
4. Install and Run Stable Diffusion
Once the dependencies are installed:
- In the addon preferences, click the "Install and Run Stable Diffusion" button.
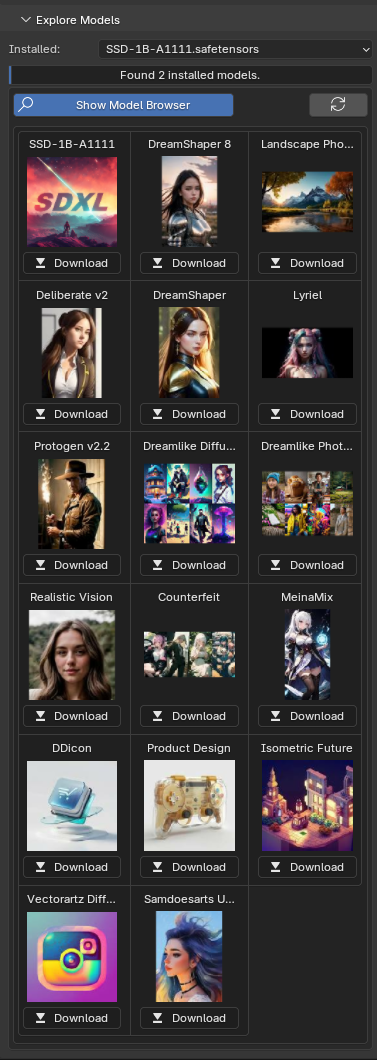
- Navigate to the Model Browser tab within the addon interface and install the SSD-1B Stable Diffusion model. This model is optimized for generating high-quality textures.
Using the Addon
1. Verify Installation
Before generating textures, ensure everything is installed correctly by clicking the "Check Installation & Connection" button in the addon preferences. This will verify that Stable Diffusion is running and the model is ready to use.
2. Generate PBR Textures
Follow these steps to create PBR texture maps:
- Select the AI model from the dropdown (we recommend using the SSD-1B model for the best results).
- Check the "Enable Tiling" option if you need seamless textures.
- Click Generate Image to create a texture.
- After the image is generated, click Generate PBR Maps to create the complete set of PBR material maps (albedo, normal, roughness, etc.).
3. Upscale to 8K
Once you are satisfied with the generated textures, you can upscale them to 8K resolution:
- Click the "Upscale to 8K" button to enhance the texture using AI.
- The upscaling process adds enhanced details, perfect for high-resolution renders.
That’s it! You are now ready to create amazing PBR textures with your Blender addon. For any questions or troubleshooting, feel free to reach out through the support section of the addon page.
NOTE: *Windows Only for Automatic Installation Currently* Please send me a message if it does not work. I will create a coupon code for you.
| Sales | 90+ |
| Customer Ratings | 5 |
| Average Rating | |
| Dev Fund Contributor | |
| Published | about 1 month ago |
| Blender Version | 4.2 |
| Extension Type | Legacy Add-on |
| License | Royalty Free |
Have questions before purchasing?
Contact the Creator with your questions right now.
Login to Message