 Makatopia
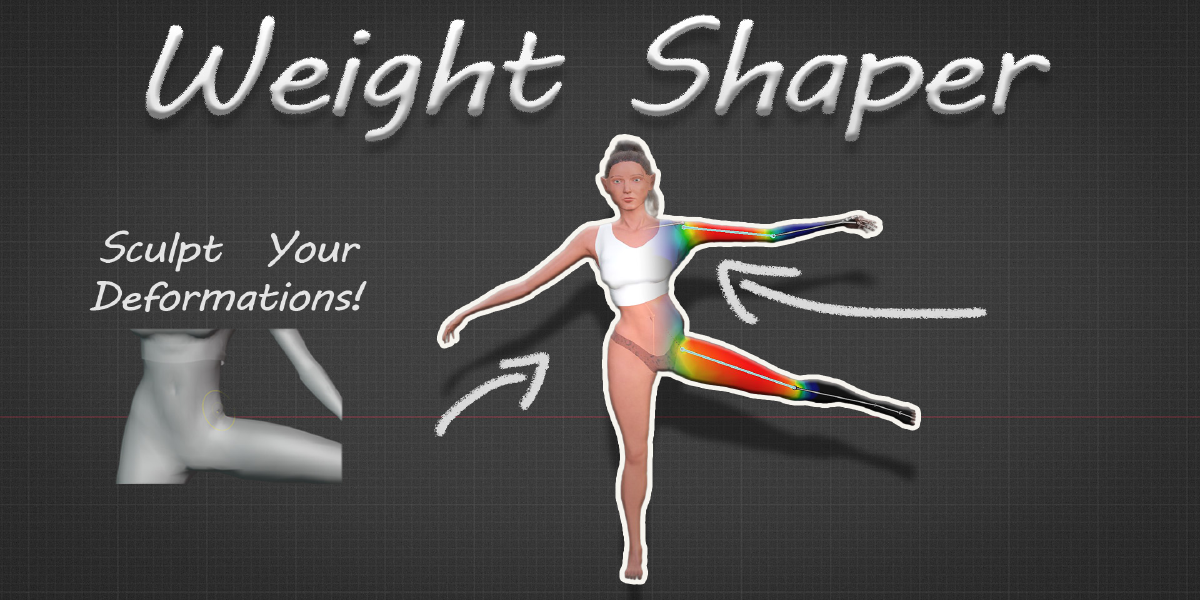
Weight Shaper Addon Documentation
Welcome to the Weight Shaper documentation. Here, we'll cover everything from the initial setup to a detailed step-by-step guide on using the addon. You'll also find a thorough explanation of the algorithm settings to customize your experience.
Installation Guide:
- Open Blender and navigate to Edit > Preferences.
- In the Preferences window, switch to the "Add-ons" tab.
- Click on the "Install..." button at the top of the window.
- Navigate to the location where you downloaded the addon zip file, select it, and click "Install Add-on".
- The addon should now appear in the list of addons. It will be disabled by default. To enable it, tick the checkbox on the left side of the addon entry.
- The addon is now installed and enabled.
Please note: To update the addon, make sure to uninstall the previous version before installing the new one. To do this, find the addon in the list, click on it to expand it, and click the "Remove" button. After removing the old version, restart Blender and then install the new version as described above.
Detailed Functionality
Step-by-Step Instructions for Using Weight Shaper:
- Begin by parenting your object to the armature using Blender's Automatic Weights feature. This establishes the foundational relationship between your mesh and the armature.
- Switch to Weight Paint mode and manipulate the armature into the desired pose that requires adjustments.
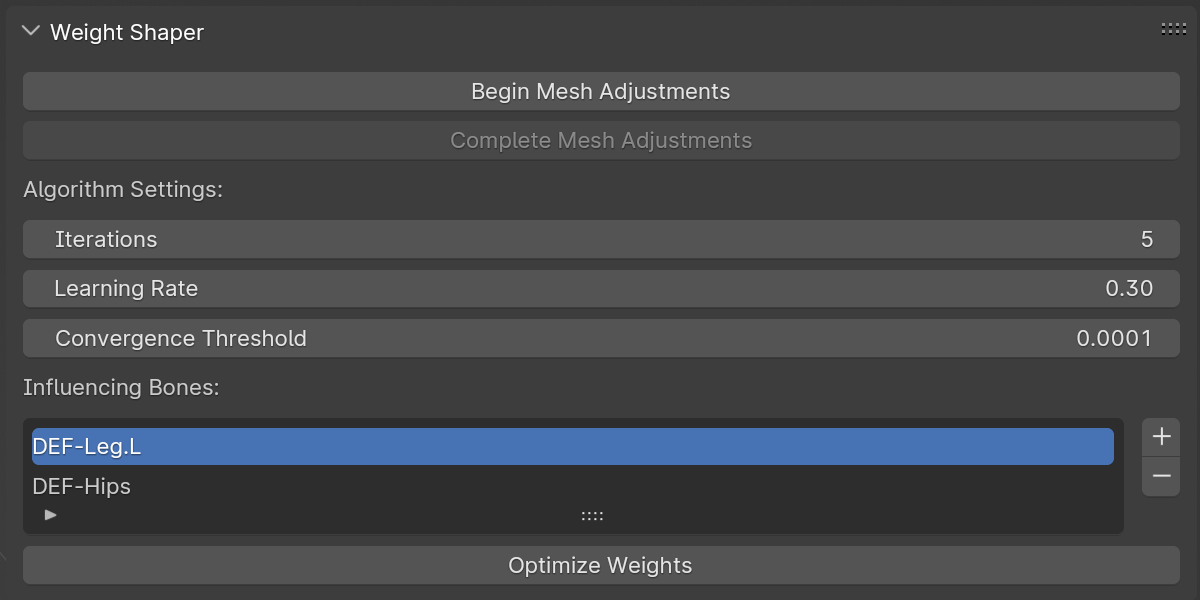
- Rather than manually correcting the weight paint, activate Weight Shaper by clicking on "Begin Mesh Adjustments." This action creates a shape key for the current pose and transitions you into Edit Mode with the mesh conforming to the posed position.
- Within Edit Mode, adjust the vertices to correct the pose as desired. If necessary, you have the flexibility to switch to Sculpt Mode.
- Once you're satisfied with the vertex adjustments, select "Complete Mesh Adjustments." This command will remove the previously created shape key and revert you to Weight Paint mode, ready for weight optimization.
- Before running the optimization, specify which bones should influence the weight distribution in the "Influencing Bones" list. Here, you can also fine-tune the algorithm settings to suit your needs.
- With everything set, press 'Optimize Weights' to initiate the algorithm. Weight Shaper will now adjust the weight paint to match the vertex positions established during your Edit or Sculpt Mode adjustments, ensuring your deformations are supported as intended.
Vertex Movement in Edit Mode
When adjusting vertices in Edit Mode, it's important to move them in a way that aligns with the possible movements of the bones influencing them. This means considering the realistic range and direction of motion each bone allows for its vertices. If a vertex is moved to a position that isn't achievable with the bone's influence, the algorithm might struggle to accurately reflect your intended position.
This doesn't mean you have to be overly cautious with every move; it's more about being aware of the natural limitations. You're free to experiment and then let the algorithm run. Afterward, you can review the results and make any necessary corrections, keeping in mind the practical constraints of bone influence.
Understanding Weight Distribution
Getting to know with how weights are distributed by the algorithm is crucial for achieving the best results with the Weight Shaper addon.
- Influencing Bones List: First, the weights are split among the bones (vertex groups) added to the "Influencing Bones" list. It doesn't matter if a bone is actively selected in the list; if it's added, the algorithm will include it in the optimization process.
-
Normalization Process: It's important to note that vertices you've adjusted, which are influenced by a bone not on the "Influencing Bones" list, may still have their weights adjusted due to the normalization process. This is a crucial aspect to understand.
-
Practical Example:
-Imagine you're adjusting the hips deformation on a character. Typically, when you apply automatic weights in Blender to your character, the weights on the hips get split between bones like 'Hip', 'Leg', and 'Spine'.
-Suppose you posed your character by raising a leg and tweaked the mesh of the hips. If you add only the "Leg" bone to the "Influencing Bones" list, the algorithm will try to move the vertices to their target position using just this bone's influence. However, since the 'Hip' and 'Spine' bones also influenced these vertices previously, their weights will be altered due to the normalization process, potentially leading to unsatisfactory results as the algorithm has limited influence to work with.
-Conversely, if you add both "Leg" and "Hip" bones to the list, the algorithm has more flexibility. It primarily adjusts the weights between 'Hip' and 'Leg', while also appropriately modifying the 'Spine' bone's weights through normalization. This approach generally yields better results.
To visually demonstrate the concepts explained in our practical example about hip deformation adjustment, I conducted two tests. In the first test, I fixed the hip deformations using only the 'Leg.L' bone in the "Influencing Bones" list. In the second test, I used both 'Leg.L' and 'Hips' bones for the adjustment. Observe how these choices impacted the deformations of the 'Spine' bone. It's important to note that I didn't directly modify the 'Spine' bone at all; its changes are a side effect of our tests. Additionally, both tests were performed right after parenting the object with the default Automatic Weights in Blender.

Understanding this process will help you make more informed decisions when using the Weight Shaper addon, leading to more accurate and satisfying outcomes.
Algorithm Settings
Learning Rate
The Learning Rate is a critical parameter in the weight optimization process that determines the size of the steps taken towards the minimum error during the optimization. In essence, it controls how quickly or slowly the algorithm adjusts the weights of the vertices.
From the provided tests, we can observe that:
A lower learning rate (e.g., 0.1) causes the algorithm to adjust weights gradually, potentially requiring more iterations to converge, but it's more precise.
An intermediate learning rate (e.g., 0.3) strikes a balance between convergence speed and stability, making it a suitable default choice.
A higher learning rate (e.g., 0.5) leads to faster convergence but can overshoot the minimum, leading to less accurate or unstable results.
In the attached screenshots of the learning rate tests, we can visualize the impact of different learning rates on the convergence of the algorithm. The x-axis represents the number of iterations, and the y-axis shows the vertex position differences. The dotted line marks the convergence threshold, indicating the point where changes are sufficiently small for the algorithm to stop. Selecting the right learning rate depends on the complexity of the mesh and the user’s need for precision versus speed.


Converence Threshold
The Convergence Threshold represents the minimum acceptable change in vertex positions between iterations of the optimization process. A smaller threshold means the algorithm will run more iterations to achieve finer adjustments, potentially leading to more precise weight painting but also taking more time. A higher threshold could lead to quicker results, but with less precision in the adjustments. It's a balance between accuracy and computational efficiency. For most users, a default value of 0.0001 strikes a good balance, stopping the process once changes are imperceptibly small, ensuring a smooth outcome without excessive computation.


Iterations
The 'Iterations' parameter determines how many times the algorithm will run to adjust the weights of your mesh based on the changes you've made. More iterations allow for a finer tuning of weights but will increase the processing time. If you're working on a complex model with many vertices, consider using a lower number of iterations to maintain performance and run the algorithm in multiple passes. This iterative approach gives you control over the optimization process without significantly slowing down your workflow.


Have questions about this product?
Login to message
| Sales | 400+ |
| Rating | 10 ratings |
| Published | over 1 year ago |
| Software Version | 4.4, 4.3, 4.2, 4.1, 4.0, 3.6 |
| License | GPL |
Discover more products like this
sculpting animation spring24 armature winter24 user friendly skinning weight paint bfcm23 loveblender 3d modeling Vertex Manipulation Character rigging efficiency vertex group Deformation Fix addon Blender Add-on rigging