 NM-8
NM-8

Install the addon in the user preferences:
/add ons: "install from file". Select the uvspectrum.py file included in the pack.
In Blender 2.7 The Menu of UV spectrum is in the misc tab of the Tools panel, left of the 3D View (shortcut T).
In Blender 2.8 it appears in the properties tab (righthand side of the 3dView) in the NM-8 Tab

- segmentbias: will group the mesh into segmentgroups. Smaller bias makes more smaller groups.
- smoothsteps: smoothens the uvmaps. This option is meant to work with organic mapping. If organic is not checked its not recommended to smooth the mesh. rather use a subdivision surface modifier set to "simple".
- organic: segments the mesh in the order from highest to lowest convexity. if unchecked the map calculation is based on cylindrical coordinates and adapted to its topology to achieve a more engineered look.
- adjacent: maps from top to bottom in case its easier to color it that way. vertical models might benefit from that.
- x=-x: is to symmetrize the map. it makes symmetric looks, but it wont produce perfect symmetry unless the mesh is perfectly symmetric around the object pivot. this is because the process is very sensitive to detailed changes of the mesh.
- mark: will mark the edges between segmentgroups as sharp edges, sharp smoothing and uv seams (just in case).
Generally you select objects and hit "map selected" to calculate uvmaps for them. Then you use these maps to texture and shade your mesh.
The Maps are calculated vertice per vertice to represent the convexity and flow of the surface. The Topology of the mesh guides the mapping while it folds out. This way a continuous mapping is achieved, that conforms to the surface.
6 different Maps are generated:
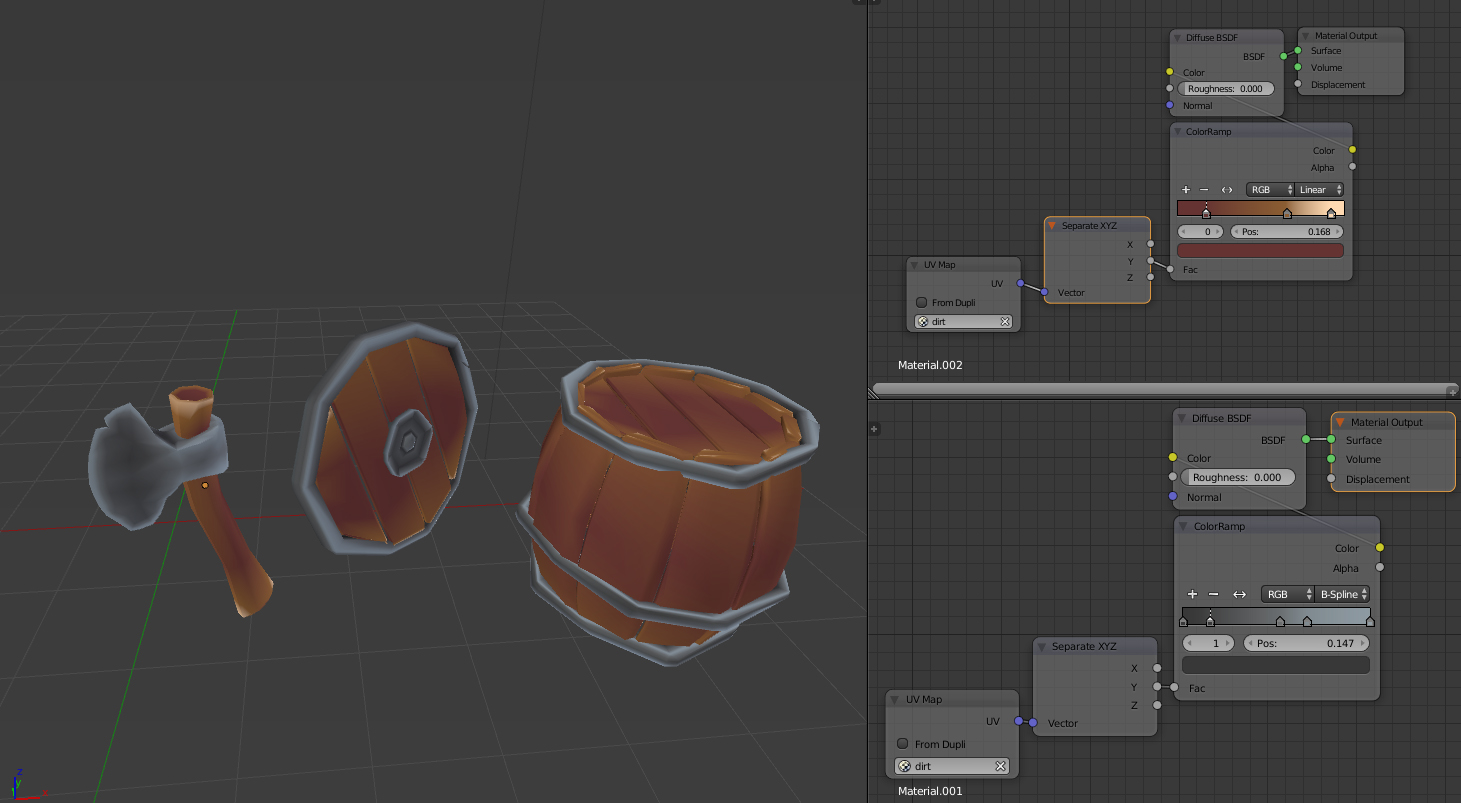
- "dirt": a map for procedural dirt textures
- "dirt diverge": a map to mask the fade of materiallayers like paint or dust
- "divergence z": a map for procedural scratch textures
- "flow gather": for dirt and scratch image textures
- "segments": to segment the mesh based on convexity
- "texture": to map greeble and detail image textures
If "mark" is checked, then a 7th UVMap is generated called "seams". It is an unwrap per segment, for unstretched and seamed texturemapping.
These maps can be used in cycles to shade and texture your model.
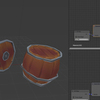
"texture" Map:
A as much as possible unstretched solution to map image textures like shown below.

greeble and scratches can be placed with this UVMap. No need to adapt the unwrap solution, or to modify the texture in another software. Every Model is mapped individually using the same texture.
The Map follows edgeflow. So if you encounter stretched results, try to alter the edges in that area or add even more detail to help the process.
The horizontal u axis of the texture will flow from convex to concave vertices, and the vertical v axis will fold to smoothly connect the segments.
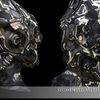
"segments" Map:
The mesh is segmented in groups based on convexity. You control the precision of the segmentation with the "segmentbias%" option. This way you can use the segmentation - x or y axis in cycles as input for color and masking gradients.

"flow gather" Map:
Simulating dirt running down the mesh this UVMap represents a solution for grainy dirt and scratch textures or procedural texture placing. Smoother alignement but stronger stretching than the "texture"Map the "flow gather"Map is good for smooth gradients like dust or dirt, or for neonlight-material the density.
It also is suitable to shade landscapes as it simulates the flow of dirt along a surface. Use Maps like shown below with the "flow-gather"Map, that have a vertical height representation (peaks are top and valleys are bottom), and a gradient of dirt or flow along the horizontal axis (left is clean, right is dirty).


textures for lava, snowy mountains and sanddunes.
Especially the vertical y "gather" component is useful as it goes around the mesh once, adding a smooth gradient that can be adjusted easily.

The "flow gather"Map turned out "image-textureable" if you turn the image 90 degree around the z axis, using a mapping node. This map can place scratchtextures and dirt textures.
The "dirt diverge", "dirt" and "divergence z" maps are good to have different gradients for additional scratches, dust and dirt textures.

Export:
Although baking would be the preferred option, the "texture"Map might serve as a single map-channel when exporting, because the "texture"Map has a good representation of the uv texturespace along the mesh. Of course using a texture as described: tileable in y and detailed in x axis.
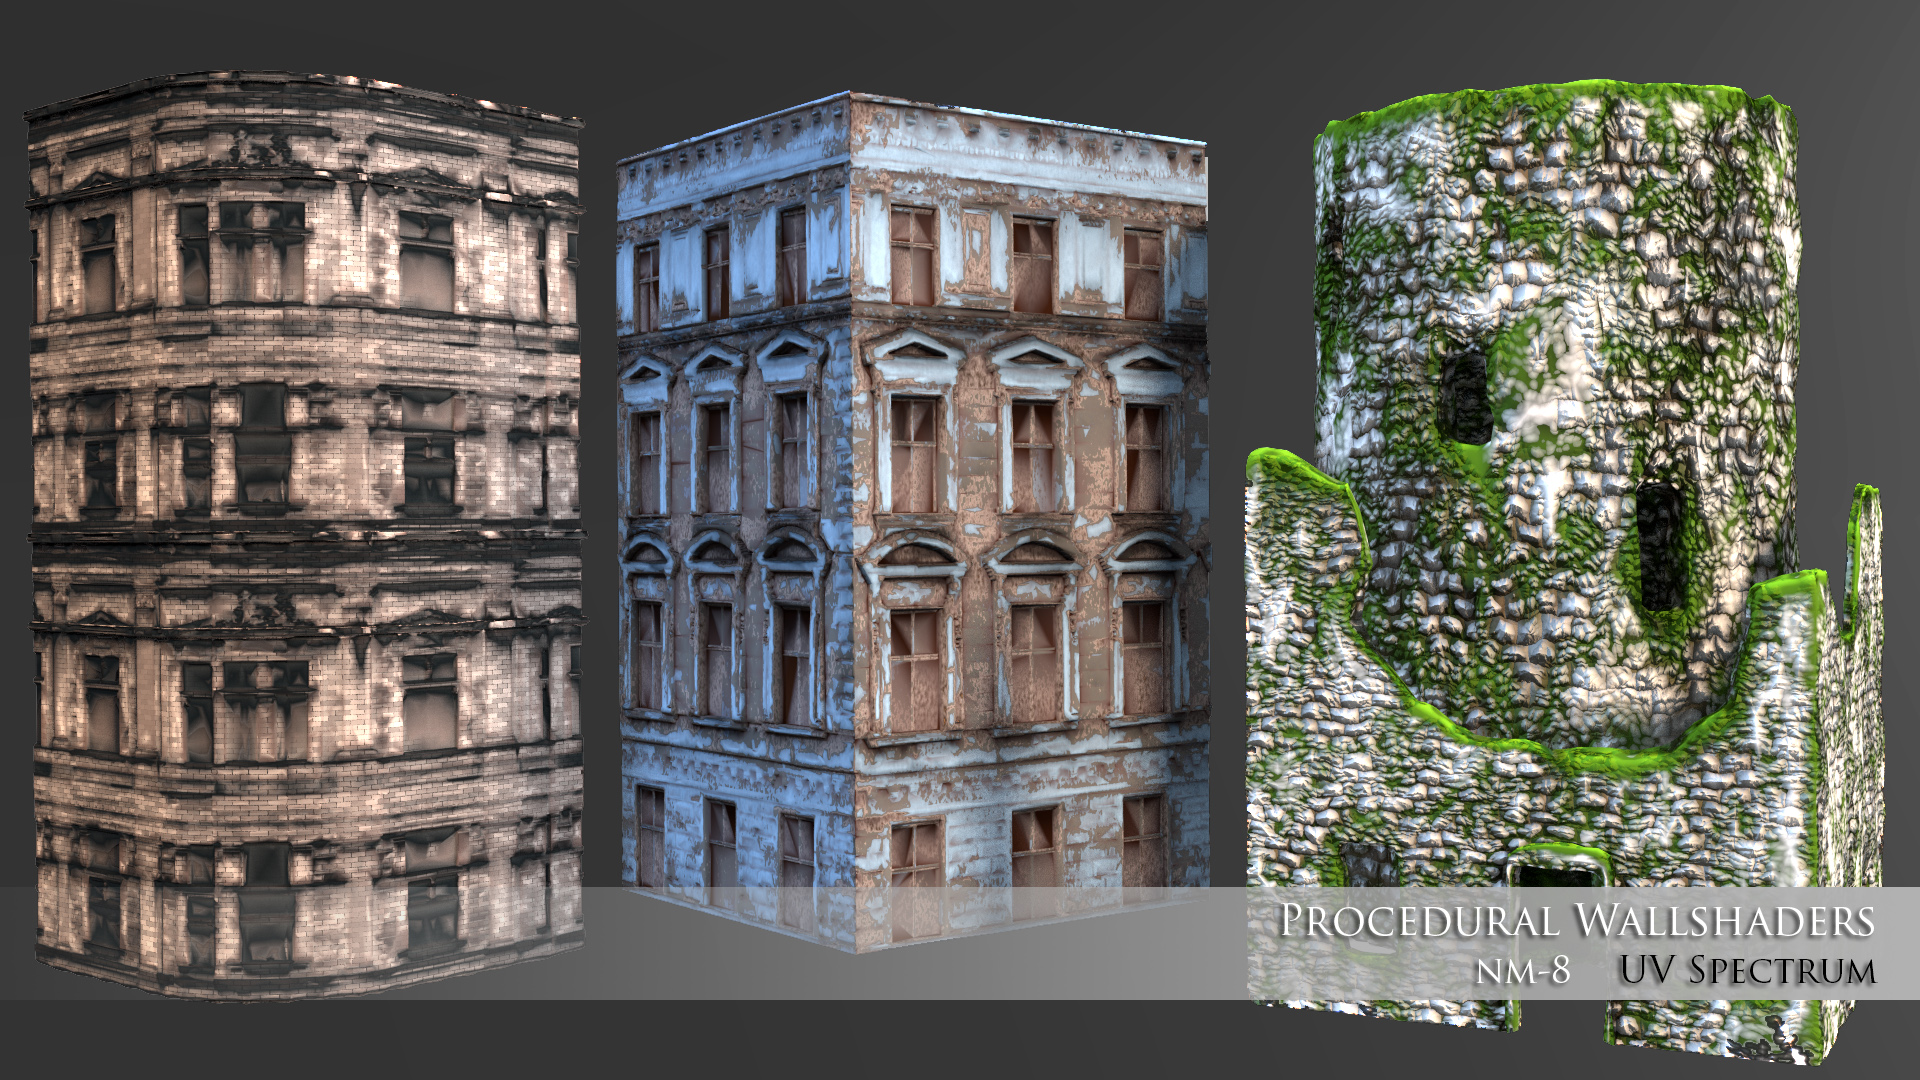
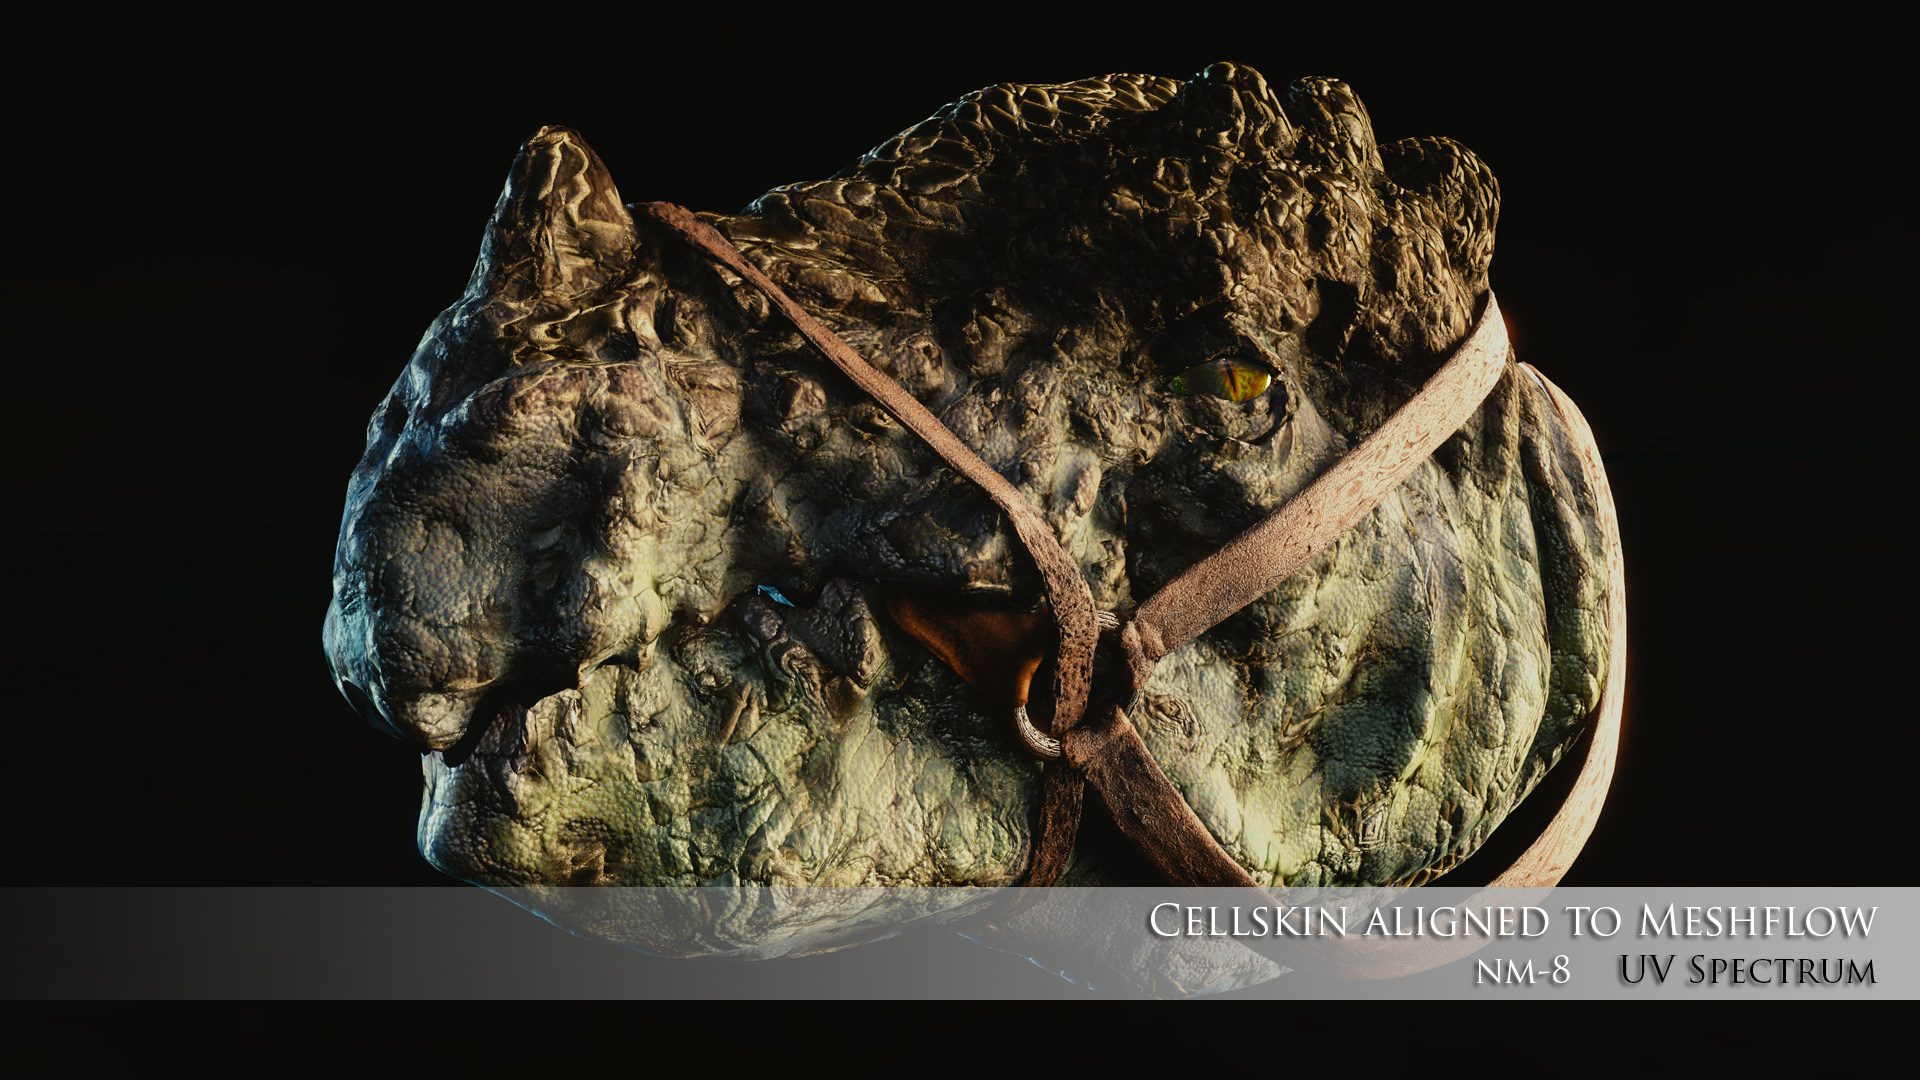
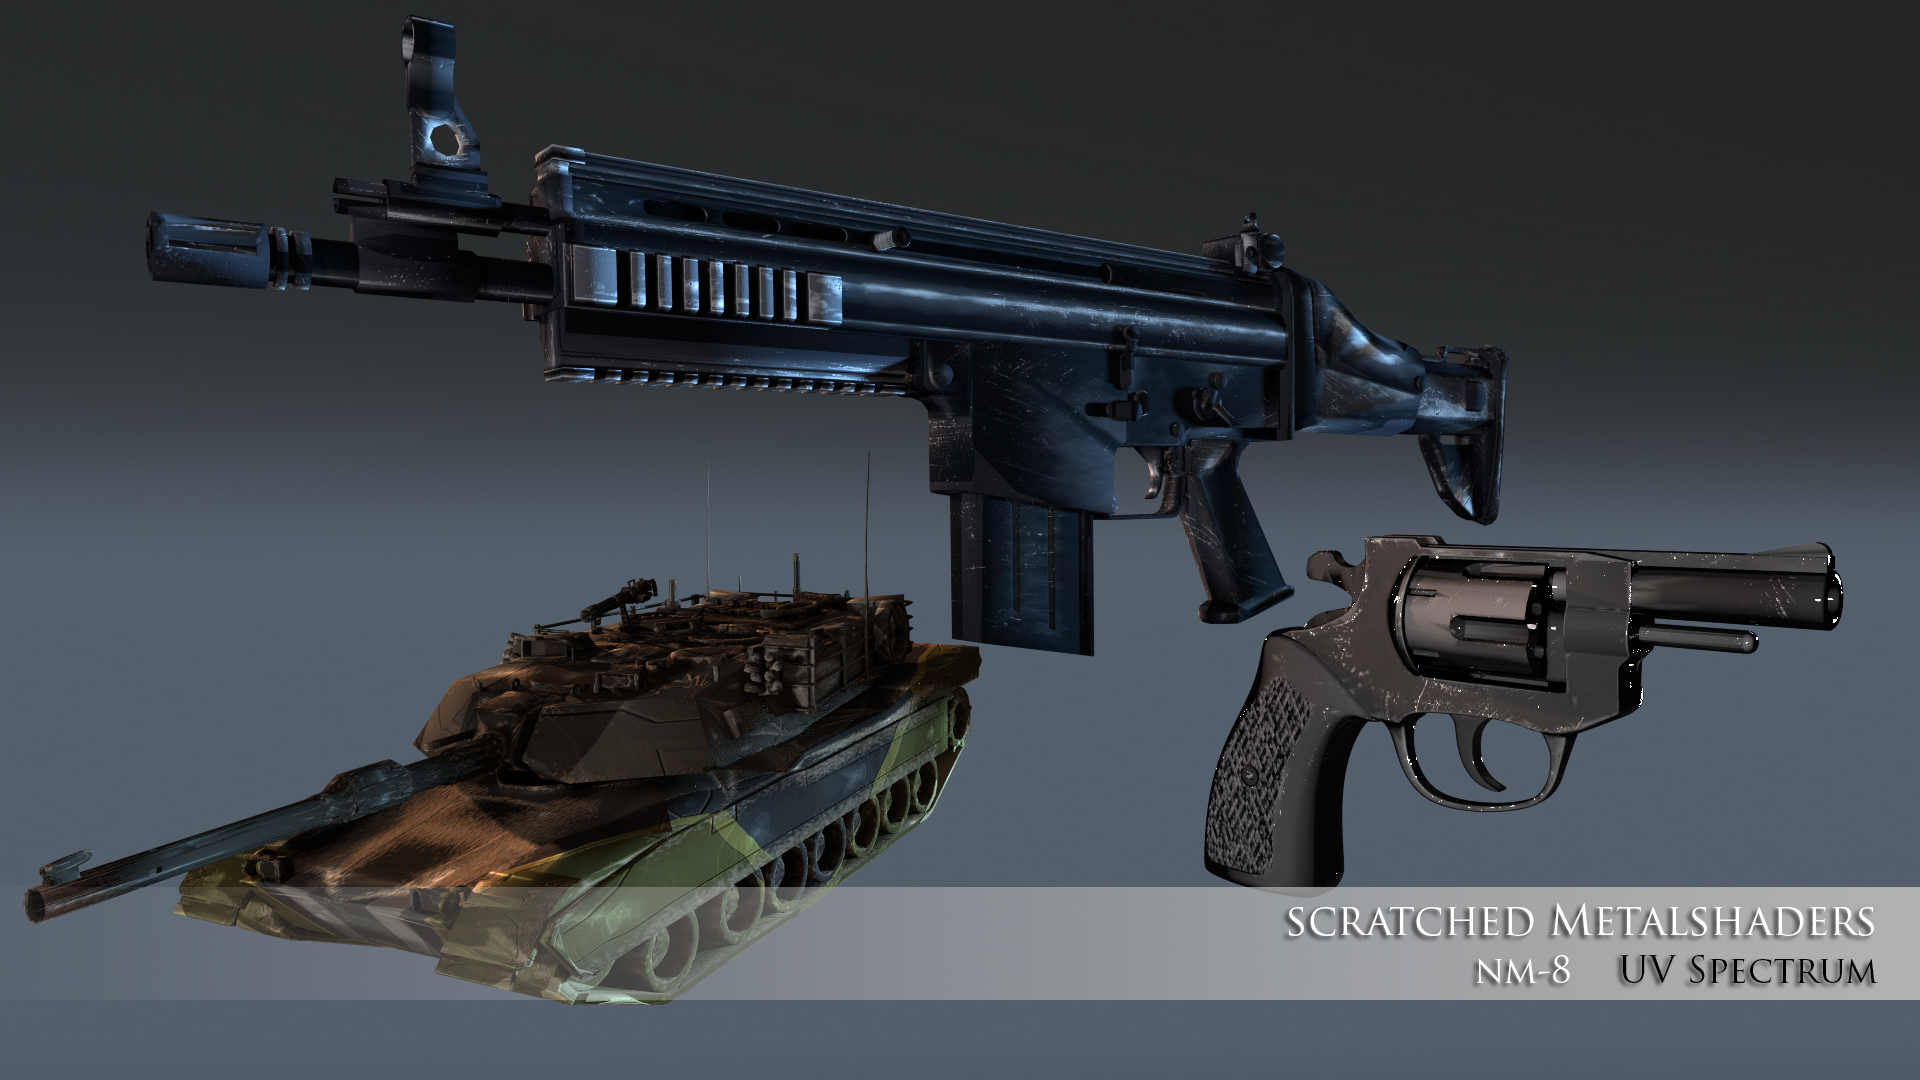
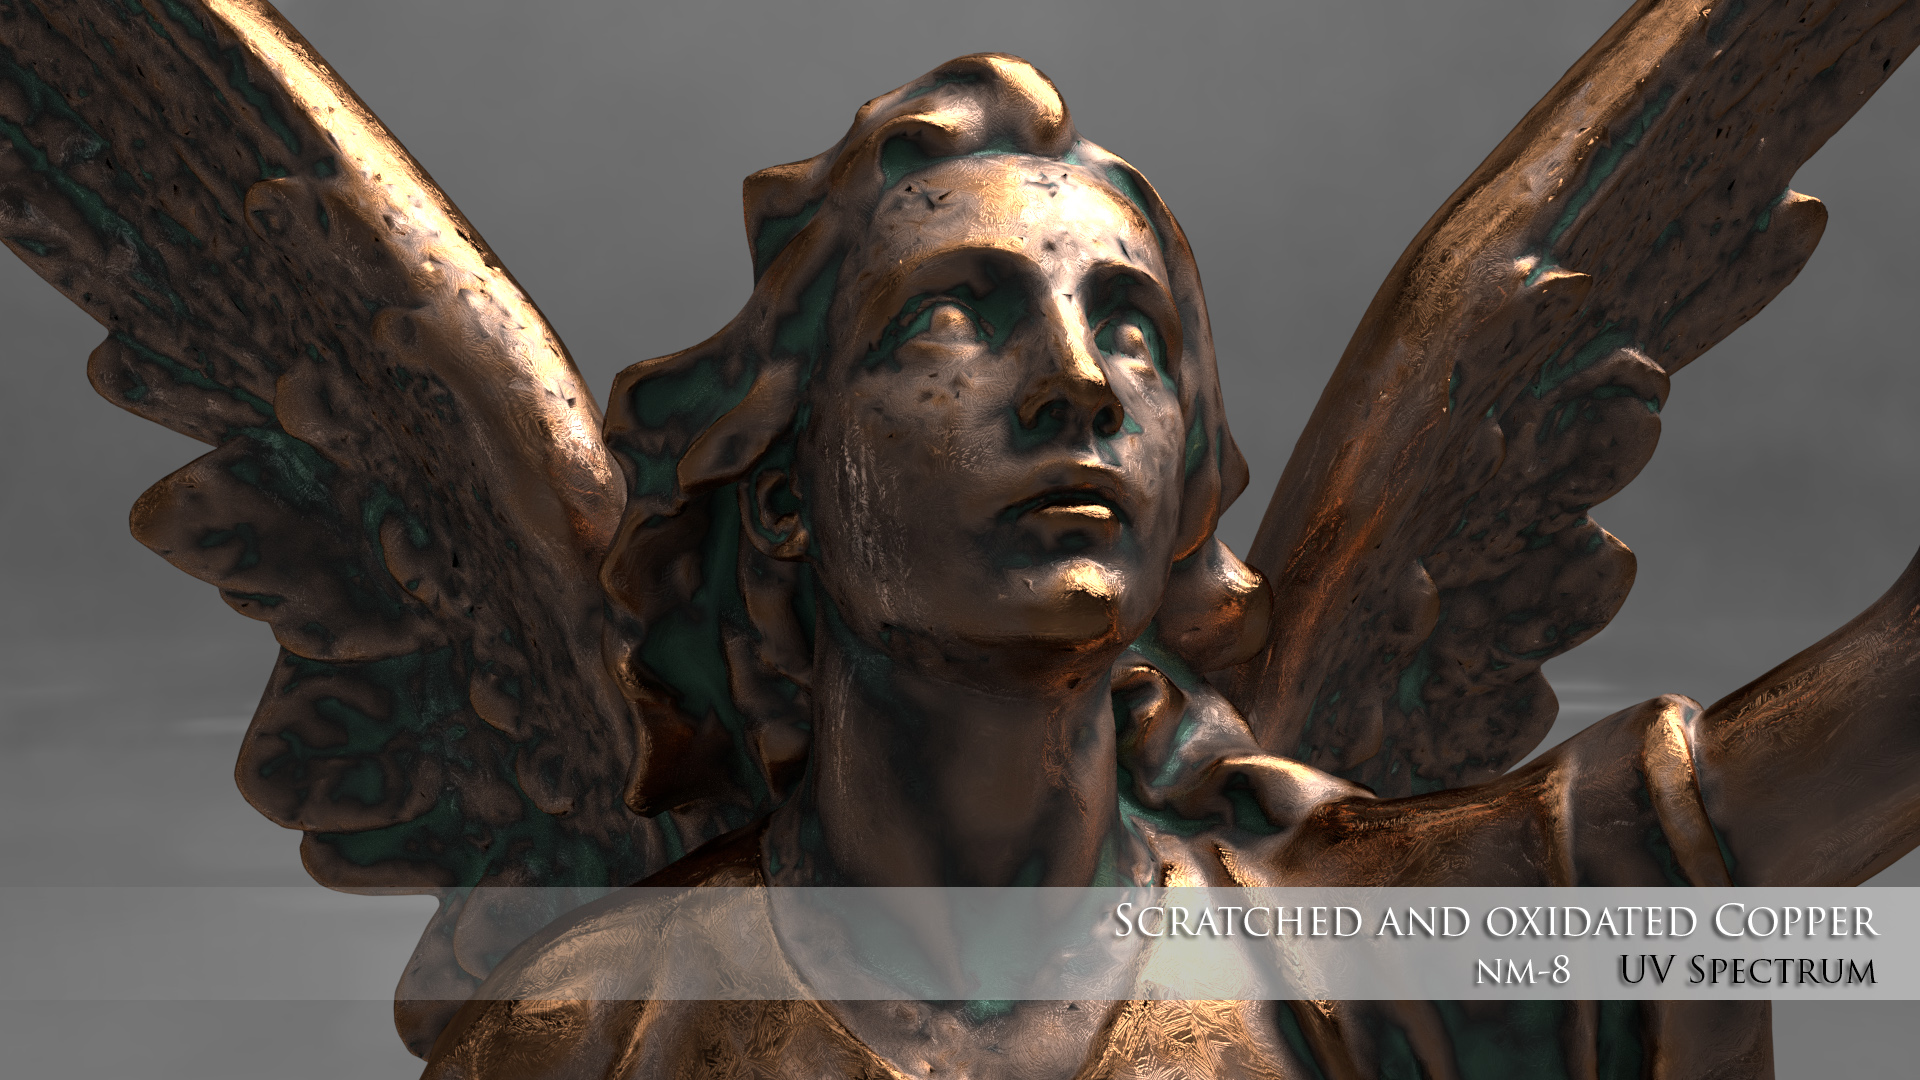
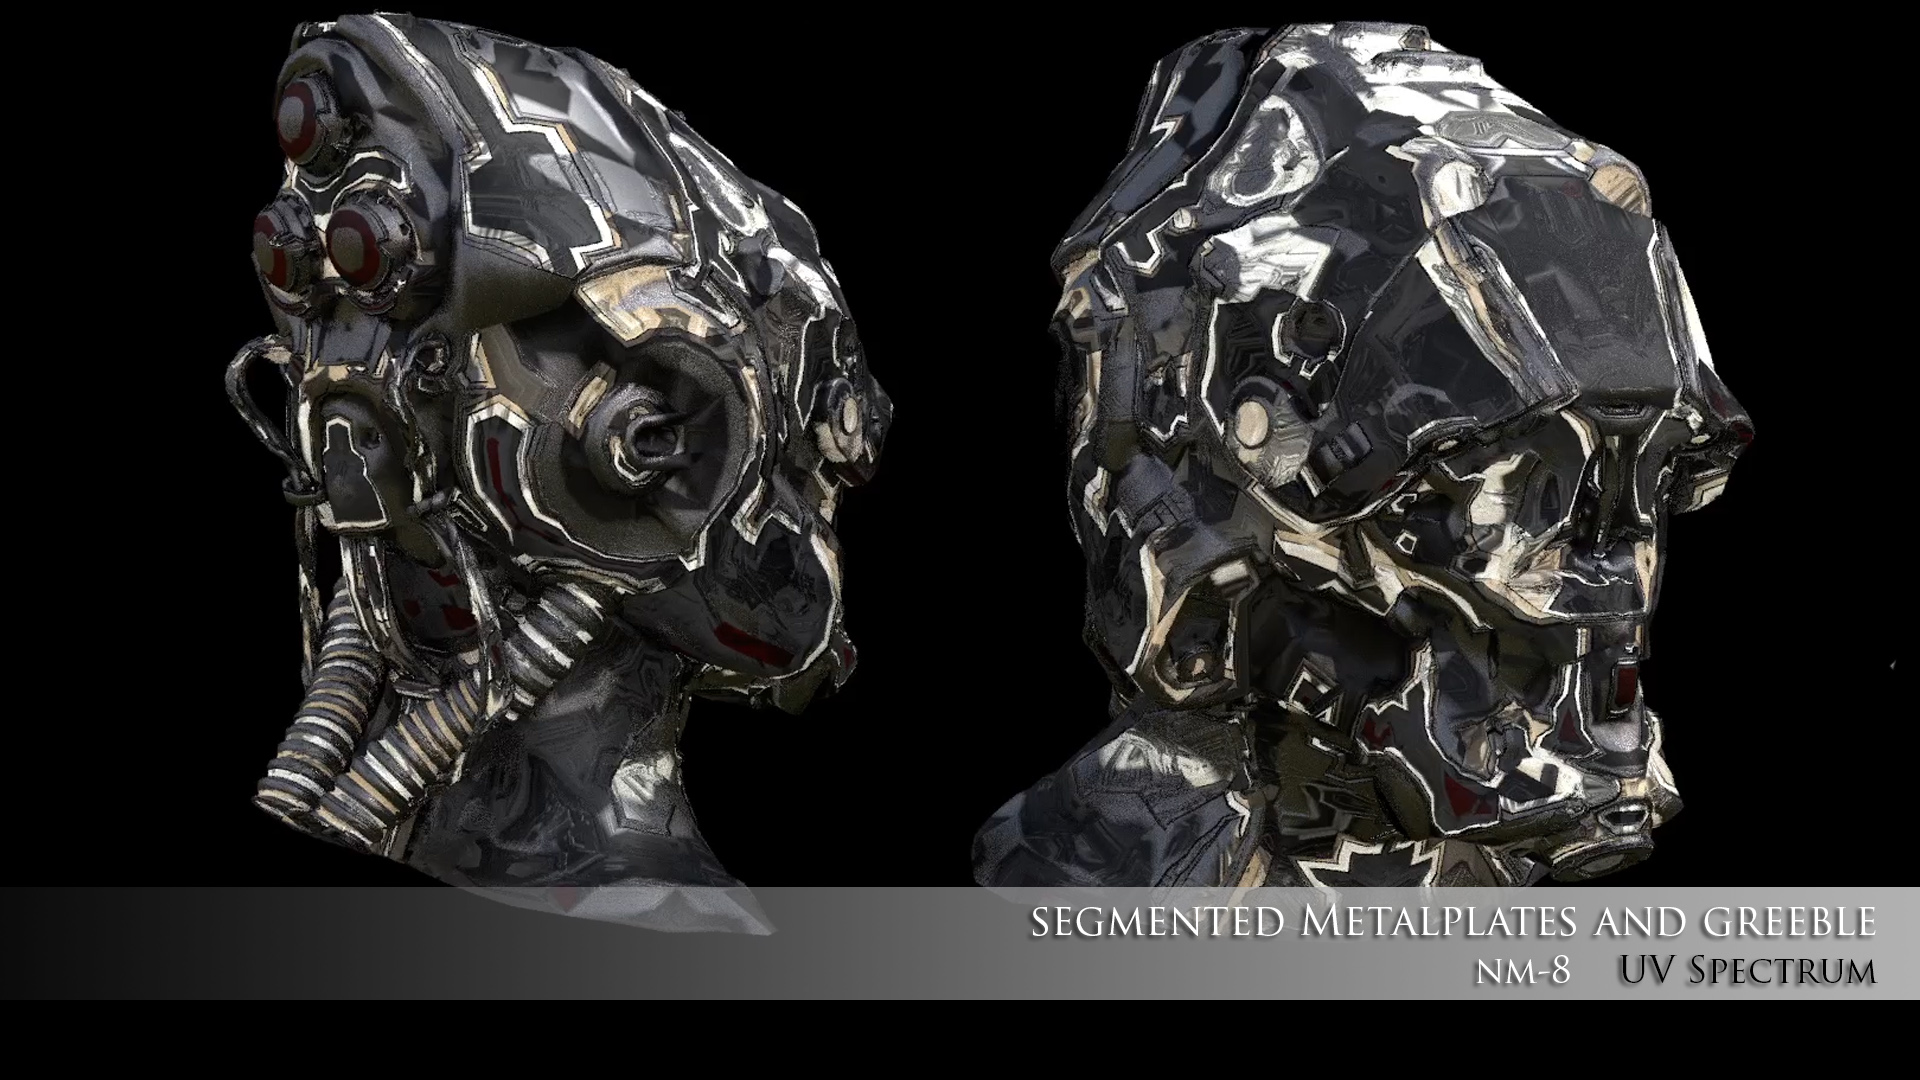
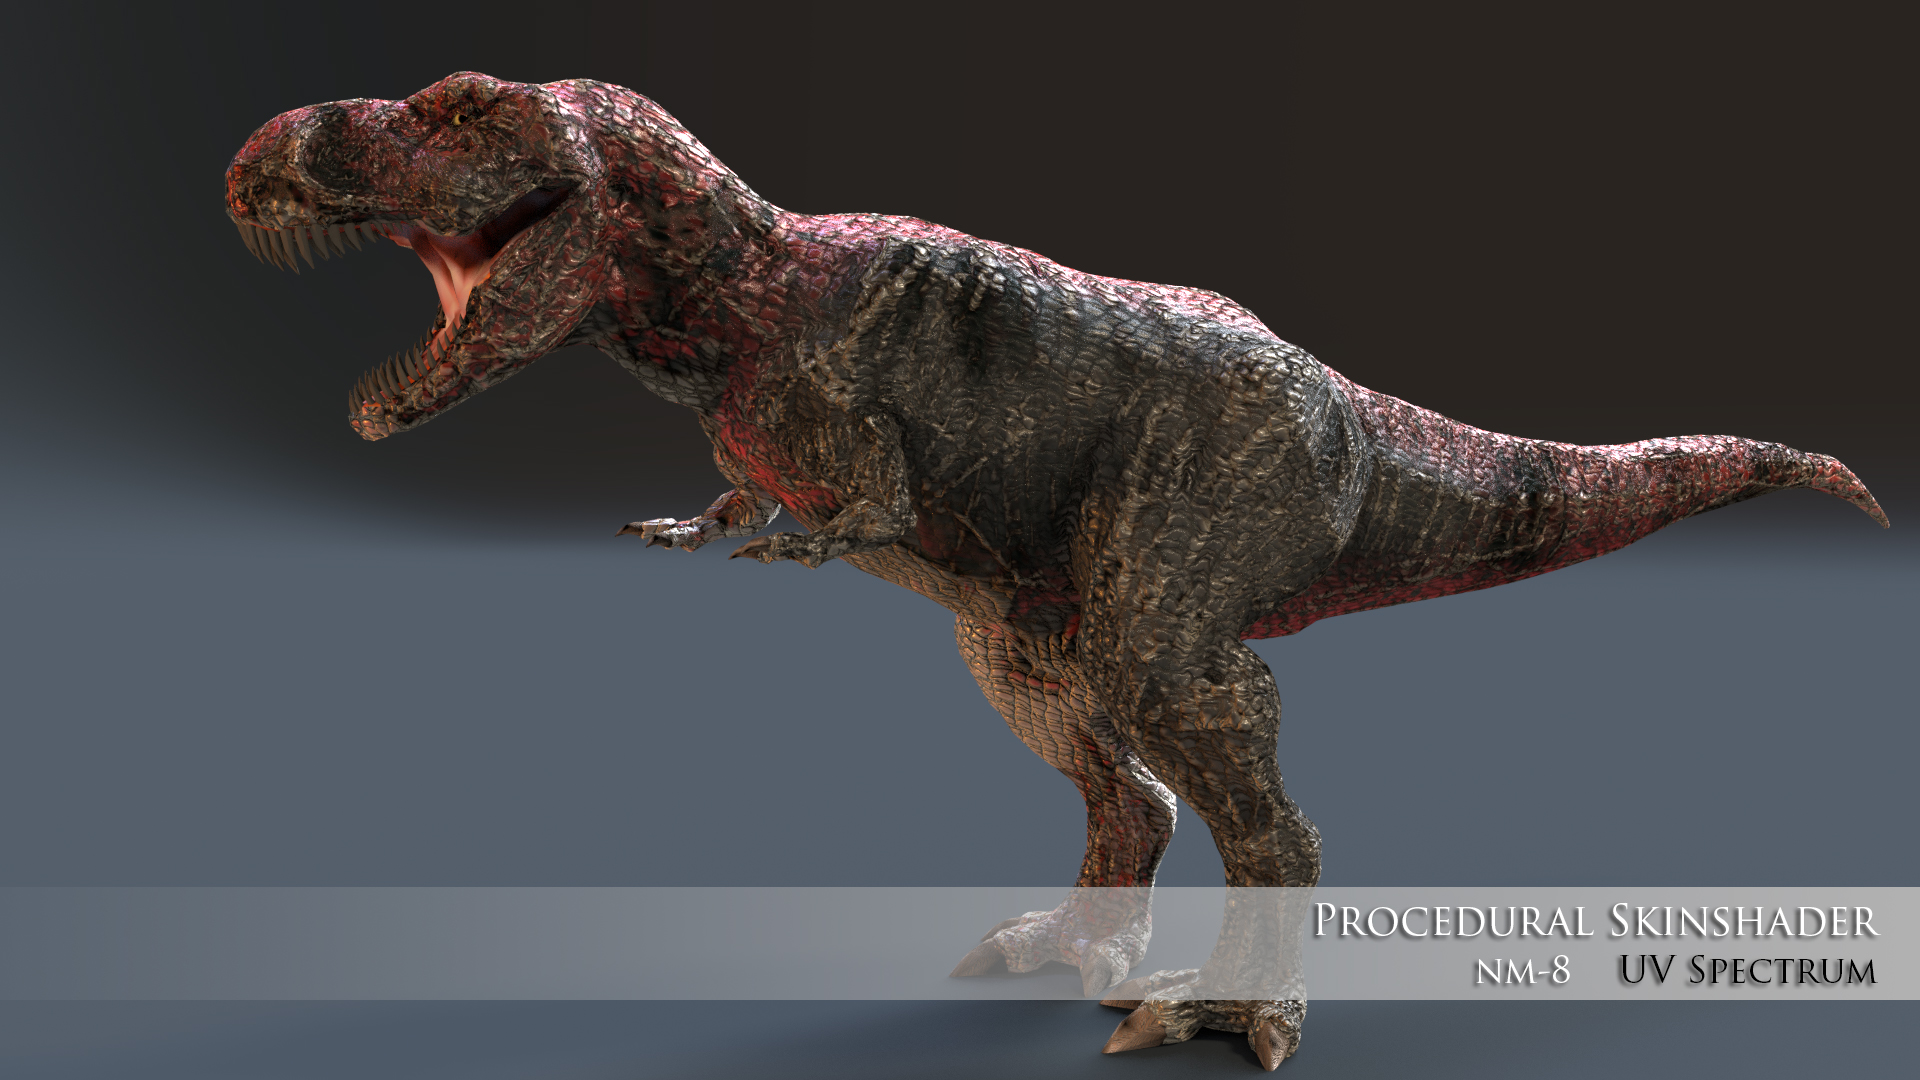
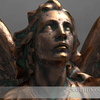
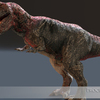
A Materiallibrary with 20 different shaders is included to show the use of the maps in cycles. Ranging from simple texture-use like in the leather material to complex custom shaders like "mothership" that have simple options for lights, panels, and colorschemes. Monsterskin has the cell-skin node included. And there is a mossy stonbrick shader, for medieval castles.
Simply append the materials through:
file/append/ ...uvspectrum_materiallibrary.blend/materials/ and apply them to the meshes.

01) segment gradient 02) gather gradient 03)copper
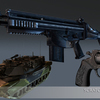
04) panel segments 05) mothership 06) metaldirt
07)milleniumfalcon (greeble) 08)texturescratches 09)seamed unstretched texture
10) metalpanels 11)neonlights 12) thickglass
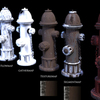
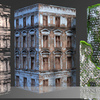
13)stonebricks 14)housewall1 15) housewall2
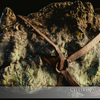
16)woodcut 17)tree 18)furniture wood
19) leather 20) monsterskin (inclusive cell-skin node!)
Tutorials:
$24
Have questions about this product?
Login to message
Details
| Sales | 100+ |
| Rating | 2 ratings |
| Dev Fund Contributor | |
| Published | almost 9 years ago |
| Software Version | 4.3, 4.2, 4.1, 4.0, 3.6, 3.5, 3.4, 3.3, 3.2, 3.1, 3.0, 2.93, 2.92, 2.91, 2.9, 2.83, 2.82, 2.81, 2.8, 2.7x, 2.79, 2.78, 2.77 |
| License | Royalty Free |