 UH Studio
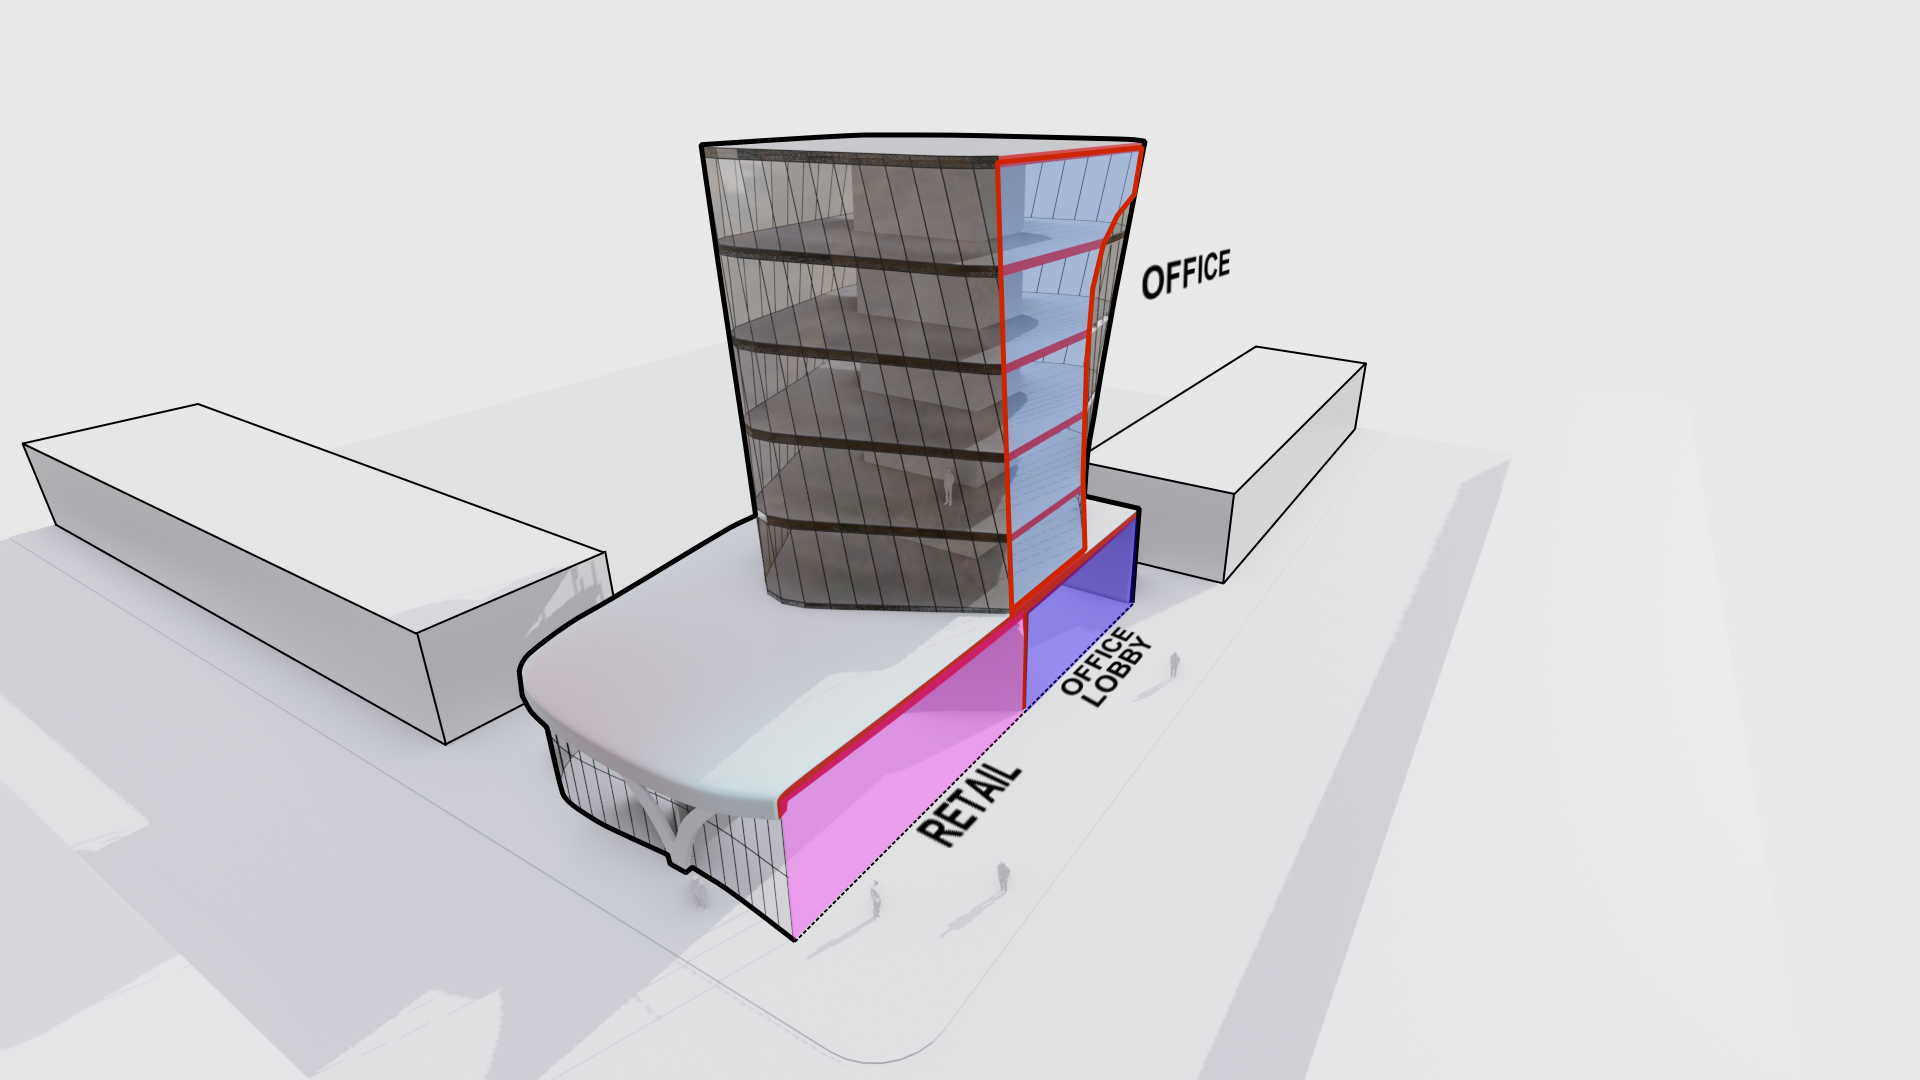


At a glance: An in-depth course on using Blender for as a design tool focusing on intermediate modelling techniques
Type: Video Course, 3+ hours long, 7 Chapters
Topics: modeling to scale with references , design modeling techniques - subdiv and poly , viewport sketching, 3d sections, Eevee white renders, Krita post processing, useful addons, optimal UI configuration
Experience: intermediate, with knowledge of how Blender works, and some experience modeling
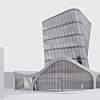
Hi! Thanks for stopping by. In this course, you will learn how to use Blender for architectural design. We will be designing a small twisting tower that sits on a podium with retail and a glass storefront. You will learn techniques and workflows that I use daily in my professional practice so you can utilise the best that Blender has to offer for architecture and design. You will learn about the optimal settings, addons, modeling workflows, and UI tweaks to get you started. By completing this course you will feel comfortable to take on any concept design from initial sketch to generating design images that portray the design fast!
Who is this course for:
Architects, designers, and anyone else who would like to learn how to use Blender for architectural design. The course content would be incredibly useful for professionals and students who wish to be able to translate design ideas into 3d as quickly as possible.
The course would also be useful for 3d artists who want to understand how to think like an architect when doing environmental and architectural design artworks.
Experience level:
This course will be most beneficial for users with at least basic knowledge of using Blender. Some prior experience with Blender would be beneficial.
If you are completely new to Blender, I would suggest first going through UH Studio's Youtube Blender for Architectural design playlist and the Blender Architecture Masterclass.
The course structure - 7 Parts
The content has been designed to be accessible to wide user experience level, displaying a typical design exercise of sketching and realising a design idea.The process is typical to most design exercises. Each lesson talks about optimal workflows to produce the desired result, attentively walking you through achieving the same result.
Part 1 - Set up and Context
In this part, we will look at ways to optimize our project by generating a set up file and enabling and/or downloading relevant addons. I will show you my typical set up, including default addons that I always like to keep.
We will also start generating the context for the project, consisting of a simple road junction, pavement, and buildings sitting within the immediate context. The aim is to generate and set up everything typically needed to then be able to focus exclusively on designing within blender. You will learn how to generate a tricky road intersections in a modular fashion, highly applicable to many scenarios.
You will also learn how to use Blender's annotation tool for quick ideas sketching directly within Blender.
Part 2 - Cameras and Podium massing
In this part, we will set up important view angles that will be continuously considered for the design process. We will then set up the user interface so we can always reference these views. Blender's flexible UI is incredibly powerful, yet rarely talked-about element that is highly useful for architectural design, with customisation that helps ground architectural proposals in their important contextual view references.
We will continue to use the annotation tool to sketch directly in 3d our design concept from eye perspective.
We will then model the podium from the sketch to 3d, starting with a simple plane, that we then extrude, add loop cuts, and work with modifiers to produce geometry for the podium. The podium will be modelled in such a way that we get instant feedback in a reference 3d view displays the sketch and the constantly updated geometry.

The podium is based on subdivision modeling, a hybrid between mesh and nurbs modeling that is excellent for creating intricate architecture. You will learn how to use subdiv modeling for architecture by using simple poly "cage" model, refined with edge loops and edge creases.
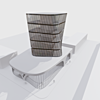
Part 3 - Twisting tower
In this part, we will generate a small tower on top of the podium. You will learn how to model to scale with having correct floor heights in mind, quickly building up ideas. The tower is designed with Blender's mesh modeling toolset and additional tools covered by built-in or free external addons.
We will quickly evolve a simple cube to more intricate geometry and into the twisting tower. While we are designing, we will constantly be assessing our reference views to understand how the tower sits within the context. We will explore ways of creating even facade subdivisions that are useful with consistent panels sizes for the glass curtain wall.
You will learn how work with bevel and even mesh subdivisions and how to generate precise floorplates.
Part 4 - Podium refinements
Once we've generated the tower, we will go back and refine the podium further. We will look at how we can create a glass storefront for the podium's facade as a derivative of the initial podium design model, We will also look at how to generate tircky internal walls with beveled junctions and irregular height profile, anchoring to the podium's ceiling, Lastly, we will generate a the front column seen in the massing that is indipendent subdiv based, yet ties into the geomety of the podium.
Here, you will learn how you can add detail where needed without refining the whole project further. This aproach is useful, as in architecture, designs constantly evolve.
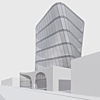
Part 5 - Presentation
In this part, we will work with materials, and setting up the scene for doing concept renders with Eevee. We will go through rendering settings, enabling options that guarantee a good looking view hidden-line view. We will also explore material settings necessary to produce proper views from Eevee. Then, we will focus on understanding the composition of the views to make sure that we have the correct elements and that we are highlighting parts of the image that we wish to be more visible.
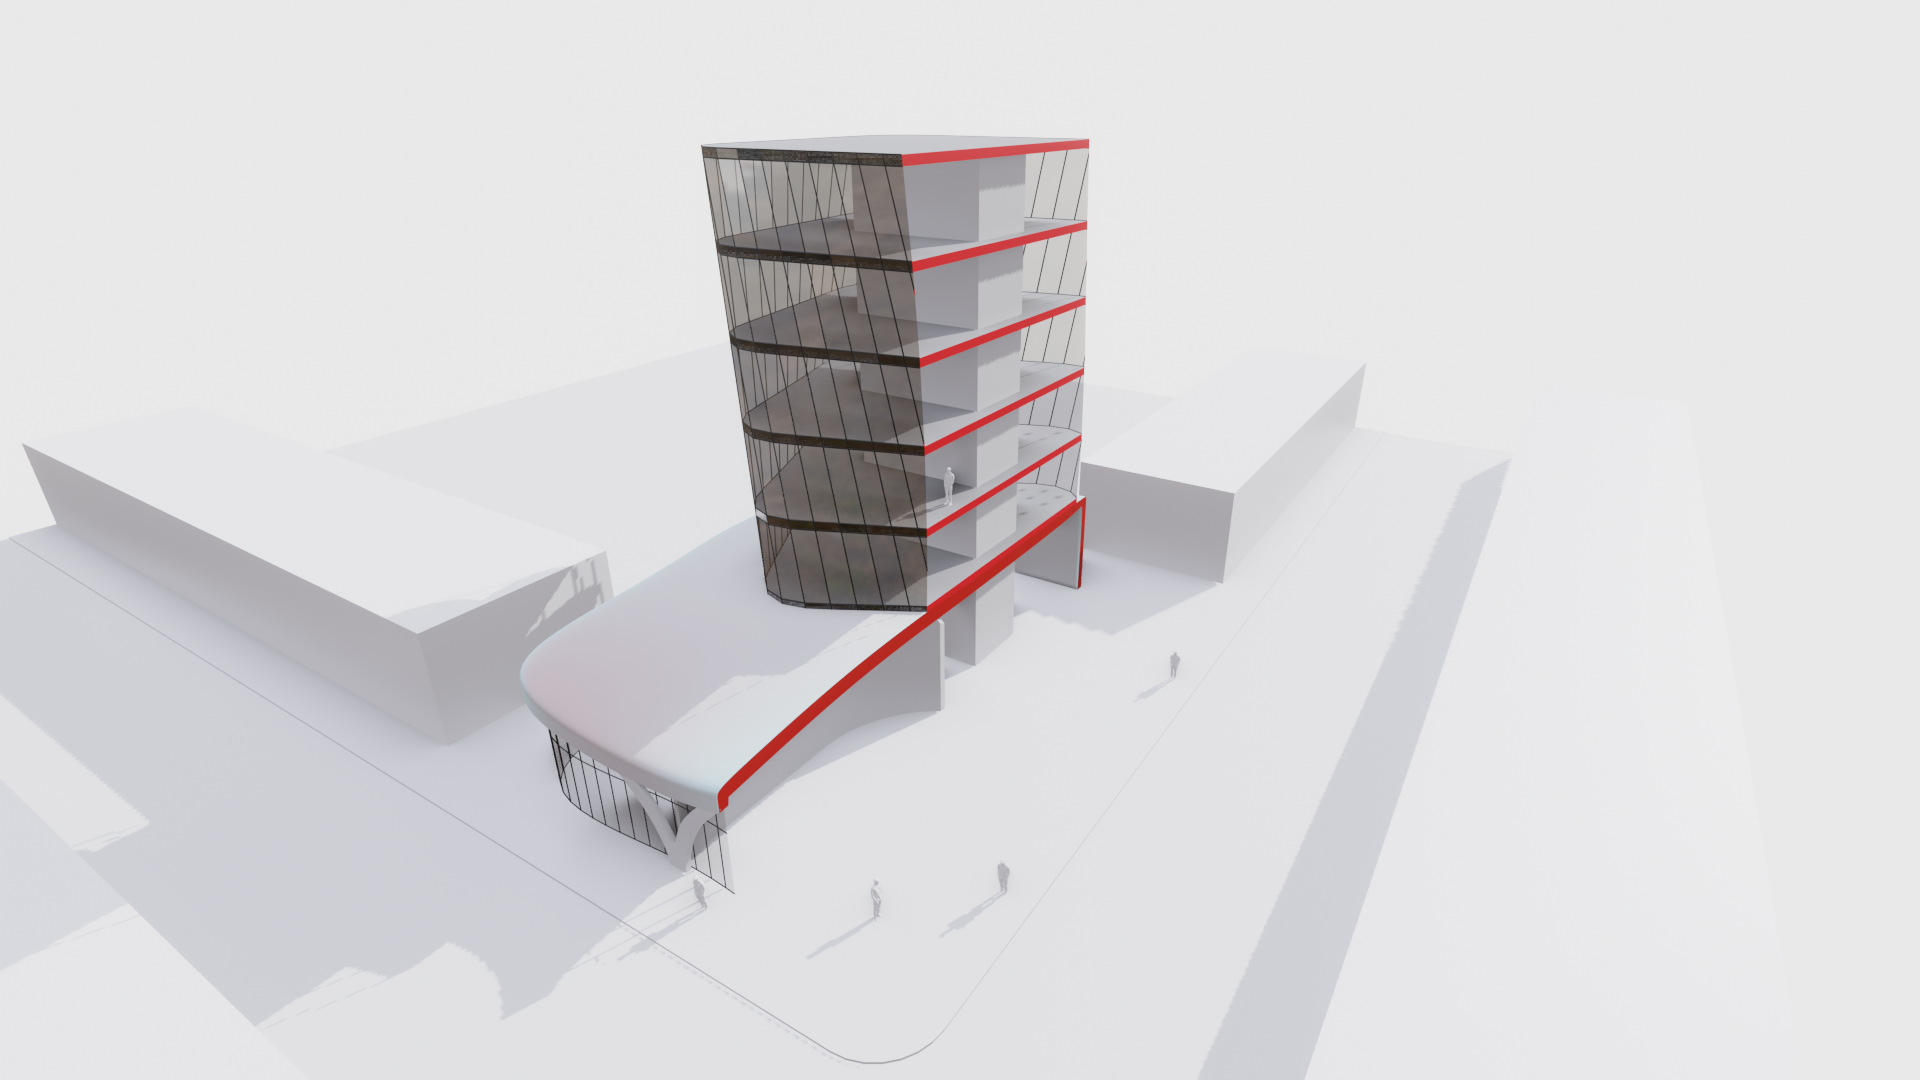
Part 6 - 3d Section
In this part, we will generate a 3d section view with boolean modifiers. We will also look at common pitfalls for not having solid geometry when cutting with booleans and show how we can adjust parts of the model so geometry generates a solid cut. Materials based on normal direction will also be explored go create a different colour when the object is cut.
Part 7 - Post processing with Krita
In this part, we will use the open source painting app Krita's vector tools to add graphics to the 3d section. Krita has extensive non-destructive editing capabilities for architectural images. We will be working with vector layers to create outlines for the context and the building, and internal fills representing the different programmatic elements. We will also add text and use non-destructive transform layers to add perspective to the text annotation.
What's included
- 7 videos of about 3+ hours training
- Blender files of the final result for each video
- Krita files are also included
Abut the Author
Dimitar is a US licensed architect working as a project architect. He also heads his small practice UH Studio and educational wing UH Studio Design Academy, including https://youtube.com/uhstudio . Dimitar works on variety of projects - mixed use, residential, cultural, entertainment, on distinct projects throughout the world. Keen to push the boundaries of design and technology, Dimitar embraces learning and teaching less common software within the the design and architecture community in order to empower more designers.
Dimitar has been using Blender since 2007. As an open source 3d design tool, it is an essential part of Dimitar's toolset and he is on a mission to make Blender's abilities widely known through the architecture world. He teaches architects how to use Blender through physical workshops and through a variety of educational channels.