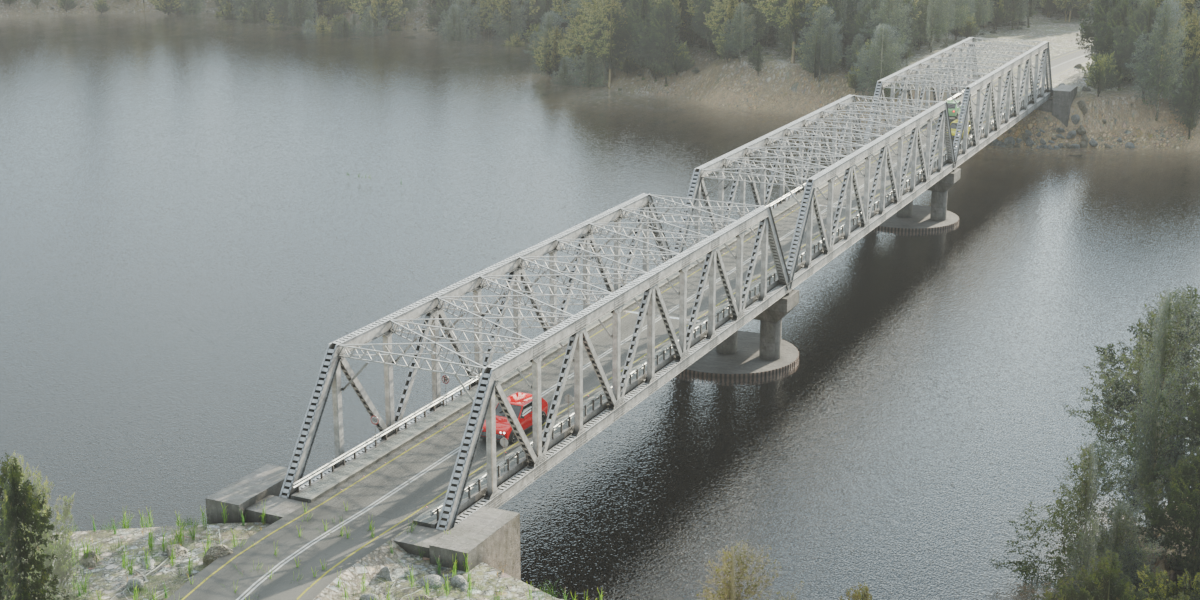
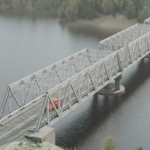
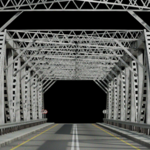
Truss Bridge Generator
 GeoNode_Genius
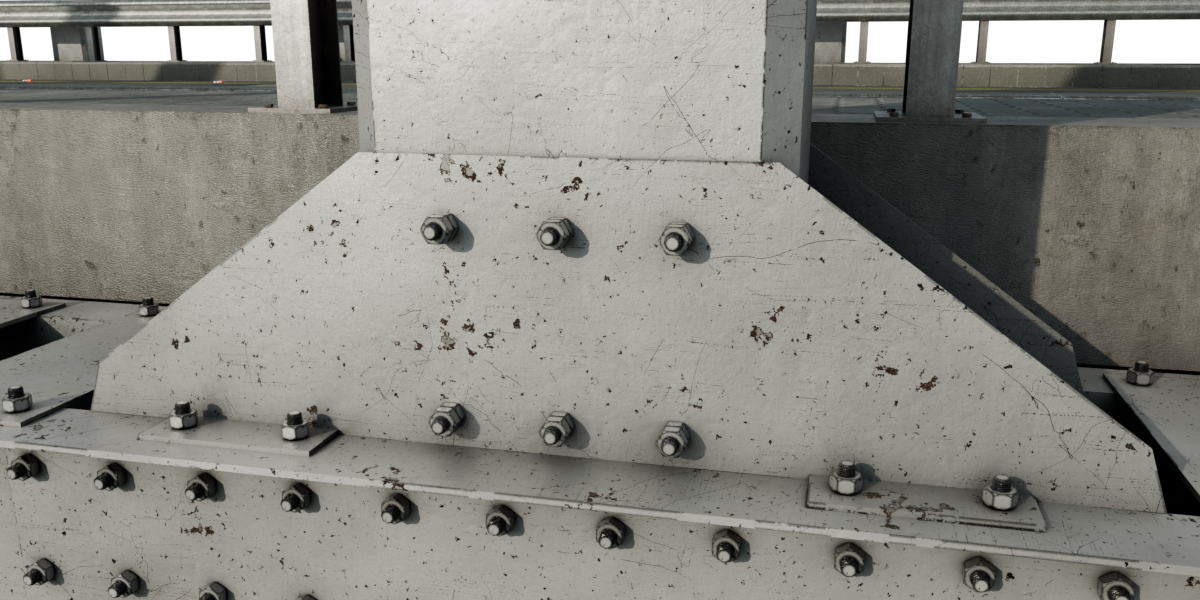


A special thank you to AmbientCG for providing high-quality, free textures. Their resources have greatly contributed to enhancing the realism of the Truss Bridge Generator.
And special thank you to zeroskilz for providing even thickness node group.
Youtube Link: https://www.youtube.com/watch?v=lv63IGpubX0
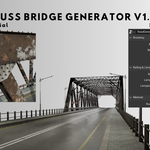
Truss Bridge Generator – How to start/install
Option 1: Use the Provided Blend File
You can start working directly in the TrussBridgeGenerator.blend file, which already contains the Geometry Nodes setup.
Option 2: Append the Modifier to Your Own Project
If you want to use the generator in another Blender project, follow these steps:
- Open your Blender project.
- Click File > Append.
- Navigate to the TrussBridgeGenerator.blend file.
- Click on the Blend file to open it.
- Select Node Tree and choose Truss Bridge Generator.
- After appending, press M and move it into a new collection for better organization.
Fixing Missing Textures
If textures appear missing, follow these steps:
- Ensure the textures folder is located near the blend file.
- In Blender, go to File > External Data > Find Missing Files.
- Select the folder containing the textures.
- Click Find Missing Files, and Blender will relink them automatically.
Truss Bridge Generator – How to Use
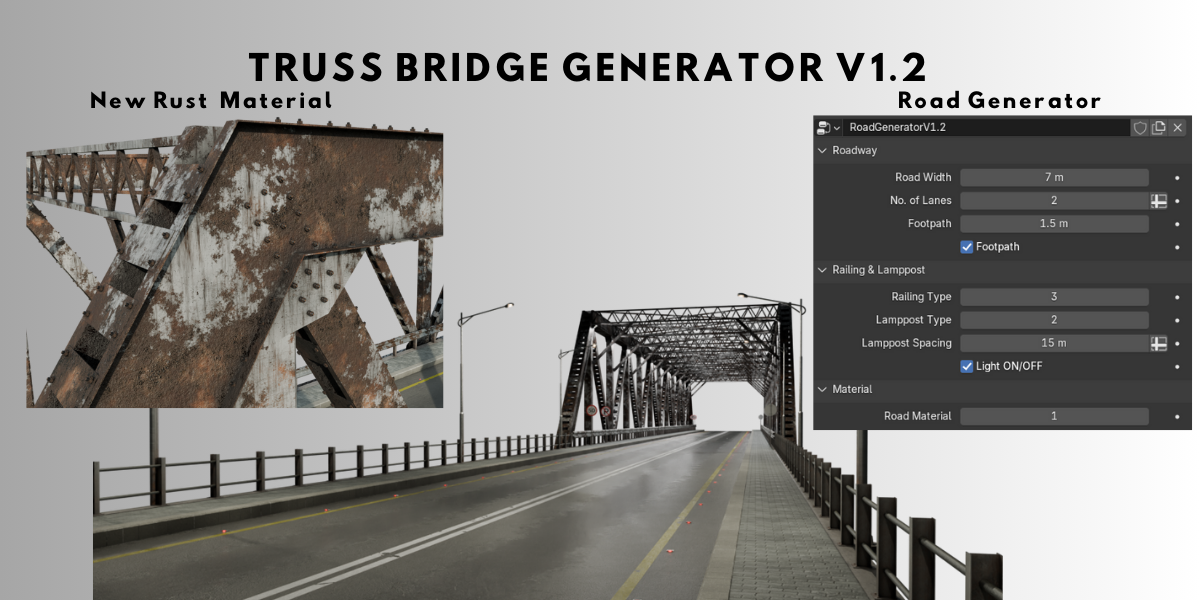
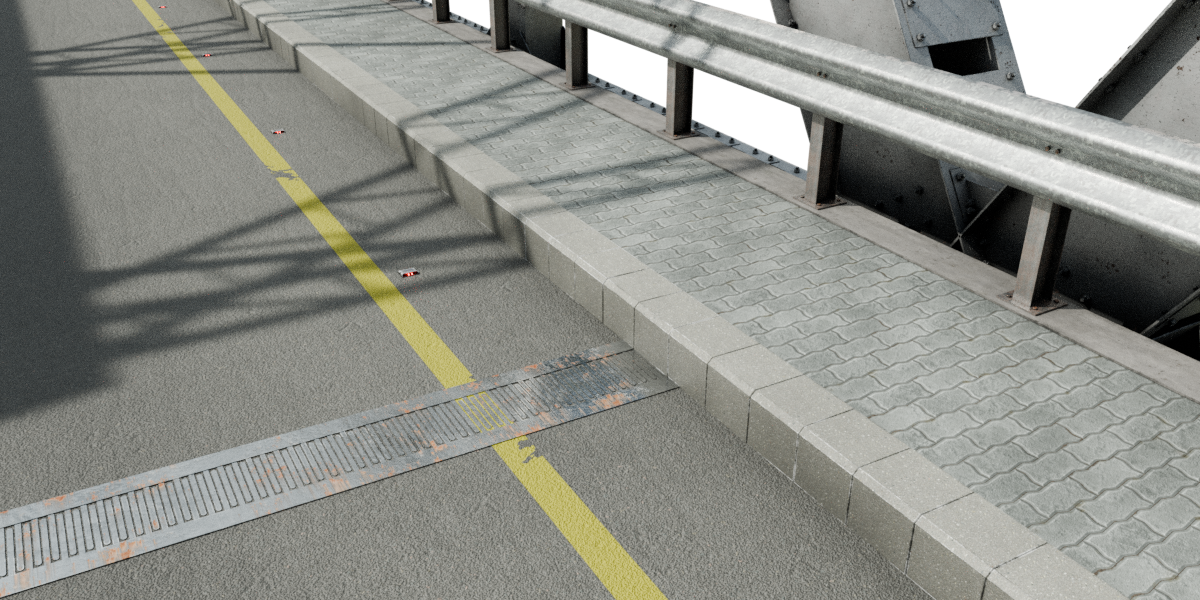
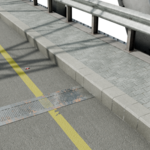
Roadway Panel:
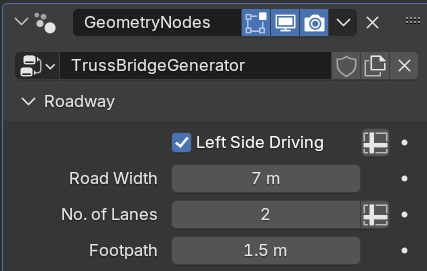
- Left Side Driving Switch: Changes the traffic direction.
- Road Width: One lane road width should be 3.5m. For a 2-lane road, set the road width to 7m.
- Number of Lanes: Should match the road width value. (e.g., 7m width = 2 lanes).
- Footpath: Adjusts the footpath width.
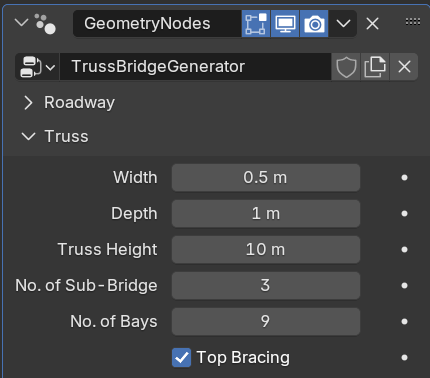
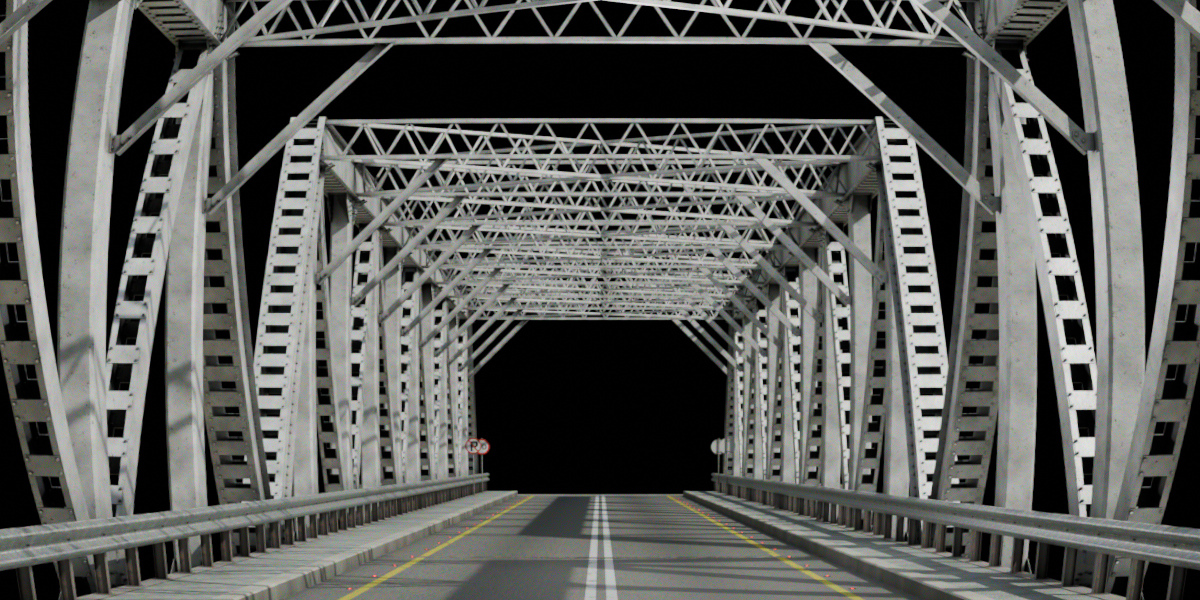
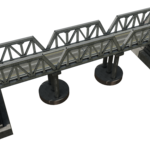
- Width: Adjusts the truss section width.
- Depth: Adjusts the truss section depth.
- Truss Height: Controls the bridge height.
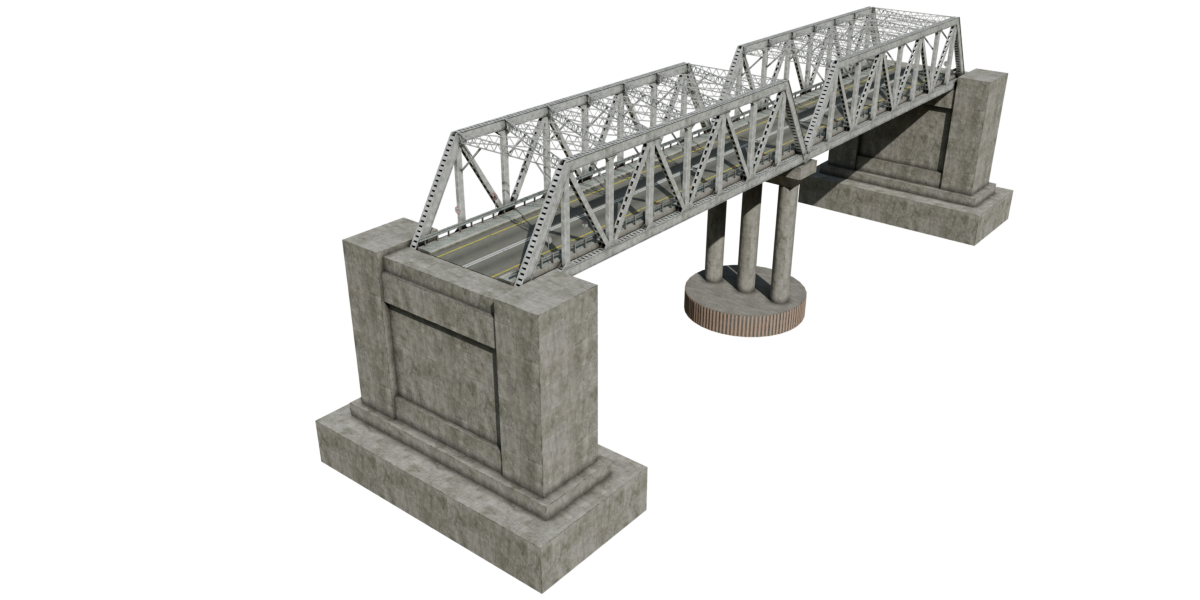
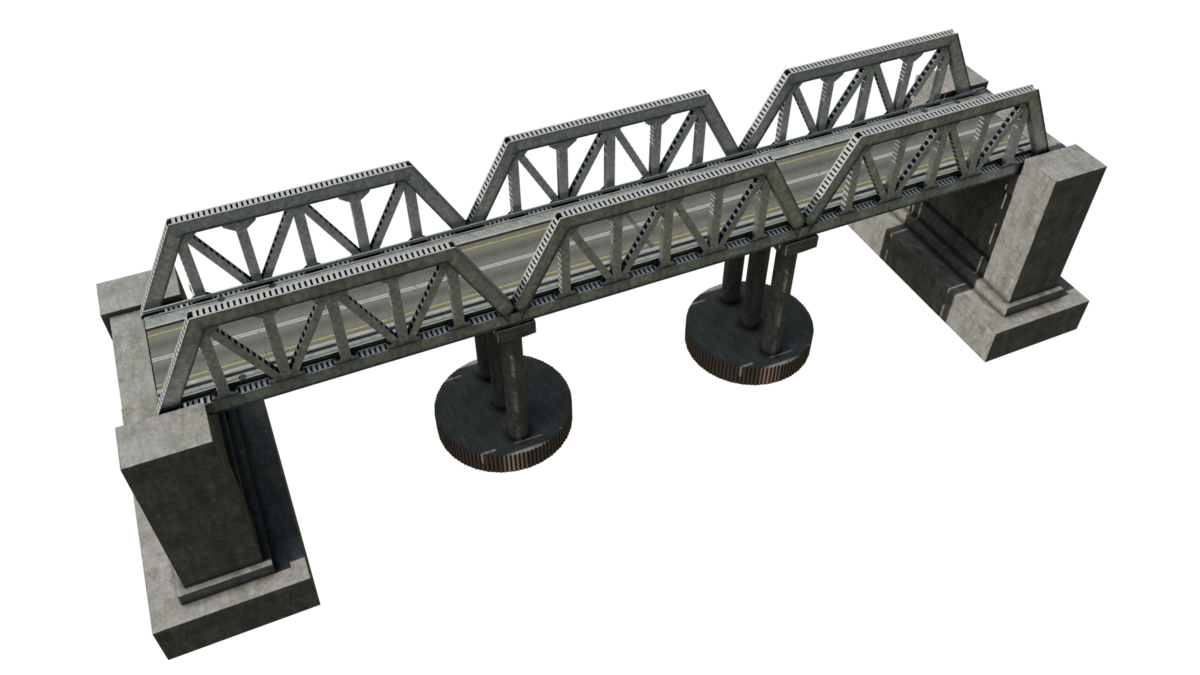
- No. of Sub-Bridges: Splits the bridge into smaller sections.
- No. of Bays: Increases or decreases the members. Adjust this so the inclined members stay between 45-60 degrees.
- Top Bracing Switch: Turns the bridge into a Pony Truss Bridge.
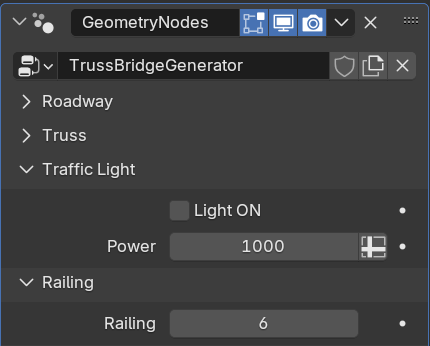
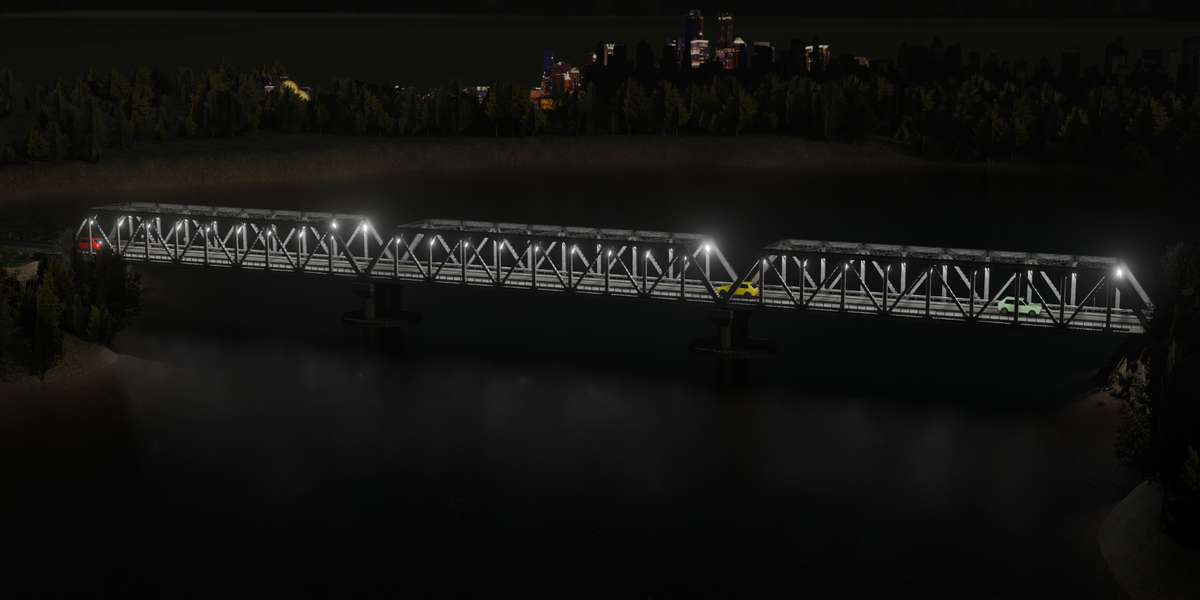
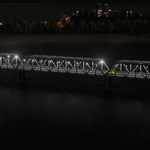
- Light ON: Switch to turn on the bridge floodlight.
- Power: Adjusts the light's power. (Must be manually changed in Truss Asset Collection > Area_Light > Property, since the driver for power doesn’t work in appended files.)
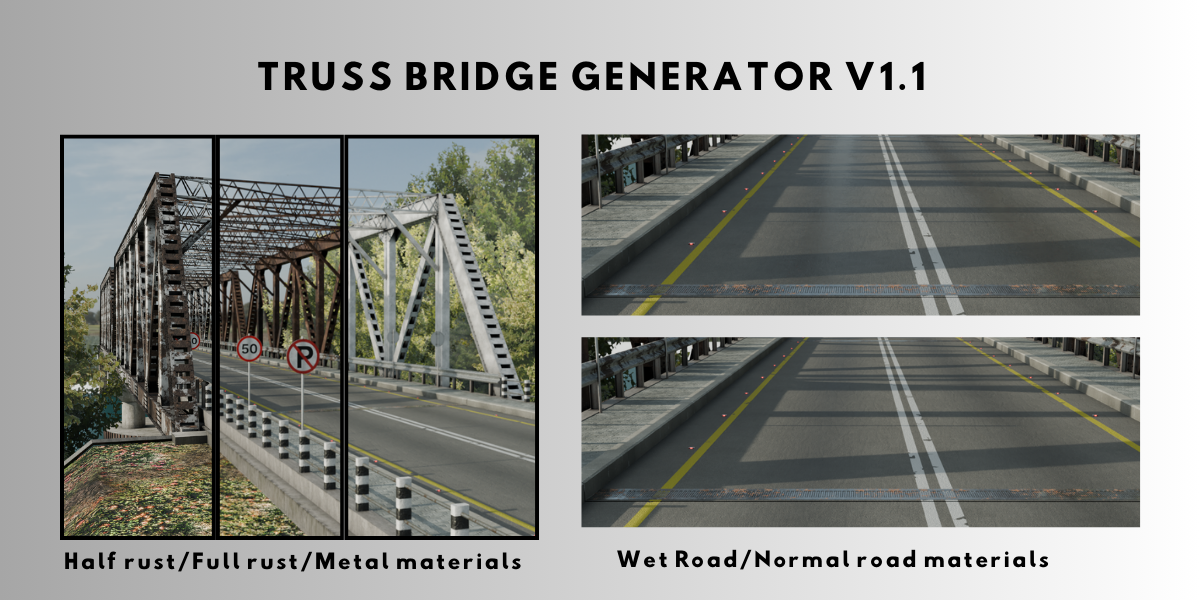
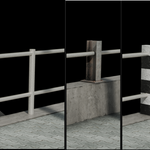
- Railing: Switch to change railing types.
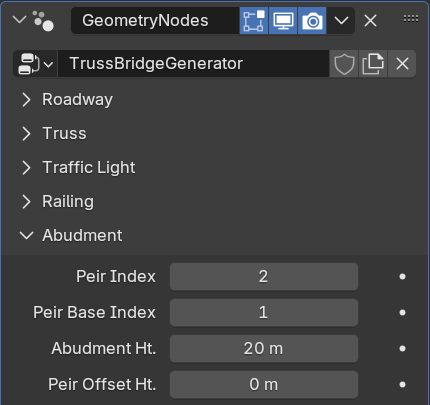
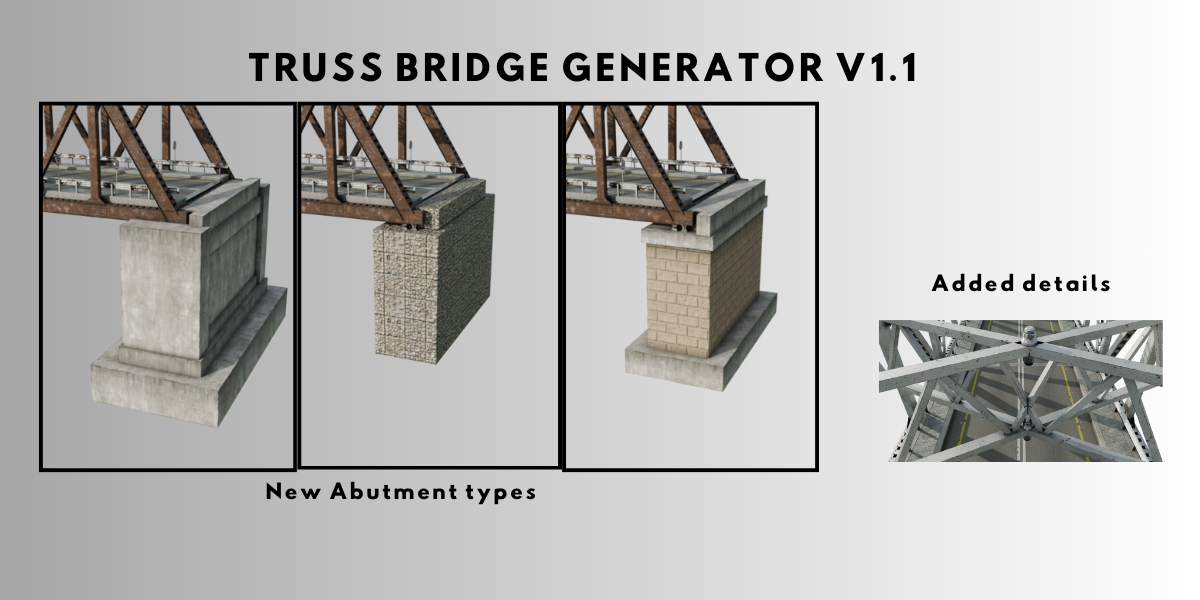
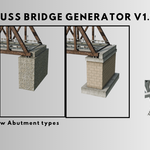
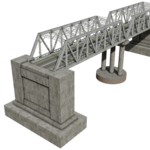
- Pier Index: Switch to change pier types.
- Pier Base Index: Switch to change pier base types.
- Abutment Height: Adjusts the height of the abutment.
- Pier Offset Height: Adjusts the height of the pier.
Have questions about this product?
Login to message
| Sales | 20+ |
| Dev Fund Contributor | |
| Published | about 1 month ago |
| Software Version | 4.4, 4.3, 4.2 |
| License | GPL |
Discover more products like this
3D Procedural Structures bridge 3d models road Asset Generator 3d bridge bridge blender procedural 3d-road steel truss bridge-3d Blender geometry nodes #BlenderRoads Truss Bridge 3d-road-models bridges