Addon Installation-
Download "trbassets" addon> open blender> Edit> Preferences> Install> select "trbassets"> install addon.
navigate to the addon, be sure to have it enabled. once enabled you can choose a custom directory that will contain all of the assets.
Note: you only need to install this addon once. if you already have the addon installed, you can ignore this step.
Content pack Installation-
Assets come pre-assembled into content packs. These can be installed directly from the addon.
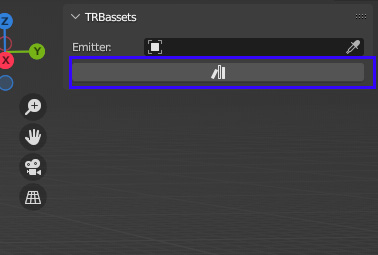
navigate to the TRBassets addon(located in the N panel)> Click the Asset browser icon>

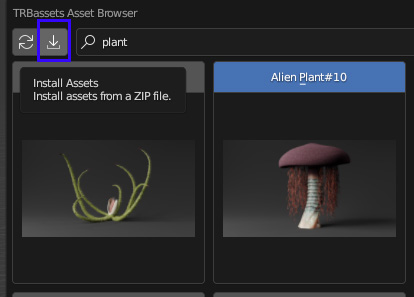
click the install icon>

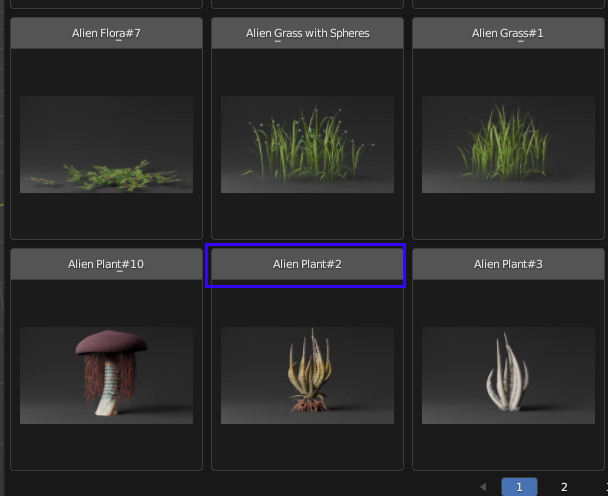
Select downloaded content pack> click install assets(blender may freeze for a moment while assets install)> Done! your assets are now ready to go!
How to use Addon-
This addon comes with a bundle of new features. from asset browsing to scattering effects.
Asset Browser-
The asset browser will let you quickly preview and import your desired assets.
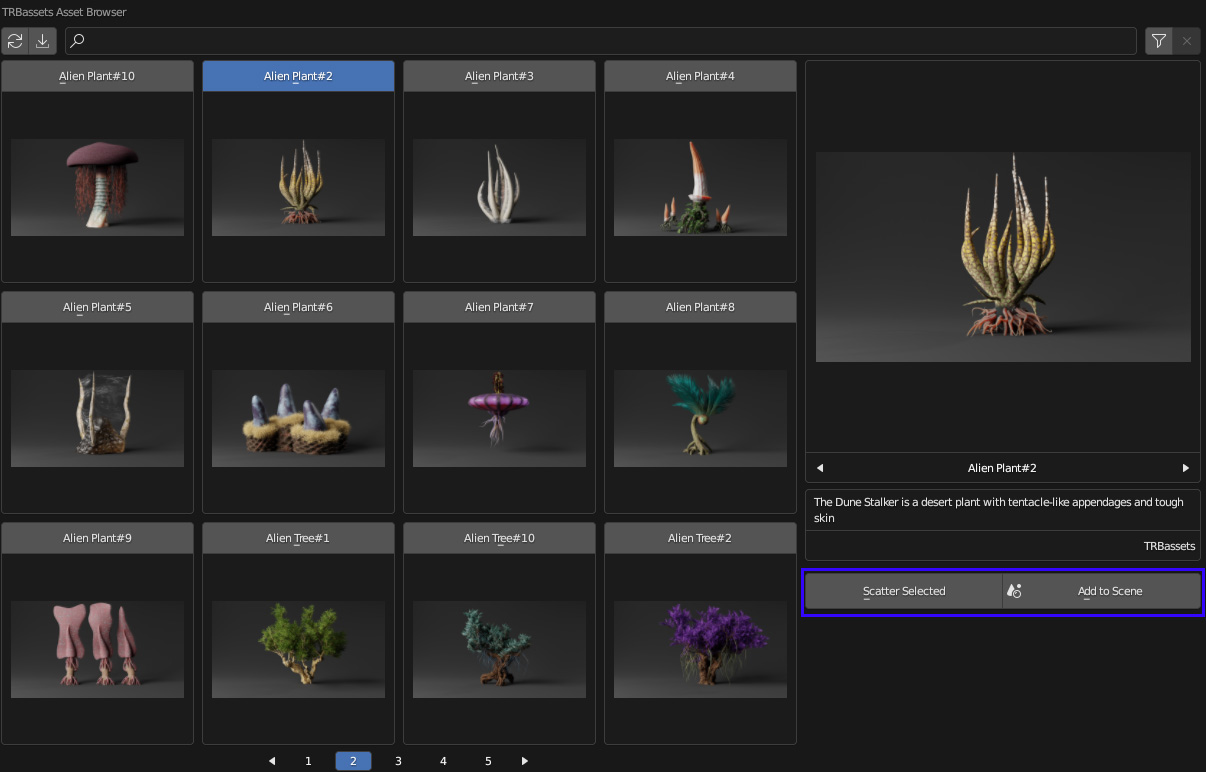
open asset browser> Select Desired Asset or multiple assets>

Choose how you would like to import your asset>

Scatter selected- This option will scatter asset randomly on your selected object.
Add to scene- This option will just add your assets to your scene.
Filters & Search bar-
The asset browser come with a handy search bar and filters for quickly locating specific assets.
Scattering-
The main feature of the addon- Scatter effects.
To manually scatter your assets-
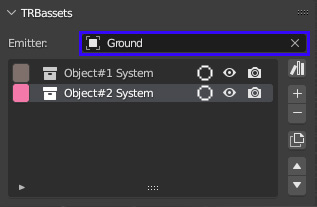
Select the object you would like to scatter on via the eyedropper tool>

Select desired asset that you would like to scatter> click the + Icon> Done! you object should now be scattered!
Scattering effects-
The addon comes equipped with many scattering features and effects to help you get the exact look you need. here is a list-
Distribute on Faces- Distributes your objects on a surface's faces
Distance Min: Set the minimum distance between objects to avoid intersections.
Density: Set the density for your scatter object .
Viewport Display %: Percentage of the scattered objects to display in the Viewport
Seed: Change the seed to get another calculation
Distribute on Vertices- Distributes your objects on a surface's vertices.
Density: Sets the amount of objects you want to scatter.
Randomize- Randomizes the Scale/ Rotation.
Randomize XYZ- Randomizes the Scale/ Rotation with individual controls for each axes.
Scale- Controls the scale of the scattered objects.
Main: Controls the overall scale.
XYZ: Controls the scale on the X,Y and Z axis separately.
Wind Effect- Emulates a Wind like Effect on the Rotation of each Scattered Asset.
Speed: Controls the movement speed
Strength: Controls how much the objects get excited
Detail: Controls the complexity of the wind pattern
Scale: Controls the size of the changing wind pattern
Rotate- Change the rotation of your scattered objects.
Use Normal: Check it if you want to use the surface normals as the main orientation. If you uncheck it, all objects will be rotated with Z up.
Rotation XYZ: Change the rotation on each axes.
Randomize XYZ: Randomize the rotation on each axes.
Slope- Masks out all object depending on the angle of the surface. Use the subtract blend mode to invert it.
Strength: Controls the relative border where objects are masked out.
Height- Masks out all objects after they reach a set height. Use the subtract blend mode to invert it.
Percent: Controls the relative border where objects are masked out.
Wave-
Wave profile: Sine, Saw or Triangle
Wave Type: Rings - Bands
Direction: X, Y or Z.
Scale: Adjust the size of the Waves
Offset: Move the wave along the chosen direction.
Animate: Checkbox to animate the Wave effect.
Speed Multiplier: control the Animation speed
Proximity-
Changes the density, scale or rotation based on the distance to another object
Object: Select the object that you want to scatter around.
Distance Multiplyer: Controls where the density, scale or rotation starts to change.
Look at- Adjusts the orientation so that every scattered object orients towards a third object.
Axis: The axis around which to rotate
Camera Culling- Masks out scatter objects that are outside the camera view.
Camera: Select the camera you want to use.
Focal Length: Set the focal length that your camera is using for a correct result.
Sensor Size: Set the sensor size that your camera is using for a correct result.
Render Width: Related to camera aspect ratio
Render Height: Related to camera aspect ratio
Buffer: Extends the edge of the area that is masked out by the Camera Culling Effect Layer.
I will work to improve and organize this documentation further in the future
