Toon Eyes Prep
 Just Ducky Artworks
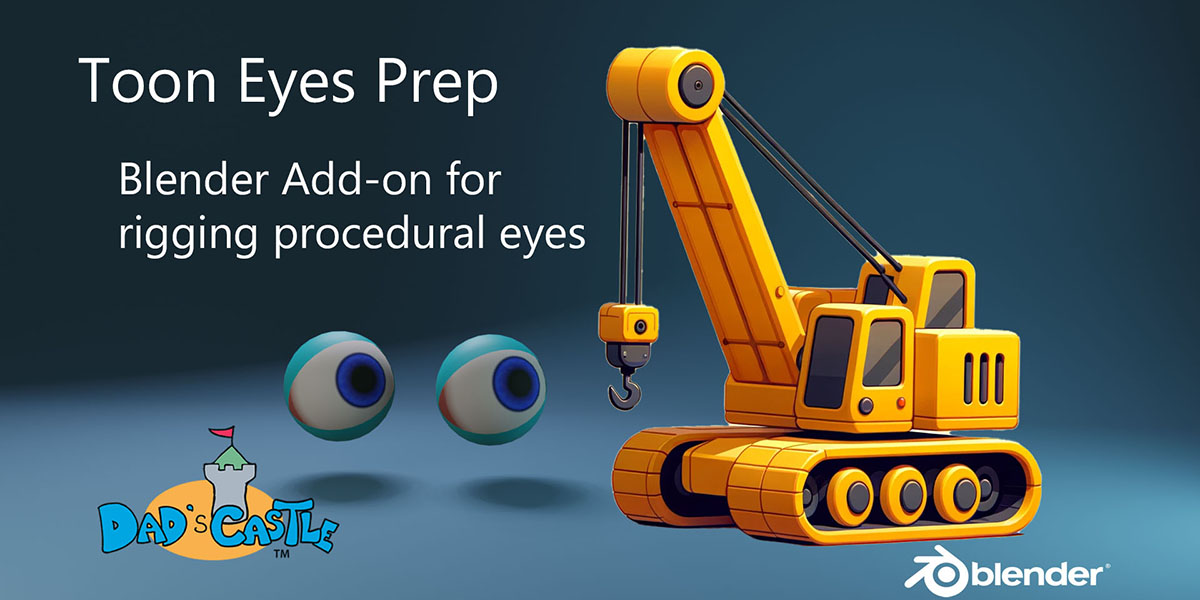


These are the basic steps for rigging my procedural toon eyes (version 1) using Auto-Rig Pro.
A full step by step tutorial video is here: Toon Eyes Prep Tutorial.
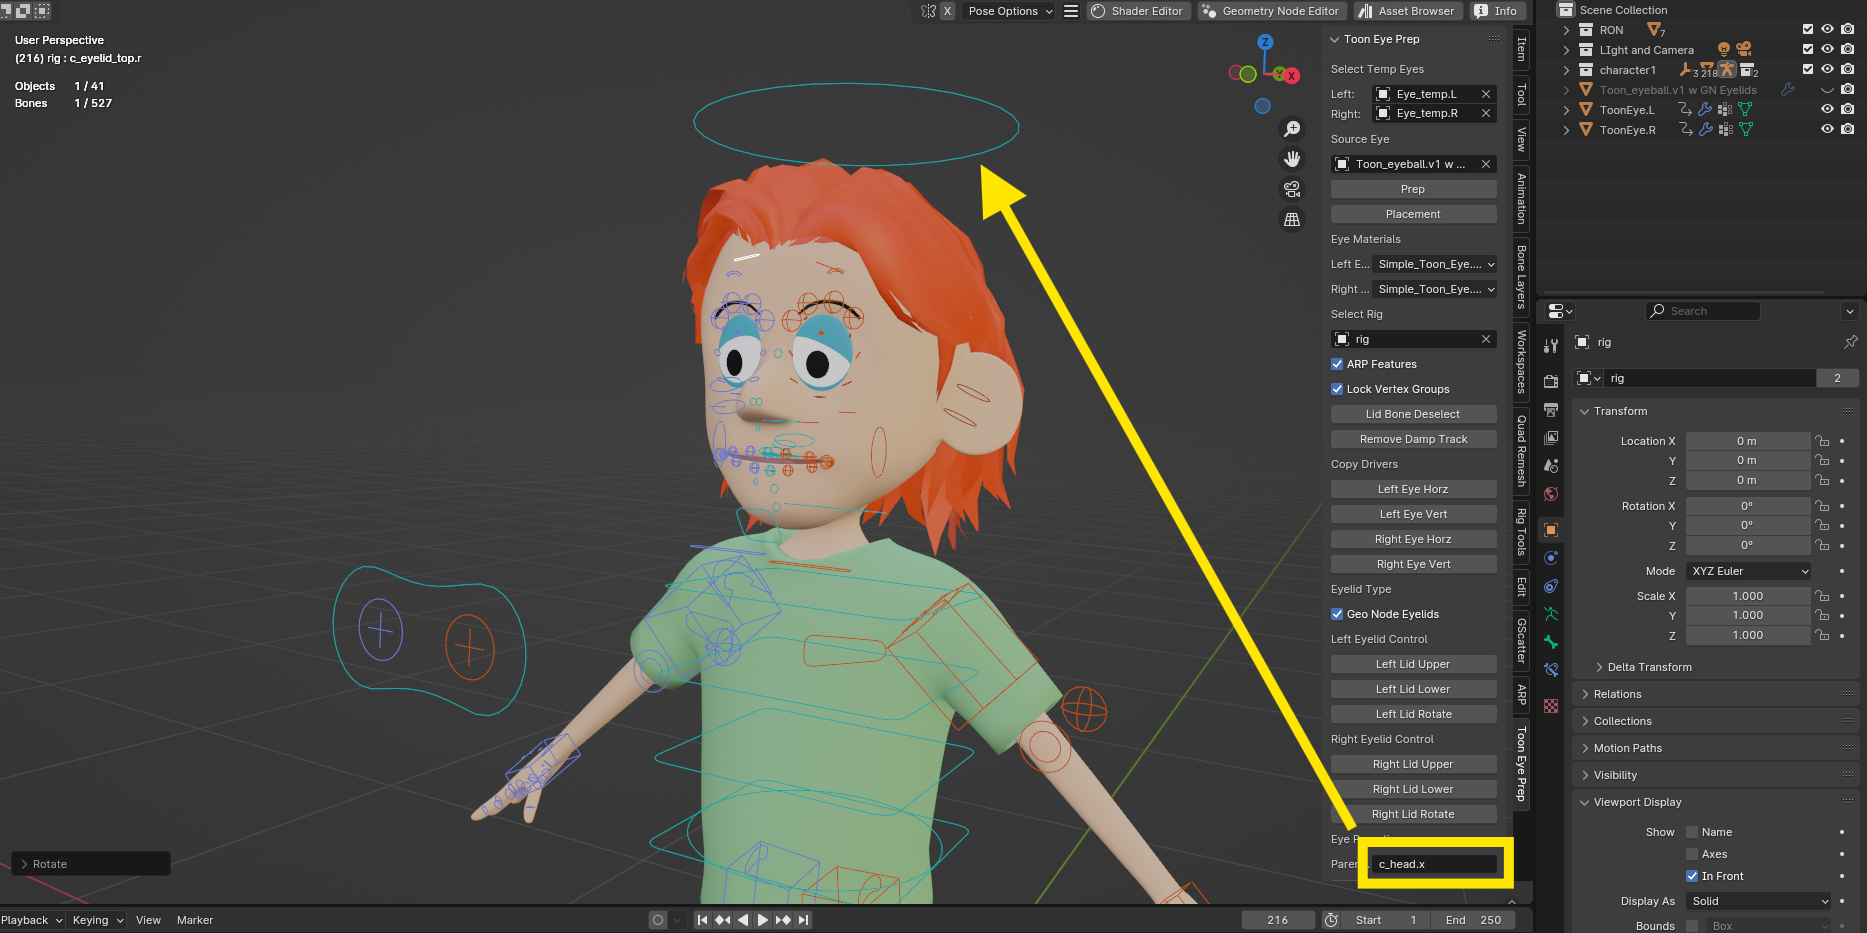
Toon Eye Preparation for Rigging:
NOTE: the temporary eyes must be created from a UV sphere by resizing, rotating, and positioning. If you have done additional modeling or shaping, it may not work correctly. Also the ‘pupil’ of the temp eyes should be the original north pole of the UV sphere (where all the longitudinal lines meet). I start by rotating my temp eye -90 degrees on the X-axis so the pupil is pointing in the -Y direction. Then I scale, move, and rotate as needed. Positioning the toon eyes: Once installed, the addon is located on a tab in the N-Panel. Simply select the left and right temp eyes, then select the desired toon eyeball. Click the “Prep” button to create left and right duplicates of the toon eye (version 1), including materials (and geometry node eyelids if using them). Click the “Placement” button to replace the temp eyes and hide them.

Create the Auto-Rig Pro landmarks, then Match to Rig.

Binding the toon eyes:
After creating the ARP rig, use the Toon Eyes Prep add-on to select the rig, check "ARP Features" box, lock vertex groups, deselect ARP eyelid bones (if using geometry node eyelids), then click the "Remove Damp Track" button.


Return to ARP and check the "Selected Bones Only" button (if using geometry node eyelids). Then bind the character using ARP.
 Creating Drivers:
In the add-on, simply click on all the "Copy Drivers" buttons.
Creating Drivers:
In the add-on, simply click on all the "Copy Drivers" buttons.
IF USING Geometry Node Eyelids, check the "Geo Node Eyelids" box and click on all the buttons.

Parenting: In the add-on, select the parent bone (c_head.x default) then click on "Parent Eyes"

Enjoy and have a great day!
-
$5
Includes the full suite of tools to position, rig, and create controller drivers for use with Auto-Rig Pro.
-
$1
This version provides eye placement utilities. It copies the source eye and materials into left and right toon eyes, then transforms and places them where the temporary eyes are located.
Have questions about this product?
Login to message
| Published | 10 months ago |
| Software Version | 4.1, 4.0, 3.6 |
| License | GPL |