 3D Tudor
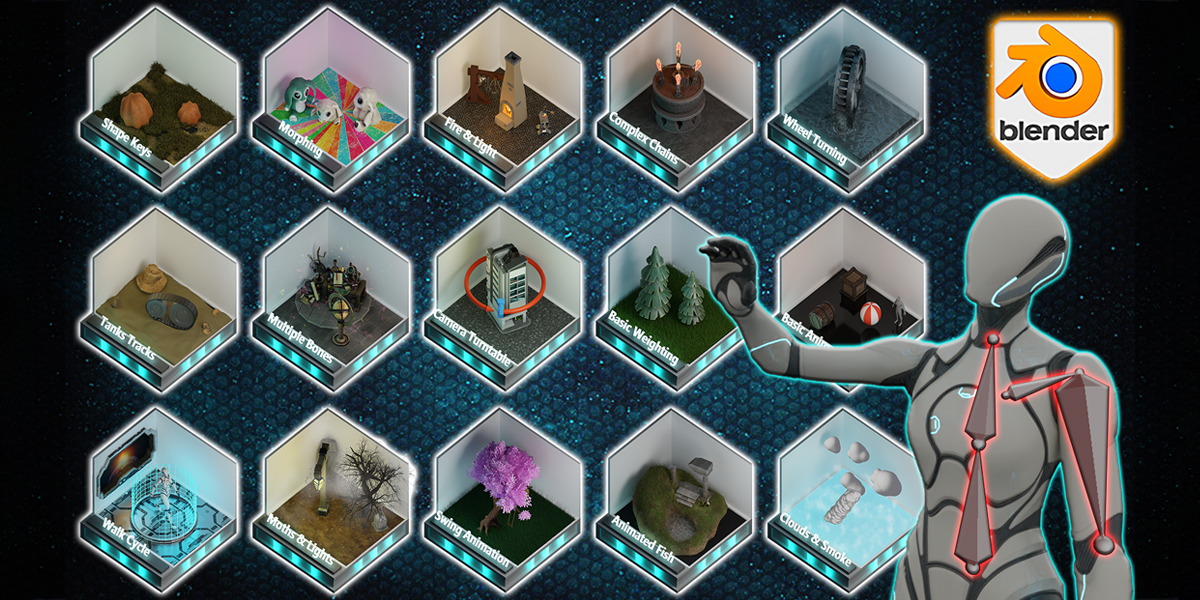


Course Description 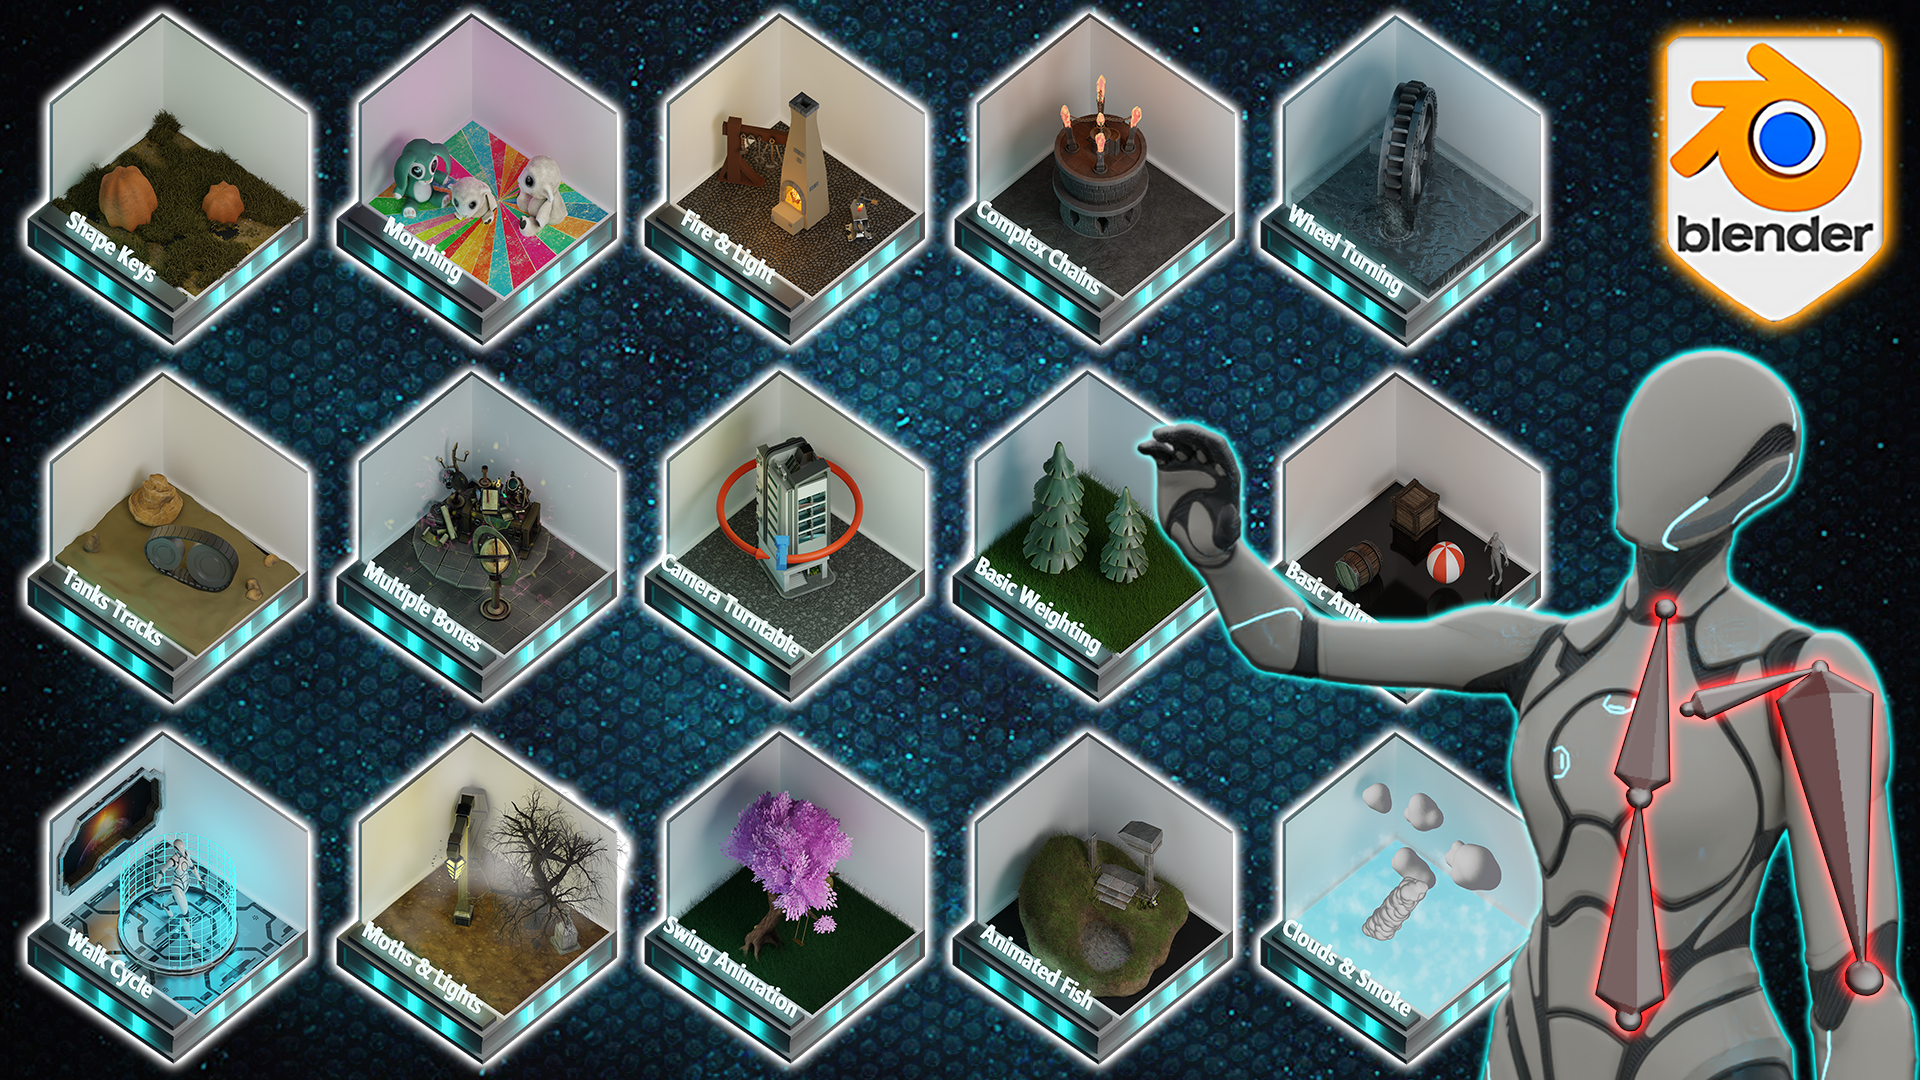
Have you ever wanted to breathe life into the 3D assets you create, moving their limbs, letting them swing to the wind or morphing them into different shapes?
'The Ultimate Guide to Blender 3D Rigging and Animation’ is very different to any other Blender course out there! Most Blender courses show you 3D modelling, texturing, and rendering tips and tricks. 'The Ultimate Guide to Blender 3D Rigging and Animation’ focuses on creating a variety of animations from basic, to intermediate, to advanced, all completely made in Blender - one of the top open-source and free 3D modeling software out there.
We will not be using any other software to animate all that you see in the thumbnail, except Blender. You will also learn about multiple armatures, walk cycles, and turntables, and as an added plus, you will learn about how to animate a full scene reminiscent of adventure films with different deadly traps.
This is great because it means you will get to see how we animate organic and inanimate objects from scratch for video games. I am sure 'The Ultimate Guide to Blender 3D Rigging and Animation’ will be the one course that you will want to keep handy anytime you need animate an asset.
Our 'The Ultimate Guide to Blender 3D Rigging and Animation’ top 6:
1. Following through a full introduction to animating in Blender with basic animations;
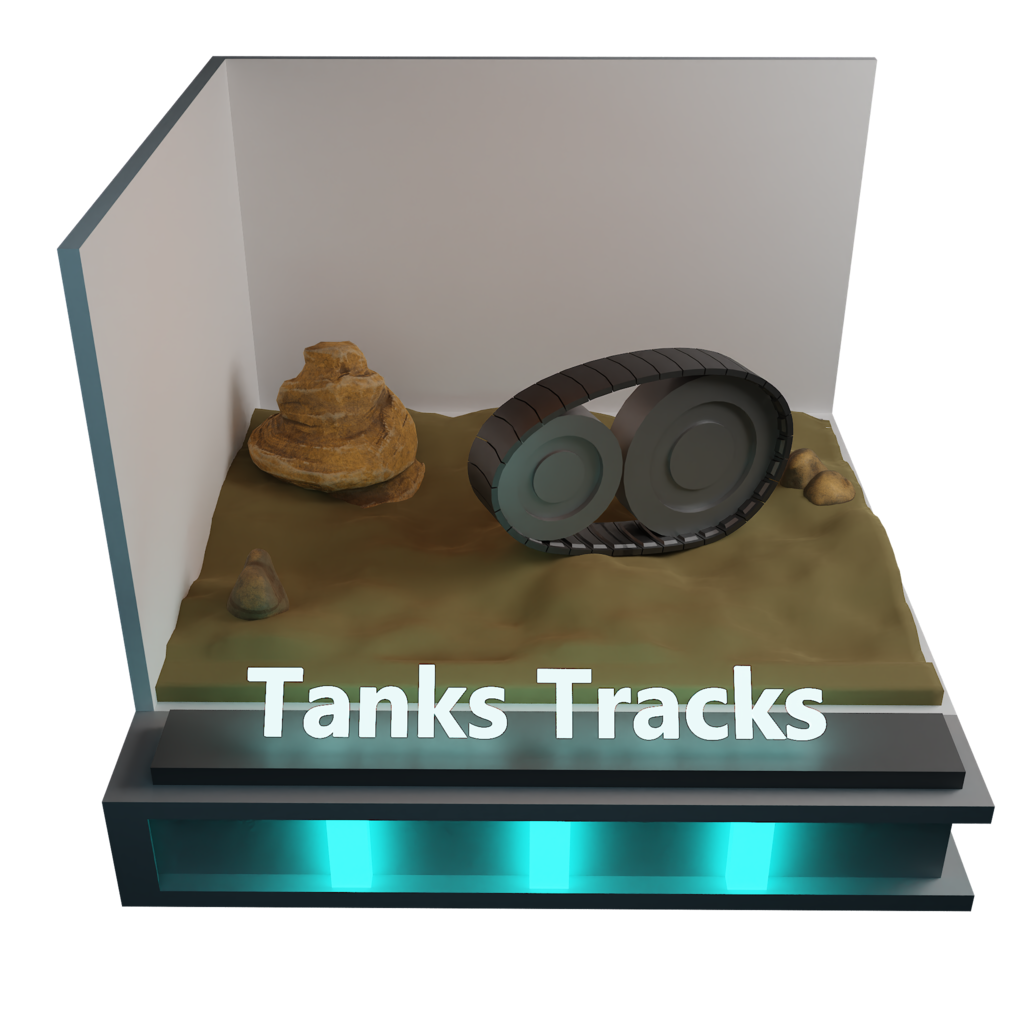
2. Learning how to animate tank tracks so that they stick to any type of terrain;
3. Creating create handles and drivers to have your tank tracks move realistically;
4. Mastering the art of character rigging and animating walk cycles;
5. Finding how to make moths move around a light source using Blender’s particle boid system;
6. Maximising the benefits of animated textures to create flames and fire streams.
Now, there are courses out there that can show you how to animate specific assets from start to finish, but there is nothing that covers the entire process from grass to wheels, to trees, to fish, to tank tracks, to fire, to light, and clouds, and even deadly adventure game traps. 'The Ultimate Guide to Blender 3D Rigging and Animation’ is intended to be the complete guide to animating in Blender.

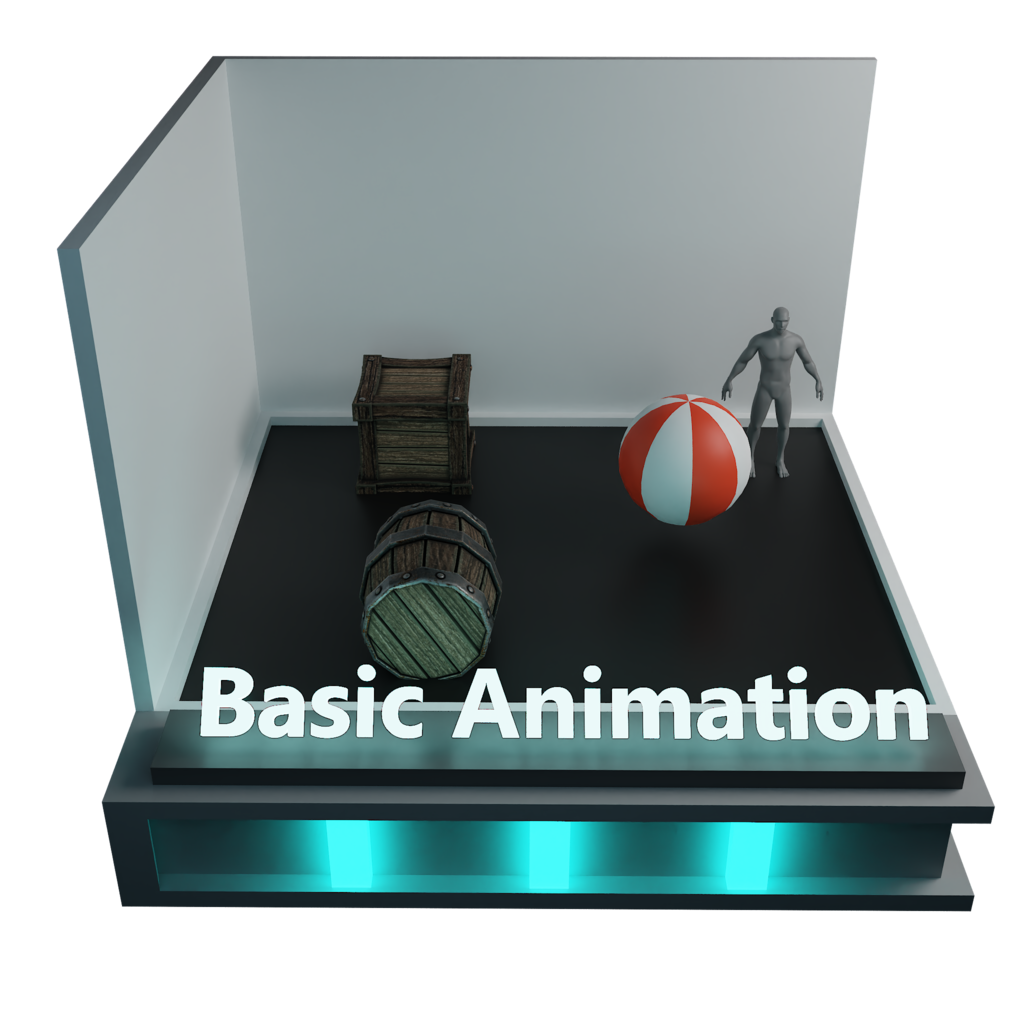
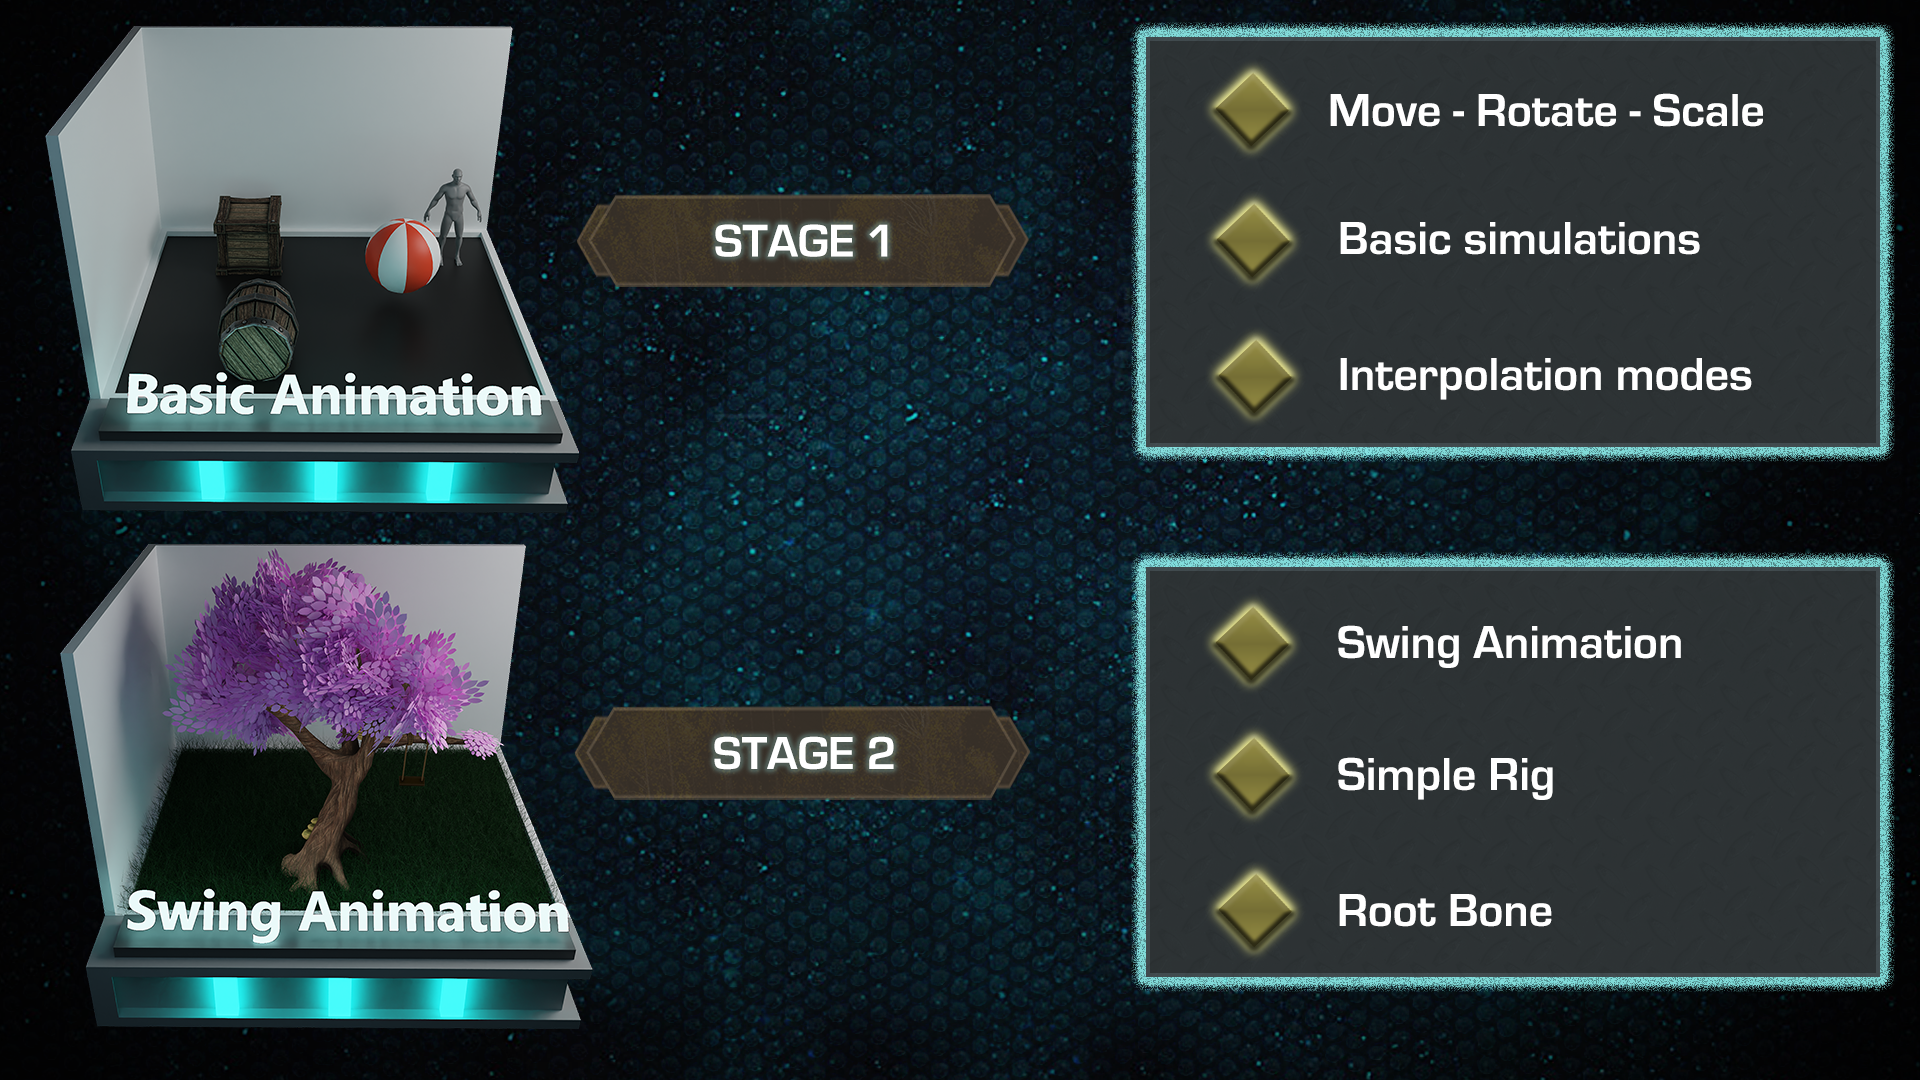
Stage 1: Basic Animation
This part of 'The Ultimate Guide to Blender 3D Rigging and Animation’ will cover the basics of animation. No bones or rigs, just key frames. We will also be looking into interpolation modes and how we can use them to smooth out animations.
· Move - Rotate - Scale
· Interpolation modes
· Basic simulations
Stage 2: Swing Animation
Using the skills we learn from stage 1, we take this up a notch by creating our first rig and single bones. This is the basis of most animations. This part of 'The Ultimate Guide to Blender 3D Rigging and Animation’ will teach you why a root bone is important.
· Swing Animation
· Simple Rig
· Root Bone
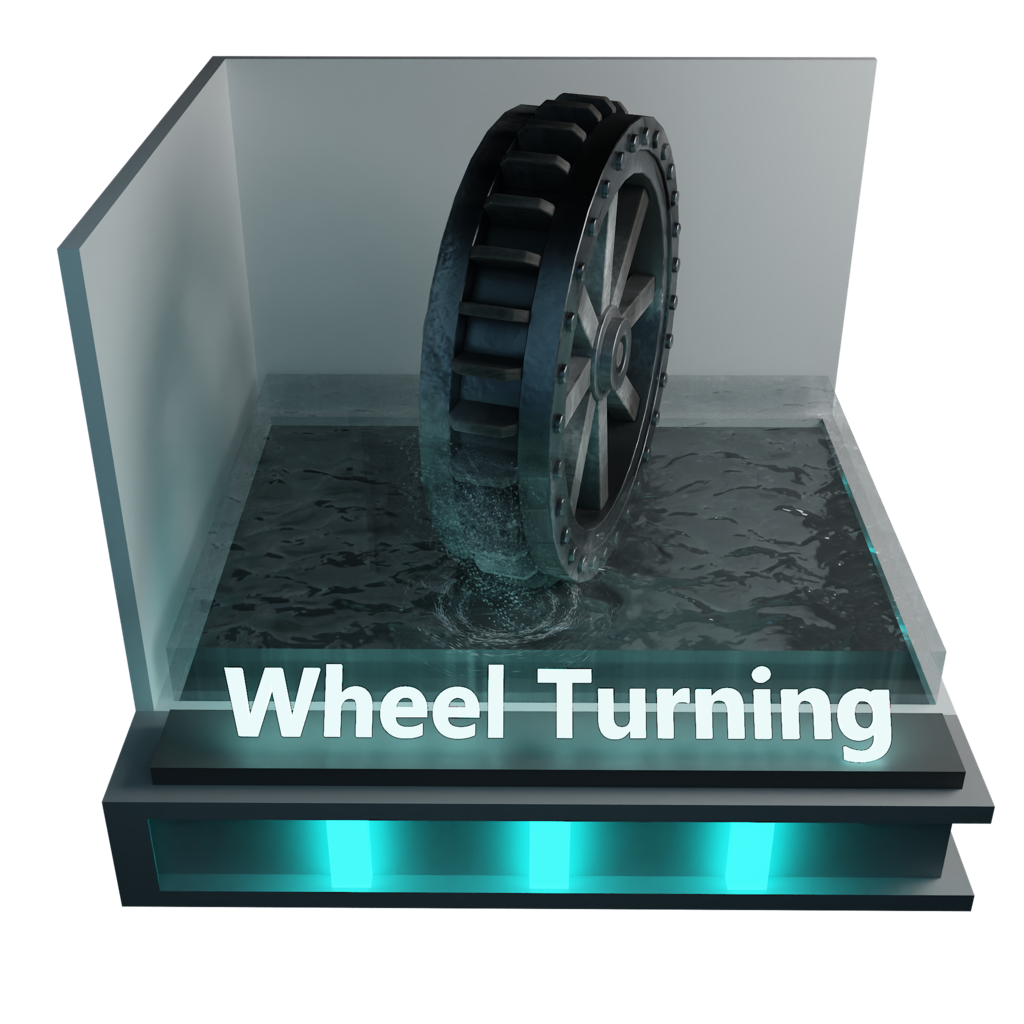
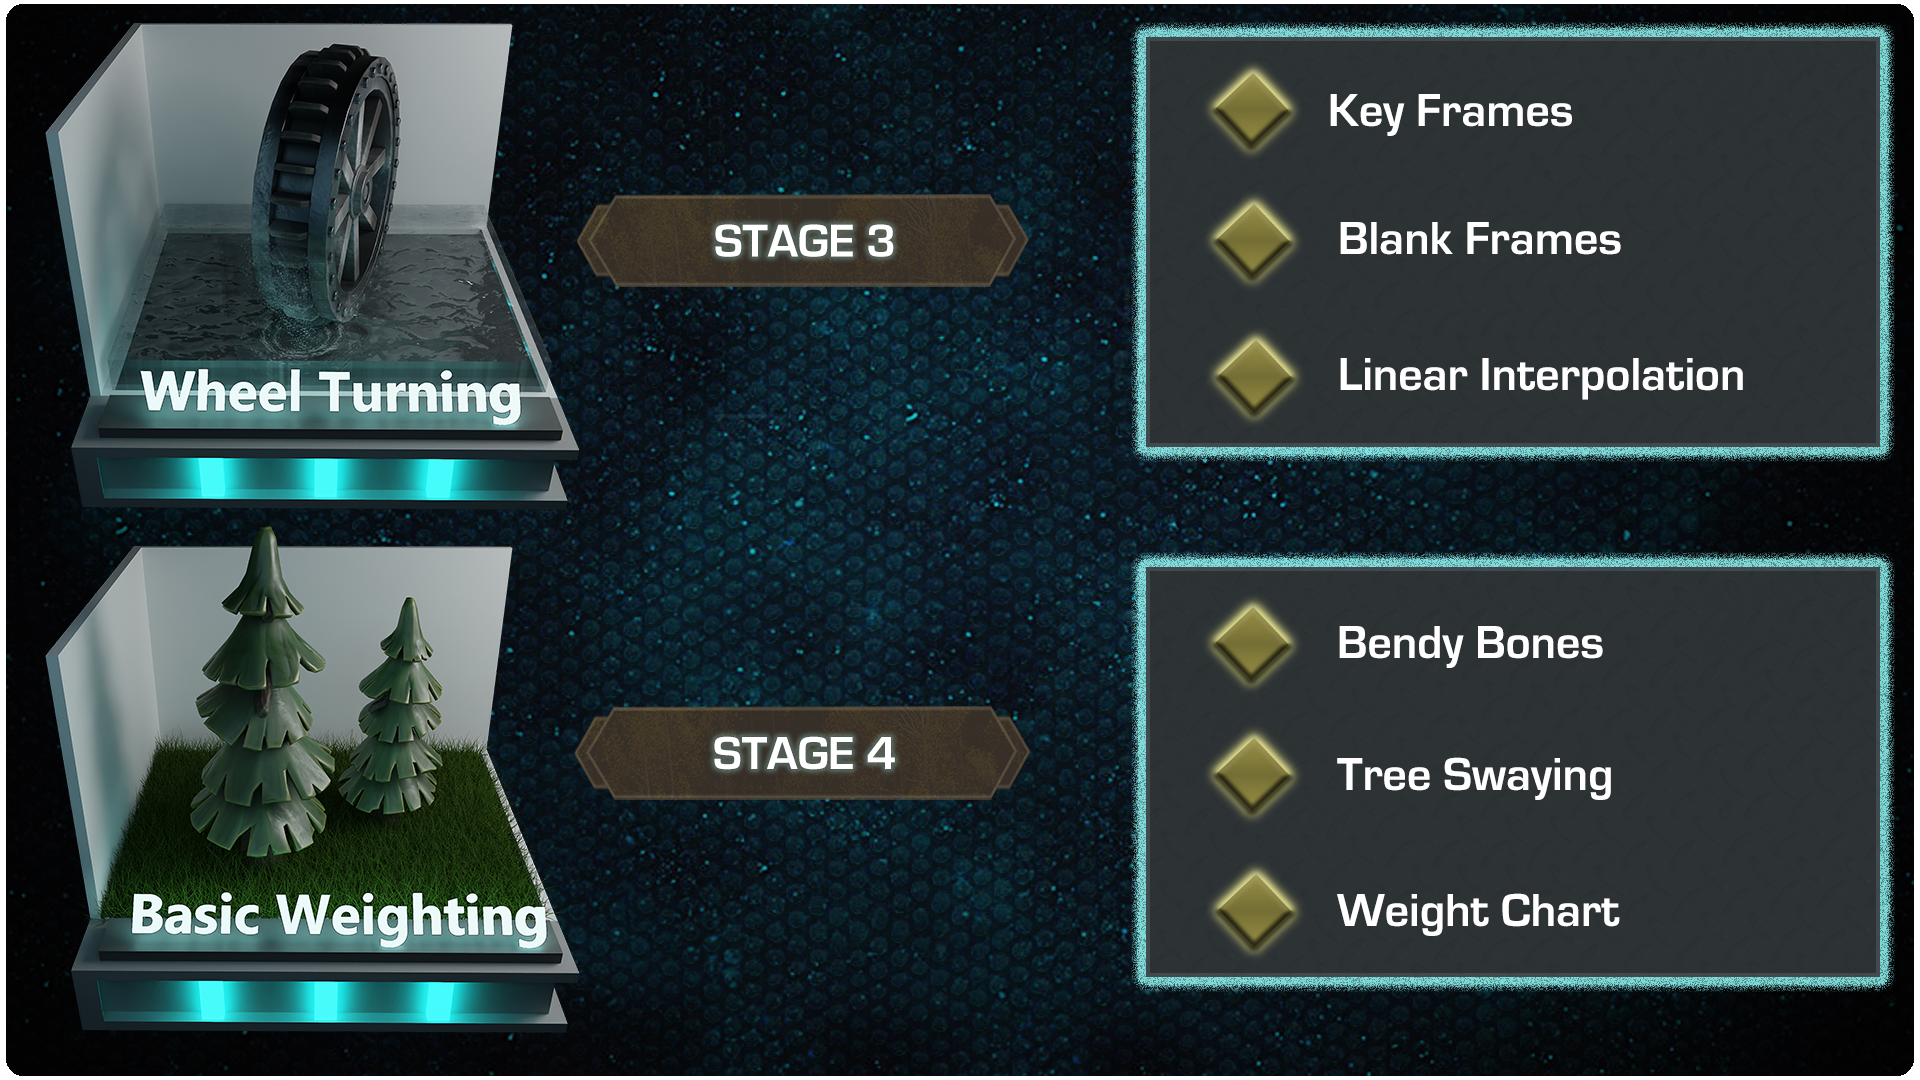
Stage 3: Wheel Turning
When working with anything that can spin, it is important to understand how frames and keys work. In this stage, we will be explaining how to create a spinning wheel. Our goal is for its movement to look realistic. The best thing about wheel animations is that this can be achieved in the shortest amount of time.
· Key Frames
· Blank Frames
· Linear Interpolation
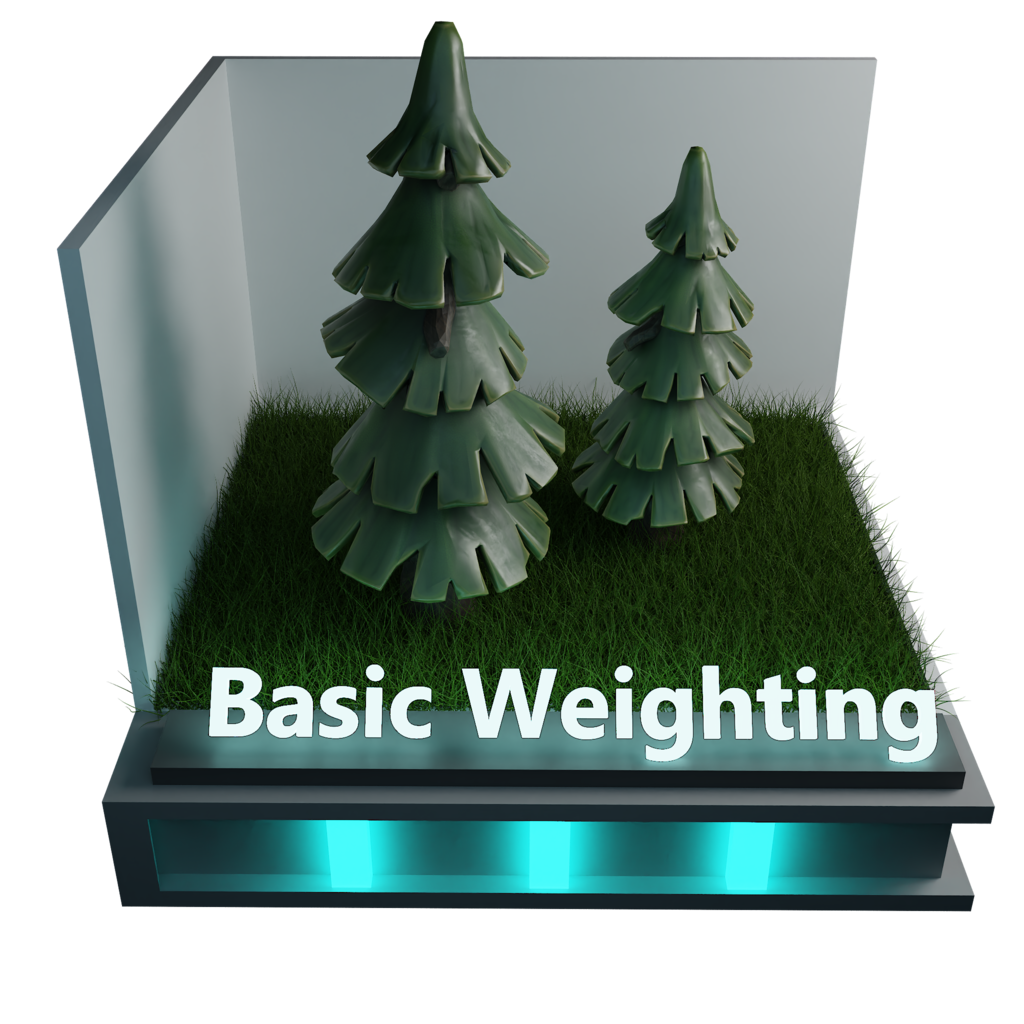
Stage 4: Basic Weighting
In this part of 'The Ultimate Guide to Blender 3D Rigging and Animation’, we will be looking at how weighting works and you will learn how to add weight to bones. This is important for creating a certain level of realism. We will also be looking at when and how to use bendy bones.
· Bendy Bones
· Tree Swaying
· Weight Chart
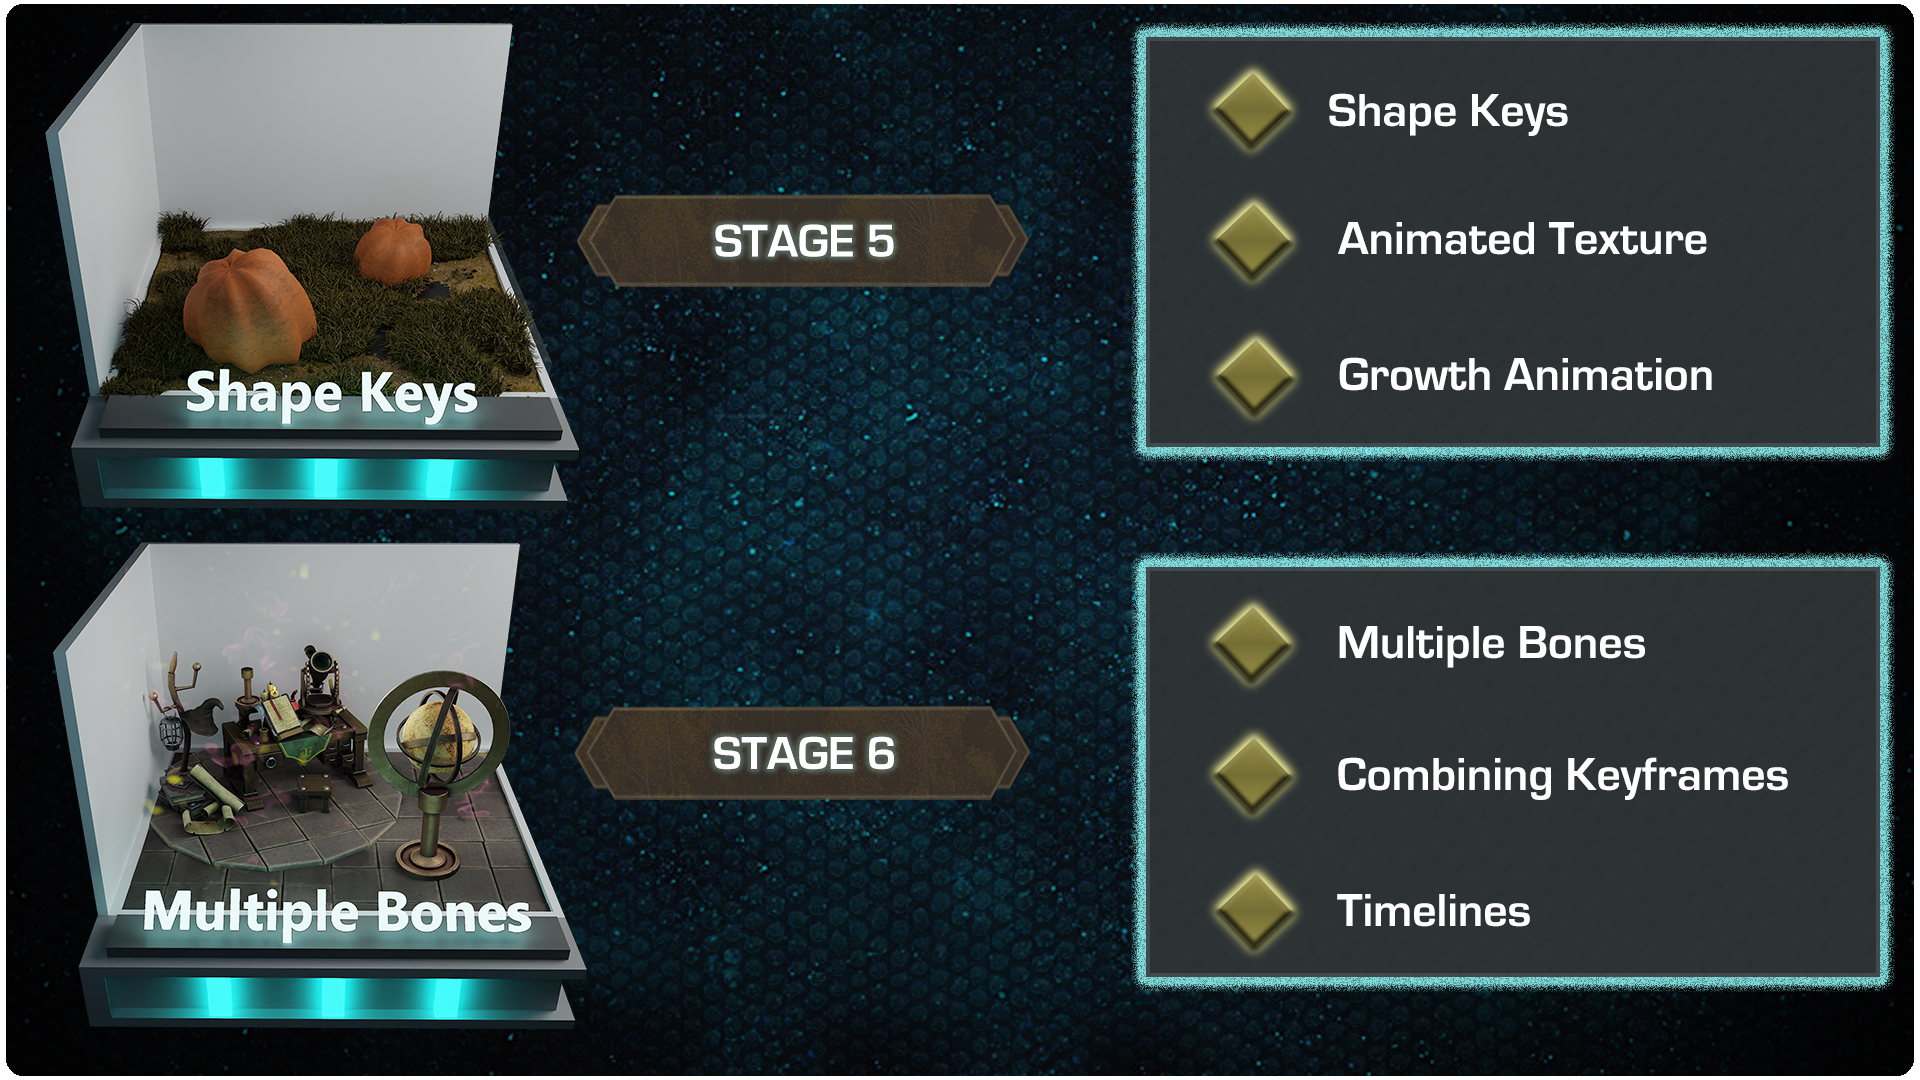
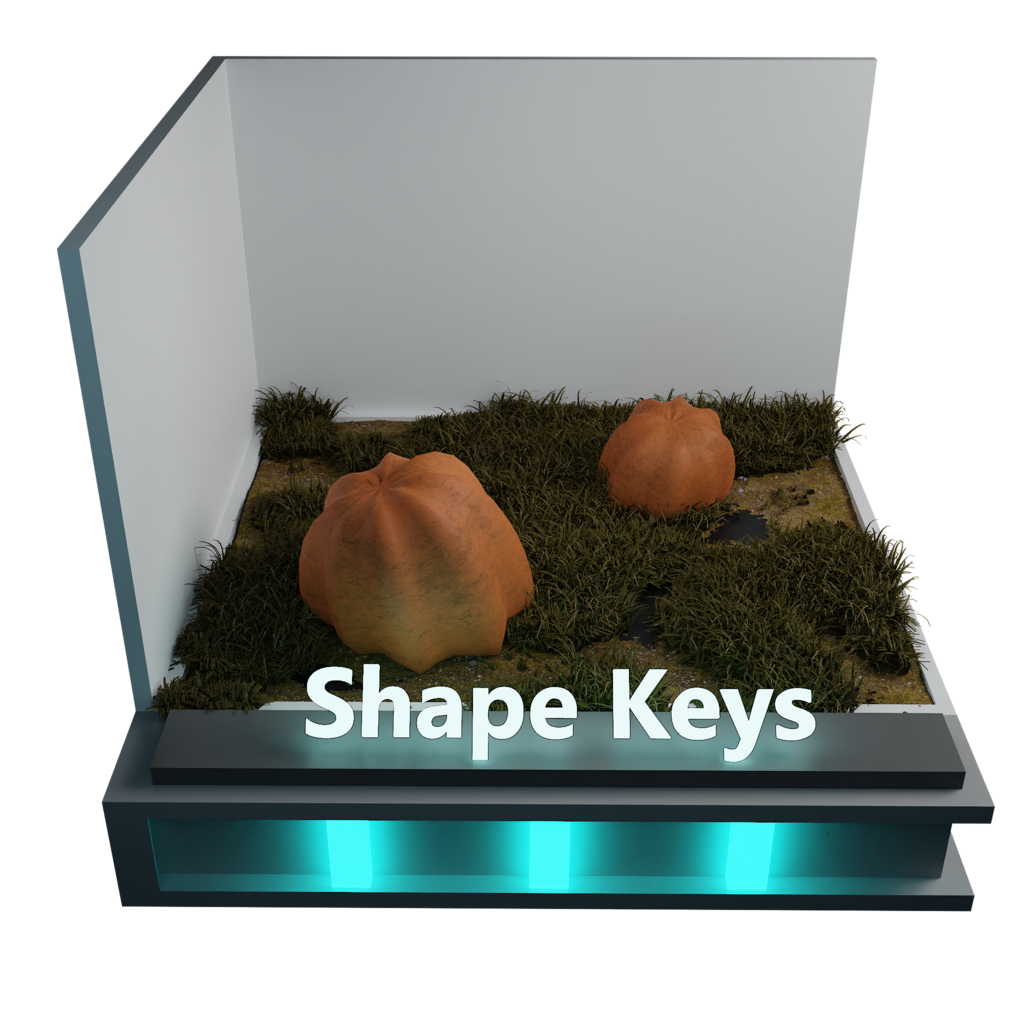
Stage 5: Shape Keys
Shape keys are a very powerful animation tool that we have at our disposal. We can not only change the shape of objects in ways that rigs simply cannot do but we are also able to combine multiple shape keys.
· Shape Keys
· Animated Texture
· Growth Animation
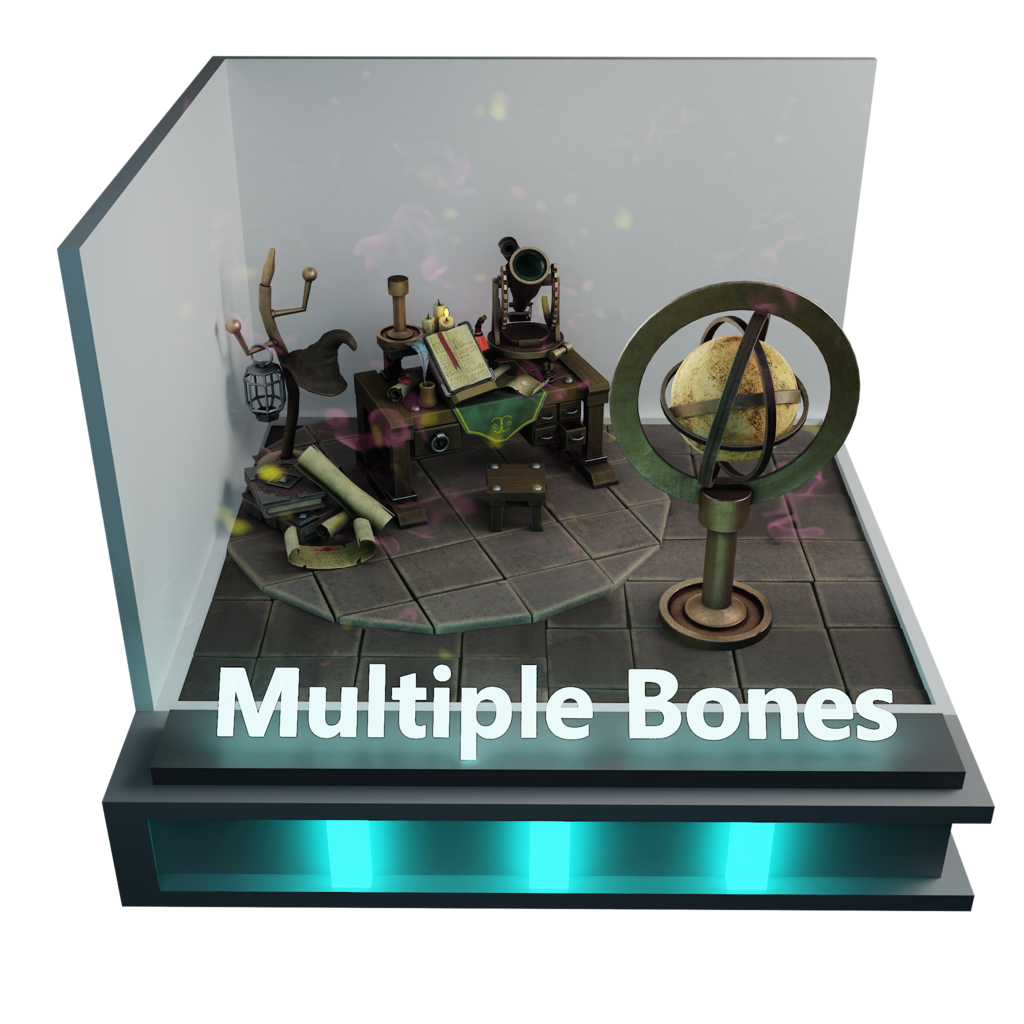
Stage 6: Multiple Bones
As a 3D artist, at some point or another, you will have models that will need a lot more than just one single bone. In this part of the course, we learn how we can create animations with multiple bones working independently.
· Multiple Bones
· Combining Keyframes
· Timelines
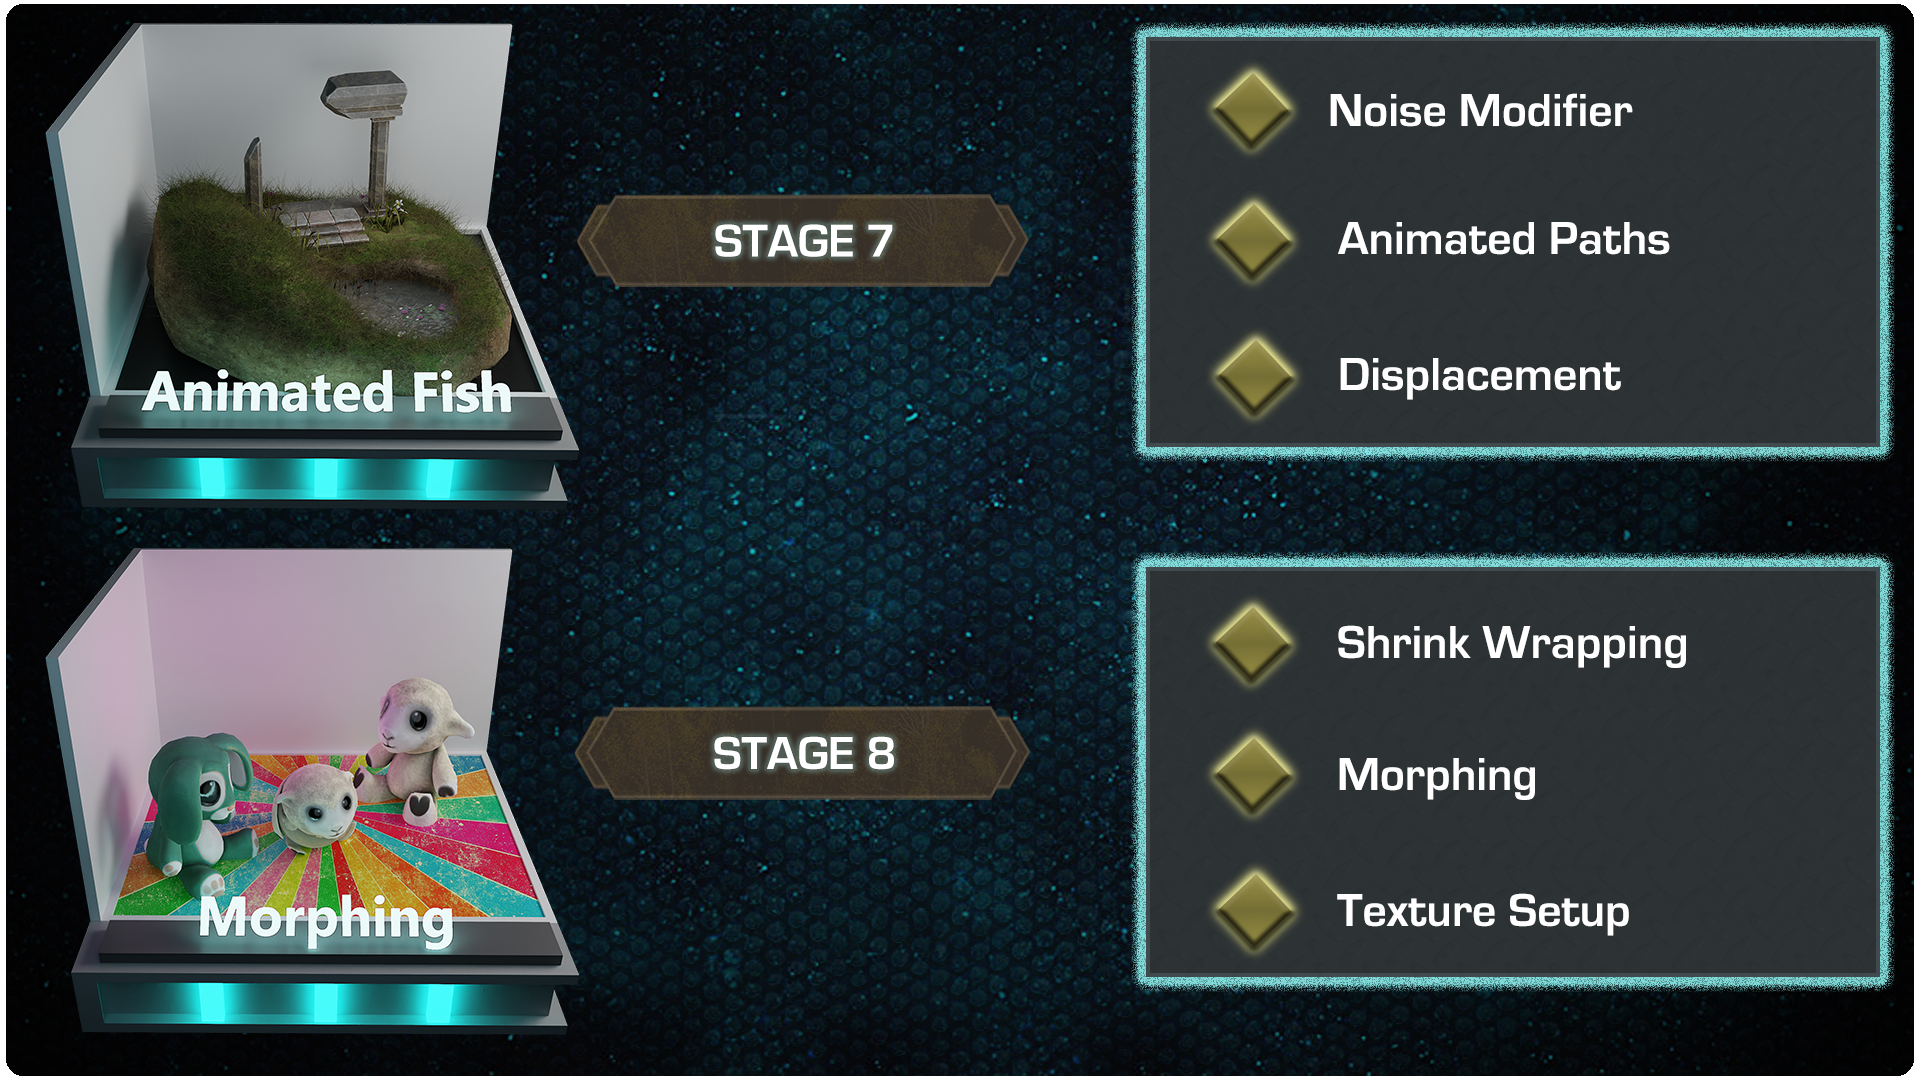
Stage 7: Animated Fish
Realistically animating wildlife can be difficult. Luckily, we have a fair amount of Blender that can speed up your workflow and enhance the realism of an animation. Within the graph editor, we will look at modifiers and how to combine them with displacement.
· Noise Modifier
· Animated Paths
· Displacement
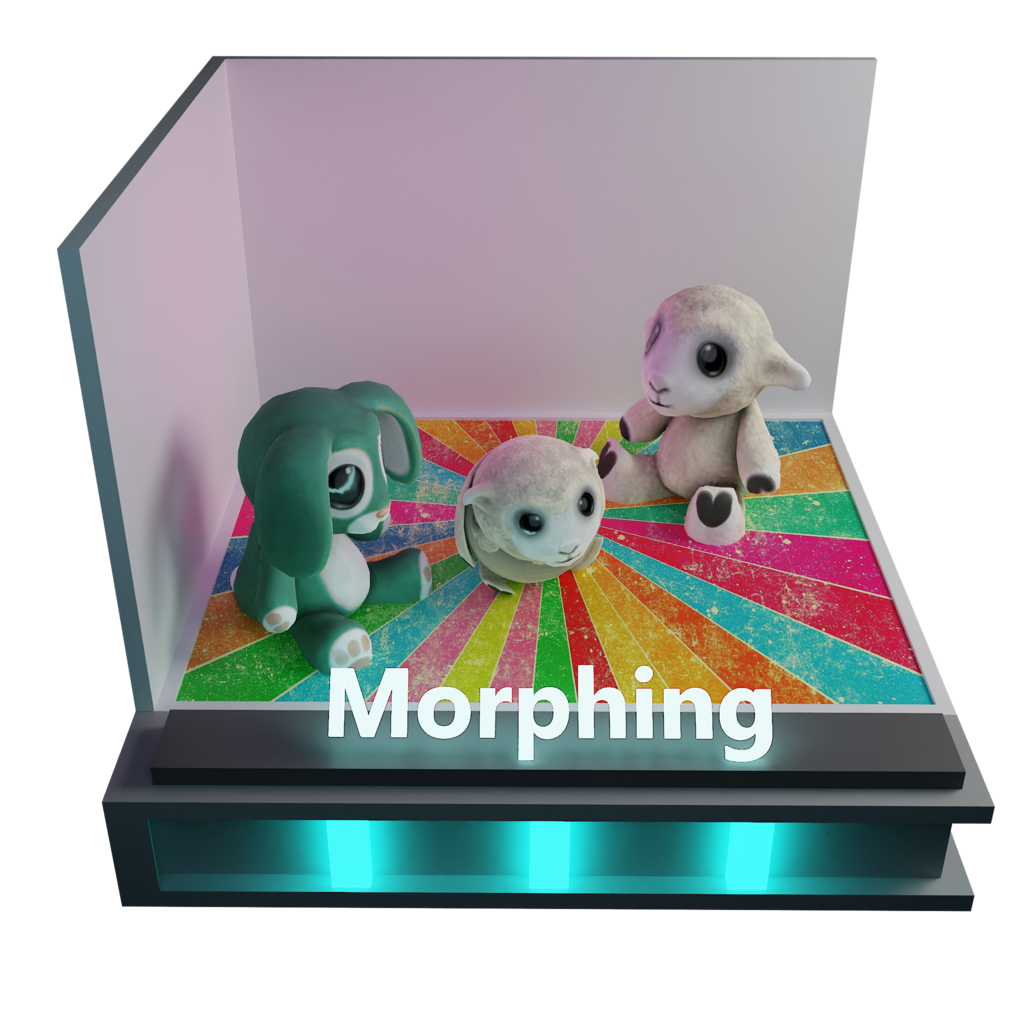
Stage 8: Morphing
Morphing is the process of taking one object and turning it into another over a set number of keyframes. Now, this is not as simple as clicking a button. In this part of 'The Ultimate Guide to Blender 3D Rigging and Animation’, we will look at how to set up this process and how to change the textures along with the object.
· Shrink Wrapping
· Morphing
· Texture Setup
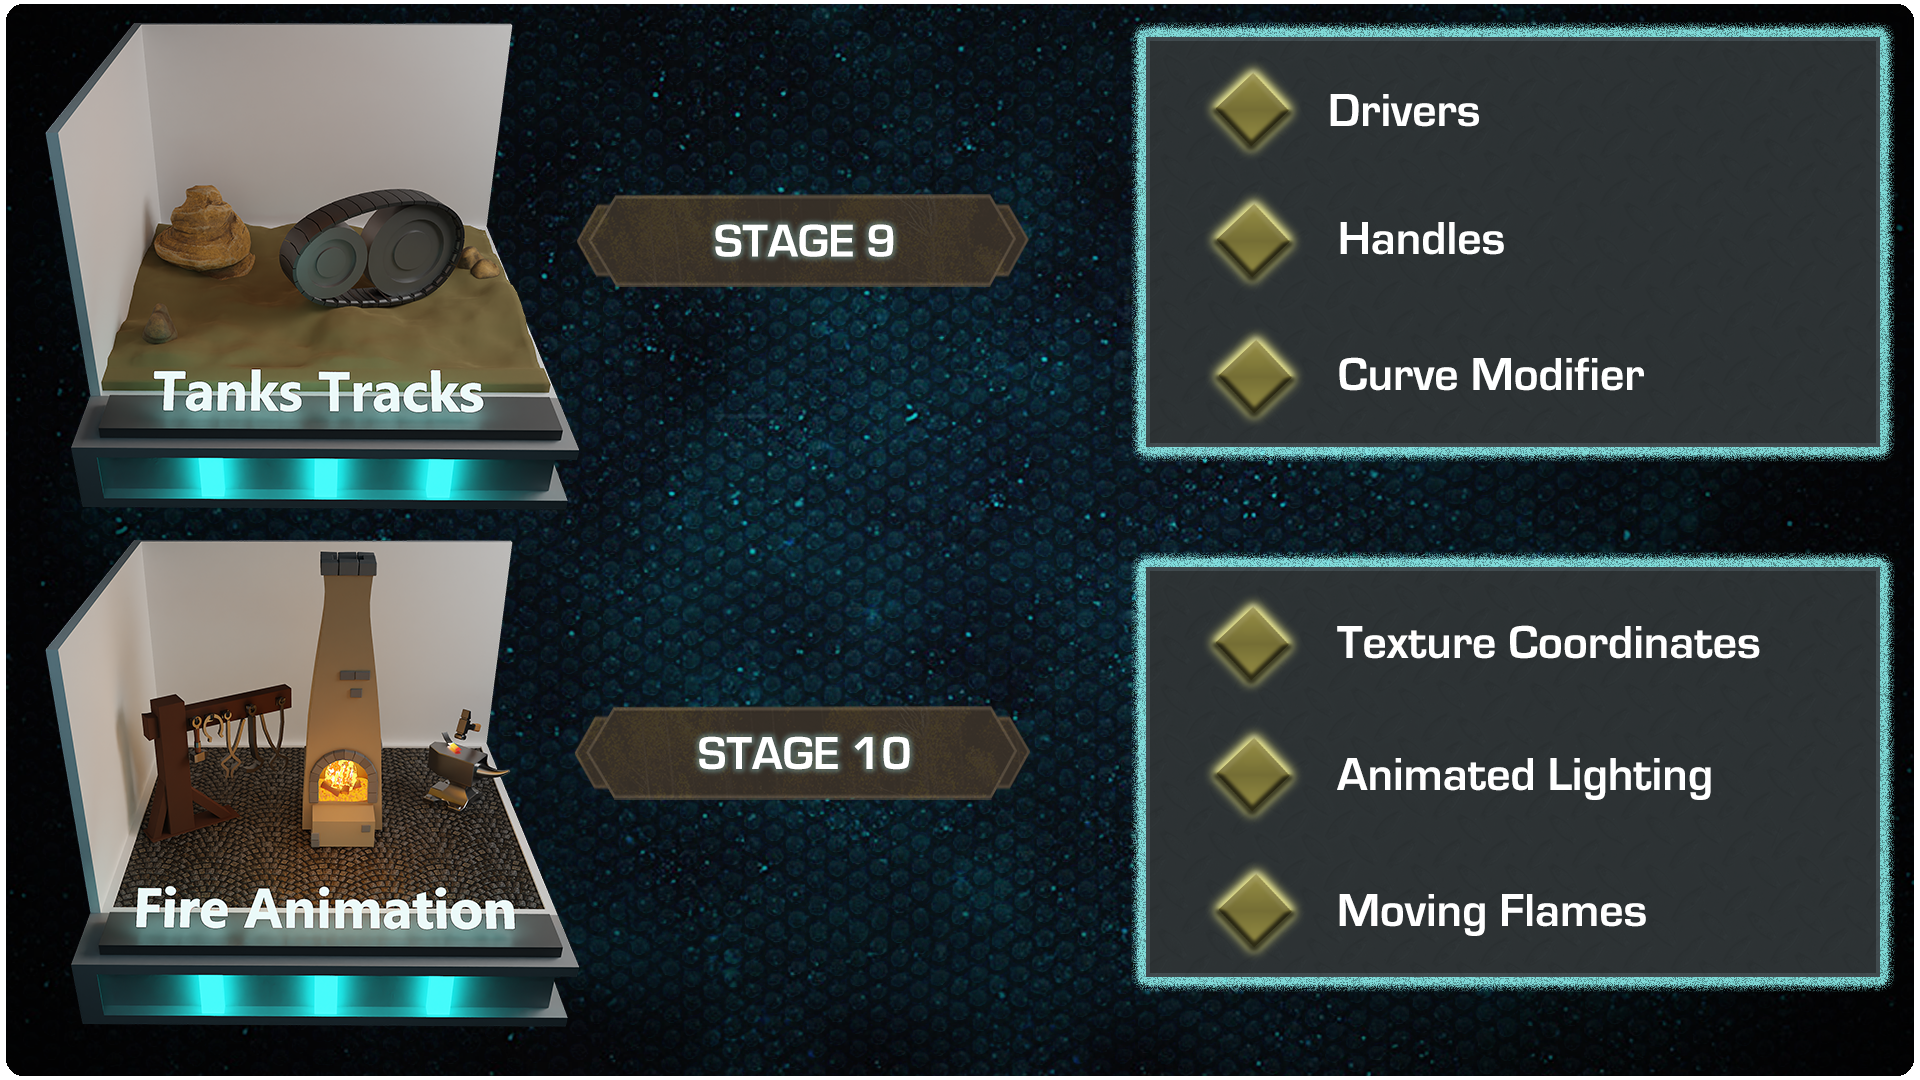
In my opinion, tank tracks are the number one asked-for animation, coming second after character rigs. This is why it is included in the course. We will be going through how to stick our tracks to any terrain. You will finish this part with the skills to create handles and drivers to have your tank tracks move realistically.
· Drivers
· Handles
· Curve Modifier
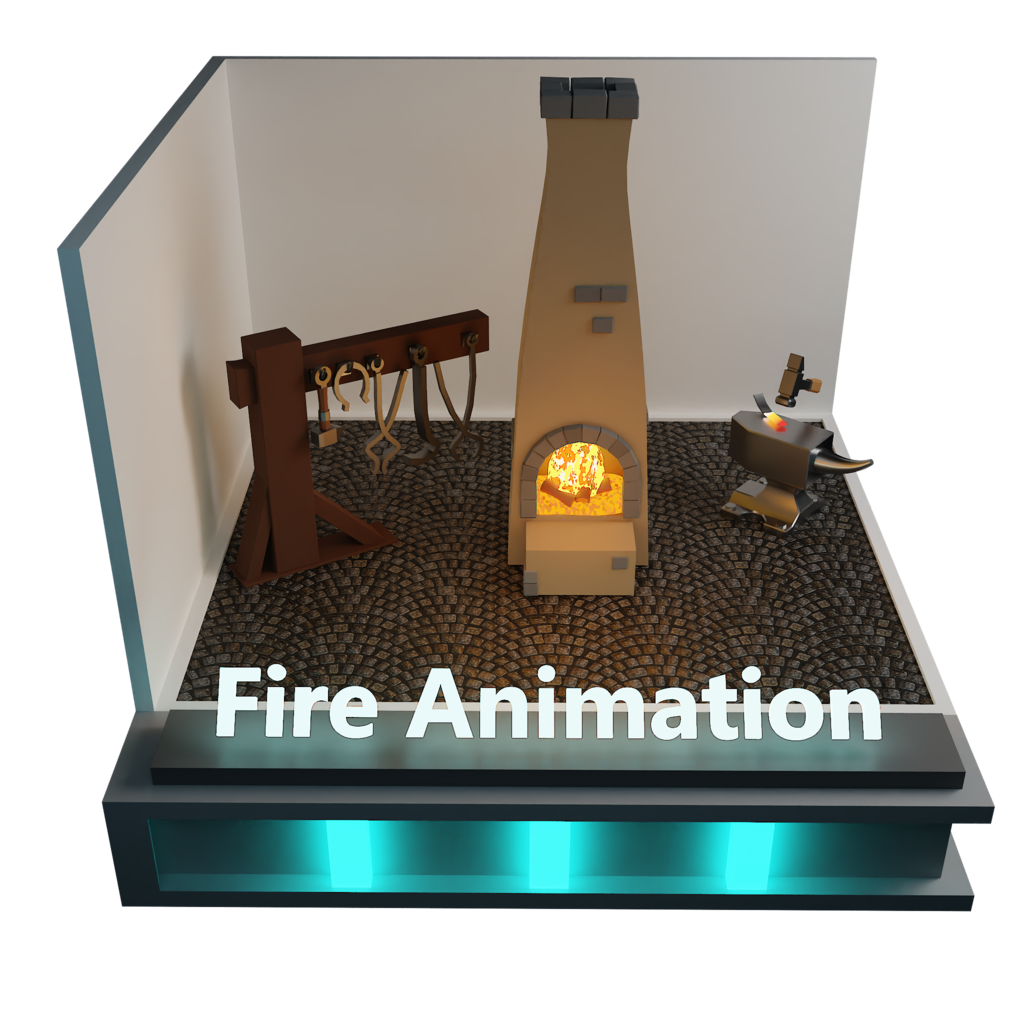
Stage 10: Fire & Light Flicker
There will always be an abundance of models that require flames in some shape or form. This means that knowing how to animate flames is a key component of 'The Ultimate Guide to Blender 3D Rigging and Animation’. You will not only learn how to create flames from scratch, but you will also learn how to animate them. Empties and displacement will be the key to creating realistic flames without the need for complex simulations.
· Texture Coordinates
· Animated Lighting
· Moving Flames

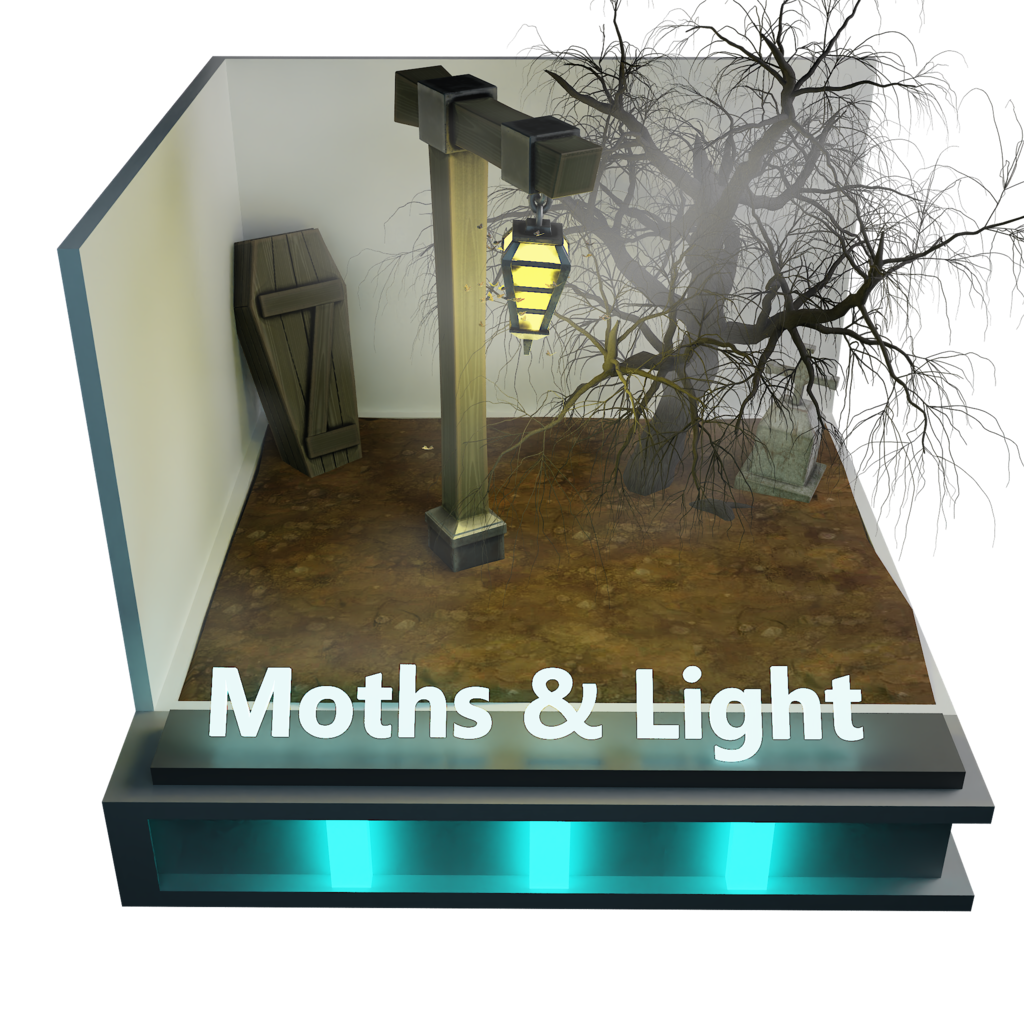
Stage 11: Moths & Light
It is the little things that can bring a scene to life. In this part of the course, we will be covering object tracking. Object tracking can be used to create moths flying around a light source. Wherever the light goes, the moths will follow, all thanks to boid brain which is an amazing Blender feature that comes with the particle setup.
· How to use empties
· Object Tracking
· Particle Boids System
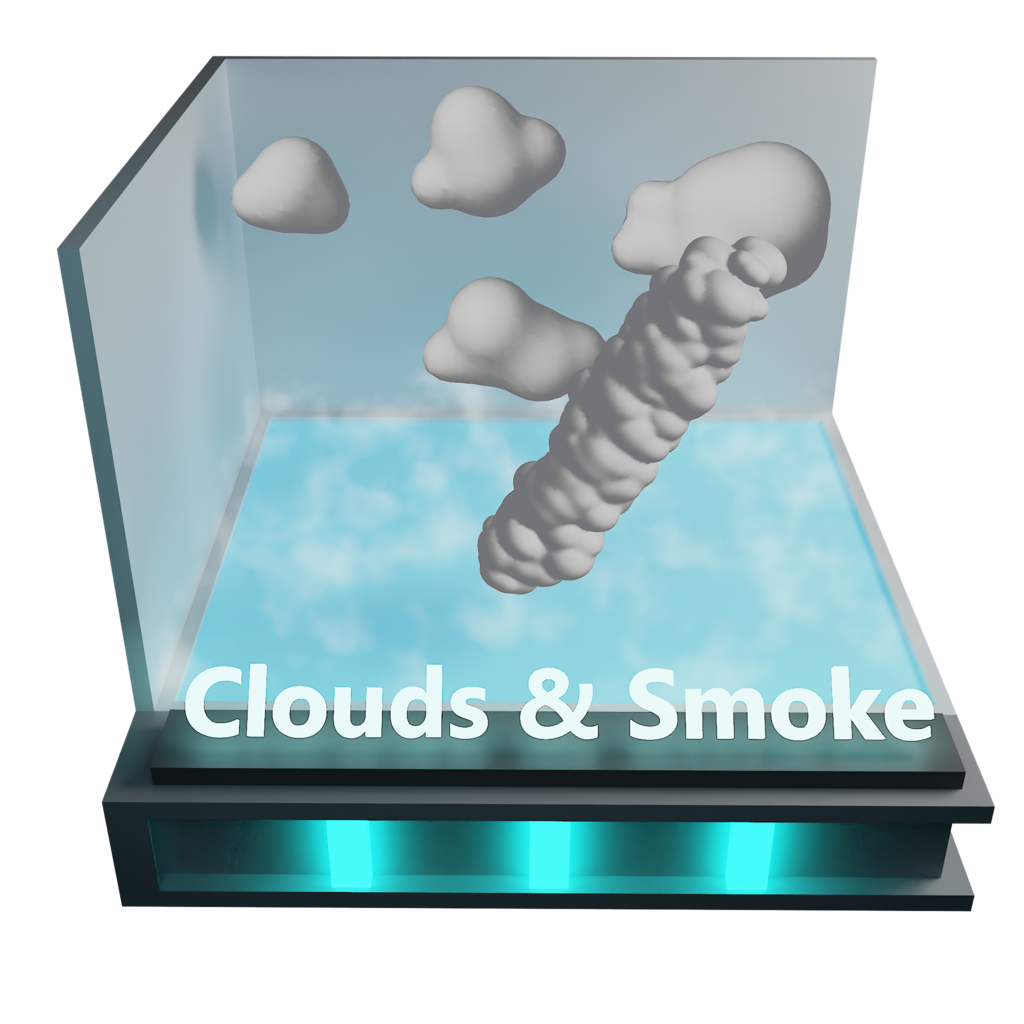
Stage 12: Clouds
The main focus of 'The Ultimate Guide to Blender 3D Rigging and Animation’ is to create animations without the need for simulations. This means we need to find other ways of creating things like smoke. In this part of the course, we create a stylized smoke effect using Blender’s particle system. This also means that it is really easy to see results in real-time.
· Meat balls
· Velocity
· Inverse Timelines
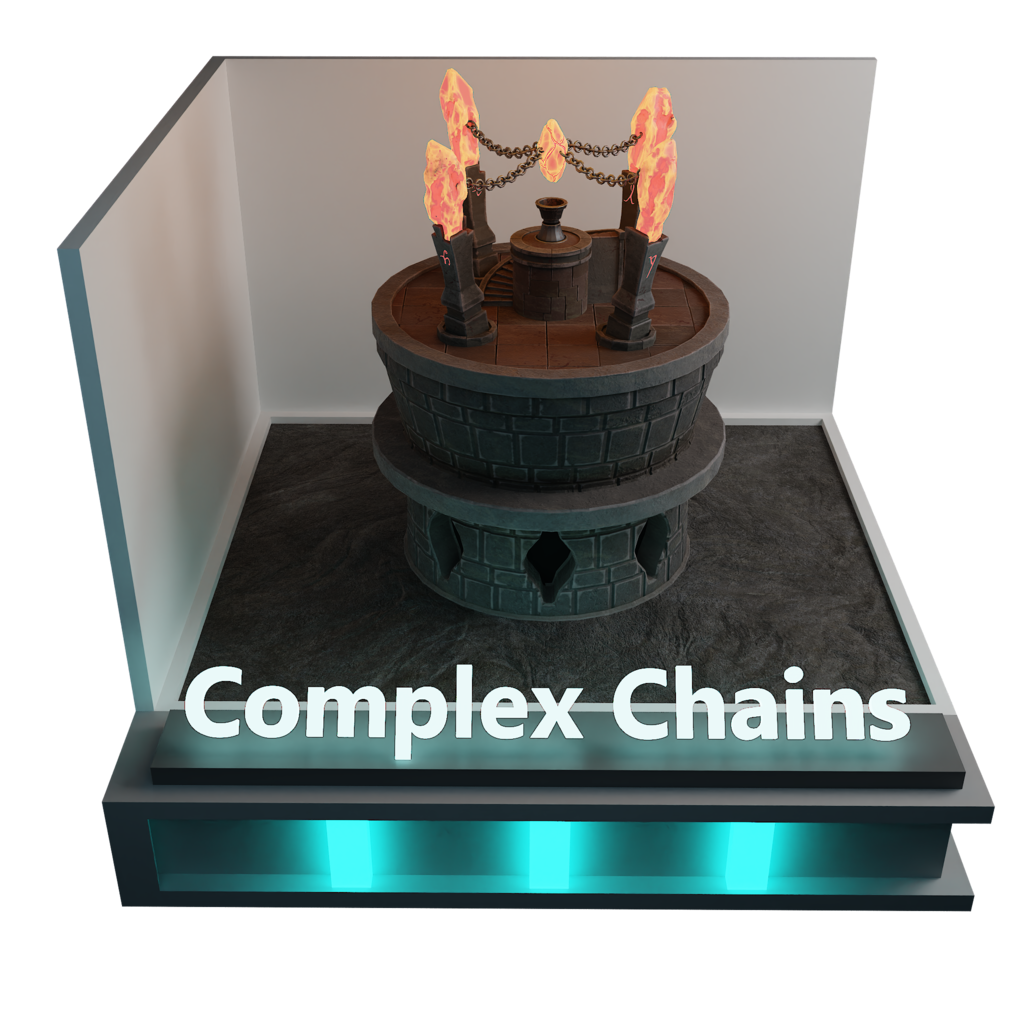
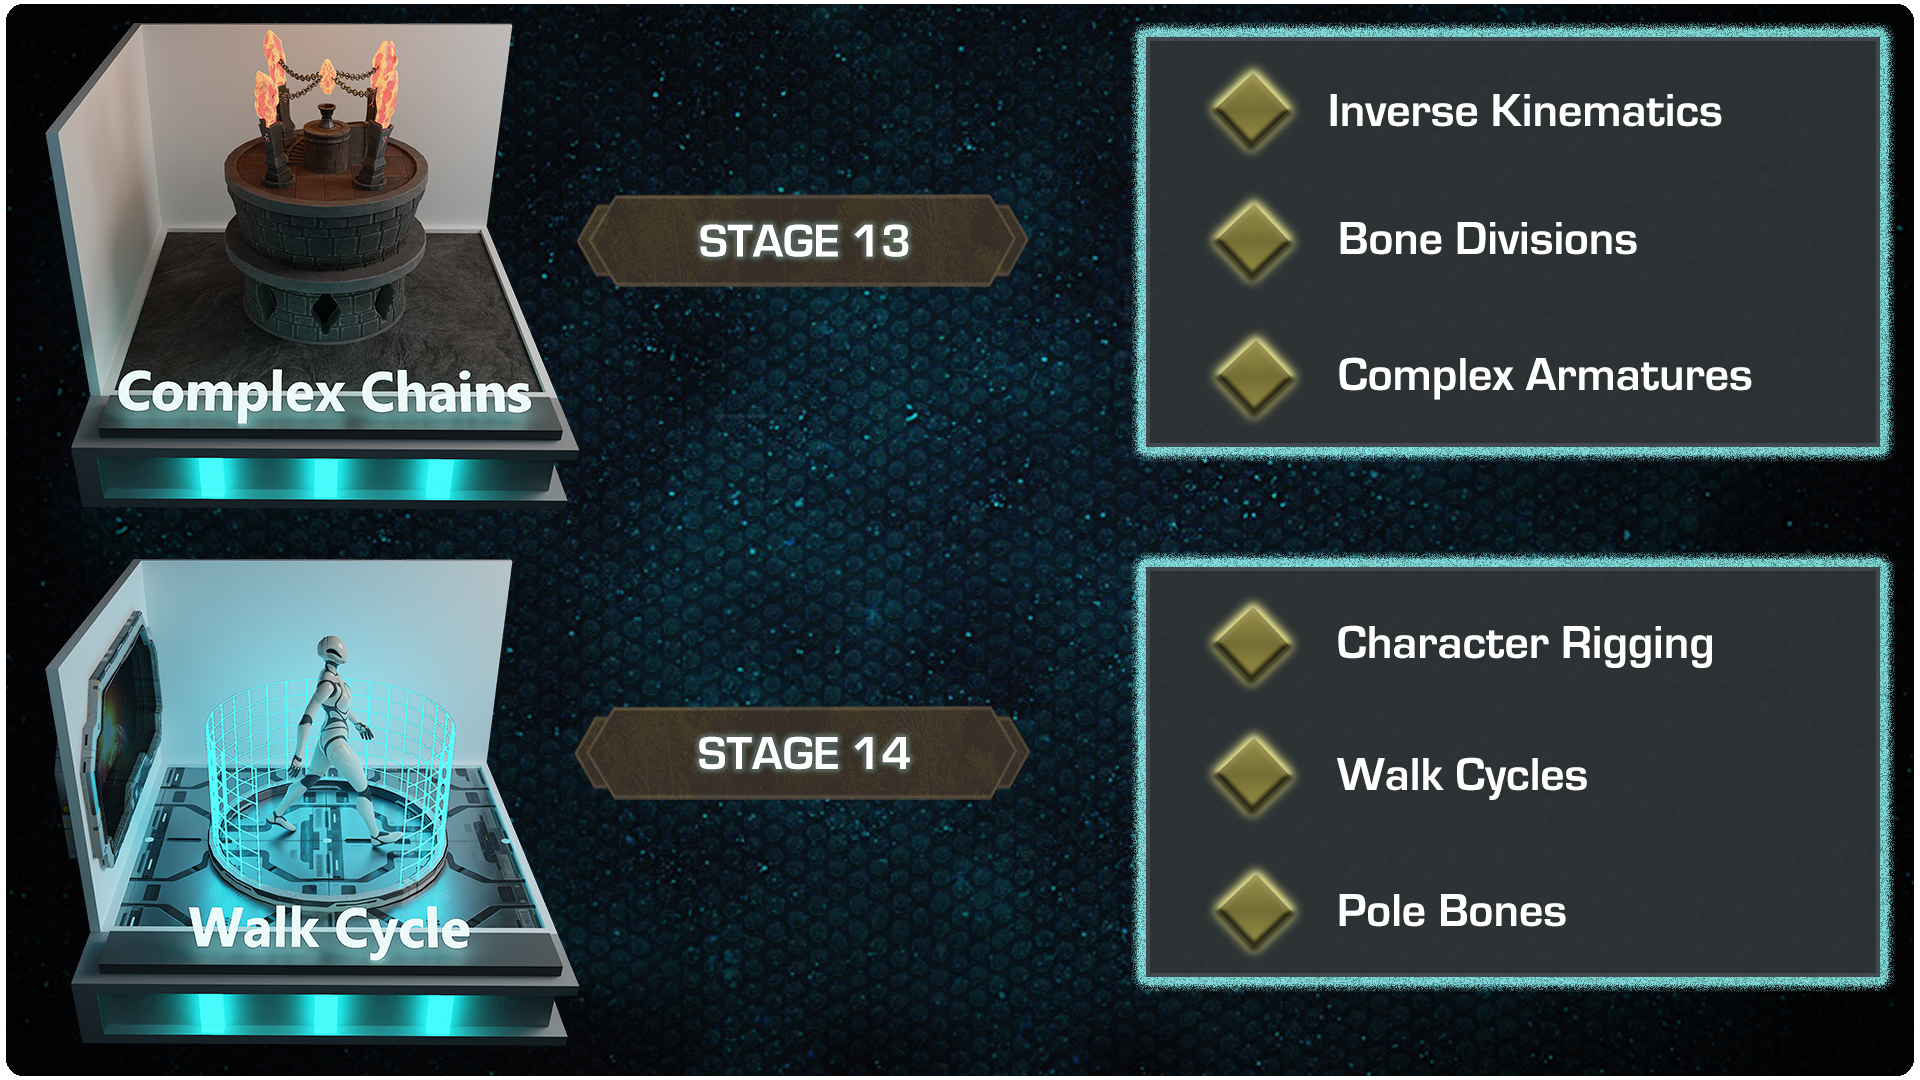
Stage 13: Complex Chains
This part of 'The Ultimate Guide to Blender 3D Rigging and Animation’ will involve bringing much of what we have learned so far and applying it all together. This will involve us creating a complex rig and will also introduce you to inverse Kinematics or IKs for short. We will also look at bone tracking and take the level of learning animation up a notch.
· Inverse Kinematics
· Bone Divisions
· Complex Armatures
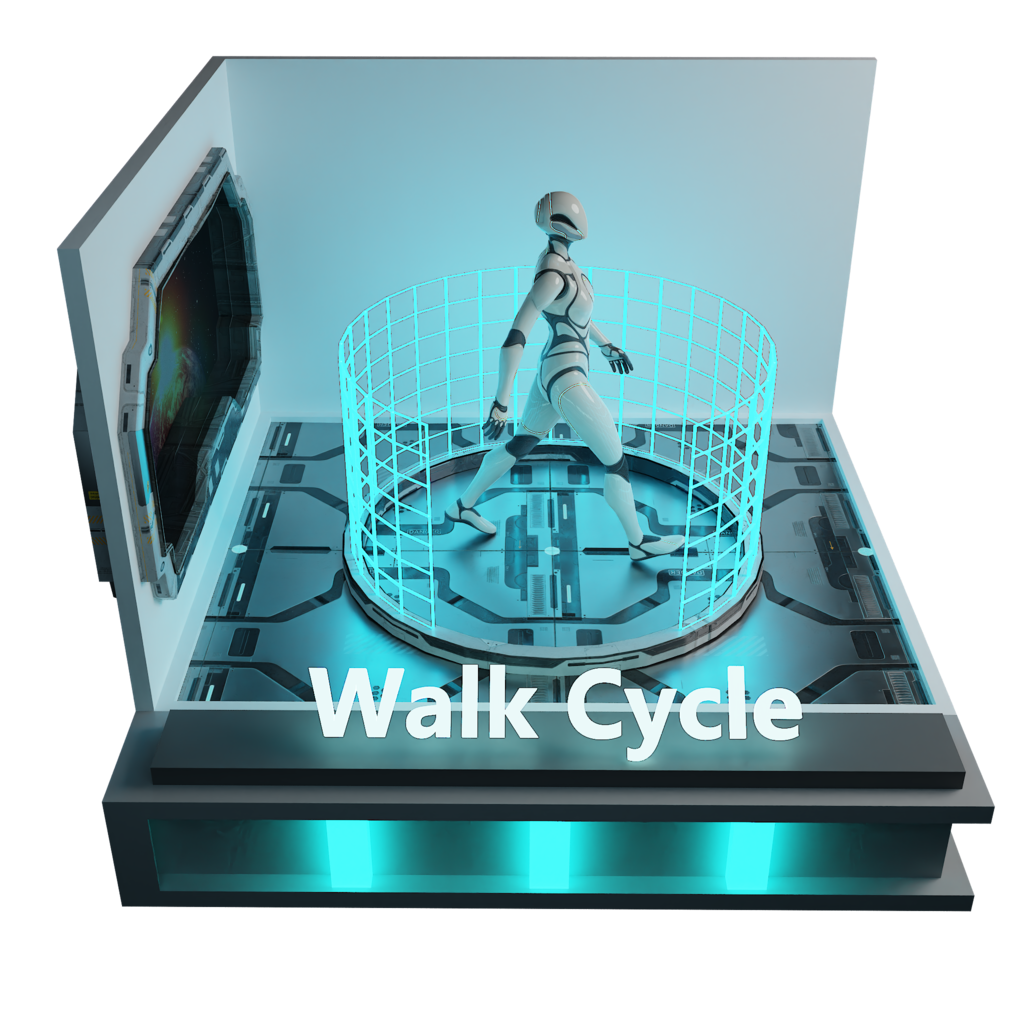
Stage 14: Walk Cycle
Well, we left the best part of 'The Ultimate Guide to Blender 3D Rigging and Animation’ near the end. Here, we will be focusing on character rigs and animation. This will be done over many lessons as there is a massive amount of learning to take in. Not only will you be rigging a character, but you will learn just how easy it is to make a basic walk cycle. This is a must if you intend to create your own games and characters.
· Character Rigging
· Walk Cycles
· Pole Bones
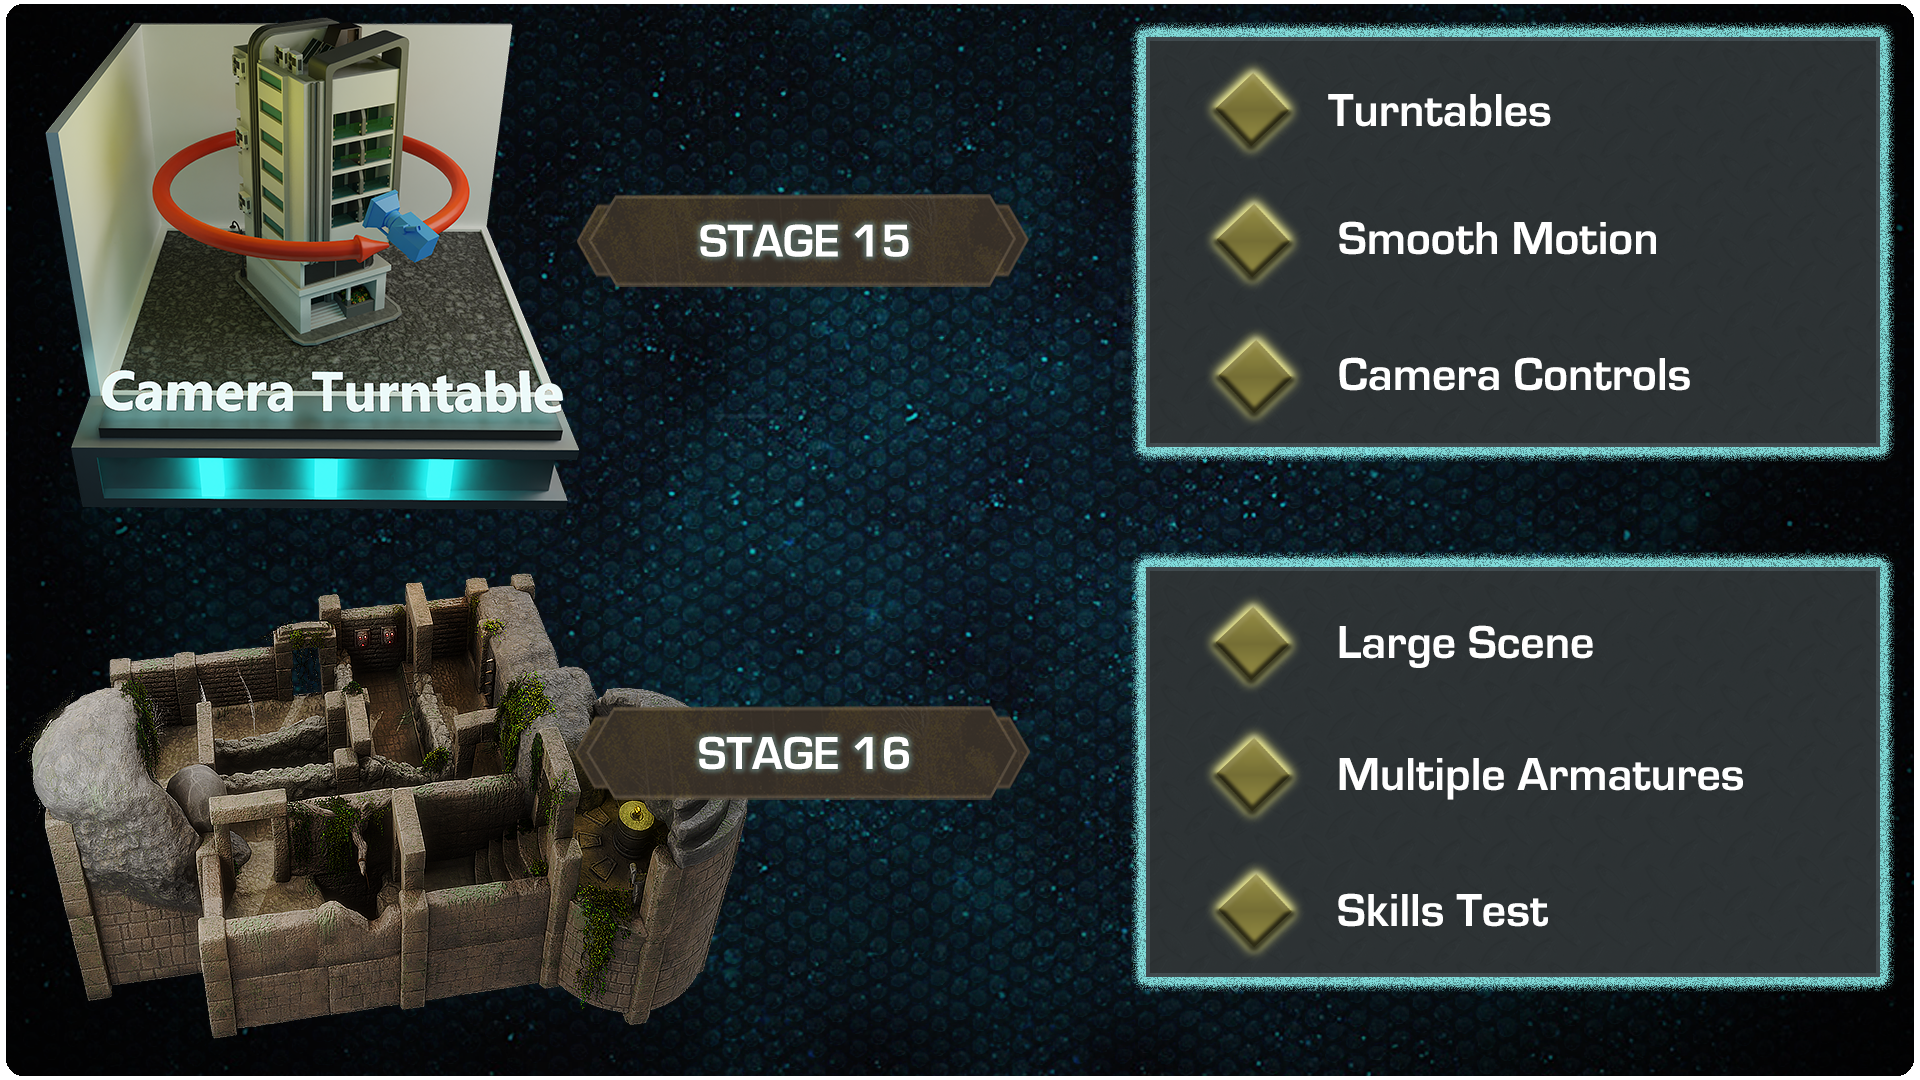
Stage 15: Camera Turntable
This is the final part of 'The Ultimate Guide to Blender 3D Rigging and Animation’ before we animate a huge scene. To be honest, anyone who is thinking of getting into modelling should learn the basics of camera animation. More importantly, to show off your work, you will need a simple but effective camera turntable setup. This is what we will be learning in section 15.
· Turntables
· Smooth Motion
· Camera Controls
Stage 16: Indiana Jones Large Scene
We finally made it to the last part of the course, and you should now have the skills to animate your very own large scene. This will include rolling boulders, shaking ceilings and much more. This adventure scene with deadly traps around every corner will be a great way to put everything you have learned into practice.
· Large Scene
· Multiple Armatures
· Skills Test
Are you excited about all the different skills you can learn in this unique animation masterclass course?
So, come join me on this amazing course and you will never be stuck again when it comes to bringing your scene to life!
Your project will be to animate 16 different scenes, going through an equal number of distinct skill-level stages. Of course, you could set yourself a challenge and diversify aspects or details of the animations such as using assets you already have from your other projects. You could change the length or complexity of animations to make your environments more alive as your skills increase.
I imagine you using these animations in 3D Tudor’s other courses!
To get you pumped, imagine how well this 'The Ultimate Guide to Blender 3D Rigging and Animation’ 16-stage animation masterclass fits in with your other 3D Tudor projects.
Be creative! Feature the animations you created in another project such as from ‘Blender 3: Stylized Scene the Ultimate Guide’. See your palm trees sway to the wing and create the effects of a high or low tide in the sea. Also, think about using them in other environments and complete all sorts of projects such as:
- Animating different inanimate objects in your ‘Blender 3 to Unreal Engine 5 Dungeon Modular Kitbash’ dungeon through ‘Blender to Unreal Engine Become a Dungeon Prop Artist’;
- Transforming the landscape of the ‘Blender 3D Model a Ghibli Art Stylized Scene’;
- Populating and making your ‘Blender 3 The Ultimate Medieval Scene Course’ farmstead even more beautiful;
- Moving and creating an animated scene video for your wagon in ‘Substance Painter to Unreal Engine 5 Masterclass’.
This course will give you access to just over 8 hours of 3D art in around 46 comprehensive lessons.
ourse Resources & FreebiesThe 'The Ultimate Guide to Blender 3D Rigging and Animation’ resource pack includes 15 individual scene set-ups as seen in the stages of the course, and another separate scene featuring a massive adventure scene with deadly traps inspired by film.
Join this course and come be part of an animation masterclass journey of over 8 hours of learning that will see you creating all the foliage you might want in just 46 lessons.
I am excited for you to share your renders and turntables of how you used your new animation in different environments for your portfolios with me. Go beyond the taught material and make new animation templates for assets and props not seen in the course.
Check out the free introduction and I am sure you won’t be able to put this course down!
Until next time, happy modelling everyone!
Neil – 3D Tudor