The Coral & Creatures Collection
Addon Installation-
Download "trbassets" addon> open blender> Edit> Preferences> Install> select "trbassets"> install addon.
navigate to the addon, be sure to have it enabled. once enabled you can choose a custom directory that will contain all of the assets.
Note: you only need to install this addon once.
Content pack Installation-
Assets come pre-assembled into content packs. These can be installed directly from the addon.
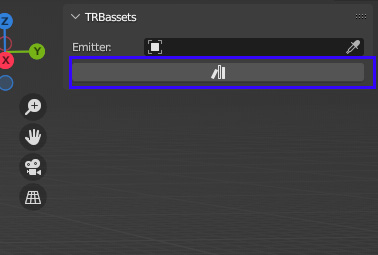
navigate to the TRBassets addon(located in the N panel)> Click the Asset browser icon>
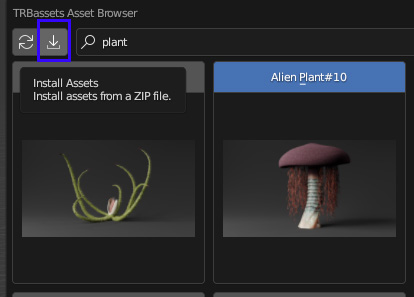
click the install icon>
Select downloaded content pack> click install assets(blender may freeze for a moment while assets install)> Done! your assets are now ready to go!
How to use Addon-
This addon comes with a bundle of new features. from asset browsing to scattering effects.
Asset Browser-
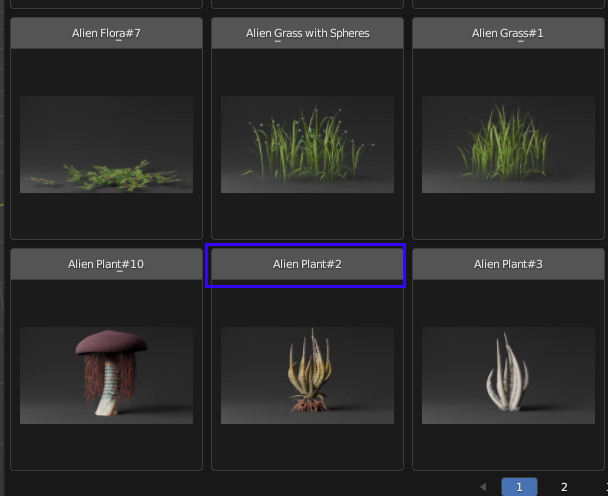
The asset browser will let you quickly preview and import your desired assets.
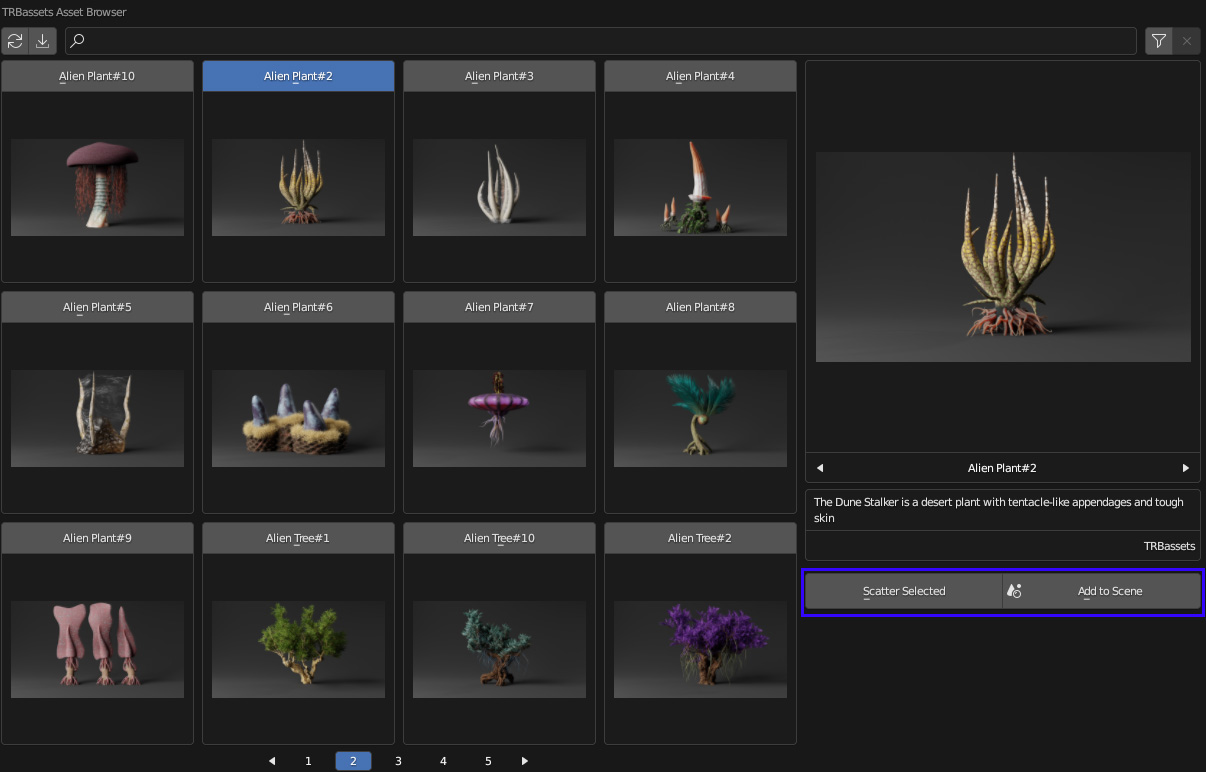
open asset browser> Select Desired Asset or multiple assets>
Choose how you would like to import your asset>
Scatter selected- This option will scatter asset randomly on your selected object.
Add to scene- This option will just add your assets to your scene.
Filters & Search bar-
The asset browser come with a handy search bar and filters for quickly locating specific assets.
Scattering-
The main feature of the addon- Scatter effects.
To manually scatter your assets-
Select the object you would like to scatter on via the eyedropper tool>
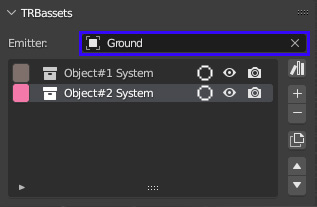
Select desired asset that you would like to scatter> click the + Icon> Done! you object should now be scattered!
Scattering effects-
The addon comes equipped with many scattering features and effects to help you get the exact look you need. here is a list-
Distribute on Faces- Distributes your objects on a surface's faces
Distance Min: Set the minimum distance between objects to avoid intersections.
Density: Set the density for your scatter object .
Viewport Display %: Percentage of the scattered objects to display in the Viewport
Seed: Change the seed to get another calculation
Distribute on Vertices- Distributes your objects on a surface's vertices.
Density: Sets the amount of objects you want to scatter.
Randomize- Randomizes the Scale/ Rotation.
Randomize XYZ- Randomizes the Scale/ Rotation with individual controls for each axes.
Scale- Controls the scale of the scattered objects.
Main: Controls the overall scale.
XYZ: Controls the scale on the X,Y and Z axis separately.
Wind Effect- Emulates a Wind like Effect on the Rotation of each Scattered Asset.
Speed: Controls the movement speed
Strength: Controls how much the objects get excited
Detail: Controls the complexity of the wind pattern
Scale: Controls the size of the changing wind pattern
Rotate- Change the rotation of your scattered objects.
Use Normal: Check it if you want to use the surface normals as the main orientation. If you uncheck it, all objects will be rotated with Z up.
Rotation XYZ: Change the rotation on each axes.
Randomize XYZ: Randomize the rotation on each axes.
Slope- Masks out all object depending on the angle of the surface. Use the subtract blend mode to invert it.
Strength: Controls the relative border where objects are masked out.
Height- Masks out all objects after they reach a set height. Use the subtract blend mode to invert it.
Percent: Controls the relative border where objects are masked out.
Wave-
Wave profile: Sine, Saw or Triangle
Wave Type: Rings - Bands
Direction: X, Y or Z.
Scale: Adjust the size of the Waves
Offset: Move the wave along the chosen direction.
Animate: Checkbox to animate the Wave effect.
Speed Multiplier: control the Animation speed
Proximity-
Changes the density, scale or rotation based on the distance to another object
Object: Select the object that you want to scatter around.
Distance Multiplyer: Controls where the density, scale or rotation starts to change.
Look at- Adjusts the orientation so that every scattered object orients towards a third object.
Axis: The axis around which to rotate
Camera Culling- Masks out scatter objects that are outside the camera view.
Camera: Select the camera you want to use.
Focal Length: Set the focal length that your camera is using for a correct result.
Sensor Size: Set the sensor size that your camera is using for a correct result.
Render Width: Related to camera aspect ratio
Render Height: Related to camera aspect ratio
Buffer: Extends the edge of the area that is masked out by the Camera Culling Effect Layer.
I will work to improve and organize this documentation further in the future.
if you have any questions, problems, or suggestions, please Message or tweet at me!
https://twitter.com/trbrenders
Tweet me and show me what you made using the pack!
Discover more products like this
octopus caustics sailfish fish loveblender reef bfcm23 underwater animated coral reefs ray collection bcon22 puffefish animated-water dolphin rocks creature asset pack Whale Shark seaturtle crab caustic 3d nature creation foliage rig manta animals creatures summer22 stylised coral animation-rigged spring22 ocean Advanced Shader seaweed summer23 Water spring24 spring23 whale beluga shark Orca aquatic sea Great white shark bfcm22
