Textureblender V02
TextureBlender started with one Texture Blend node. The goal was to have a fast and lightweight way to blend textures, speeding up the process of shading and aging materials.
It evolved into a full set of node groups that will save you tons of time while working in the Shader Editor.
With this in mind, I also created a small addon QP_Tools, which has a couple of scripts to speed up redundant tasks like linking, unlinking, relinking pbr textures, packing your texture sets into a node group that you can reuse and interchange at will.
Update V2 of TextureBlender brings a few bug fixes, new nodes and utilities!
QP_TextureStylize will give you the power you to stylize any texture or set of textures based on a brush mask.
QP_SmudgeBrush will allow you to give that extra flavor to your renders with some Smudge brush effects
Who is it made for?
TextureBlender is meant for every artist who needs to texture, environments, characters, props, etc.
I wanted to create one node group to manage all the needs of blending, then several other utility nodes came along to help in various situations.
Because of the agnostic aspect of the nodes, you can integrate them in your own workflow easily.
_______________________________________________________________________________________________
As for all my tools, I try my best to make them accessible to people from any technical background and any experience level in Blender.
They also are what I call workflow agnostic, meaning that they don't lock you in an ecosystem but are made to be integrated in most ways of working.
_______________________________________________________________________________________________
TextureBlender tutorial on YouTube
TextureBlender Features
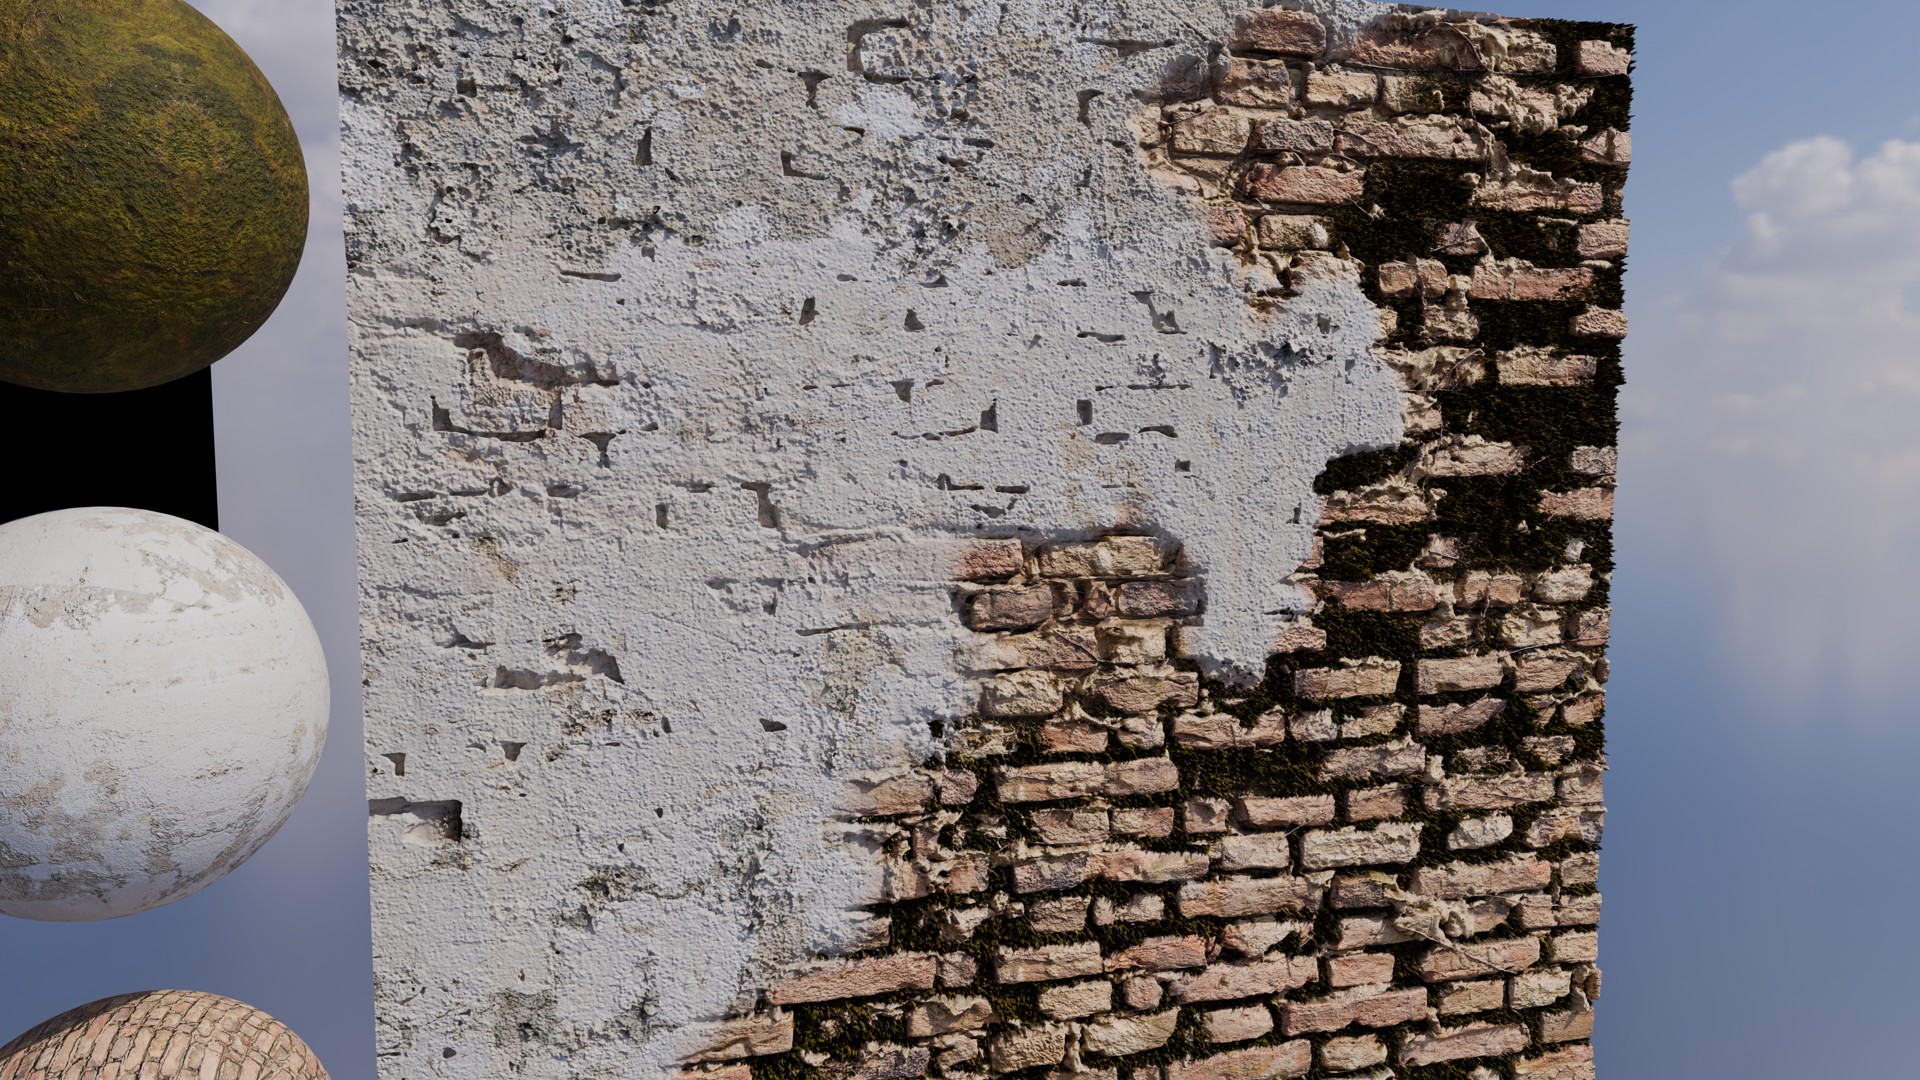
At it's core, Textureblender is the Texture Blend node.
This is your main weapon. Simply with the Mask input, you can mix textures together with all kind of procedural textures, alpha maps, vertex paint etc.
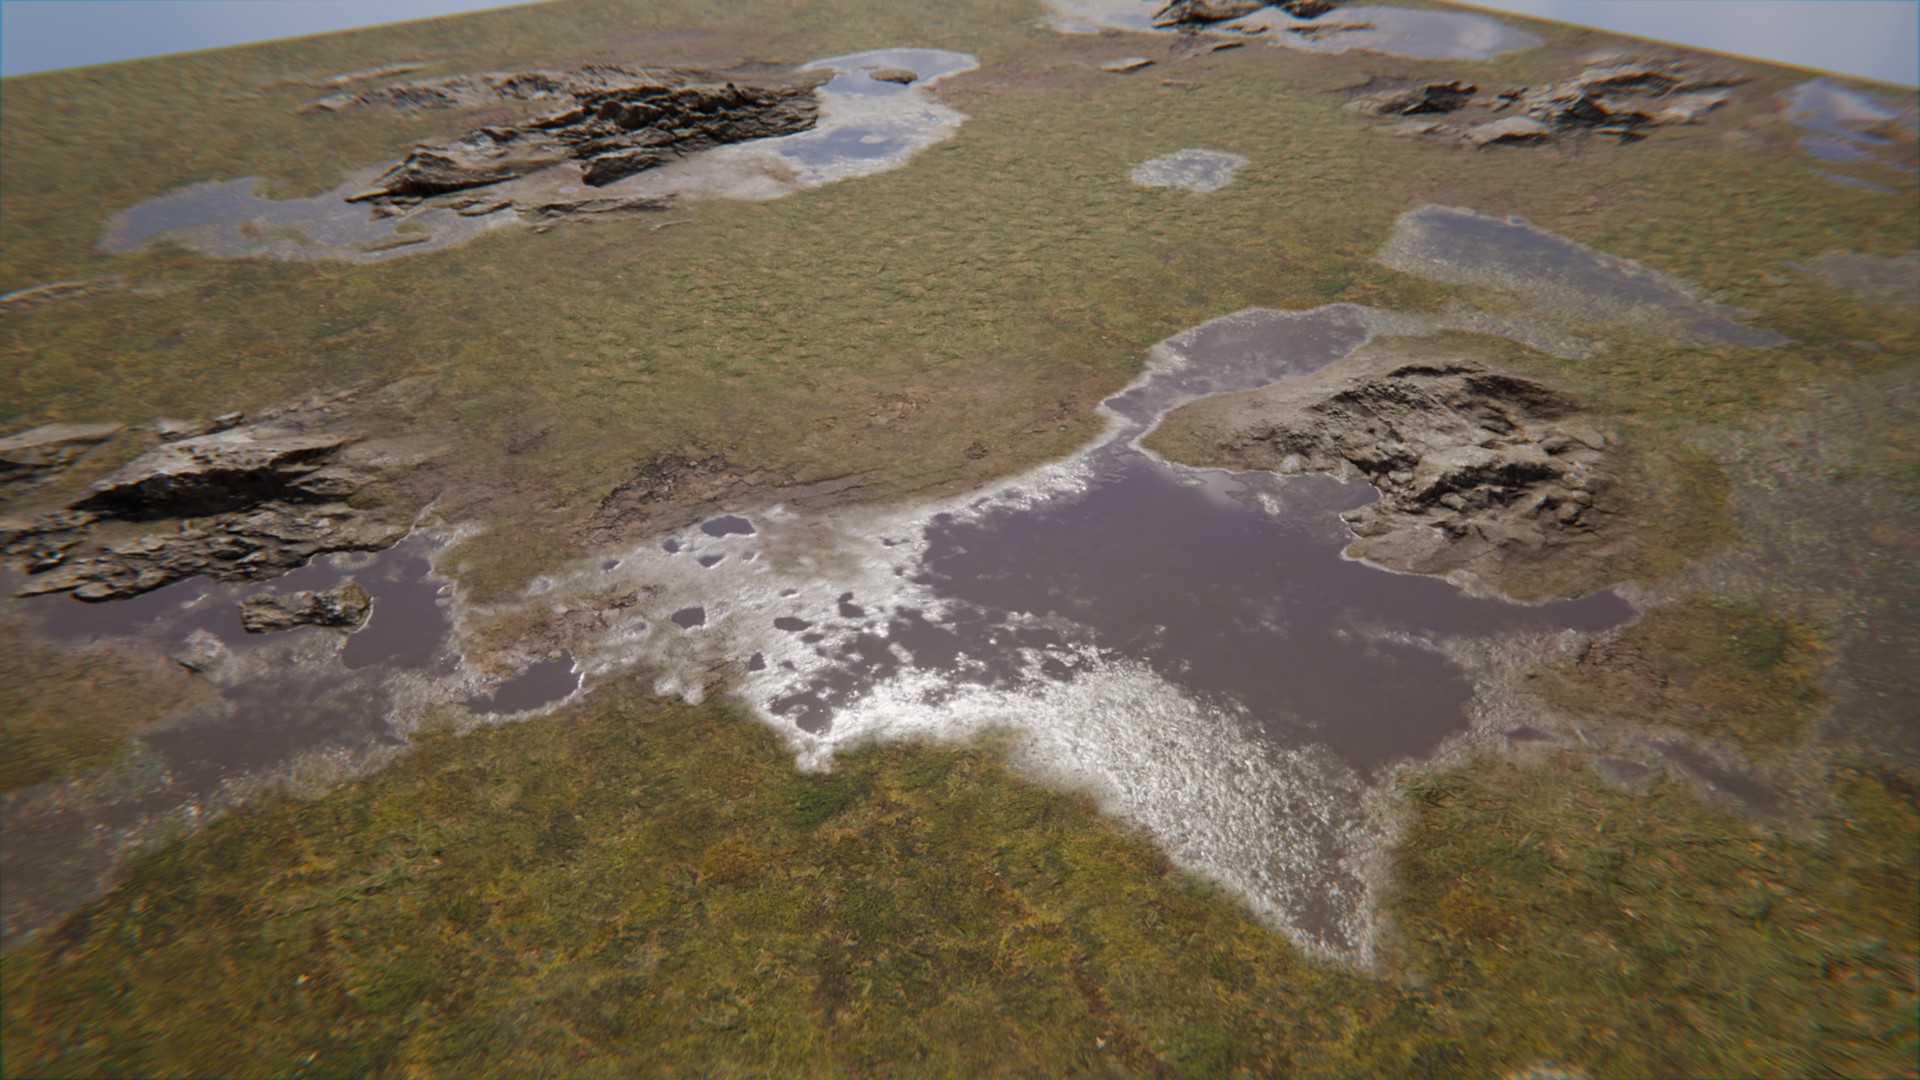
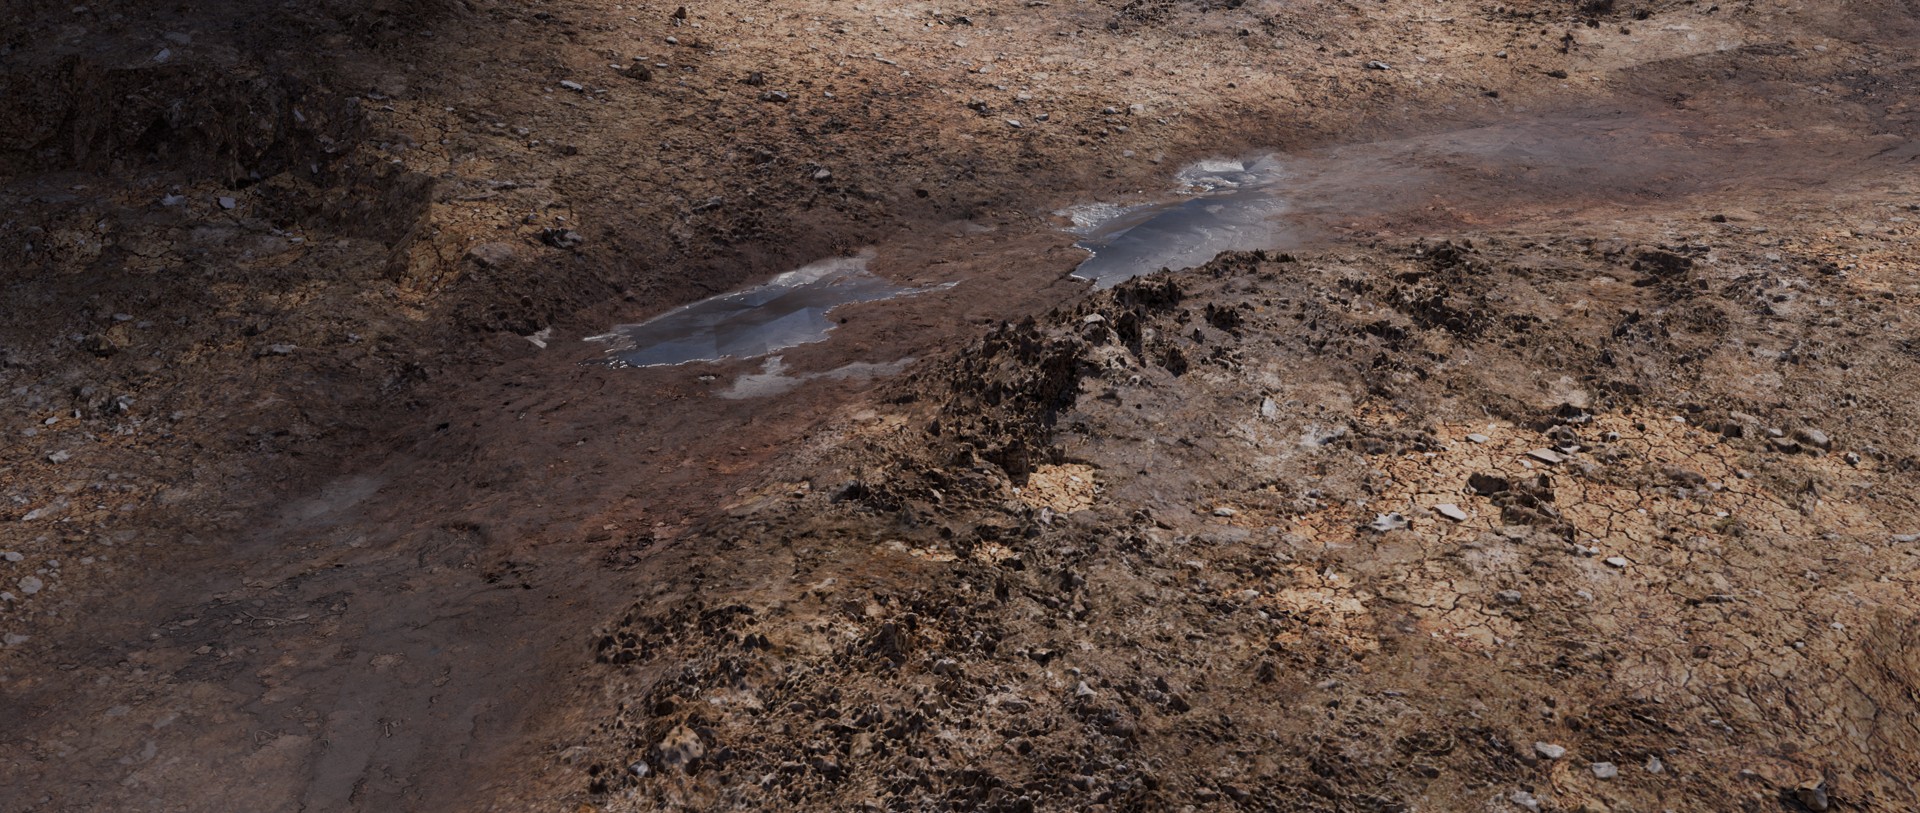
It can blend single textures, PBR textures set, make puddles, blend scattered textures, mix with vertex paint, etc.
Then there is the Mask texture Break up node to easily be able to add texture to a mask.
You can use it directly or plug a Texture or Vertex Paint that will automatically look more natural.
In some of my nodes you will see a Custom Mapping input.
This means that the node itself already has a mapping system integrated. But if you need that extra control over it, you can plug any mapping system that you want and it will automatically override the integrated one.
Common problems with shading and texturing large objects or scenes is the Tiling effect of the textures. That's why I created a node called Untiler Mapper.
The different it has with most of the anti-tiling nodes we can find, is that this one works with the UVs (like most of them) but also as a tri-planar, allowing you to remove the tiling without having to unwrap the UVs.
Inspired by a tutorial online about normal map rotation, I also added a Normal Map Rotator, to fix the orientation of the normals after the Untiler randomly rotated the maps. Just plug it after your Normal Map texture node and you're good to go !
Everyone loves some grunge, so I made an Edge Wear node that works with Cycles and Eevee.
I also added a special feature to it. You can either have the mask on the Convex, Concave parts of the object or the Proximity to other objects in the scene, which works particularly well to blend assets together and have a more coherent look.

I've always wanted a way to easily scatter textures to add more details but without having to paint masks or having it everywhere on my objects.
So I created a TextureScatter node group that will let you do just that!
Of course it works on UVs and Tri-Planar!
Ever forget to put your textures on BoxMapping mode while wanting to have them mapped as a Tri-Planar method?
I created a node group called TriPlanar-Vector node to do just that.
QP_TextureStylize is a very powerful node that will stylize any textures or set of textures with the brush style that you want, either choose one from QP_Mask Texture break up or the new QP_Brushes Textures, or any texture that you want to create.

QP_SmudgeBrush will give your renders that extra tasty painterly effect, breaking the CGI feeling of your models.
The renders from the gif below are straight from Blender.
Everyone loves Decals ! I have a geometry Node tool for that too!
It will project a plane on the surface specified in the Collection and the Object (if both are filled it will project on both).
One particular aspect of this setup is that it helps you know the direction of the projection with a small widget, but the best part is that you can add as many decal materials to the object as you want, and just switch between them in the modifier with the Material index. Thanks to that, you can create a smart library of decals based on types (graffiti, damage, grunge, signs, etc) that you can easily import in any projects!

Sometimes we want to control the blending between some objects based on the position of an empty (to define where the snow starts on a mountain, or having moss coming from the proximity with water, etc)
So I made a node group called ObjMapping_Gradient. Once dropped into your material, it will automatically append an object at the center of your scene (unfortunately there is a bug in Blender, the object doesn't appear in the Outliner unless you refresh it by doing a search and canceling it, but this seems to be solved in 4.2).
It, of course, has a Custom Mapping input if you want to change the object controlling the gradient.
QP_Tools Features
Part of this product is an addon I made called QP_Tools.
It's a set of scripts to speed up shading and make it more enjoyable.
The first one is a Texture Packer. It creates a node group with all your textures inside and sets the right color space for all of them.
It's great to de-clutter your node tree, keep things organized, and you can switch texture sets by just switching to another one on the node group without having to relink anything.
The second one is Link Node Groups, it smartly links textures outputs to the corresponding input in a material or any other node group.
It works with anything as long as the output and input names follow a correct naming convention.
If you link textures or a node group to a material, it will link to the right input and automatically create a Normal Map node if there is a normal map detected.
The last one is simply to change in one click the mapping method of your nodes.
Select as many textures and/or node group with textures inside and activate the Box or Flat mapping to switch all of them at once.
And more!
You can expect the number of utility nodes to grow. The Texture Blend node is meant to be versatile and can already be used to create any effects. From blending materials, making snow, puddles etc.
I have some cool tools in Beta mode right now, like a Smudge brush tool mimic the effects of 2d painting, a powerful decal projection feature in the shader editor with height blending, etc!
You buying this tool will help me continue to develop it further!
Changelog:
V02 - 2024-10-03
- Update to the Spread for better use.
- Some Bug fixes.
- Added rotation to QP_Mask Break up.
- Fixed Texture Scatter rotation to be able to create a flow in low angles.
- New QP_Brushes Textures node.
- New QP_TextureStylize.
- New QP_Brush Smudge (works great with the DrawMesh's Ribbon mode + Face camera).