 Wee Learn From Mobile
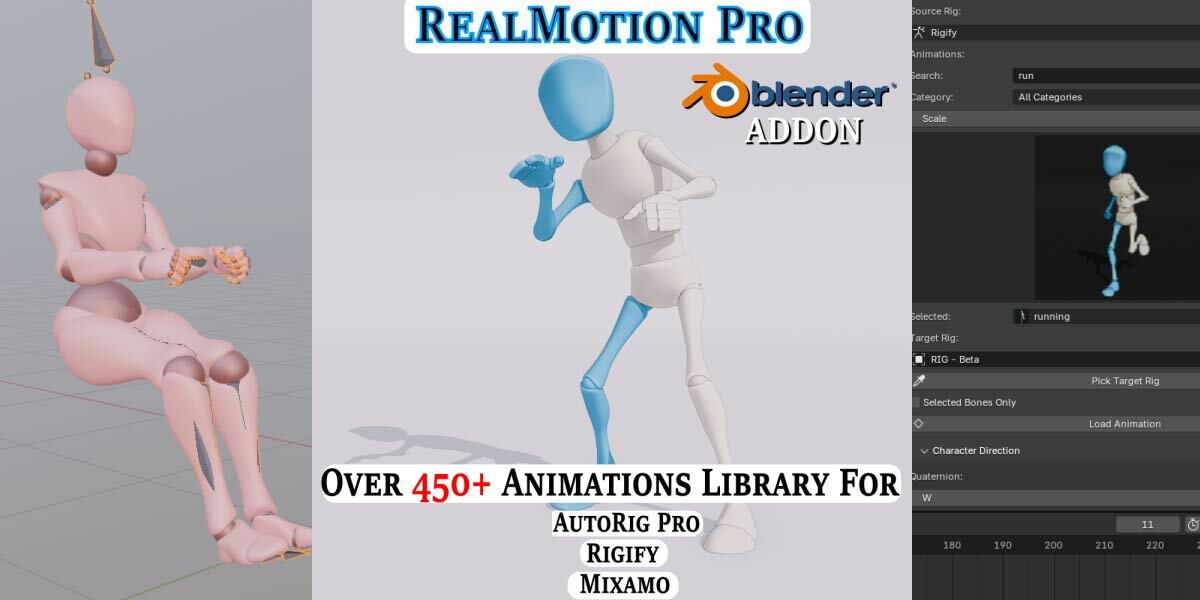
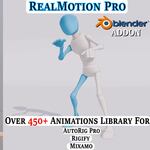
RealMotionPro
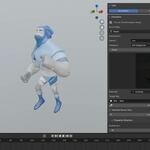
RealMotionPro is a feature-packed Blender addon designed to revolutionize your animation workflow. With an extensive animation library and powerful tools, this addon is perfect for animators looking to save time and achieve good results effortlessly.
This addon comes with a full guide in a detailed PDF document that explains every feature step by step. The full documentation is included inside the package for easy access
🔥 Key Features of RealMotion Pro 🔥
✅ 450+ Built-in Animation Library – Instantly bring your characters to life with a vast collection of animations.
✅ NEW! +1700 Motion Capture Animations – Retarget, refine, and save them directly to your library for endless possibilities.
✅ Direct Workflow from 3D Viewport – Tweak, blend, reverse, and smooth animations effortlessly—no need for the Graph Editor or NLA Editor! But if needed, you can still push the action to the NLA and edit it as you like.
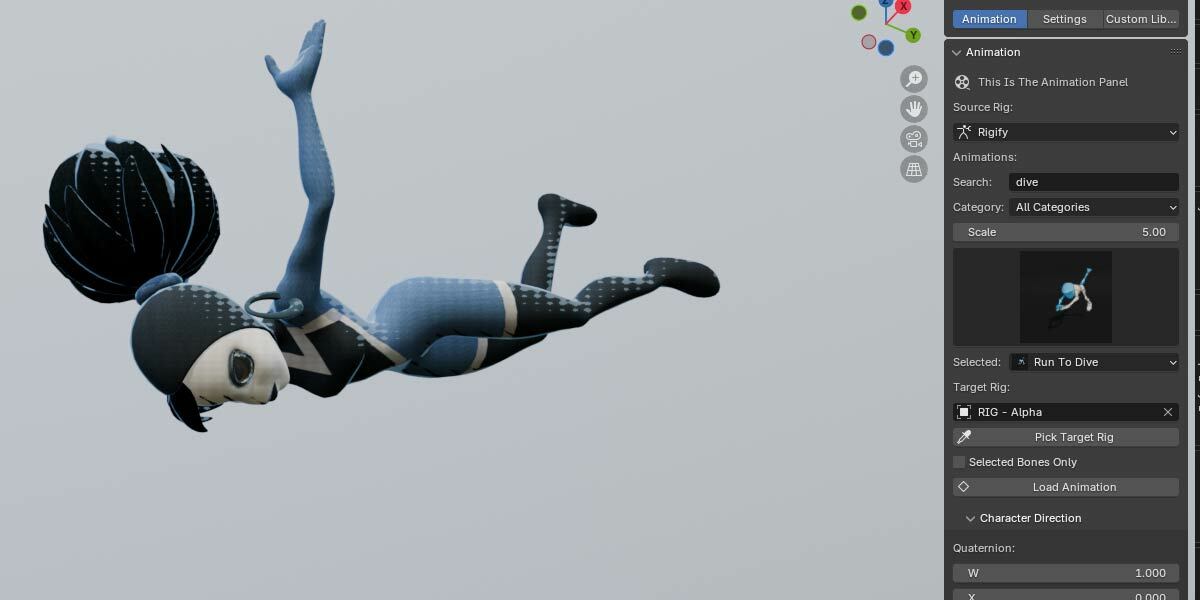
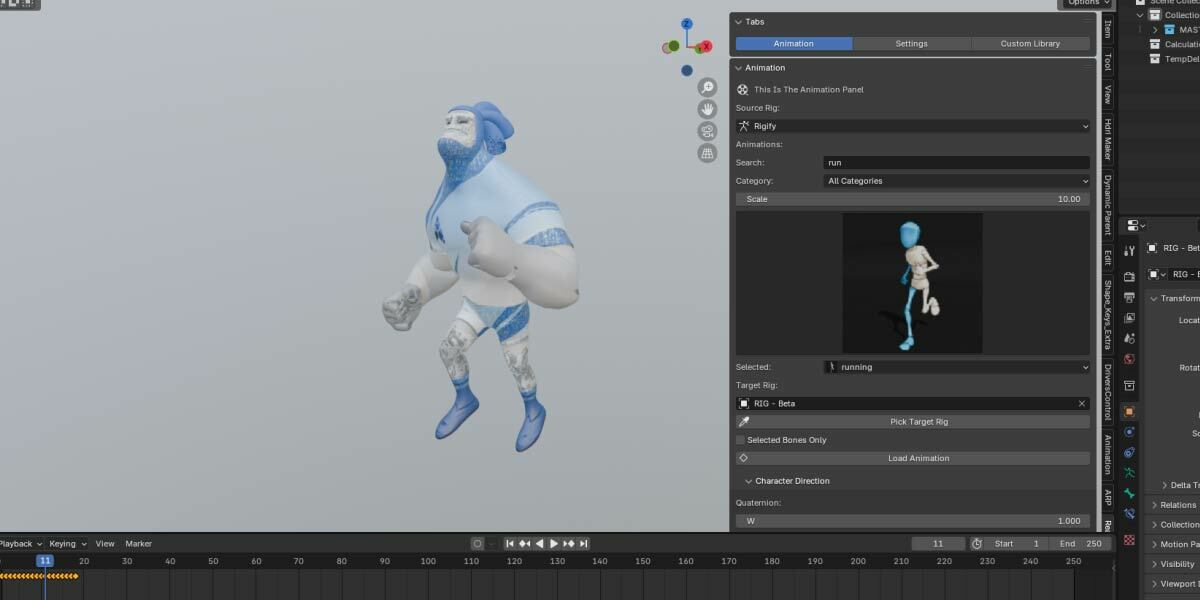
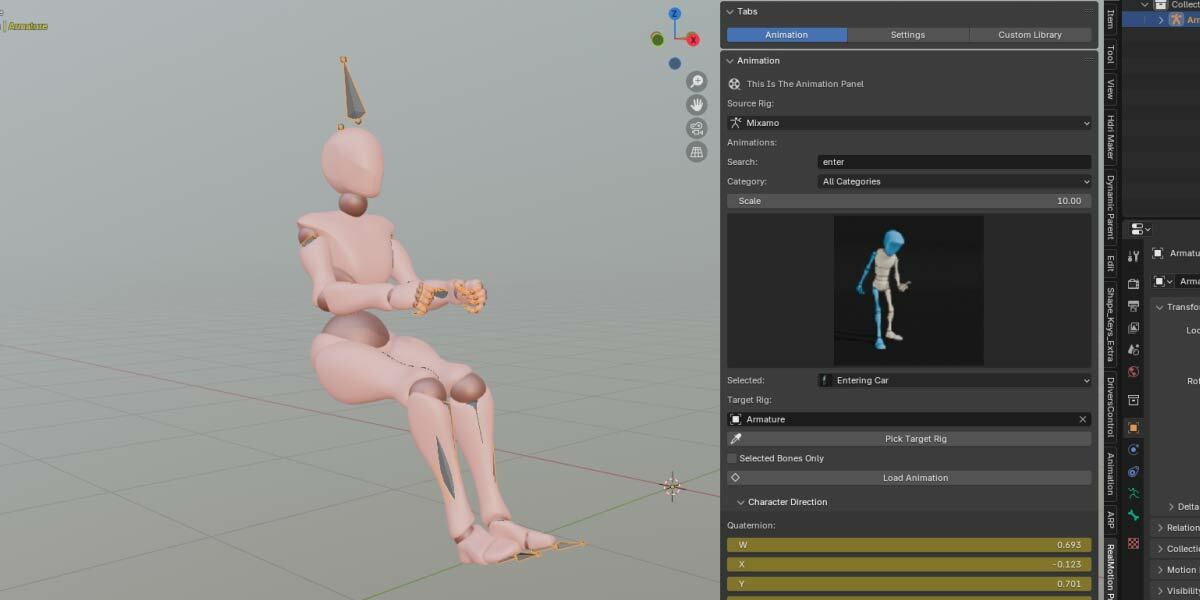
✅ Supports Popular Rigs – Seamlessly works with:
- AutoRig Pro
- Rigify
- Mixamo
- Daz (Genesis 1-9)
✅ Effortless Animation Transfer – Apply multiple animations from the library to one or more characters in the same scene with ease.
🚀 Take your animation workflow to the next level! 🎬🔥
Watch Evrything About This Addon: YouTube Playlist
Supports Blender Version 3.3 and Newer
🔥 Exciting News! RealMotion Pro v1.54 is Here! 🎉🚀
✅ Daz Support Added! Now supports ALL Genesis models from 1 to 9! 🏆💥
✅ New Animation Retargeting! Easily retarget animations to your Daz rig under the Retarget Tab! 🎭✨
✅ Bug Fixes! No more freezing when exporting Custom Library Animations! 🛠️❄️
✅ Improved Workflow! Set an FBX folder path under Retargeting, allowing direct imports from the template list without opening file view every time! ⚡📂
✅ Better Baked Actions! Now saves with the source rig's action name + "_Bake" for easy identification during export! 🎬🔍
✅ And More! Additional features & bug fixes—no more freezing in older Blender versions when exporting custom libraries! 🚀💯
Update now & take your animations to the next level! 🎥🔥 #RealMotionPro

New Updates v1.54 📣🎮🎮🔥🔥
1️⃣ "Marker" to identify each loaded action.
2️⃣ Character Movement System – Animate your character like gameplay using (W, A, S, D) and record the motion.
🆕 RealMotionPro v1.5 – Update Log 🆕
🔥 What’s New in Version 1.5? 🔥
✅ 1700+ Additional Mocap Animations – Now you can save even more animations in your library!
✅ Advanced Retargeting System – Retarget any mocap animation to your rig effortlessly.
✅ New Scale Adjustment Feature – Prevents foot sliding, dragging, or floating for smoother motion.
✅ Reverse Motion Feature – Instantly reverse your character’s animation with one click!
✅ 10x Faster Animation Loading – Load animations 10x faster compared to previous versions.
✅ 10x Faster Custom Library Exporting – Enjoy a massive speed boost when exporting animations in Blender 4.2x.
✅ Fixed "Apply Rest Pose" Error – Improved stability and reliability.
✅ New "Apply Rest Pose Advanced" Feature – Essential for exporting your character to other software seamlessly.
Upgrade now and experience a faster, more powerful animation workflow! 🚀
You Can Now Save and Load Your Own Custom Animation Library(Use Blender 4.2+ for Faster Export Custom Library)
Watch Tutorial On How To Use It For First Time
New Update: Advanced Retargeting & Custom Animation Library
-
What's New?
- You can now retarget any motion capture (MoCap) animation to any rig, making it more versatile and flexible.
- After retargeting, you can bake the animation onto the rig for final adjustments.
- Once baked, you can save the animation as a custom library, allowing you to reuse it anytime.
-
Key Benefits:
- Works with any rig, giving you full control over retargeting.
- Easily refine and tweak animations after baking.
- Build your own animation library for faster workflow.
💡 Tip: Save frequently used animations to speed up your animation process and apply them to different characters effortlessly.
TO CONVERT YOUR RIG INTO T-POSE
SAVE CUSTOM ANIMATION AUTORIG & RIGIFY
SAVE CUSTOM ANIMATION MIXAMO
Key Features:
450+ Animation Library
Access an extensive collection of animations to bring your characters to life.Direct Workflow from 3D Viewport
Combine, refine, tweak, and smooth animations directly in the 3D Viewport—no need to use the Graph Editor or NLA Editor.-
Supports Popular Rigs
Seamlessly compatible with:AutoRig Pro
Rigify
-
Mixamo
Daz
-
Effortless Animation Transfer
Transfer multiple animations from the library to one or more characters in the same scene with ease.
-
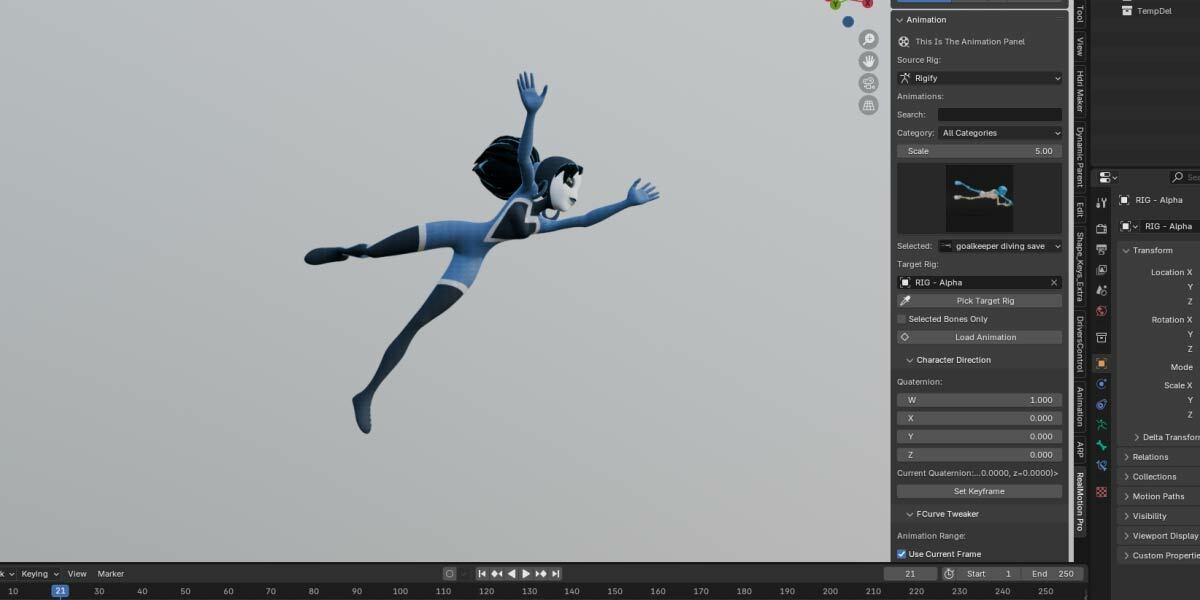
RealMotion Panel
All tools are conveniently located in the RealMotion panel within the 3D Viewport, giving you quick access to essential utilities for refining and combining animations.
What Makes RealMotionPro Unique?
No need to switch between editors—work entirely from the 3D Viewport.
Simplifies the process of animating multiple characters.
Tools are specifically designed for refining, tweaking, and combining animations, making your workflow faster and more efficient.
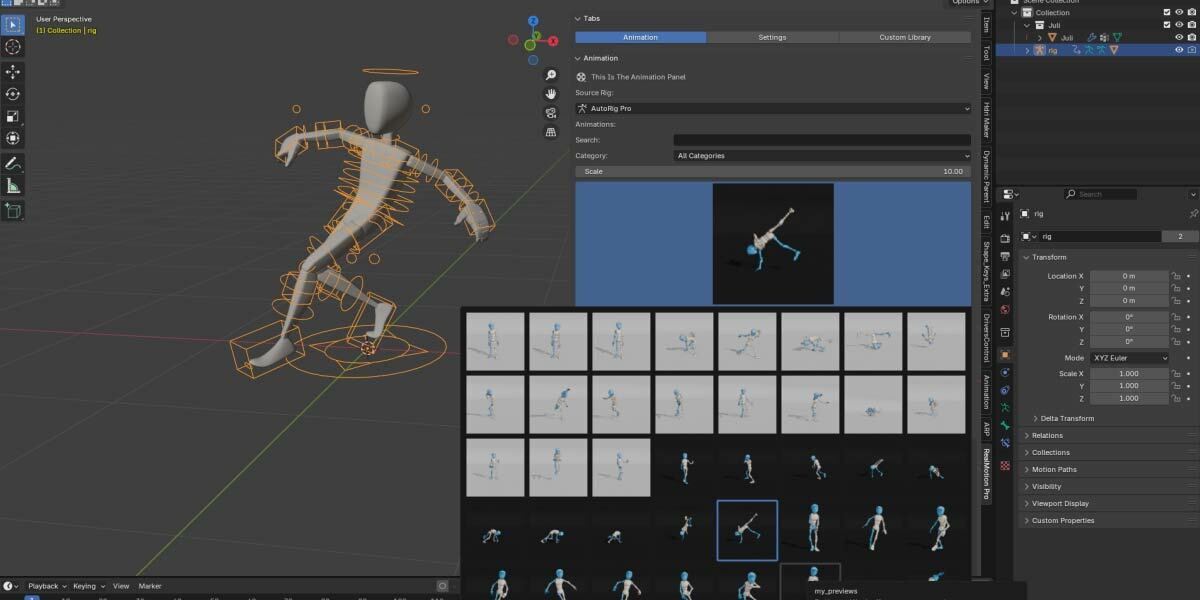
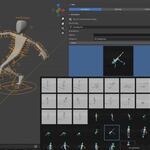
In the RealMotionPro panel, you’ll find the following options:
-
Source Rig Dropdown:
Select the type of rig your character is using. For example:If your character is rigged with AutoRig Pro, choose "AutoRig Pro."
If your character uses Mixamo, select "Mixamo."
Search Box:
Quickly locate specific animations by typing their names into the search bar.-
Category Toggle:
Easily switch between animation categories to find the actions you need.
Pick Target Rig Button:
First, select your character's rig in the 3D Viewport, then click the "Pick Target Rig" button. This sets the selected rig as the target rig that will receive the animation.Select Animation from the Template View:
After setting your target rig, browse the animation library in the icon view template and choose the animation you want to load.Load Animation Button:
Once you’ve selected the animation, click the "Load Animation" button. The chosen animation will be applied to your target character.
💡 Tip: Ensure that the target rig matches the source rig type (e.g., AutoRig Pro, Rigify, or Mixamo) for proper animation transfer.
Adding Multiple Animations to Your Character
-
Load Multiple Animations:
If you want to add multiple animations to the same character:Click the "Load Animation" button to load the first animation. The animation will start at the current frame.
To add another animation, move the playhead to where the first animation ends, then click "Load Animation" again.
-
Continuing Animations Seamlessly:
If the newly loaded animation starts at the root position or the world origin but you want it to continue from where the first animation ended:Move the playhead to the frame where the new animation snaps to the world origin.
-
Click the "Recall" button. This will reposition the animation so it continues smoothly from the end of the previous animation.
Changing Character Movement Direction
-
Character Rotation Panel (X, Y, Z):
Use the X, Y, and Z rotation controls in the Character Rotation Panel to change the direction your character is facing.Adjust these settings to rotate the character and align it to face a different direction.
-
The character will move toward the direction it is rotated to, allowing for precise control over its movement path
Controlling Animation Speed
Animation Speed Property:
The Animation Speed float property allows you to control how fast or slow your character moves.-
Start Frame & End Frame:
Define the range of frames you want to adjust by setting the Start Frame and End Frame values.
The speed adjustment will only affect the keyframes within this defined range.
-
Speed Slider:
-
Use the Speed Slider to control the timing:
Dragging it to the right expands the keyframes, slowing down the animation.
-
Dragging it to the left squeezes the keyframes, speeding up the animation.
-
Adjusting Character Position (Location X, Y, Z)
Location X, Y, Z Properties:
These properties allow you to position your character precisely in the 3D space.-
Practical Use Cases:
If your character appears to be floating (e.g., the legs are not properly touching the ground), you can adjust the Location values to move the hips bone, which shifts the entire body to ensure the legs rest naturally on the ground, preventing floating issues.
You can also reposition your character elsewhere in the scene by adjusting the location properties.
-
Start Frame & End Frame:
Define the Start Frame and End Frame to specify the range of frames affected by the location adjustments.
The location changes will only apply to the frames within this range, creating smooth transitions in position.
💡 Tip: Use this feature to fix grounding issues or to move your character seamlessly to a new location in the scene.
Using the Rotation Tweaker
Purpose:
The Rotation Tweaker is used to adjust the rotation of specific bones in Pose Mode for fine-tuning animations.-
Practical Use Cases:
For example, if a character’s hand is clipping through its body, you can use the Rotation Tweaker to adjust the rotation curve of the hand, preventing it from clipping.
It is also useful for adding secondary movement to enhance the animation, as it adjusts the entire curve of the selected bone.
-
Start Frame & End Frame:
Set the Start Frame and End Frame to define the range of frames you want to adjust.
Only the keyframes within this range will be affected, creating smooth and targeted adjustments.
Non-Destructive Changes:
Since the rotation tweaks adjust the curve directly, they do not overwrite or impact the original animation data, ensuring your base animation remains intact.
💡 Tip: Use the Rotation Tweaker to add subtle movements or fix specific issues without disrupting the overall animation flow.
Blend Keyframe Tool
Purpose:
The Blend Keyframe tool is designed to create smooth transitions between two animations, such as blending a walk cycle into a run cycle.-
How It Works:
The tool blends the keyframes before and after the Start Frame and End Frame, ensuring a seamless transition.
For example, if you have a walk animation and then load a run animation, you can use this tool to blend the two motions smoothly.
-
Properties:
-
Blend Start:
This property defines the number of frames to adjust or "fade out" before reaching the Start Frame.
-
Blend End:
This property sets the number of frames to adjust or "fade in" after the End Frame.
-
-
Practical Use Case:
Adjust the Blend Start and Blend End values to fine-tune the number of frames you want to transition between the two animations, ensuring a natural and fluid motion.
💡 Tip: Use this tool to avoid abrupt changes between animations and achieve polished, professional-looking results.

Stay in Place Function
Purpose:
The Stay in Place function ensures that the character remains in a fixed position while performing animations, such as walking or running in place.-
How It Works:
This function removes keyframes from the hips bone that control forward translation (X and Z axes).
As a result, only the Y-axis movement (up and down motion) is retained, keeping the character stationary in its original position.
-
Start Frame & End Frame:
The Start Frame and End Frame define the range of frames where this function is applied.
Only the keyframes within this range will be adjusted, ensuring precise control over the stationary effect.
-
Practical Use Case:
Use this function when you want to create animations where the character stays in place, such as walk cycles or other repetitive motions, without forward movement.
💡 Tip: This is particularly useful for creating looping animations or when blending animations in a stationary setup.
Apply Scale Function
Purpose:
The Apply Scale function is used to fix issues where the character's legs appear to slip or when the character's movement speed is either faster or slower than the leg motion, causing unnatural animations.-
How It Works:
-
The function utilizes a Scale Factor property to adjust the movement speed of the character:
Values less than 1 will reduce the movement speed.
Values greater than 1 will increase the movement speed.
When you specify a scale factor value and click Apply, the value is multiplied by the character's movement speed, adjusting it accordingly.
-
-
Usage Instructions:
Define the Scale Factor based on the required adjustment.
Click Apply to apply the adjustment.
Repeat the process as needed until the foot motion matches the character's movement seamlessly.
-
Practical Use Case:
Use this tool to ensure proper synchronization between the character's movement and leg motion, resulting in natural and realistic animations.
💡 Tip: Small, incremental adjustments with the Scale Factor can help you achieve the perfect balance more effectively.
Apply Filter Button
Purpose:
The Apply Filter button is designed to resolve gimbal lock issues in animations by smoothing out rotation curves in the graph editor.-
How It Works:
Gimbal lock can cause abrupt or unnatural rotations in animations.
When you click Apply Filter, the tool adjusts and smooths the rotation keyframes, creating smoother transitions and eliminating gimbal lock artifacts.
-
Practical Use Case:
Use this feature when your animation shows sudden or jerky rotations caused by gimbal lock, ensuring clean and natural motion throughout.
💡 Tip: Apply the filter after editing rotation keyframes to finalize smooth transitions.