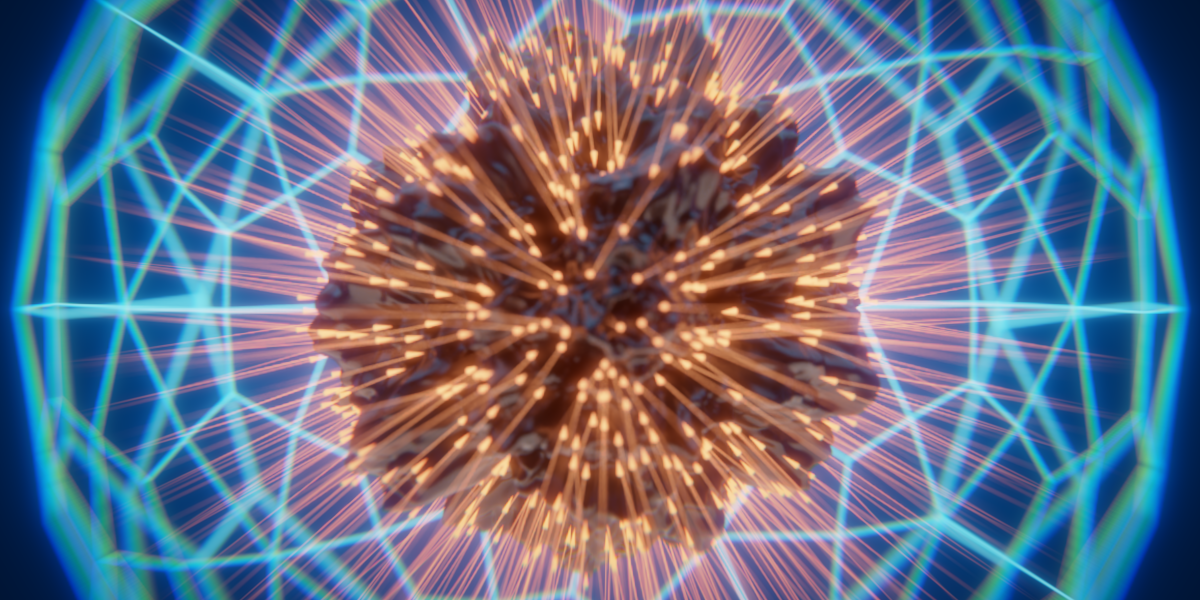
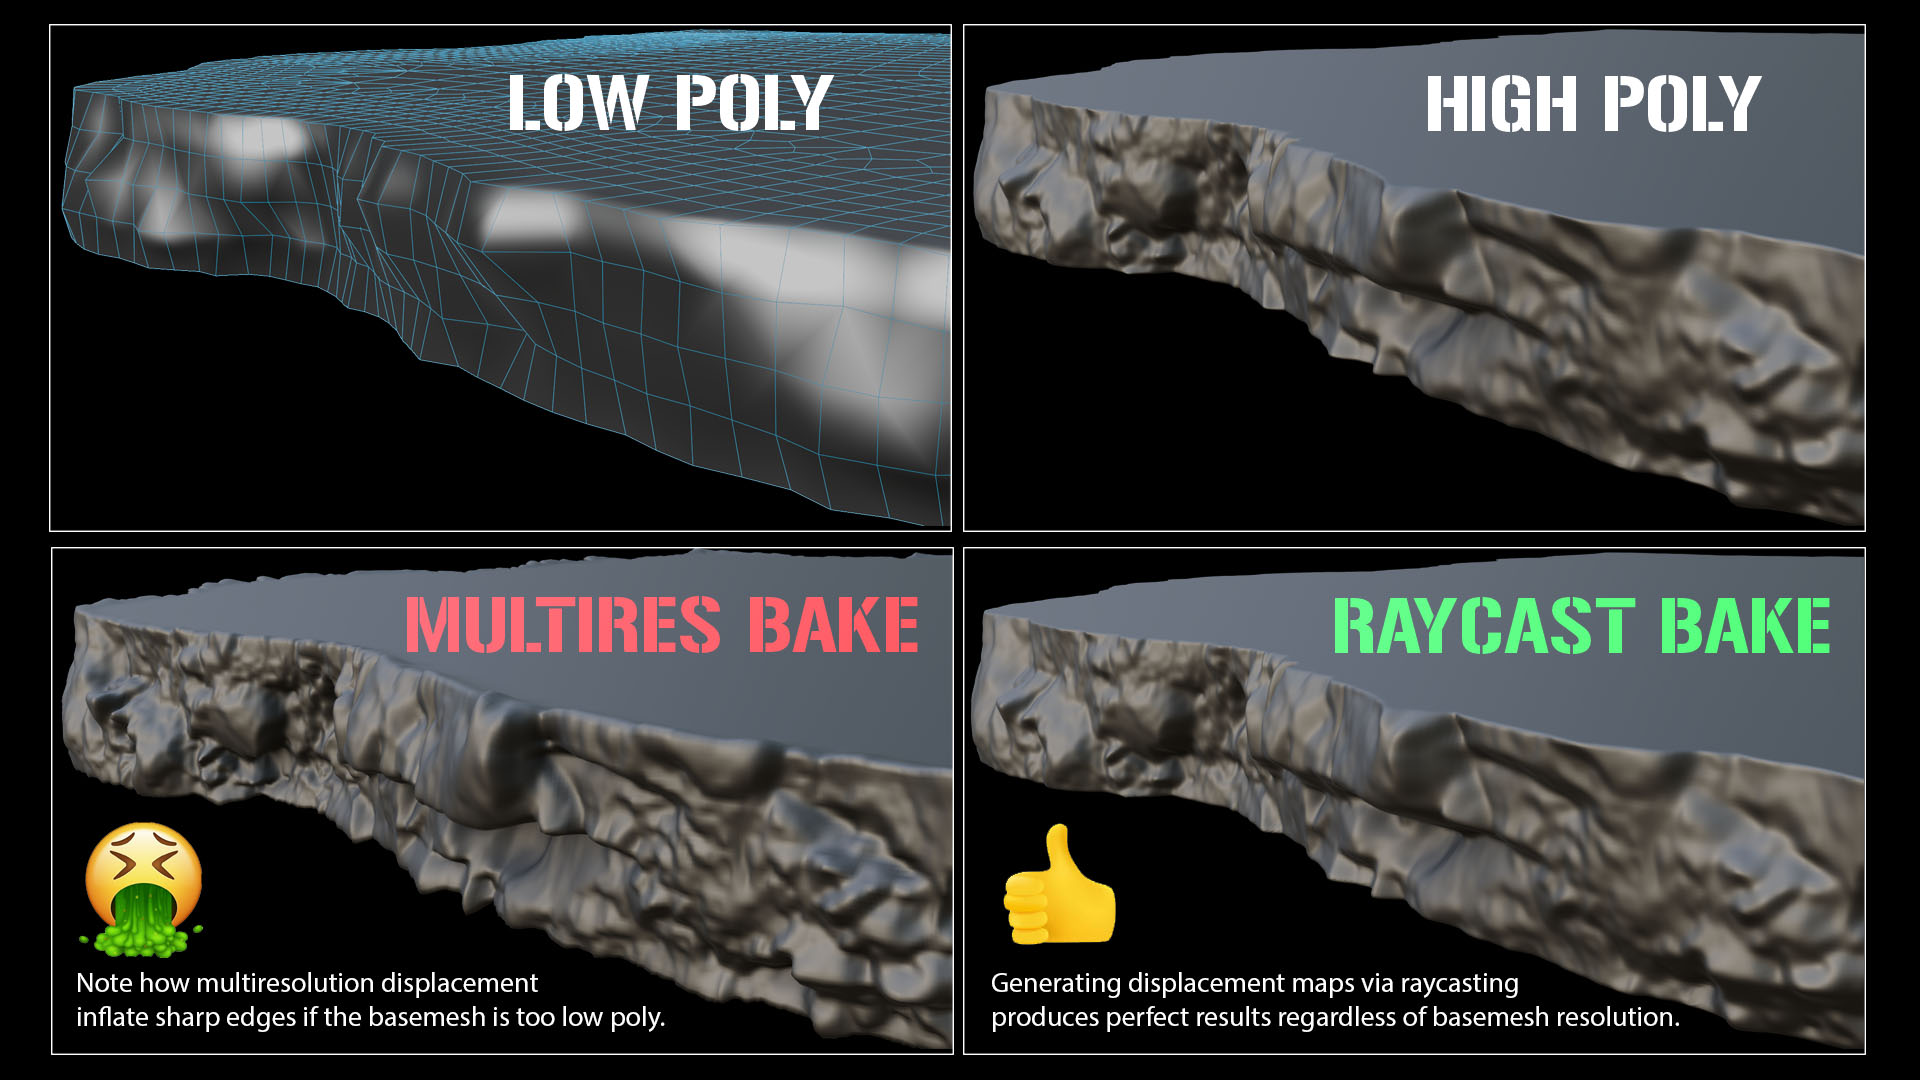
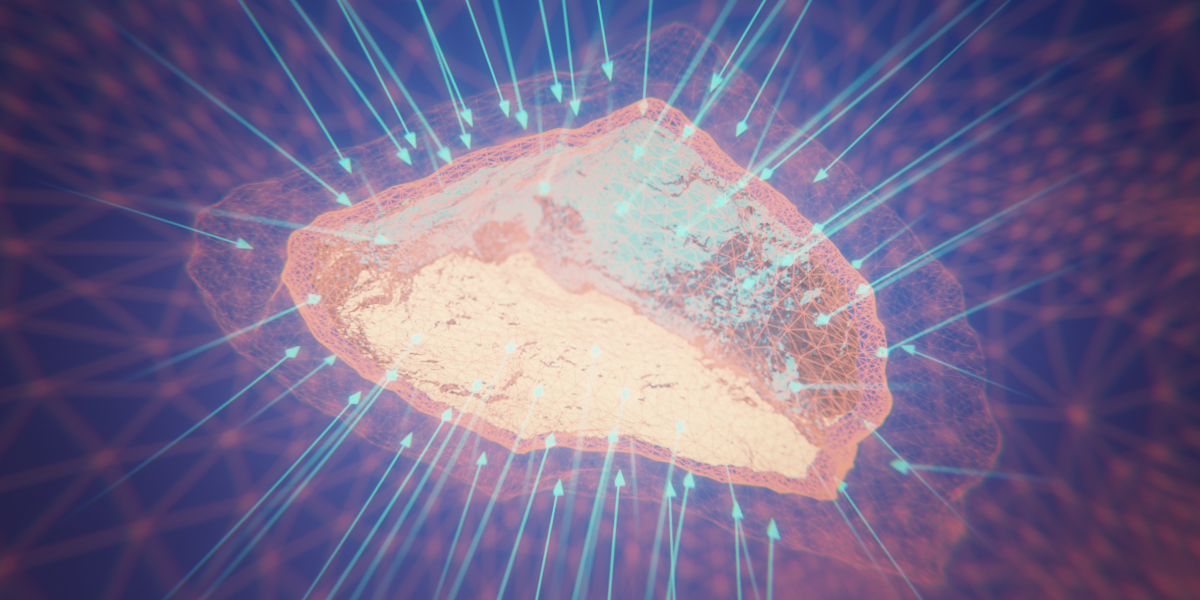
Unfortunately, Blender's built in multiresolution baking method uses interpolated subdivision levels to create displacement (same as Zbrush). This often causes artifacts on sharp edges, overlapping faces, and areas of the mesh where it has been creased/pinched together. Top quality studios use raycast displacement baking in programs such as cyslice and mudbox as it ensures that you are projecting the detail from the high res to low res mesh directly.
Another issue with Blenders multiresolution displacement is that baked textures do not take into account the objects size in world space. This means that when you use a strength value of 1 (displacing via the shader or modifier) it will not match the detail of the object you baked from. This forces you to eyeball/guess the intensity required.
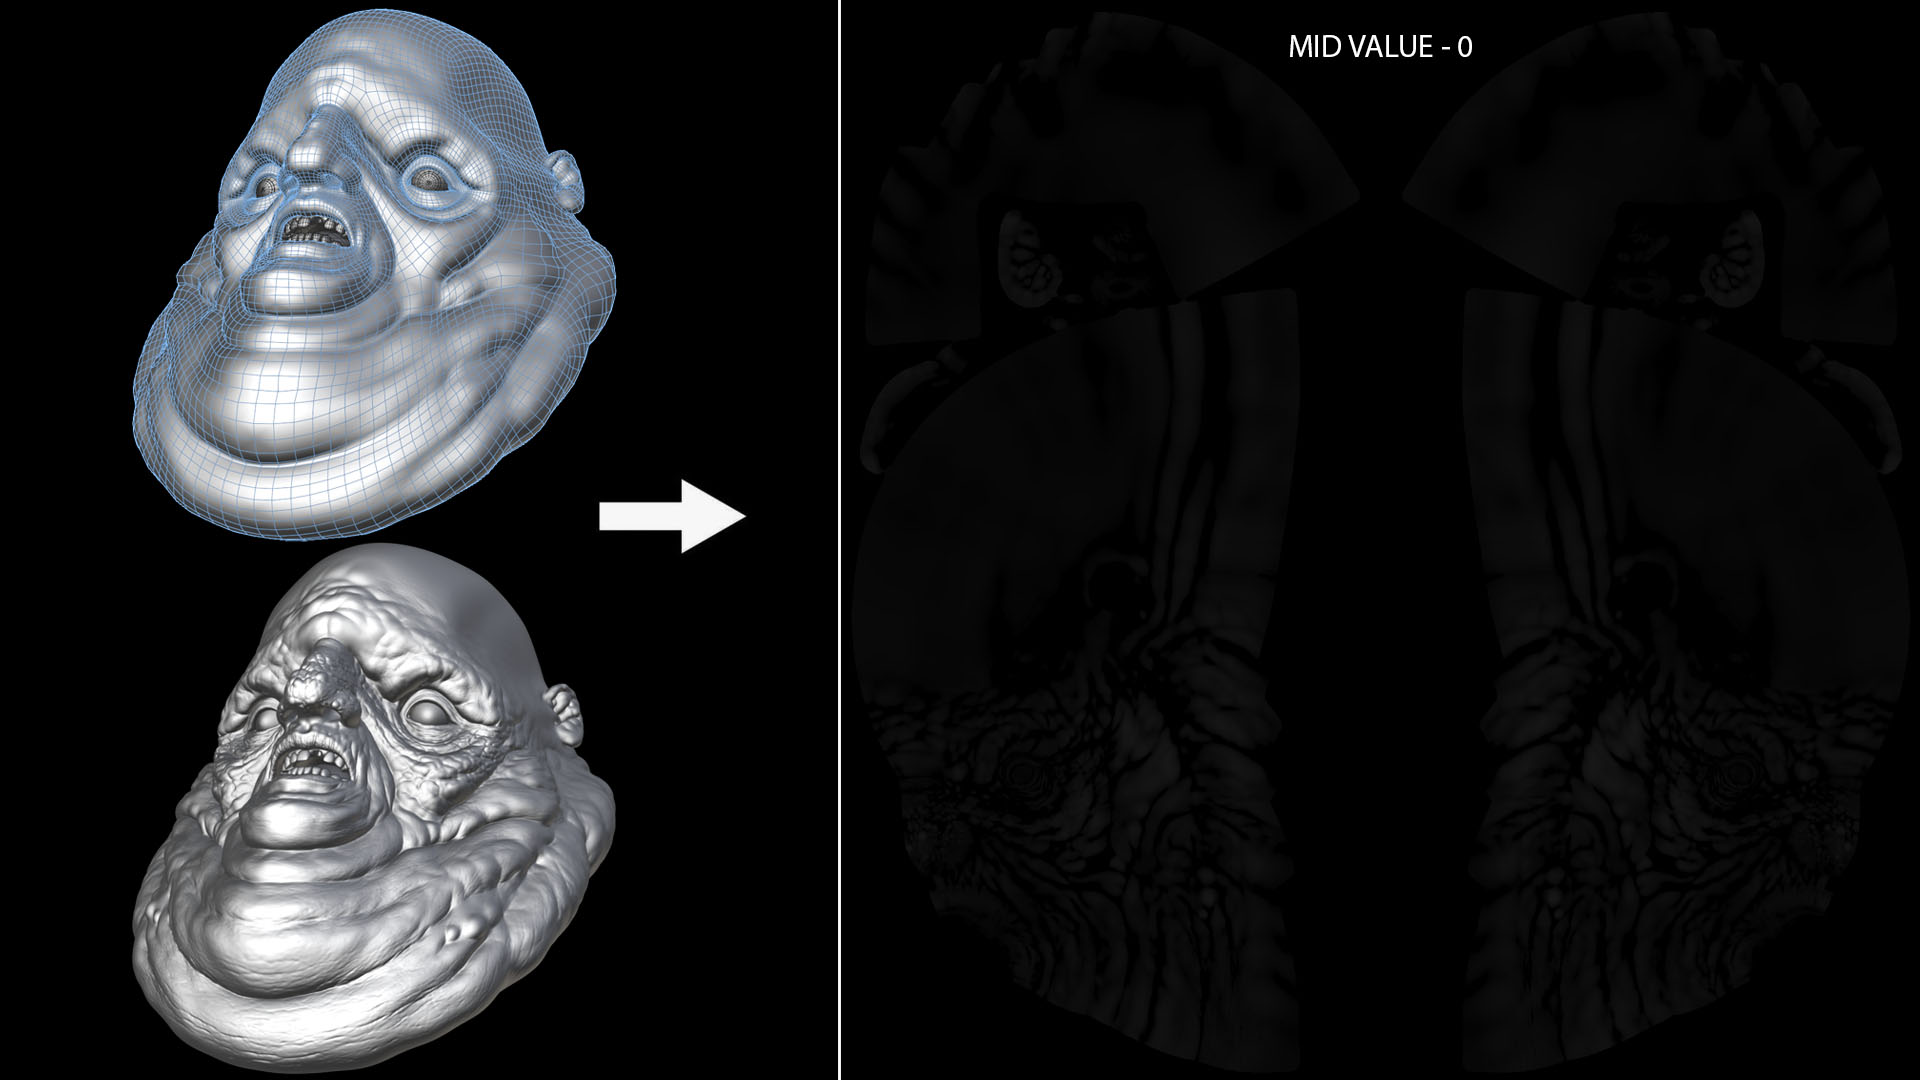
Using the raycast baker you can ensure that a displacement strength value of 1 will match perfectly with your high res mesh.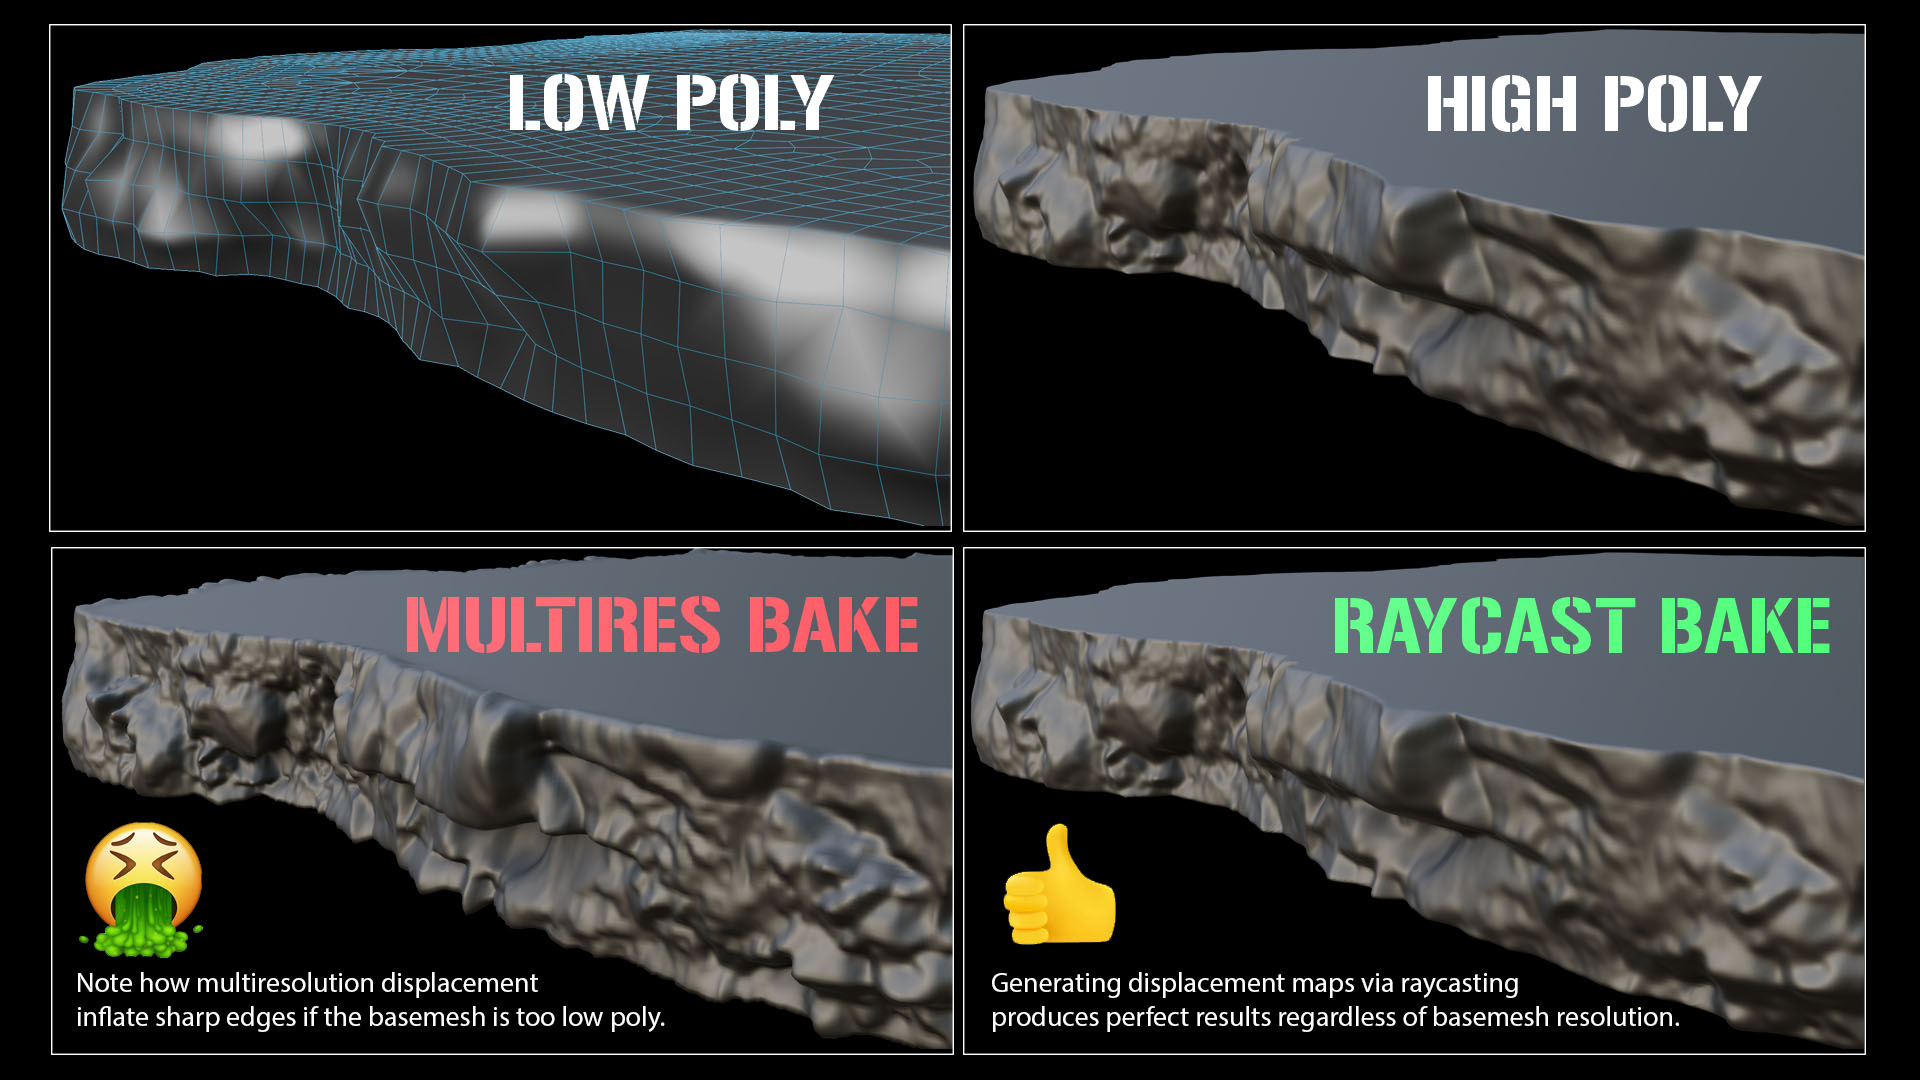
Users can visualize exactly what the displacement maps will look like before committing to the bake.
-This not only means you have predictable results but it also is a great way of debugging/cleaning your geometry so it does not contain errors. If you see spikes in the preview you know there are some issues that need fixing (such as self intersections etc). No more painstakingly painting out spikes and artifacts post bake.
Baking raycast displacement is very similar to baking anything from a shader. The only difference is you are baking out the attribute generated from the geometry nodes modifier:
INSTRUCTIONS:
-Create 2 collections, one for your low res geo and one for your high res.
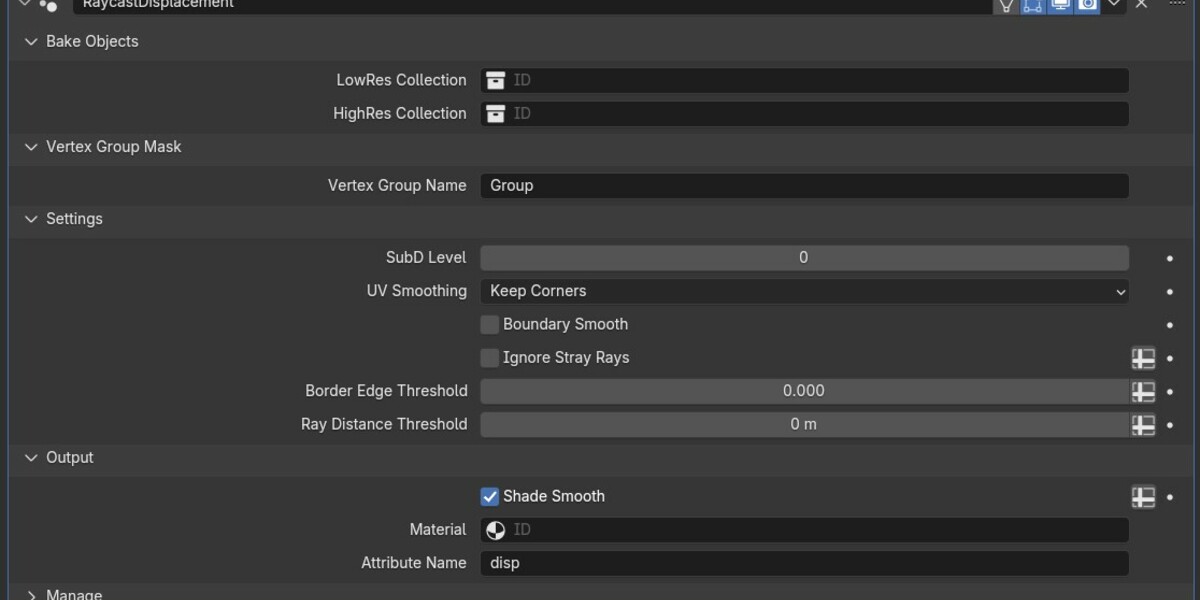
-Append and attach the geometry node to a new object (outside of the collections you just created) and link your hires and low res collections under the geometry node settings.
-Increase the subdivision levels within the geometry node settings so your low res is capturing the detail of the high res.
-Dial in your "open edge" and "raylength" thresholds to remove any spikes (start with very small values and slowly increase until all spikes are resolved)
-Once happy with your projection, assign a material to your geometry nodes
object, geometry nodes modifier and your low res geo.
-Enter into the shader editor and create an
"attribute" node under than material and call the "disp" attribute.
Connect the color of this node in to shader output (surface).
-From here you can bake as you normally would in cycles by creating a 32bit image (single OR udims), and bake out the emission.
NOTE:
-When baking lots of objects that are crashing/intersecting, it is best to "explode" the objects (move them apart from each other) so the raycast node isn't shooting rays onto the wrong objects (see demo video)
-There is a blender related bug in 4.2 currently where you cant preview baked textures in cycles. To get around this you'll need to save out your bakes to disk before previewing. This should be fixed in 4.2.1.
