 MDREECE
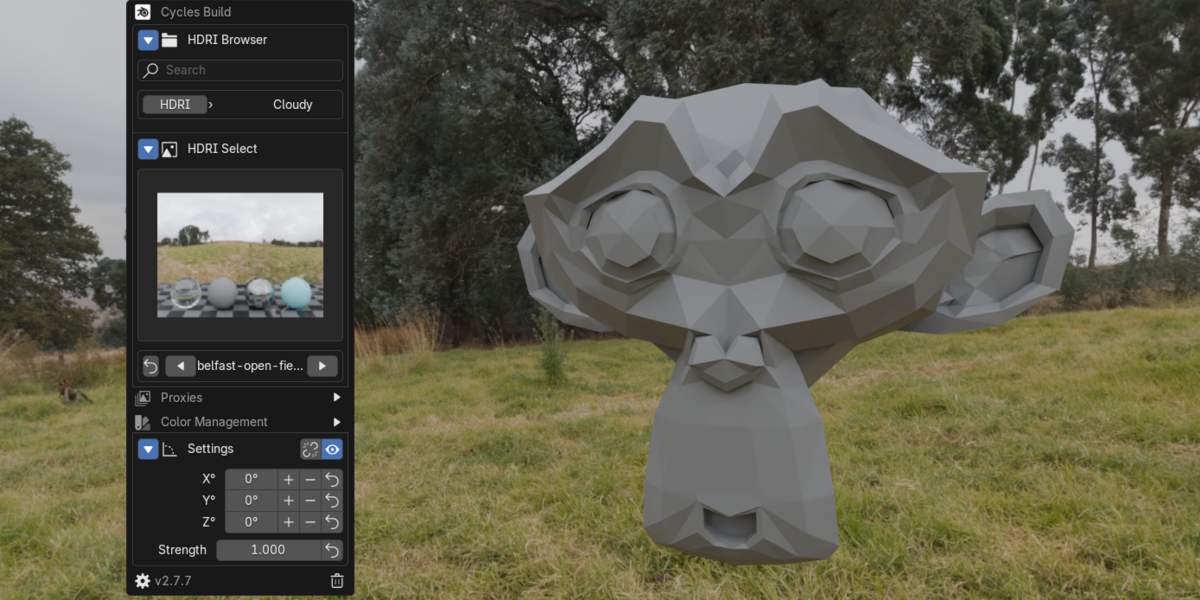
Quick HDRI Controls for Blender (Cycles, V-Ray & Octane)
THIS ADD-ON IS FREE. PAID OPTIONS ARE ONLY FOR FUNDING THE BLENDER DEVS AND/OR DEVELOPMENT ON THE ADDON (download from Github for free)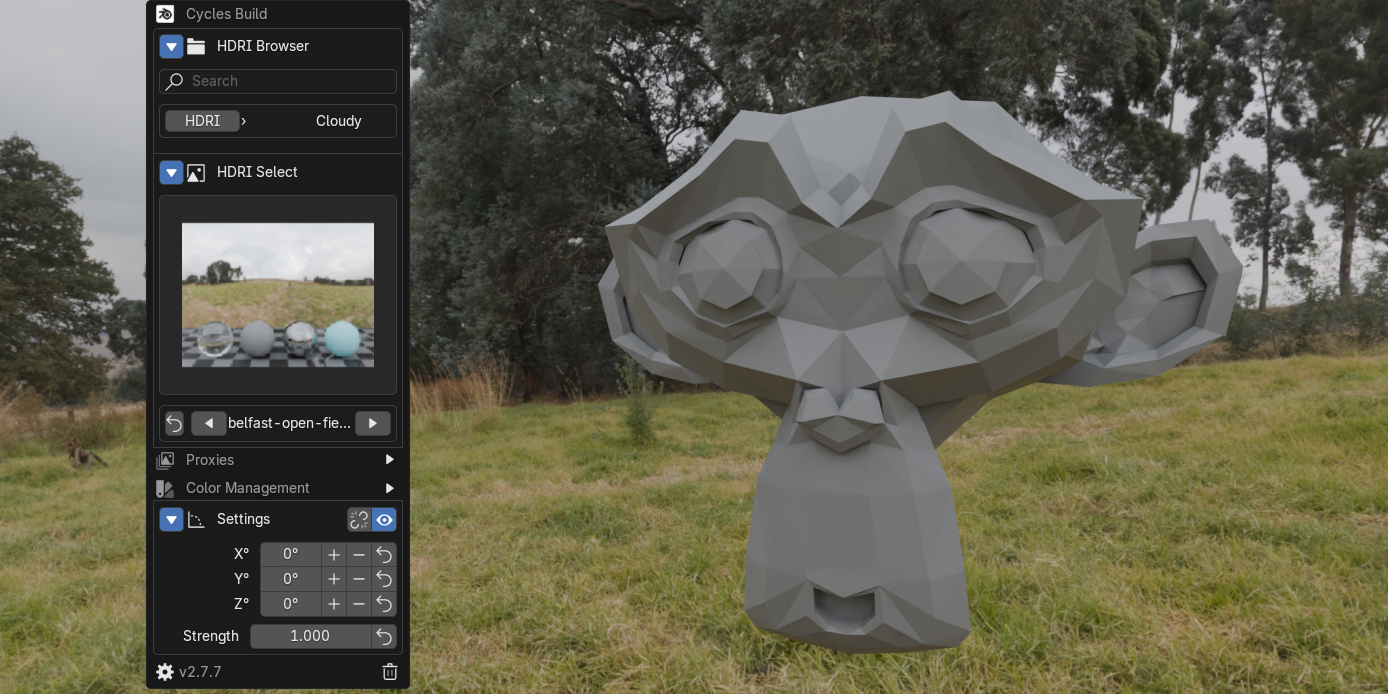
Quick HDRI Controls
is a Blender addon that makes working with HDRIs simple and efficient.
Switch environments, adjust lighting, and control rotations directly
from your 3D viewport - no more digging through node editors!
Installation:
1. Download the latest release zip file from Blender Market OR Github
Blender Market: https://blendermarket.com/creator/products/quick-hdri-controls
Github: https://github.com/mdreece/Quick-HDRI-Controls
2. In Blender, go to Edit > Preferences > Add-ons
3. Click the drop down and click "Install" and select the downloaded zip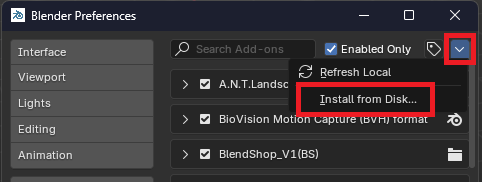
4. Enable the add-on by checking the box next to "3D View: Quick HDRI Controls"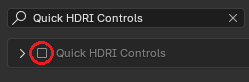
Quick Start Guide:
1. Open the addon preferences (Edit > Preferences > Add-ons > Quick HDRI Controls)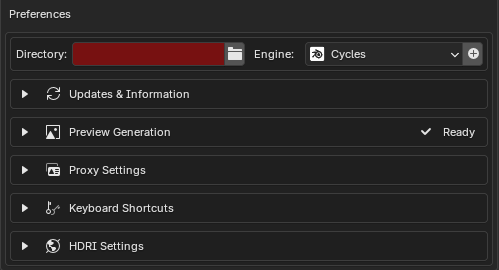
2. Perform the following:
- Set your HDRI folder by clicking the folder icon next to "HDRI Directory".
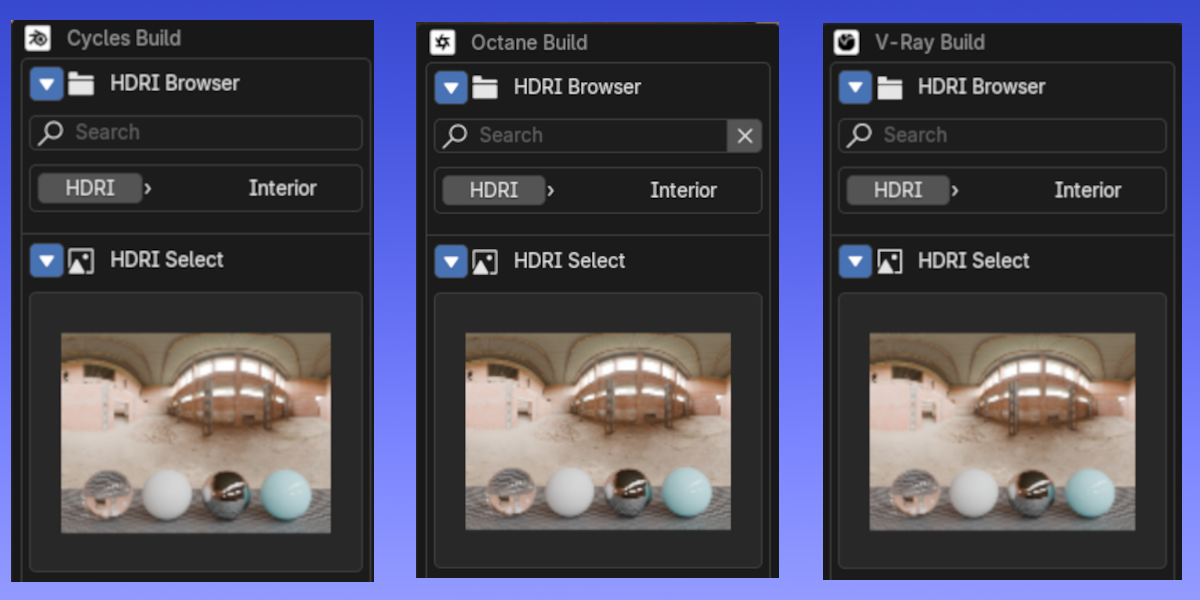
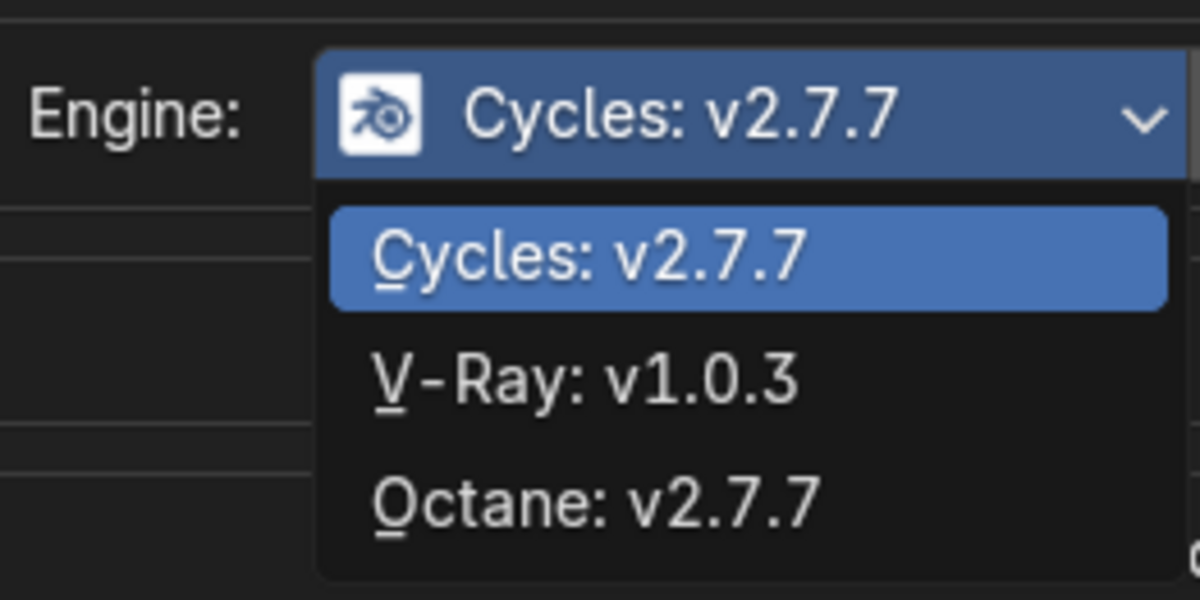
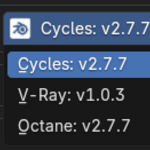
- Select your desired Render Engine and Apply '+'. (Cycles by default, but supports Cycles, V-Ray and Octane. Blender will need to be restarted after changing and applying.)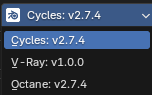
- If this is not done, when attempting to use you will be prompted to set it anyway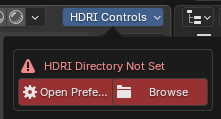
- Open Preferences set to HDRI Directory
- Open/Choose HDRI Directory directly
3. In 'HDRI Settings' select which file types you want to use (HDR, EXR, PNG, JPG)
(All are enabled by default)
4. Close the preferences.
Using the Add-on:
1. Look for "HDRI Controls" in your 3D view-port header (top bar)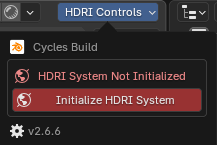
2. Click it and then 'Initialize HDRI System'
- Quick access to add-on preferences
- Version number display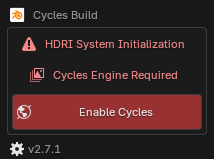

Depending
on the your set render engine (both in blender and in add-on
preferences) you will be prompted to switch to the set Render Engine if
you are not already.
- IF set to Cycles or V-Ray, the View Transform changes to AgX (can be adjusted in panel)
- IF set to Octane, the View Transform changes to Raw (can be adjusted in panel)
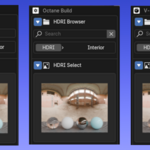
3. You'll be prompted with your HDRI folders/main directory in the "HDRI Browser" section
- Click a folder to browse the HDRIs
- Use the search option to find HDRIs (use clear button to enter new search)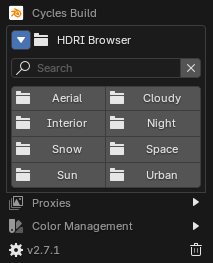
4. Once a folder has been selected, 'HDRI Select' appears.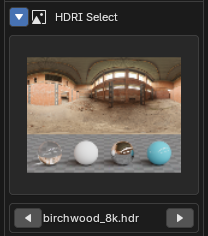
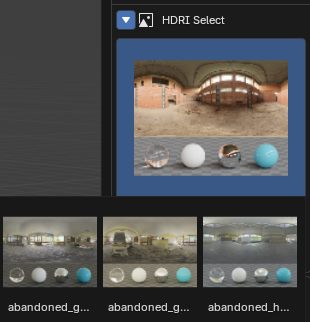
- Click the box to see thumbnails of your HDRIs
- Click on the desired HDRI to load it to use it
- The navigation buttons can be used as well to choose the next or previous HDRI in the list.
- Once more than one HDRI has been selected, a reset button will appear to reset to the previously selected HDRI
5. 'Settings' will appear once an HDRI has been loaded.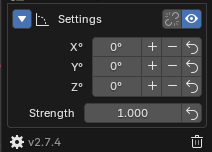
Buttons:
- Keep Rotation lock (keeps rotation changes between HDRI switching)
- HDRI Visibility (adjusts ray visibility of the selected HDRI)
Options:
- X, Y, Z rotation ( + and - relates to rotation step size in Preferences)
- X, Y, Z rotation reset (resets rotation options to 0)
- Control the lighting strength
- Quick access to preferences
- Add-on version
- Delete World
Proxies (more info below)
- Proxy Resolution Selection: Choose the desired resolution for your proxy of the selected HDRI
- Proxy Mode: Choose between 'View-port Only' or 'Both' (more info below)
Full Drop-down Panel: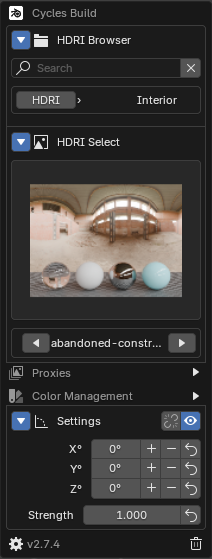
Updates: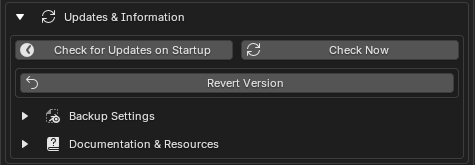
Click on 'Check Now' to see if there are any pending updates.
- If there are updates a message will prompt to update
-
Click on 'Revert version' to do what the button says (If no backup a
message will prompt. Backup happens before updates install)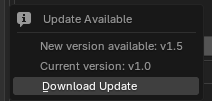
- If no updates are available, the following message will prompt.
3. Auto-Check Updates can be enabled
(This feature checks for updates on startup of Blender)
- If enabled/blender restarted, the following will prompt upon accessing HDRI Controls if there is a pending update.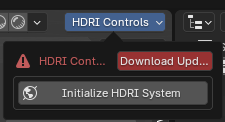
- Upon Blender restart, the change-log entry will show New Features, Fixes and Known Issues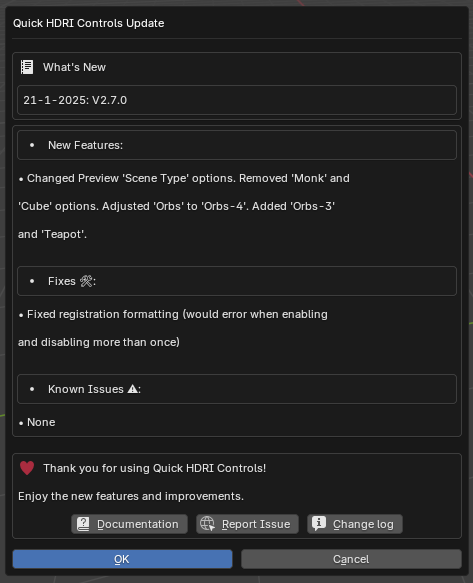
Backup Settings: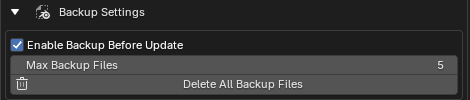
Enable backups for when updating to new versions
- Max Backup Files: Maximum number of saved previous add-on versions
Documentation & Resources: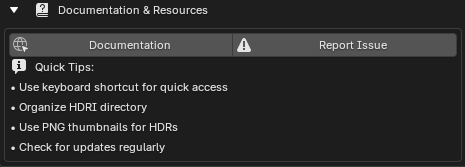
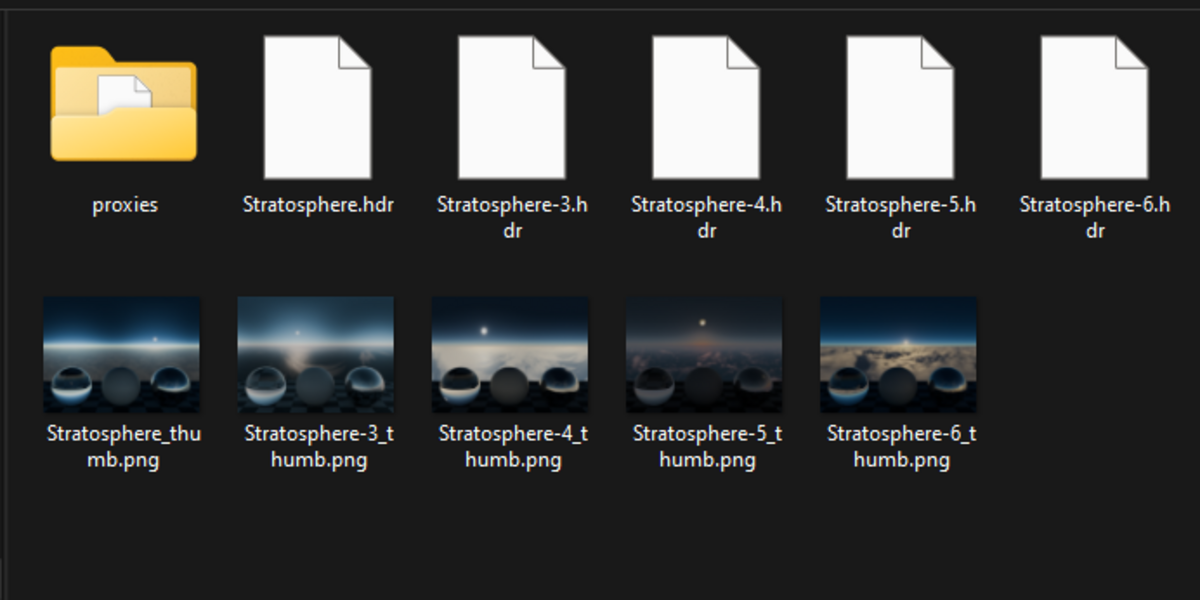
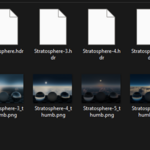
Preview Thumbnail Generation:
You can setup thumbnail previews using a .png that has the same name as the hdr file but ends with _thumb.png
Add the .png thumbnails to the same directory as the hdr.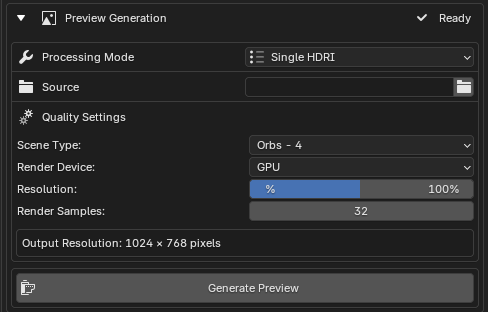
Processing Type:
- Single File: Select a single .hdr or .exr file from you file browser and create a _thumb.png for it.
- Batch Process: Select a folder with .hdr and/or .exr files and create _thumb.png for each.
- Full Batch: Creates _thumb.png for all .hdr and .exr files in the main HDRI directory.
(For both the _thumb.png is in the same folder location as the chosen .hdr or .exr)
User Source selection to choose you HDRI, folder of HDRIs, or batch process all.
- Choose you desired resolution %
- Choose number of samples
- Choose Render Device
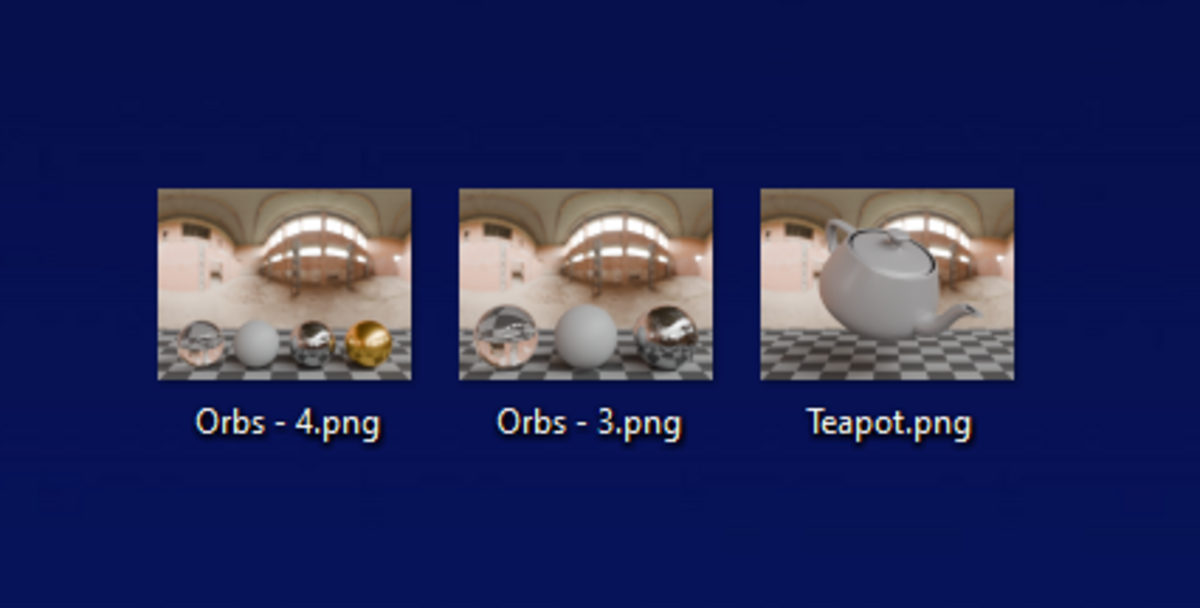
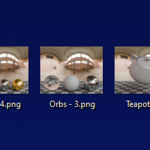
- Select scene type: Orbs-3, Orbs-4 or Teapot
- GENERATE
Scene Type Examples: Orbs-3, Orbs-4, Teapot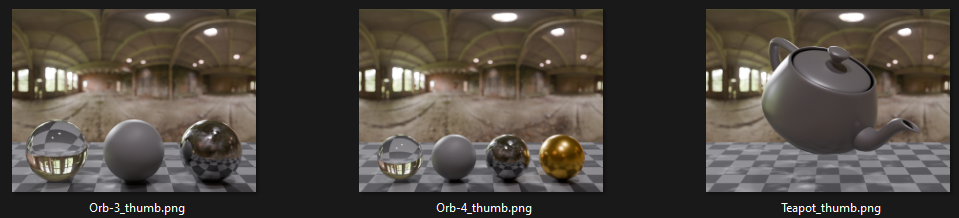
Example of original and _thumb.png instance:
Proxy Settings: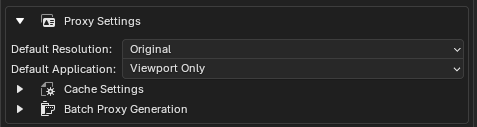
Default
Resolution: The desired default resolution for proxies (if set to
ORIGINAL, no proxies will be created and full resolution HDRI will be
used - options = 1K, 2K, 4K, Original)
Default Application: Options are 'View port Only' (default) and 'Both'
-
View port Only: The selected HDRI proxy will be used for view-port
rendering. When a render begins (single frame or animation) the full
resolution HDRI will be loaded in. Once completed the proxy will be
reloaded for view-port rendering.
- Both: The selected HDRI proxy will be used for both view-port and final rendering.
- Cache Settings:
- Cache Size Limit: Limits the amount of space that proxy files can take up (in MB)
- Clear Proxy Cache: Will clear/delete all proxy files and folders for HDRIs
- Batch Proxy Generation:
- Generate Proxies: This process will create proxies for the chosen folder directory
- Full Batch Process: This will create proxies for all folders and sub-folders within the set main HDRI directory
Keyboard Shortcut:
Keyboard shortcut can be set for quickly pulling up the panel in the 3D view-port
Windows/Linux: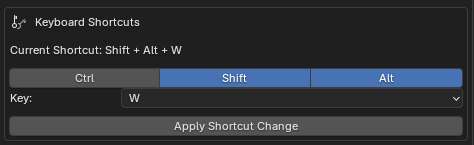
MacOS: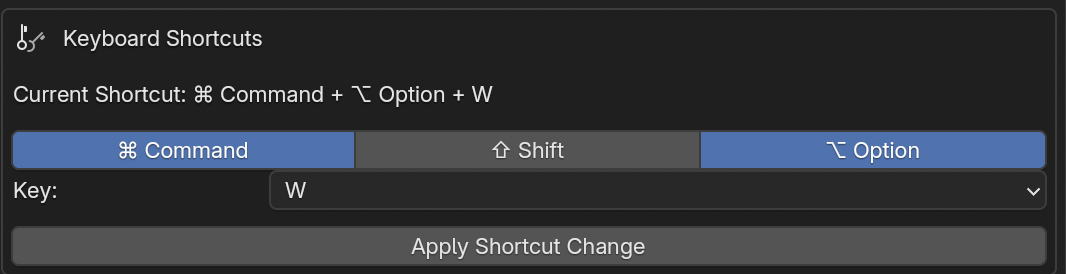
- Set you current shortcut combination
- Consists of:
Windows\Linux: Shift, Alt, Ctrl
MacOS: Shift, Command, Option
- A-Z key options
- BE SURE TO APPLY CHANGES IN PREFERENCES UI
- When the key combination is pressed, the HDRI panel will appear where the cursor is
- Keyboard Shortcut Conflicts:
- Conflicts will show in drop down menu.
- Even if there is a conflict, from time to time it can work since we are in the 3dviewport.
HDRI Settings: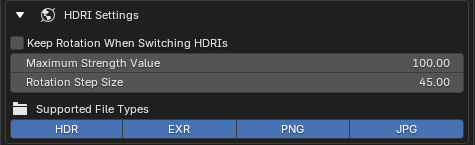
- Keep Rotation options between HDRI changes
- Maximum Strength value for lighting in scenes
- Rotations step degree for when rotating HDRIs in increments
- Supported File Types" explained above
Render Engine Specifics:
Each
render engine requires specific nodes and settings changes (settings
can be changed if desired but the nodes cannot) The following
information will show what information changes and the overall
nodes/objects that are needed for operation on a per engine basis.
Cycles: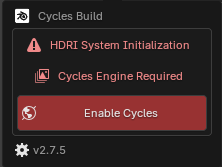
When set to Cycles and the HDRI System is initialized:
1. The Render Engine switches to 'Cycles'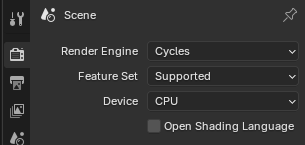
2. The View Transform changes to AgX (can be adjusted in panel)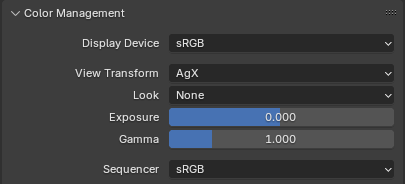
3. The following World node tree is created.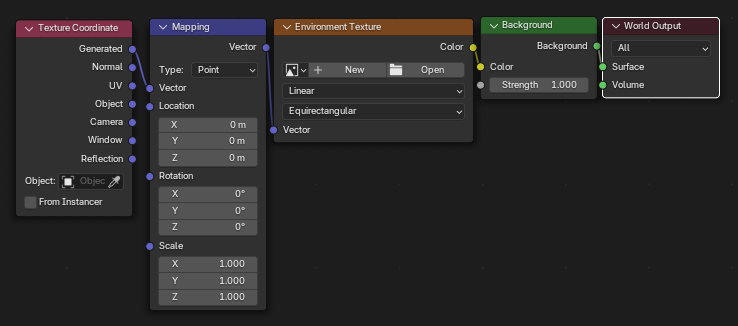
Octane: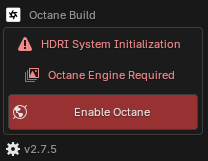
When set to Octane and the HDRI System is initialized:
1. The Render Engine switches to 'Octane'
2. The View Transform changes to RAW (can be adjusted in panel)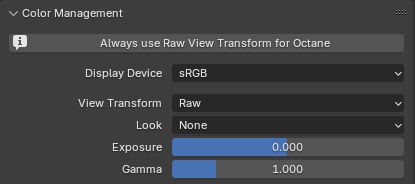
3. The following World node tree is created.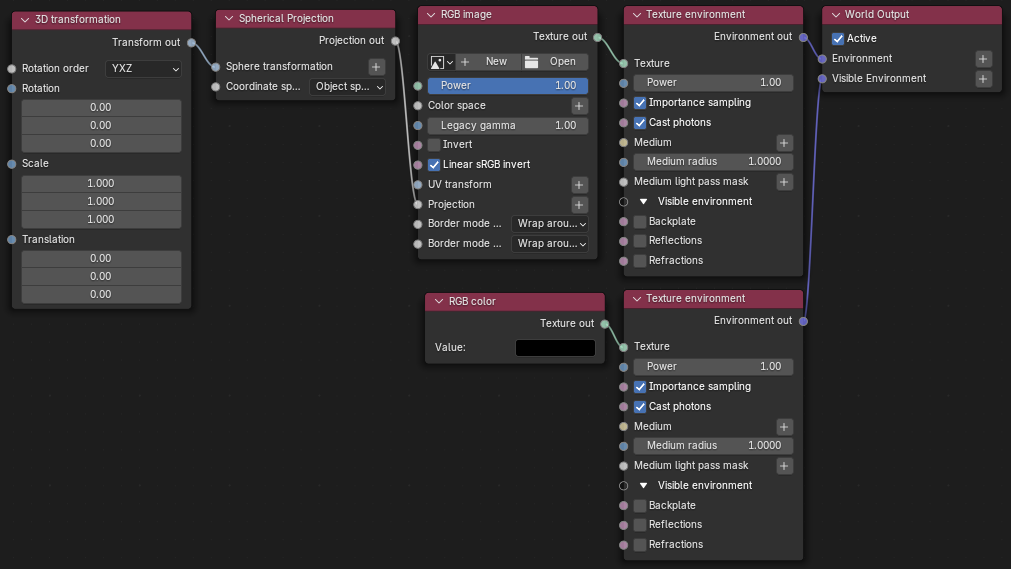
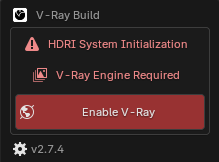
V-Ray: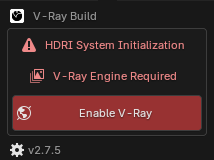
When set to V-Ray and the HDRI System is initialized:
1. The Render Engine switches to 'V-Ray'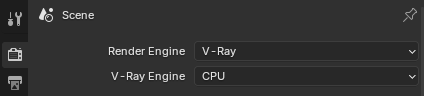
2. The View Transform changes to AgX (can be adjusted in panel)
3. A collection called 'vRay HDRI Controls' appears with a 'VRayDomeLight'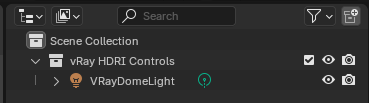
4.
The following node is imported from misc\vray\vray_support.blend and
applied to the VRayDomeLight through the V-Ray Node Editor/Shader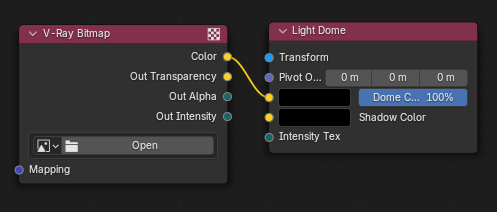
Troubleshooting:
**"HDRI Directory Not Set" Message**
- Open addon preferences
- Set your HDRI folder path
**No HDRIs Showing**
- Check that your files are supported types
- Verify the folder path is correct
- Make sure file types are enabled in preferences
**System Not Initialized**
- Click "Initialize HDRI System" button
- If issues persist, click "Repair HDRI System"
**Errors Post Update**
- Use the 'Revert to Previous' option in the updates section of preferences to reload the previous version of the addon.
- Visit the archive: https://github.com/mdreece/QHDRIC-ARCHIVE/tree/main
Requirements:
- Blender 4.2.0+ (older instances may work)
- Supported Operation Systems & Render Engine
- Windows 10/11 (older may work): Cycles, V-Ray, Octane
- Linux Manjaro (others may work): Cycles
- MacOS 14.0+ (older may work): Cycles
Support:
Need help? Found a bug? Have a suggestion?
- Directly message on Blender Market
- Open an issue on GitHub
- Check existing issues for solutions
- Include steps to reproduce any bugs