Proper Lightmaps Generator
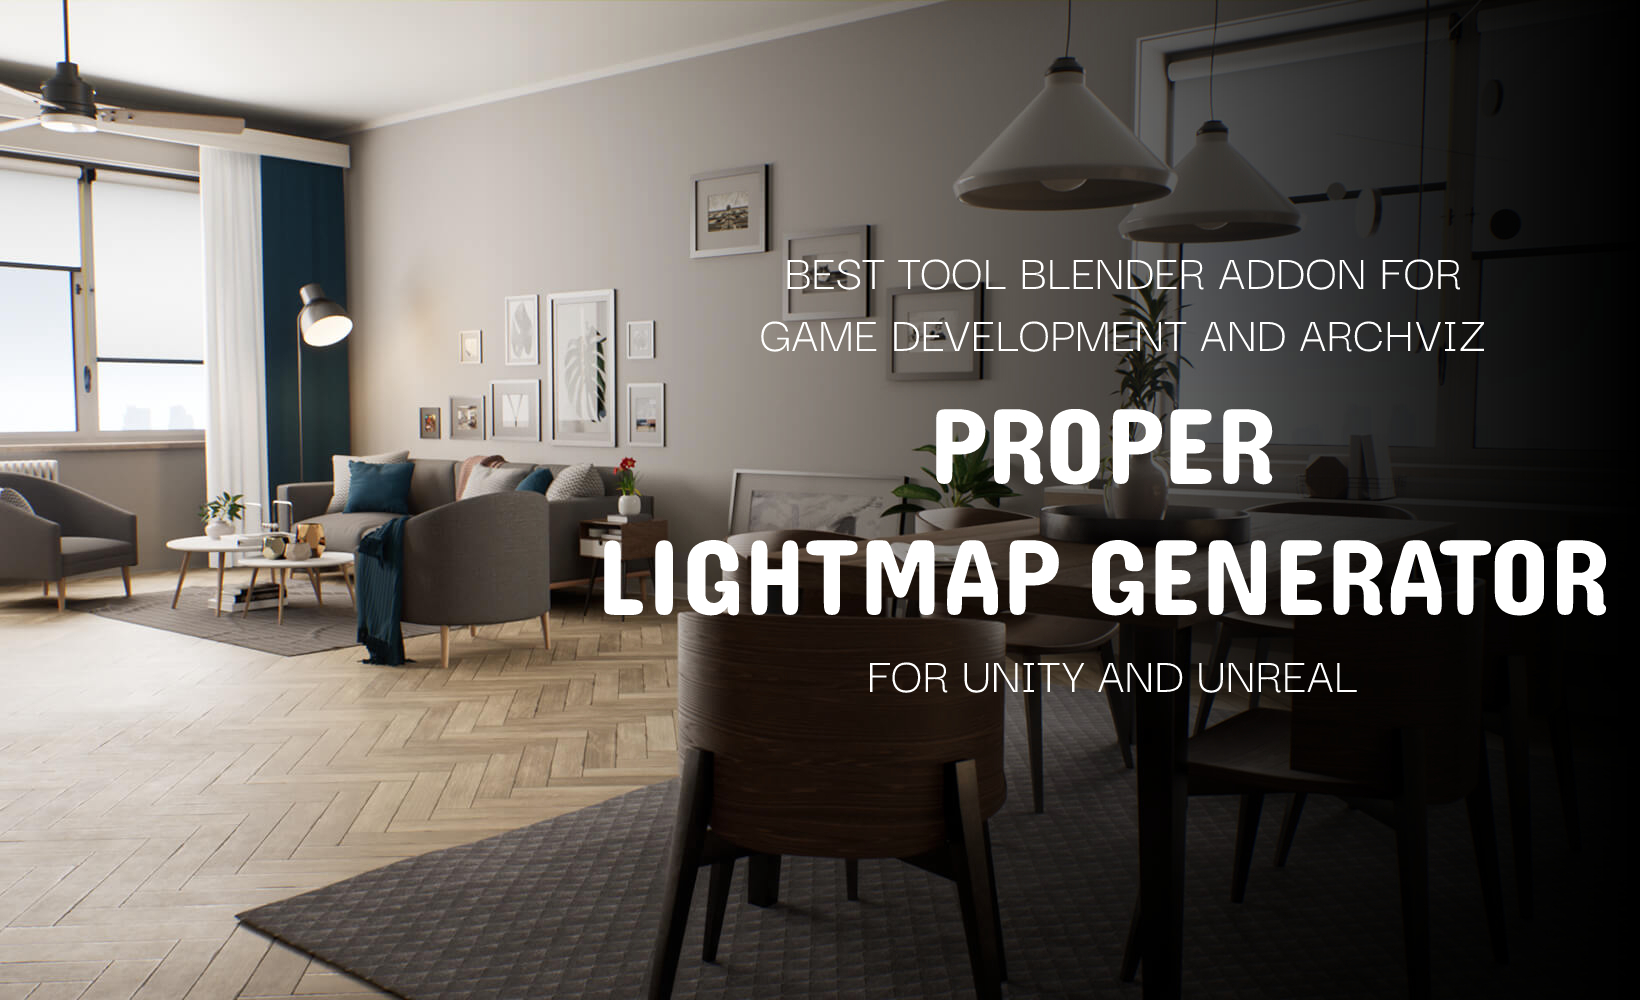

A lightmap is a data structure used in light mapping, a form of surface caching in which the brightness of surfaces in a virtual scene is pre-calculated and stored in texture maps for later use. Lightmaps are most commonly applied to static objects in applications that use real-time 3D computer graphics, such as video games, in order to provide lighting effects such as global illumination at a relatively low computational cost.
Documentation
Apply Transform Button
The "Apply Transform" function is used to apply any transformations (scale, rotation, location) made to an object permanently. When you apply a transform, Blender will recalculate the object's data so that the changes are no longer relative to the object's origin, but are absolute.
This is useful in a variety of scenarios, such as when you want to freeze the position of an object so that you can start animating from its new position, or when you want to ensure that the object's new size is maintained even if you make further modifications to it.
Add Lightmap UV
This function will create a new uv map for your 3d object.
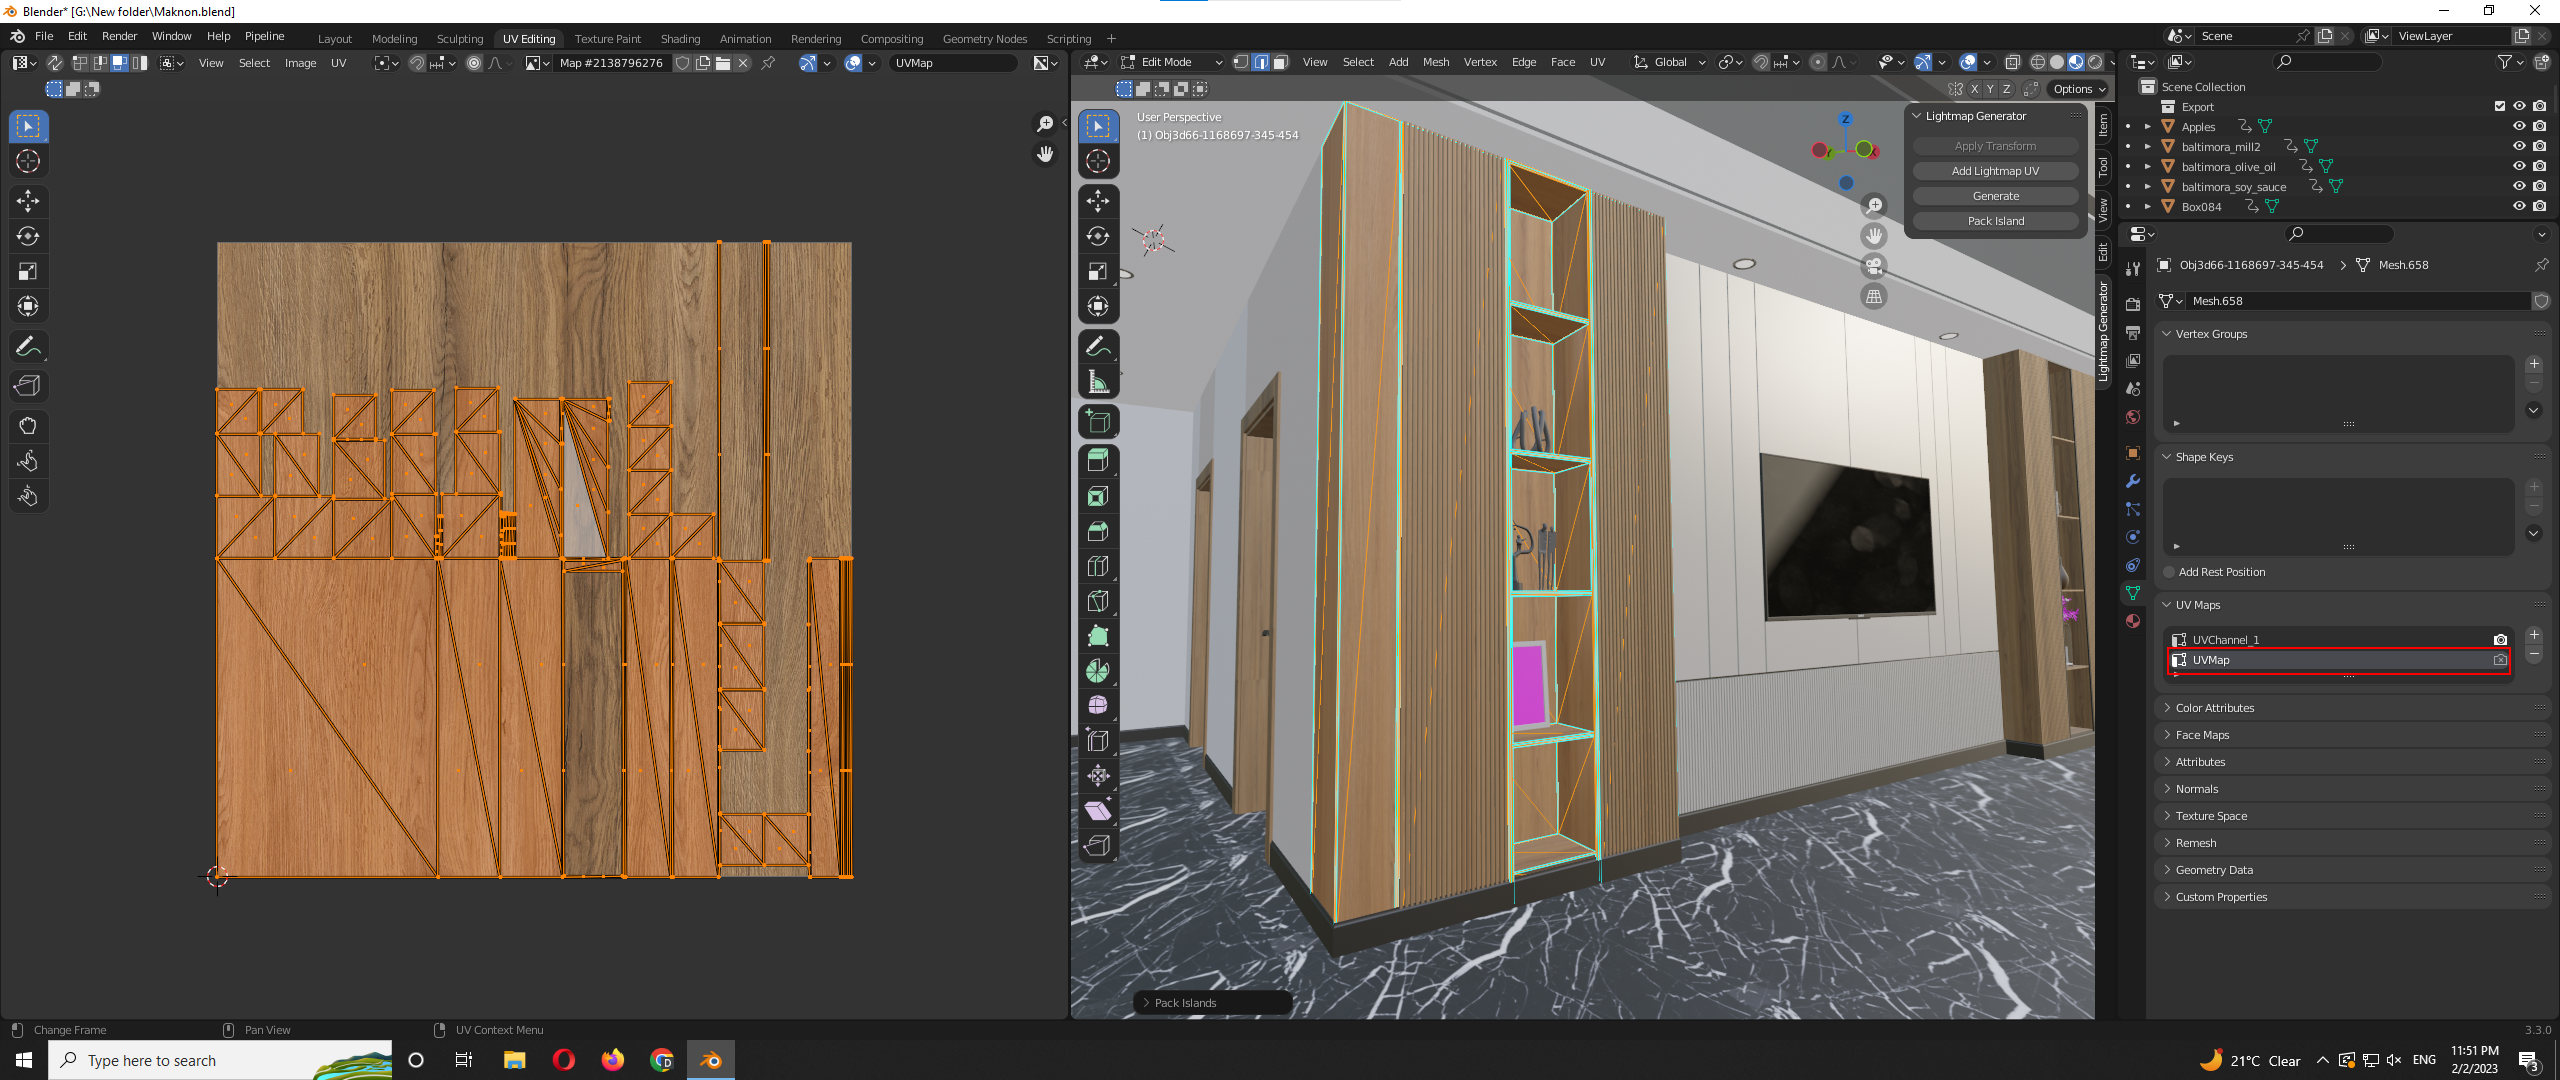
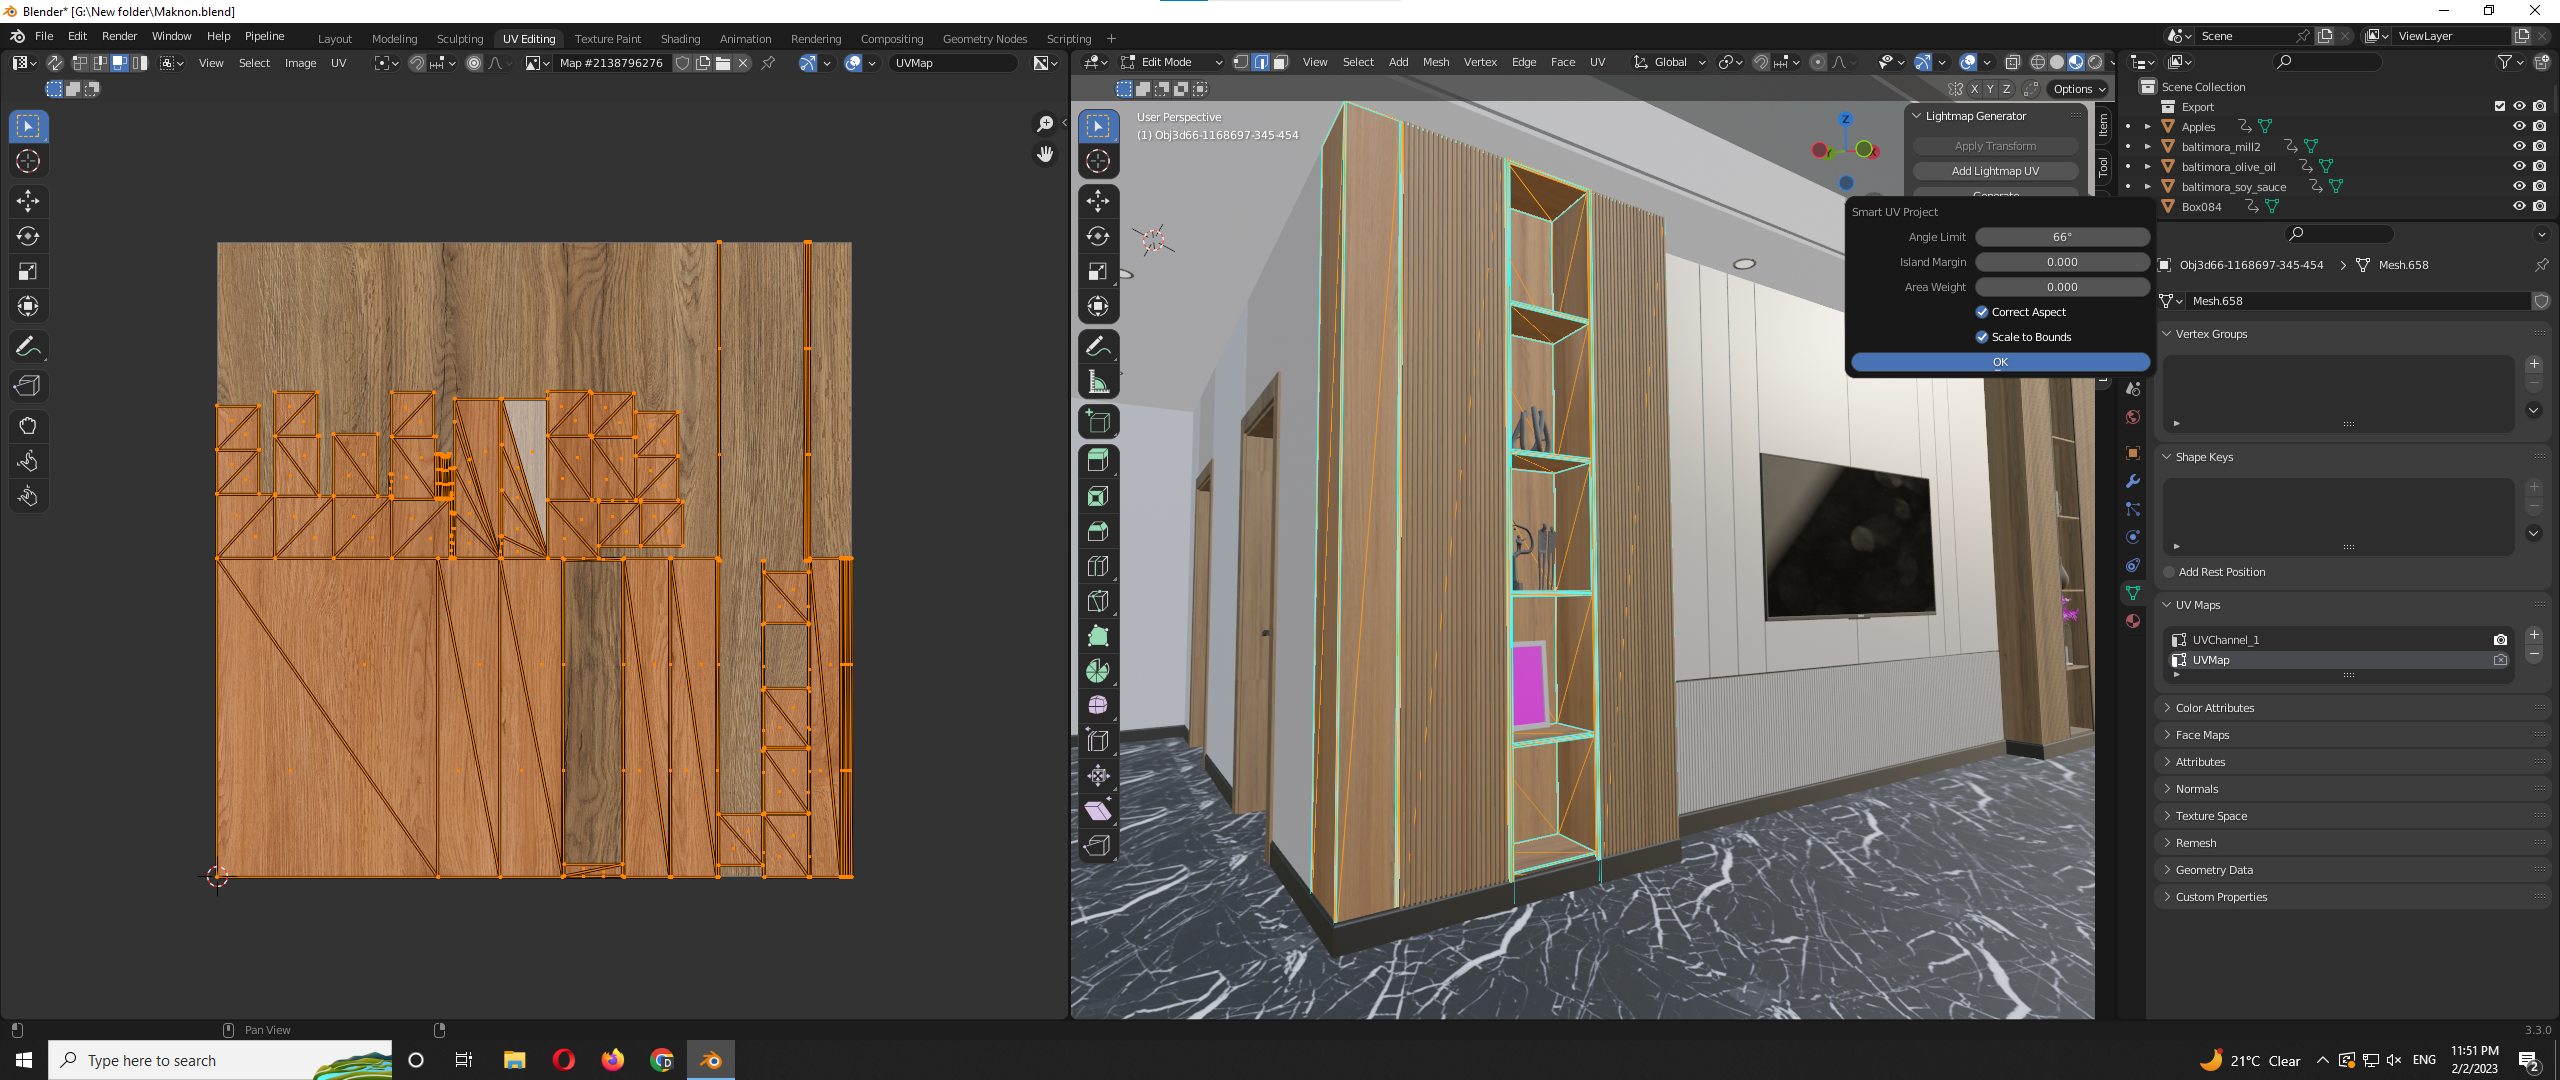
Generate Button
This button allows you to create a UV map by unwrapping the 3D model and laying out the faces of the mesh in a 2D space. This is done in an automated way, trying to minimize texture stretching and preserve the overall shape of the model. To use this feature, you first need to select the object you want to map, then go to the "UV Editing" workspace and select the faces or entire mesh you want to unwrap. Then, you can use this function. Once you have created the UV map, you can then paint or apply textures to the 2D representation in the UV editor, which will then be displayed on the 3D object in the final render.
Pack Island
This feature of the UV Editor arranges the UV islands (separate sections of a UV map) in a compact and efficient manner, reducing the amount of wasted space and helping to avoid texture stretching.When you unwrap a 3D model into a UV map, the faces of the mesh are laid out in a 2D space. The individual sections of the UV map are called "islands," and the goal of the "Pack Islands" function is to arrange these islands in a way that minimizes the amount of unused space and reduces texture stretching. The "Pack Islands" function will rearrange the UV islands in a more efficient manner, optimizing the use of space and reducing texture stretching. This can lead to better-looking textures on your 3D model, as well as improved performance when texturing and rendering.
How to Generate Accurate Lightmap UV by using this addon?
Apply Transform to your 3d models so no problem will appear while you build your package in unreal or unity. Because a Scale below 1 returns an error. Then Click on Add Lightmap Uv button to create a new Lightmap UV map in the UV property Panel. Go to edit mode and Click on Generate Button. This function will allow you to generate proper light map UVs which you can use in any game engine. Select options as per your UV map requirements. After Generating your UV click on Pack Island Button this will allow you to compact your UV in an efficient manner.
Note: This small functionality addon allows you to generate accurate UVs for your game engine so when you bake your light in any game engine, e.g. Unreal Engine or Unity, your baking data will look much more beautiful than regular uv maps.
Advice: Please open your UV Editing before using this add-on so that you can see your results.
Discover more products like this
ArchViz light-baking baking unity unrealengine5 unrealengine4 Blender-to-Unity lightmap UnrealEngine 3dinterior