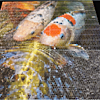
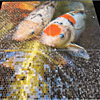
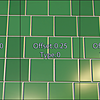
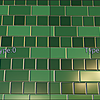
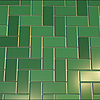
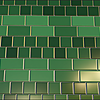
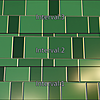
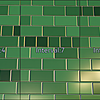
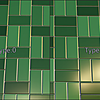
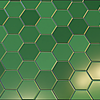
Procedural Textures Pack - Tiles
Add the Textures to your Blender project
- Open your existing project or start a new one in Blender
- Click File -> Append then browse to your downloaded file and click on it once
- Click on NodeTree. The texture nodes can be identified by the ONAN prefix. Select the textures you would like to use and click Append from Library
- The texture nodes will now be available in the Shader Editor. Click Add -> Group and find the textures by the ONAN prefix.
 An example Texture node
Sockets:
All the textures have certain input and output sockets in common and some have extra or unique inputs and/or outputs for additional functionality.
Common Inputs
- U - input U axis
- V - input V axis
- U Size - horizontal size of tile
- V Size - vertical size of tile
- Edge - radius of rounded edge
- Space - size of space around tile
- Rounded Corners - selects between sharp and rounded corners
- Grout - depth of grout in the space around tiles
- Edge Mask - size of the mask for tile edges
- U Scale - horizontal scale for output UVs
- V Scale - vertical scale for output UVs
- Pixelated U Scale - horizontal scale for output Pixelated UVs
- Pixelated V Scale - vertical scale for output Pixelated UVs
- Random Seed - for the output Random color
Unique Inputs
- Single / Double - style of Basket Weave, unique to the Basket Weave texture
- Offset - the distance by which certain rows are offset horizontally
- Offset Type - selects between alternating and continuous offset
- Interval - will affect the particular layout feature of the texture in question, like the number of regular tiles between smaller tiles, or the number of rows between darker rows.
- Alt. U Size Multiplier - size multiplier for alternately sized tiles
Common Outputs
- a Height map for use with Bump or Displacement
- a Mask to isolate tiles from grout
- a Header Mask for isolating certain pertinent tiles
- Edge Masks for applying effects to only the edges of tiles for greater realism
- a UV map for each tile for texturing or further procedurals
- a Pixelated UV map for mosaic effects
- a unique Random color value for each tile
Unique Outputs
- only the Hexagonal texture combines the U Edge and V Edge masks into one output. All others have separate masks for differing effects, e.g. direction of scratches/damage.
Quick Start
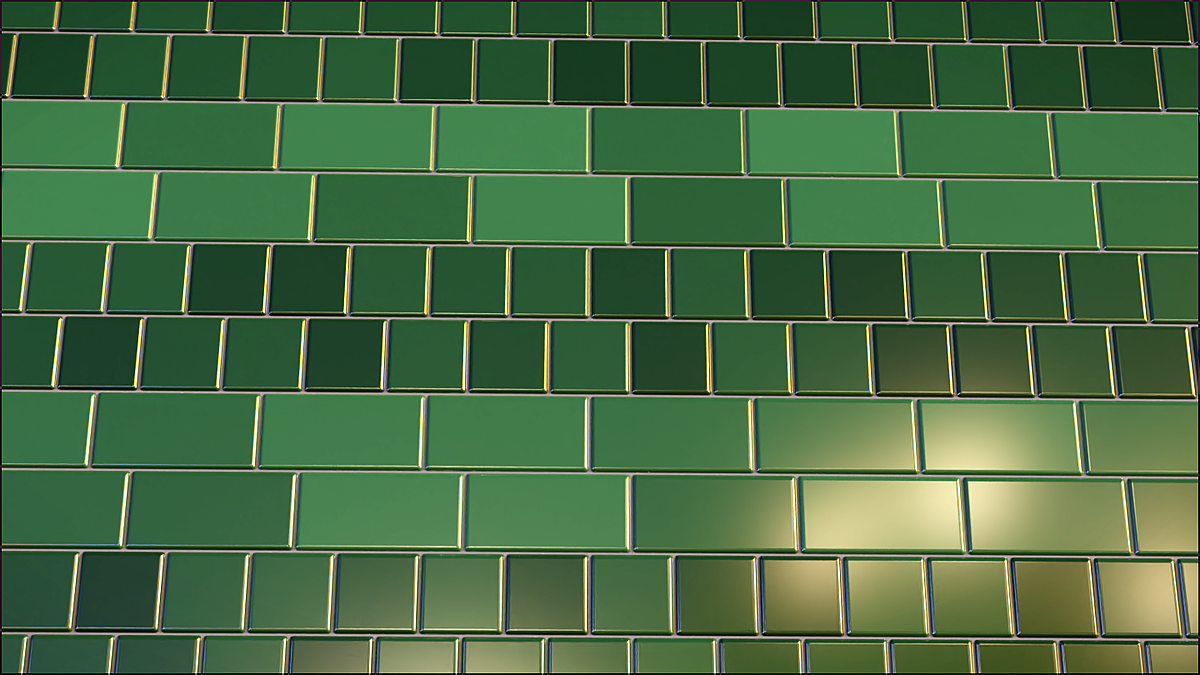
Here's an example material using the Standard Tiles texture:

You can use any kind of coordinates with a Separate node to access two axes and feed them into the U and V sockets of your texture node.
In this example we use the Object coordinates and place the object's origin at the bottom left of our geometry.
Inputs
We use the default input values but change the Offset to 1 for this example, for that classic bathroom tile look.
Outputs
Height goes into a Displacement node or a Bump node.
Mask will isolate the tiles from the grout. In this example, it drives a Color Mix node for base color, a Value Mix node for roughness, and a Value Mix node for IOR.
Header Mask isolates alternate tiles along the rows. In this example, it drives a Color Mix node.
We break the Random color apart with a Separate RGB node and use the Red output to control a Color Multiply node for subtle variations in color from one tile to the next.
Discover more products like this
Shader Pack lowpoly pixel low poly bathroom pixelate procedural shader nodes procedural kitchen quick uvs nodesetups procedural-tile summer22 Tiles Advanced nodesetup pixelation Shader grout spring21 Material summer21 customisable pixels procedural-tiles optimized bfcm21 easy to use shaders mosaic uv


