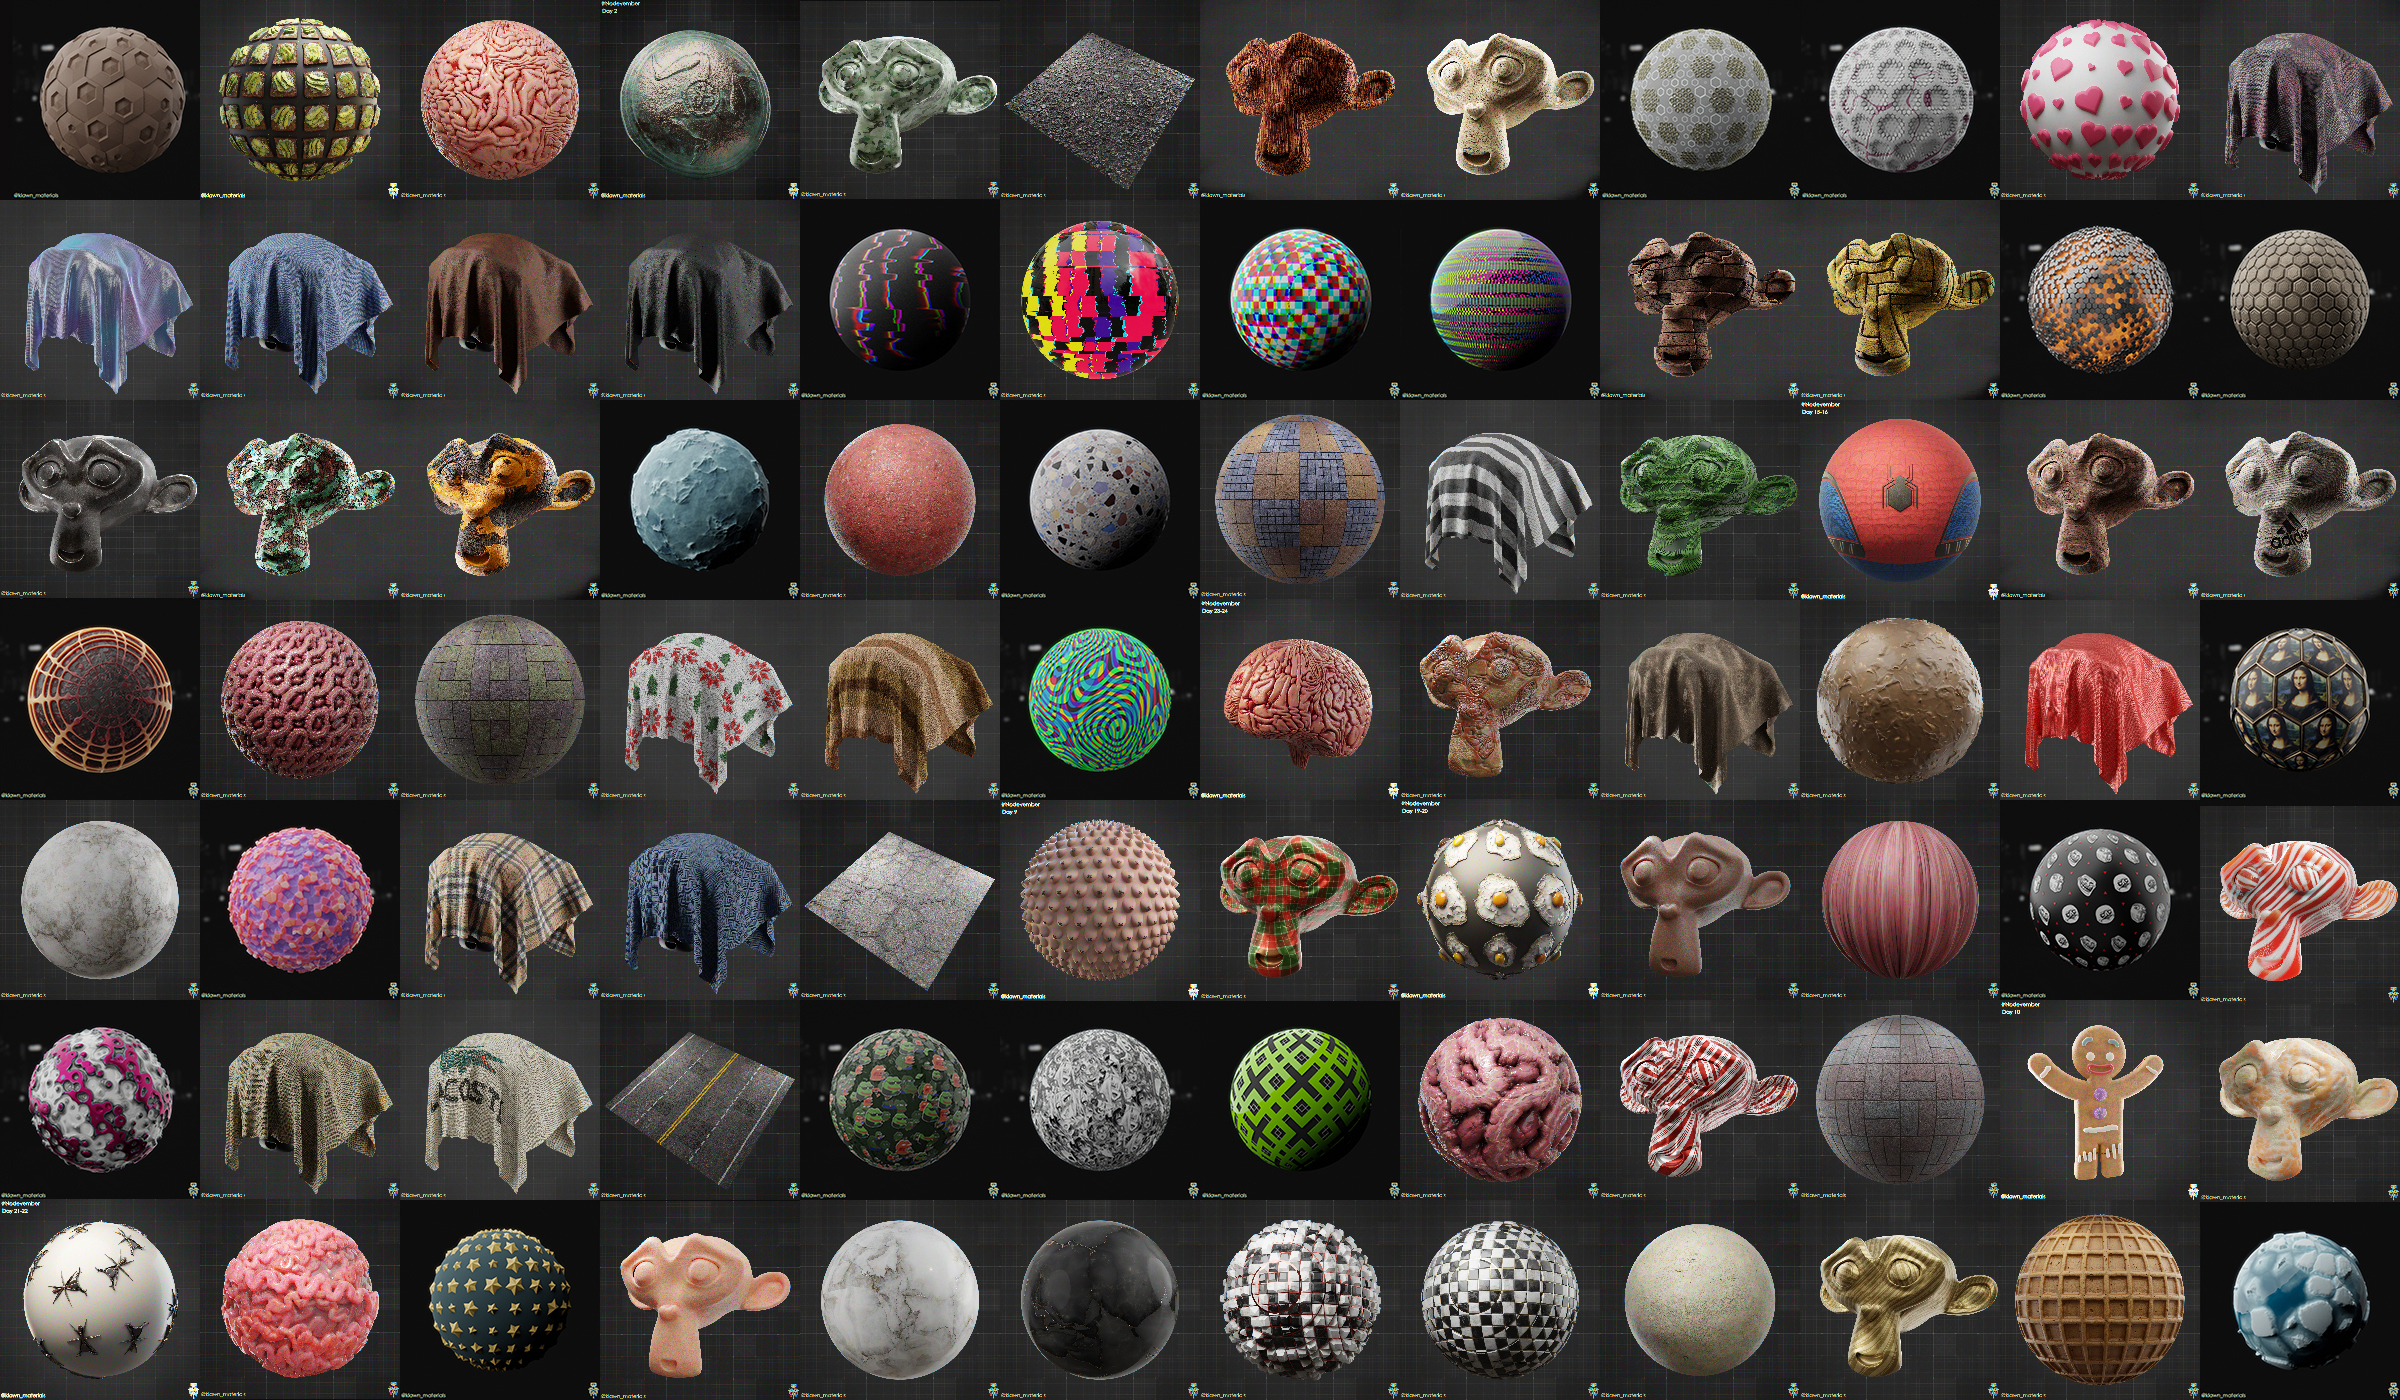
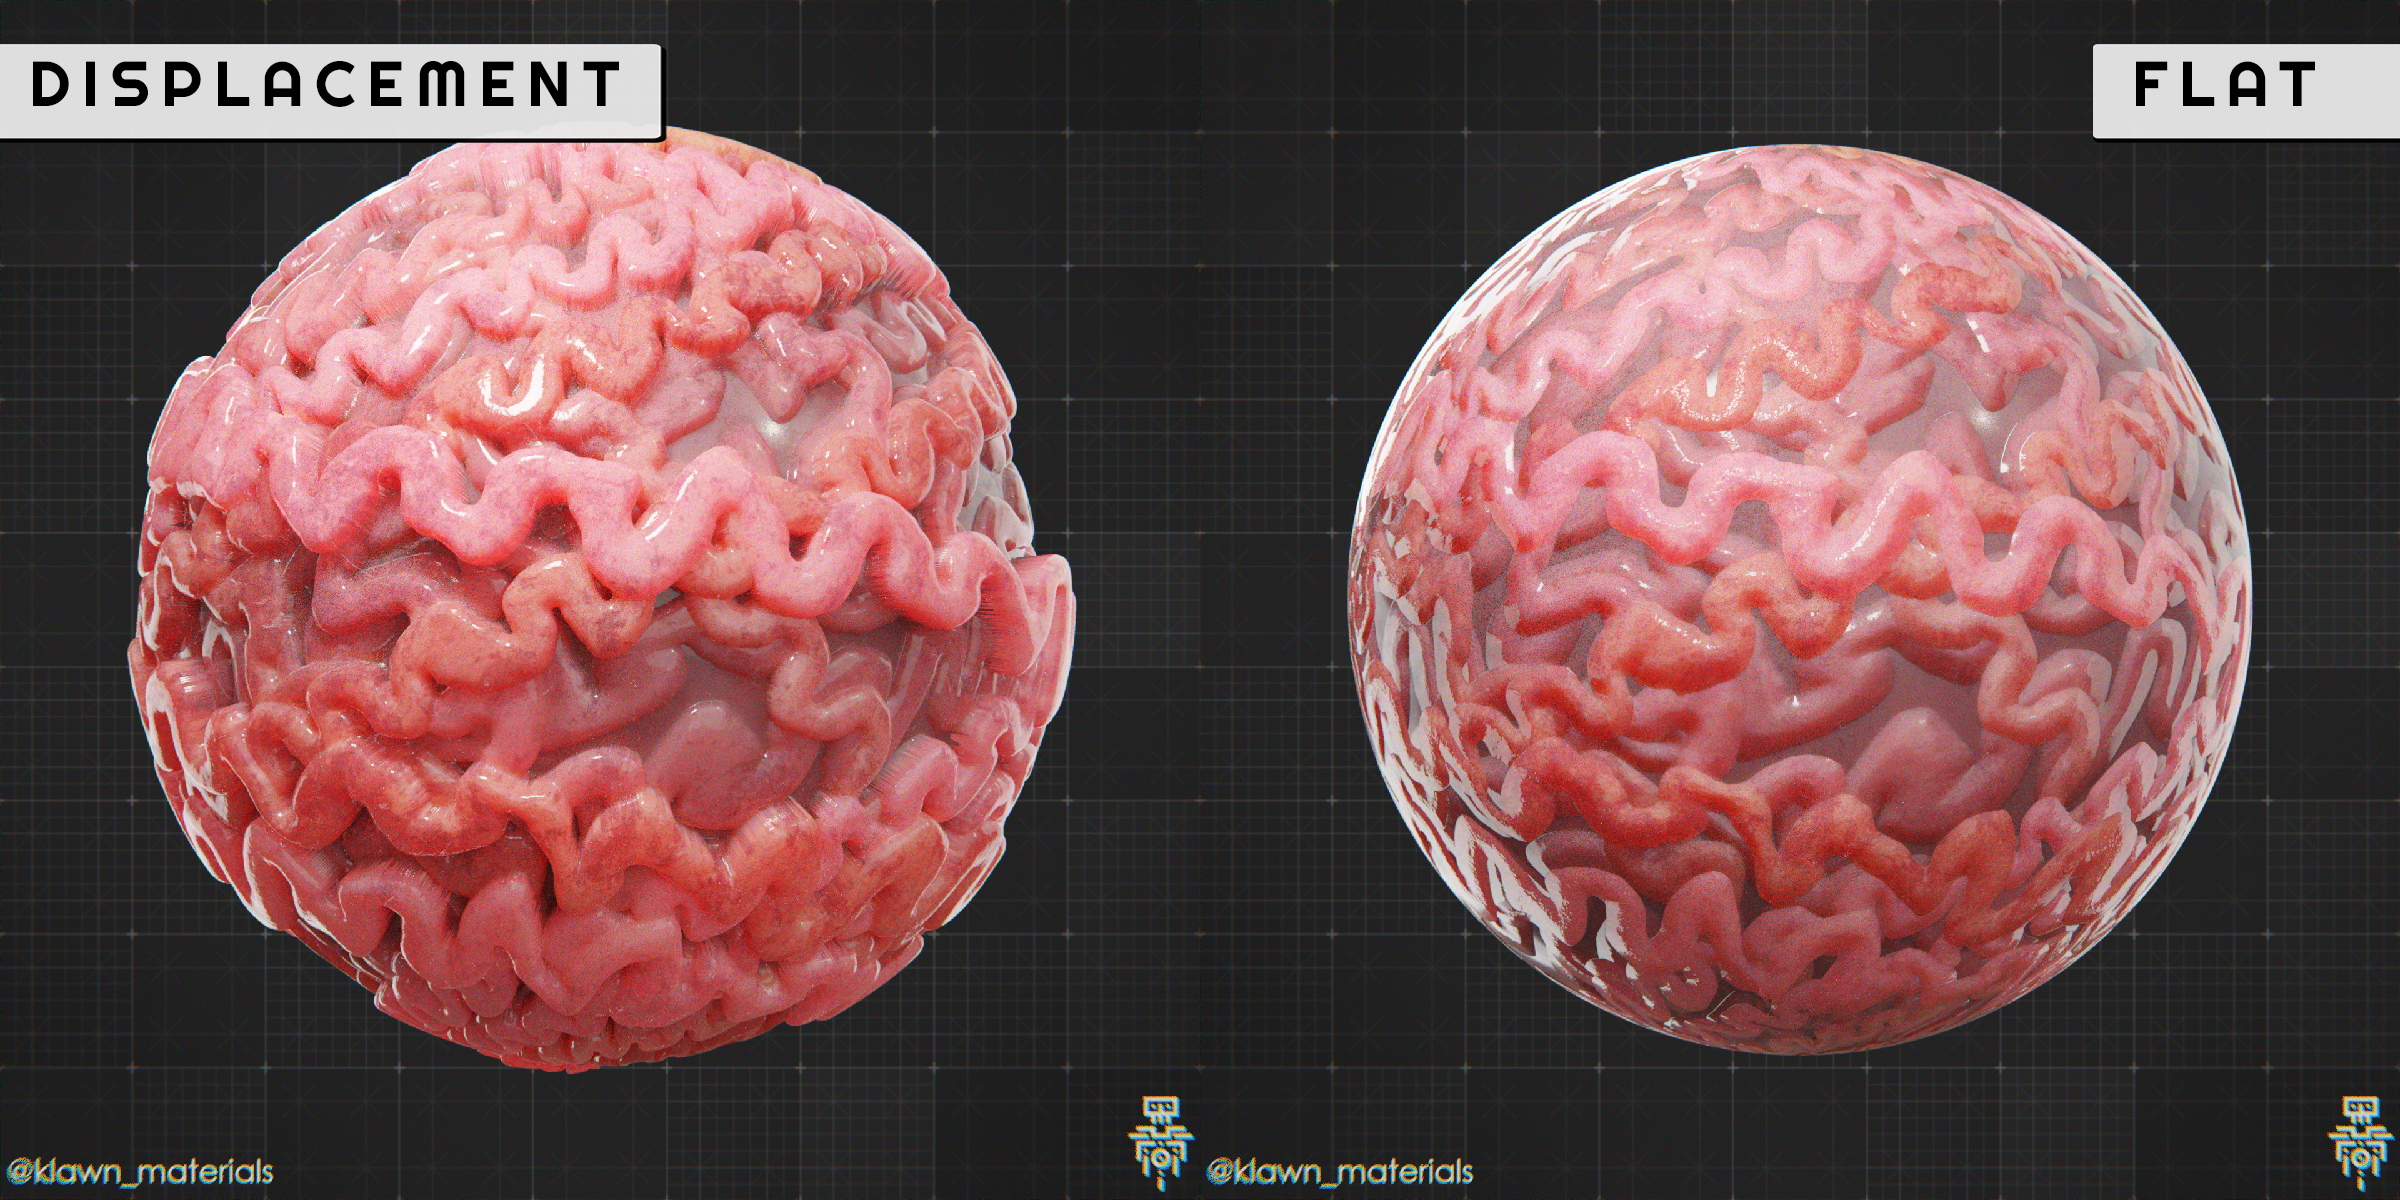
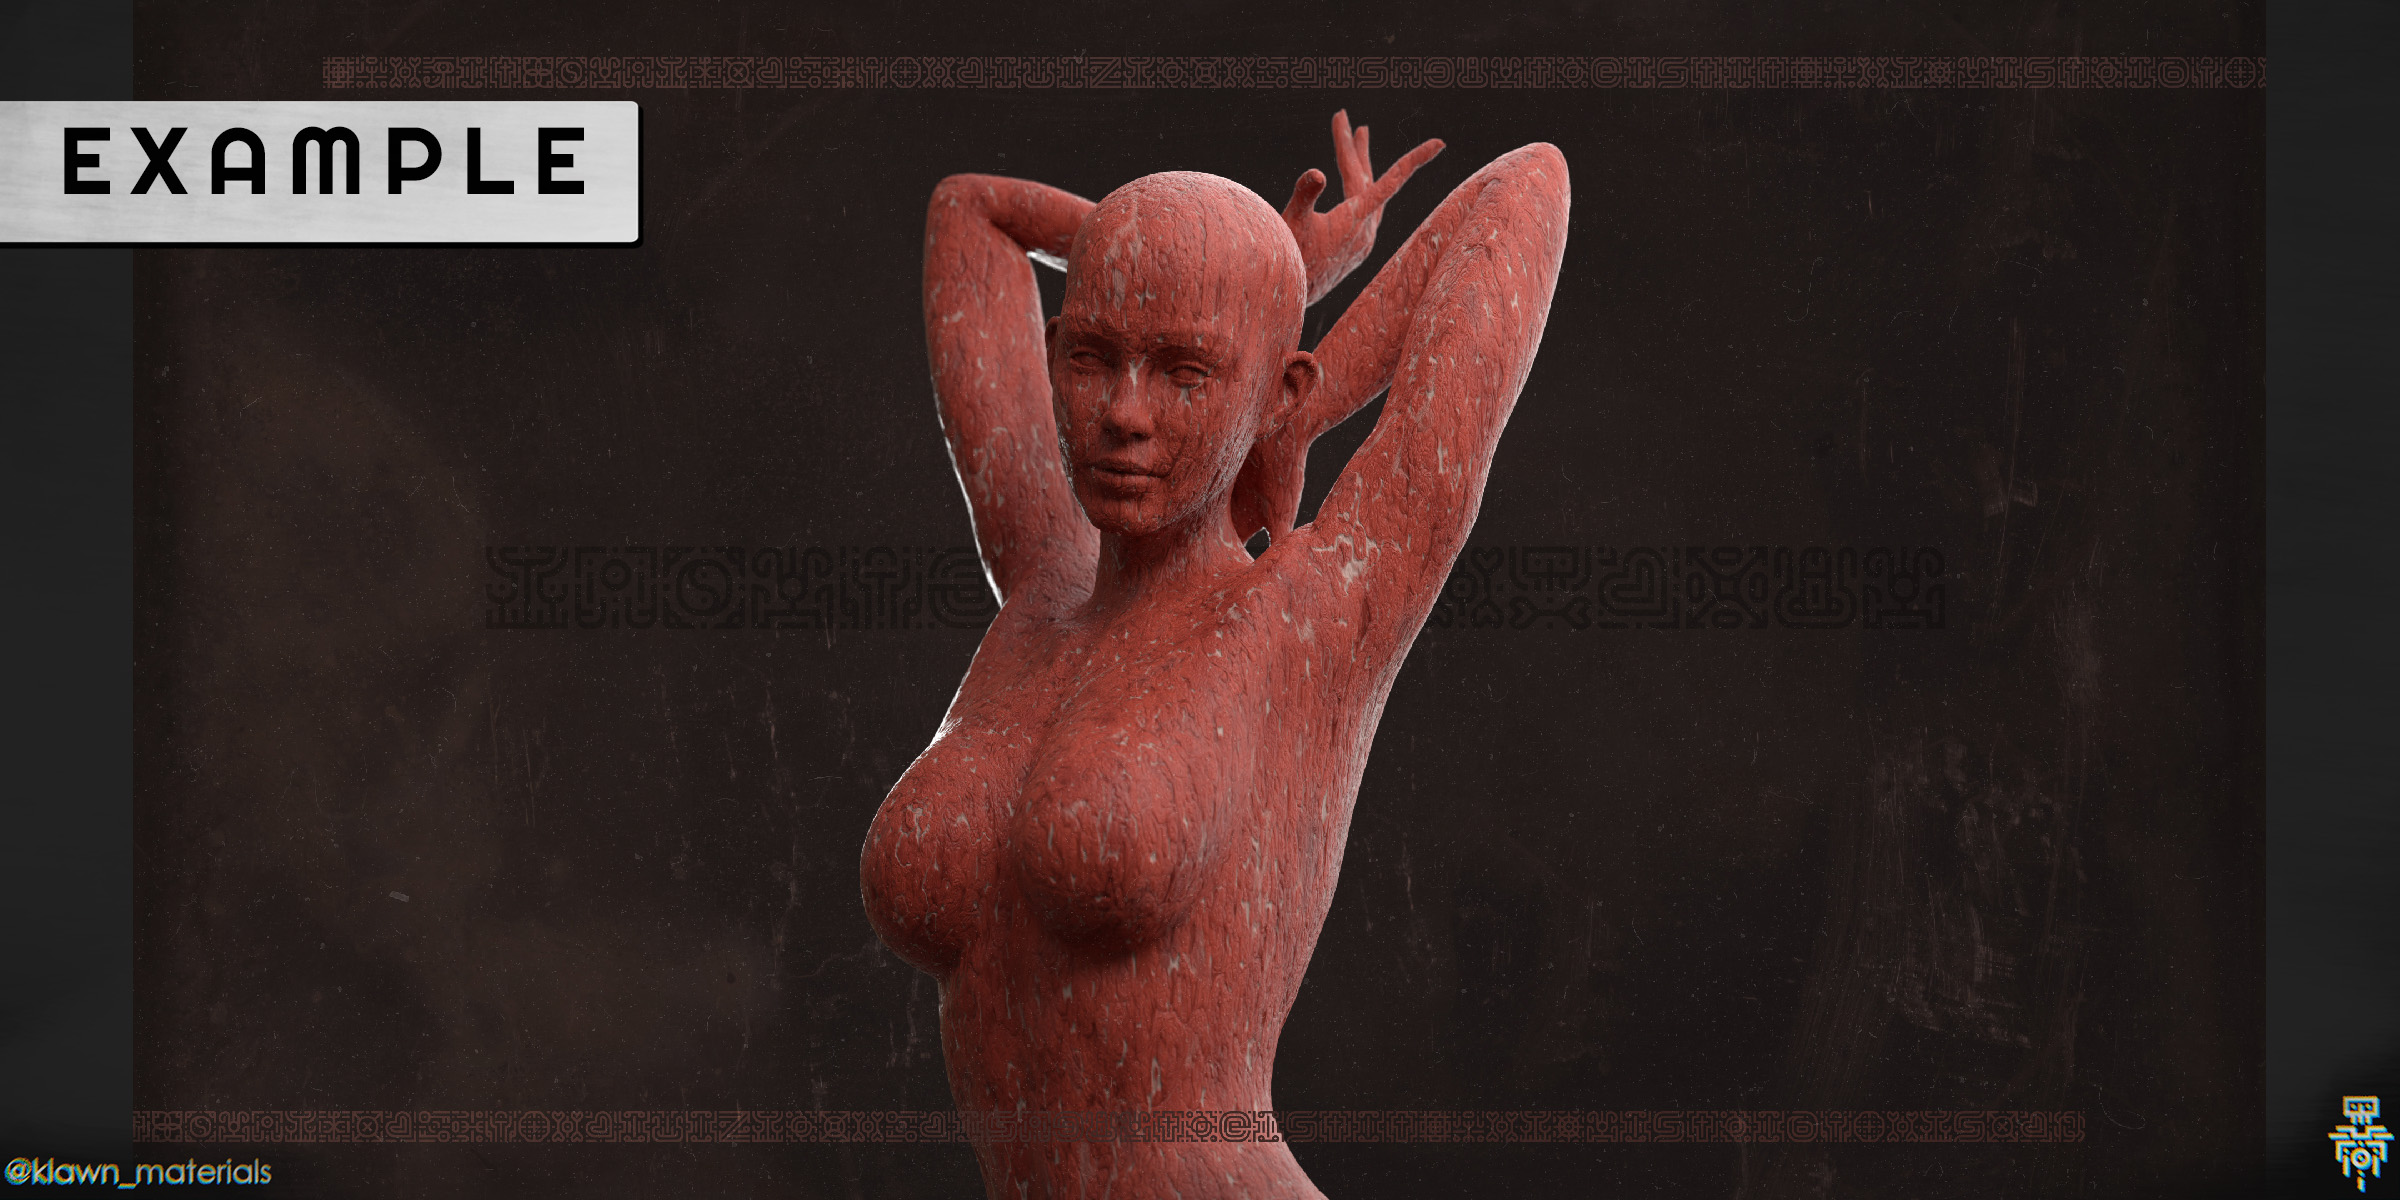
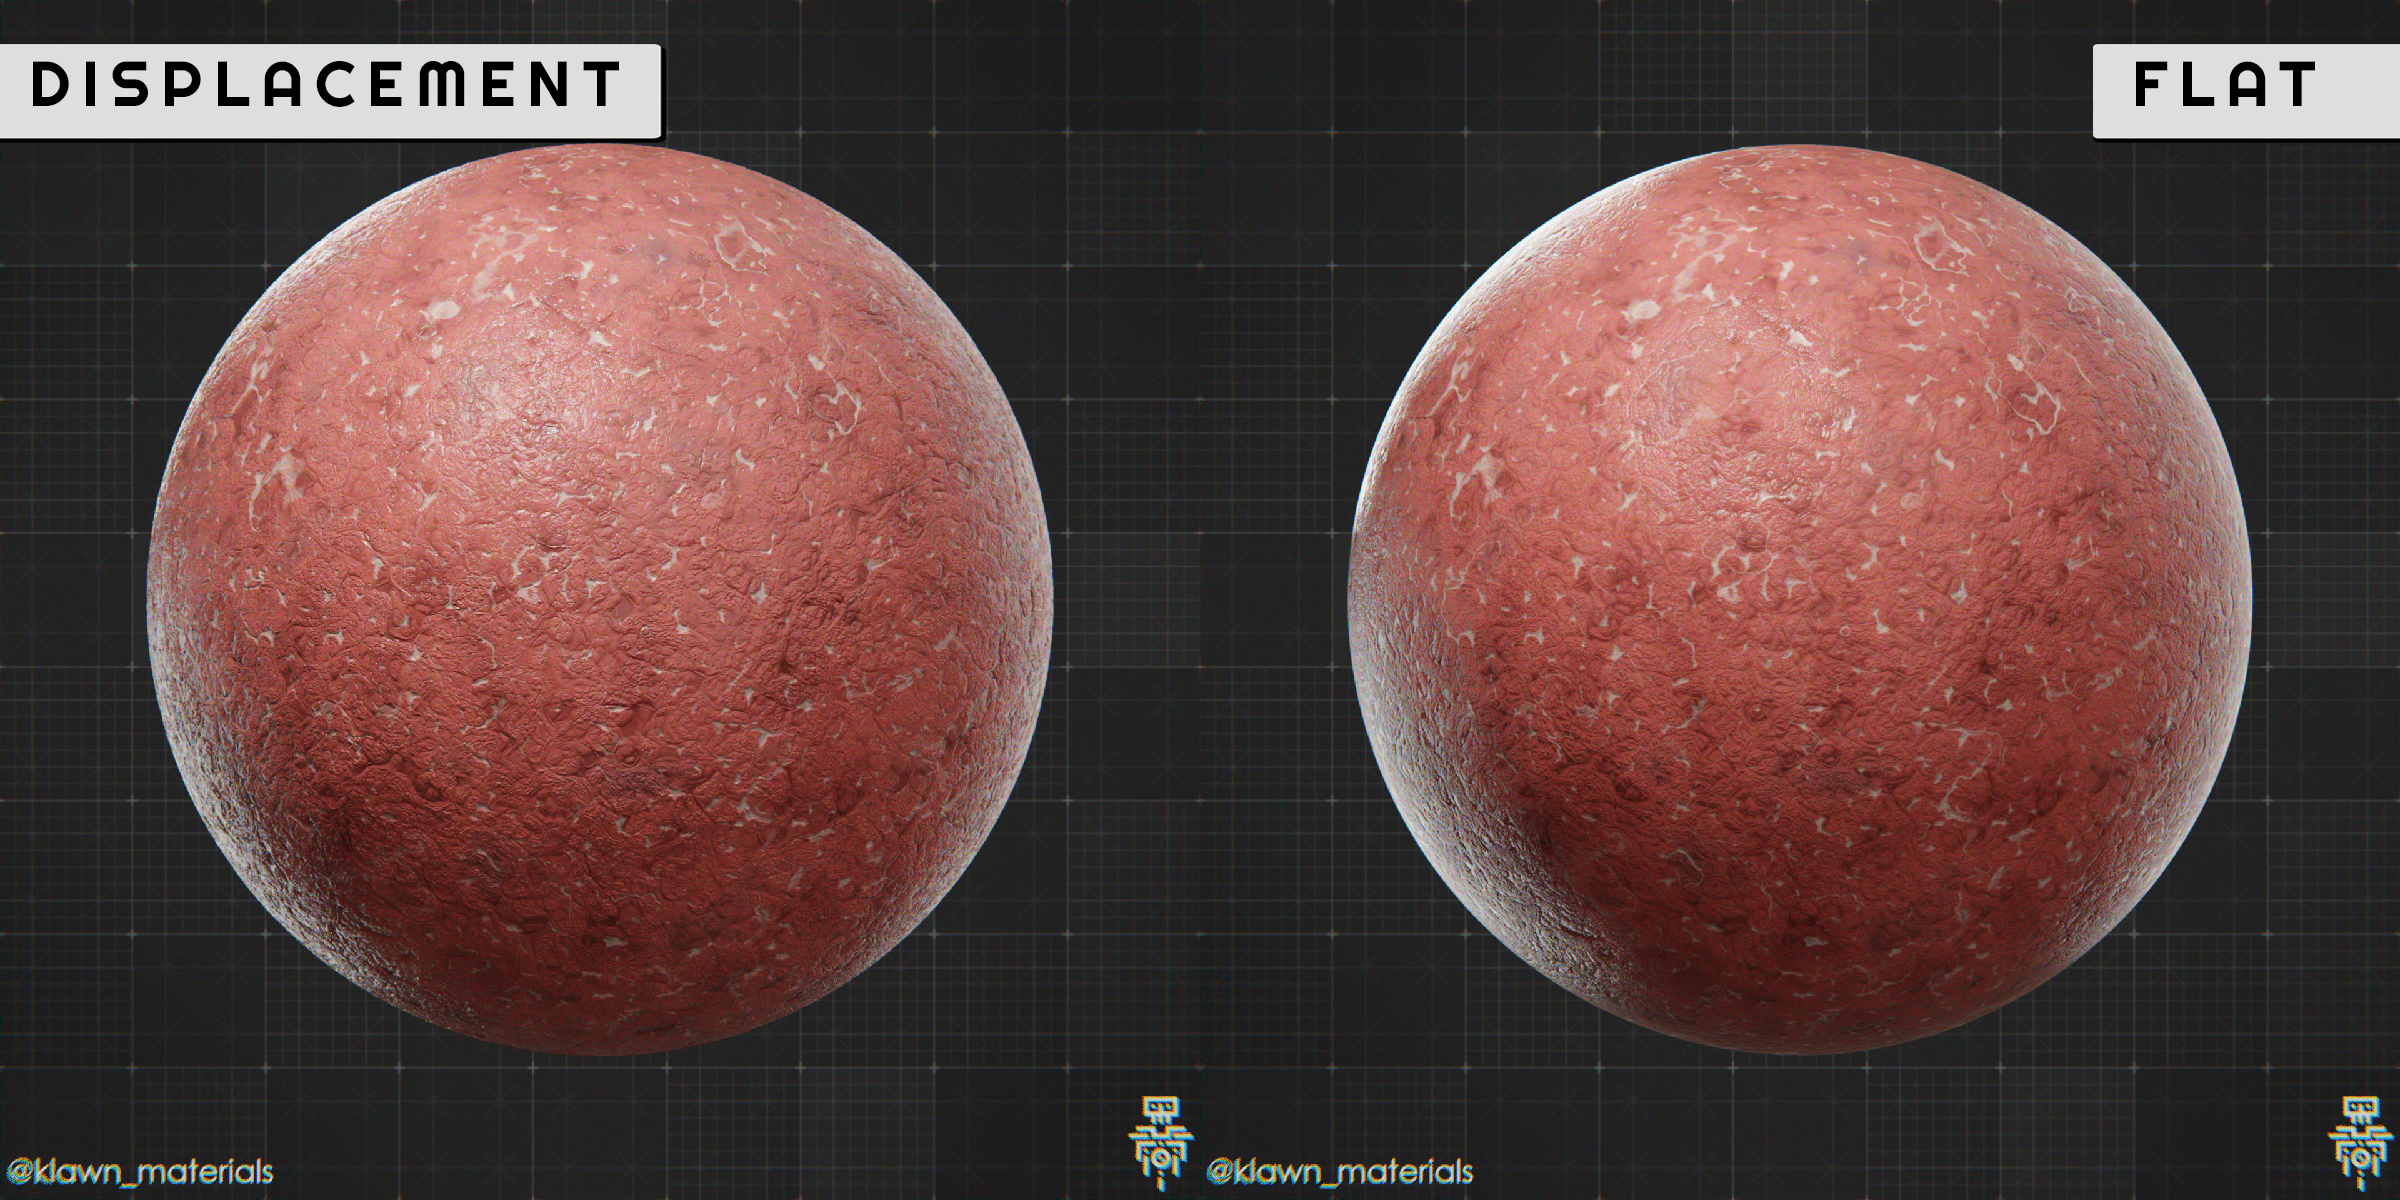
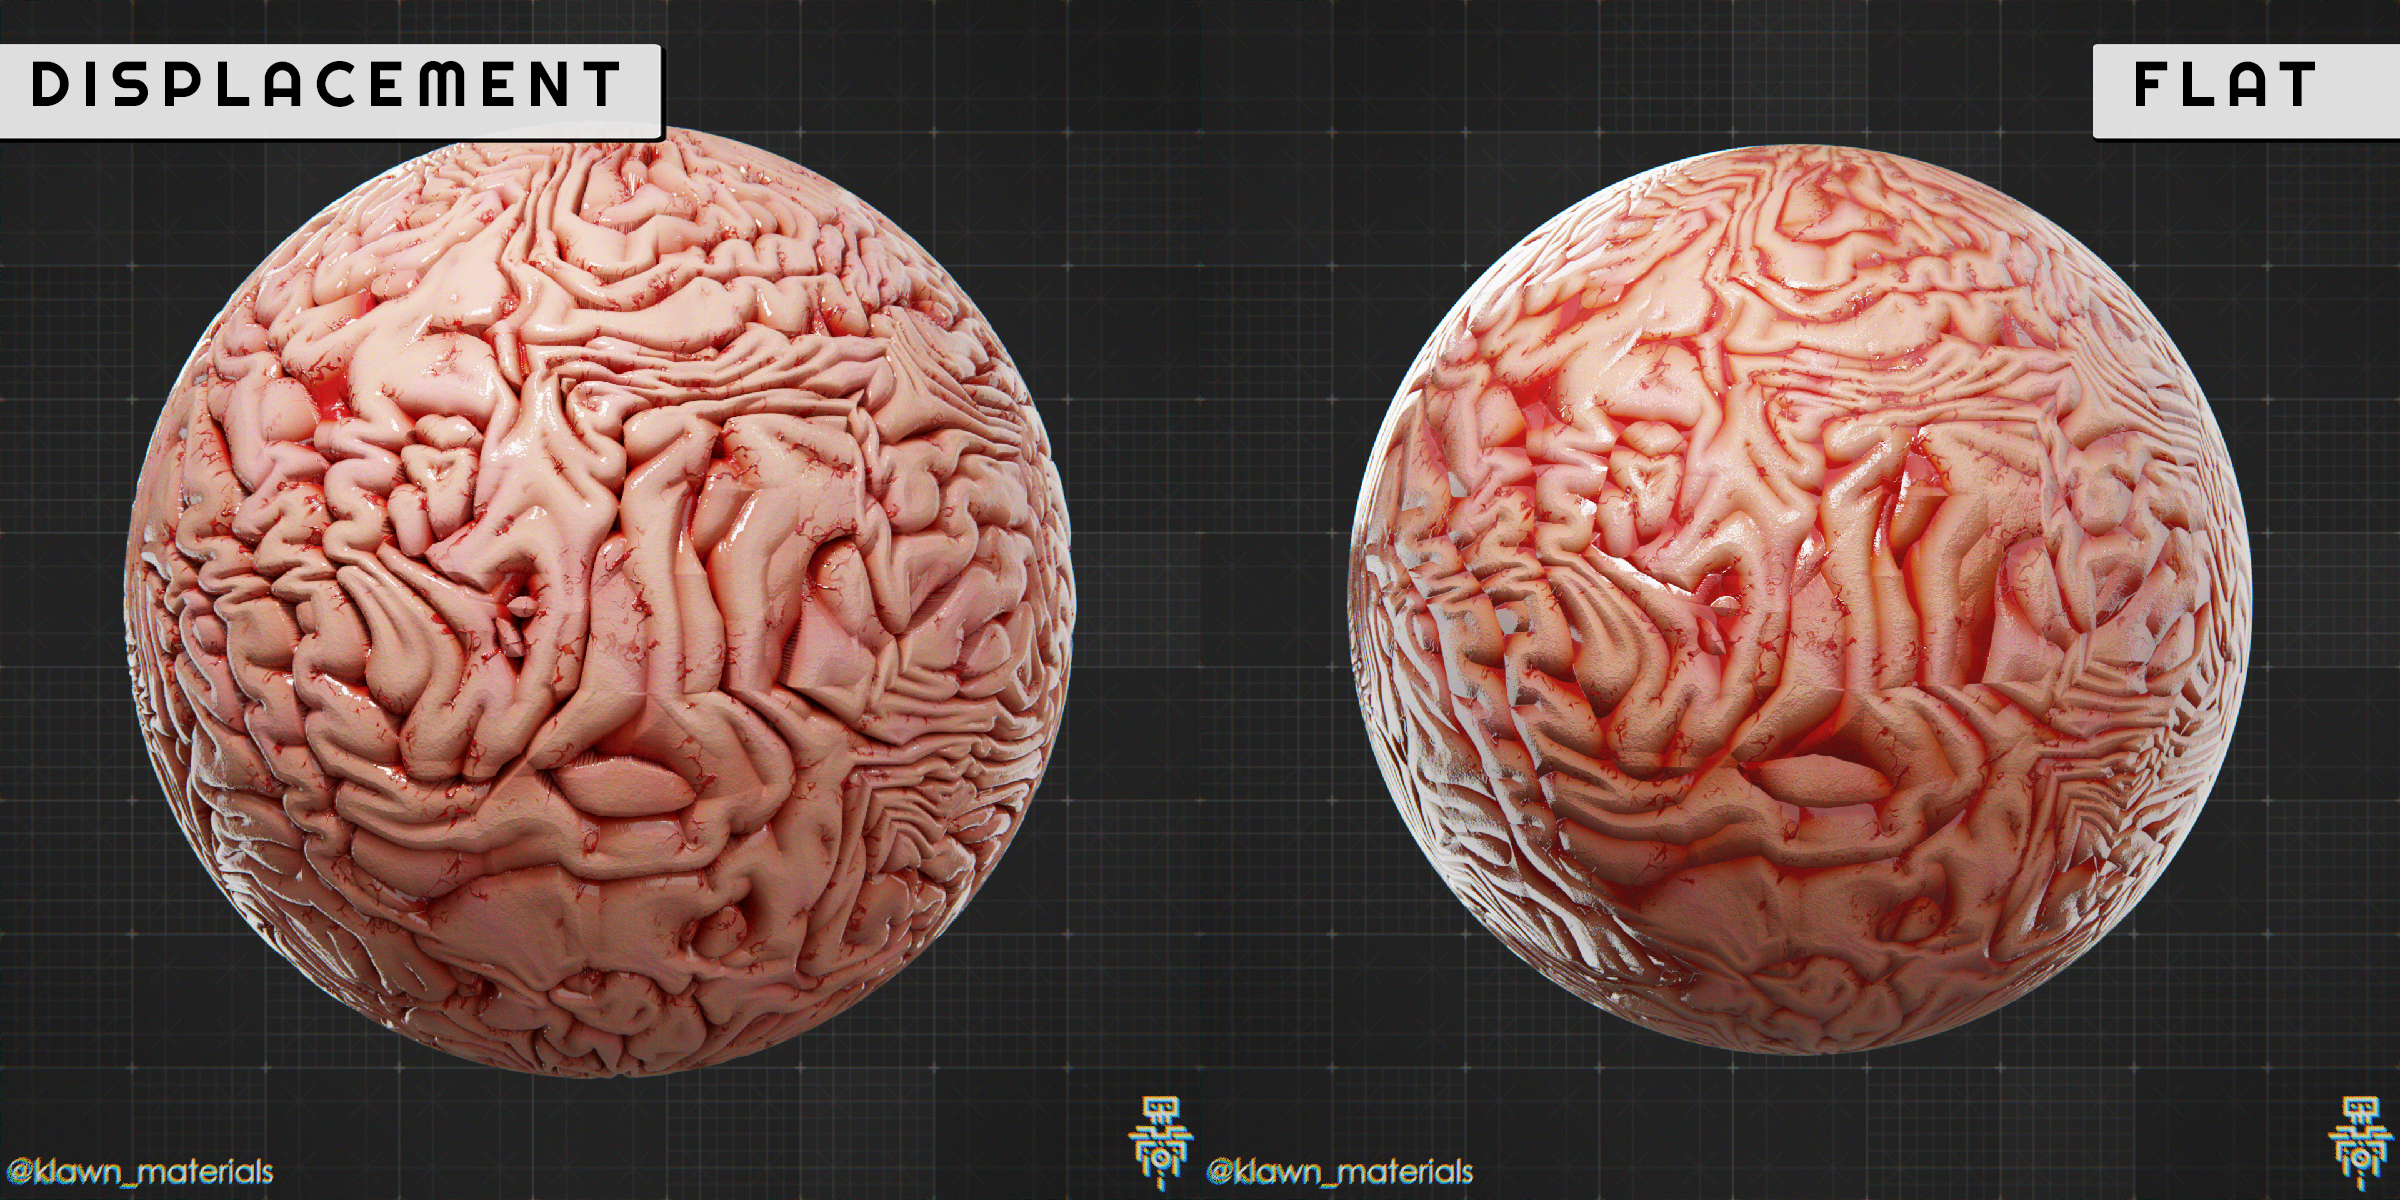
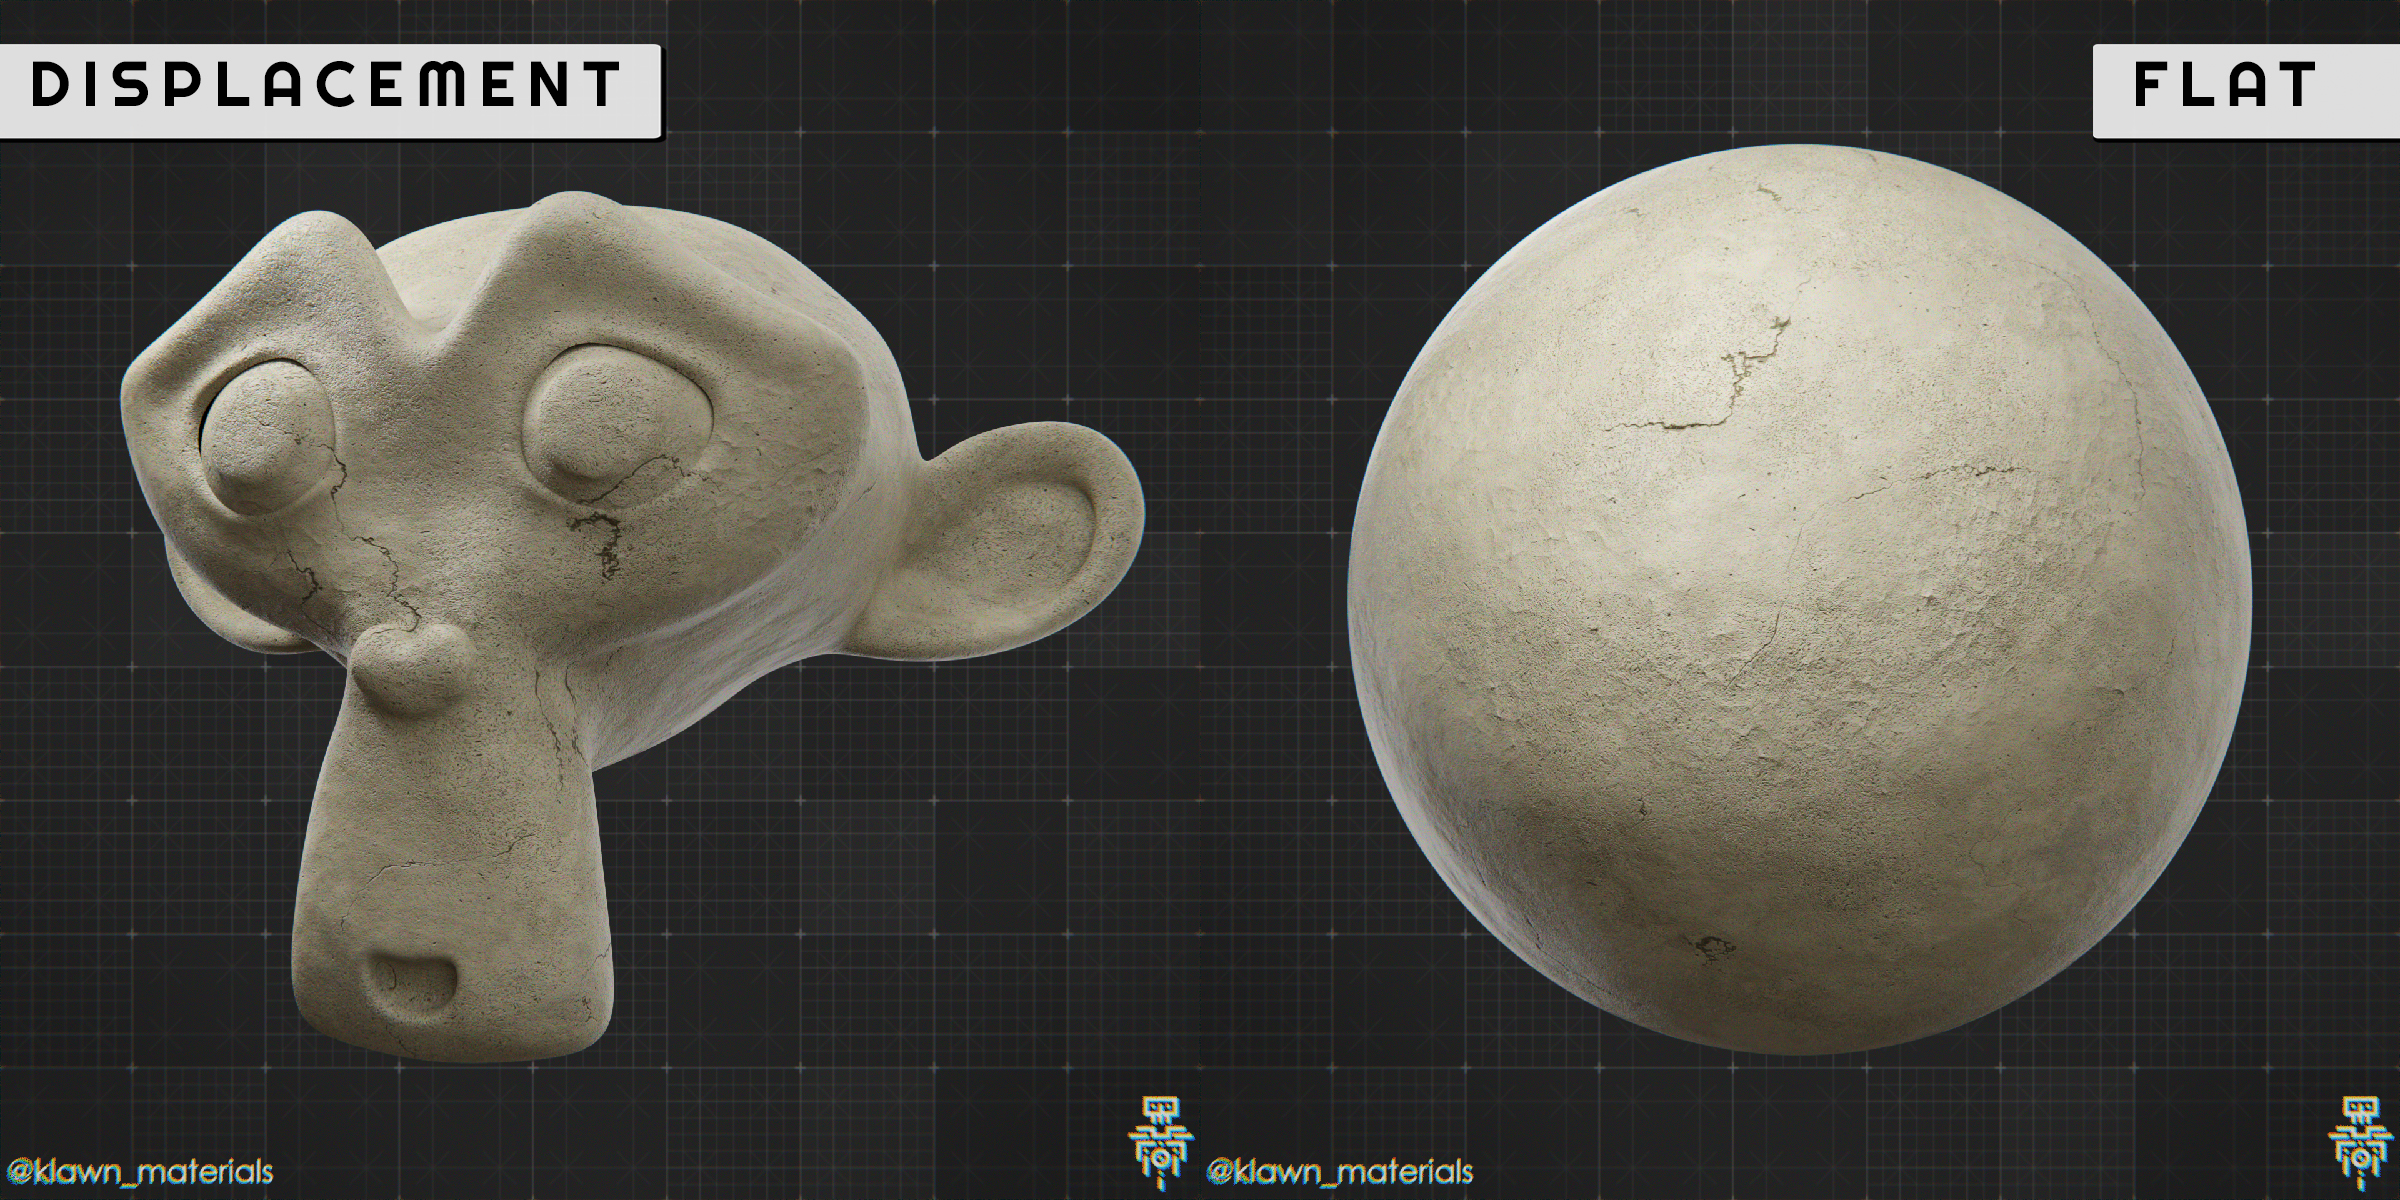
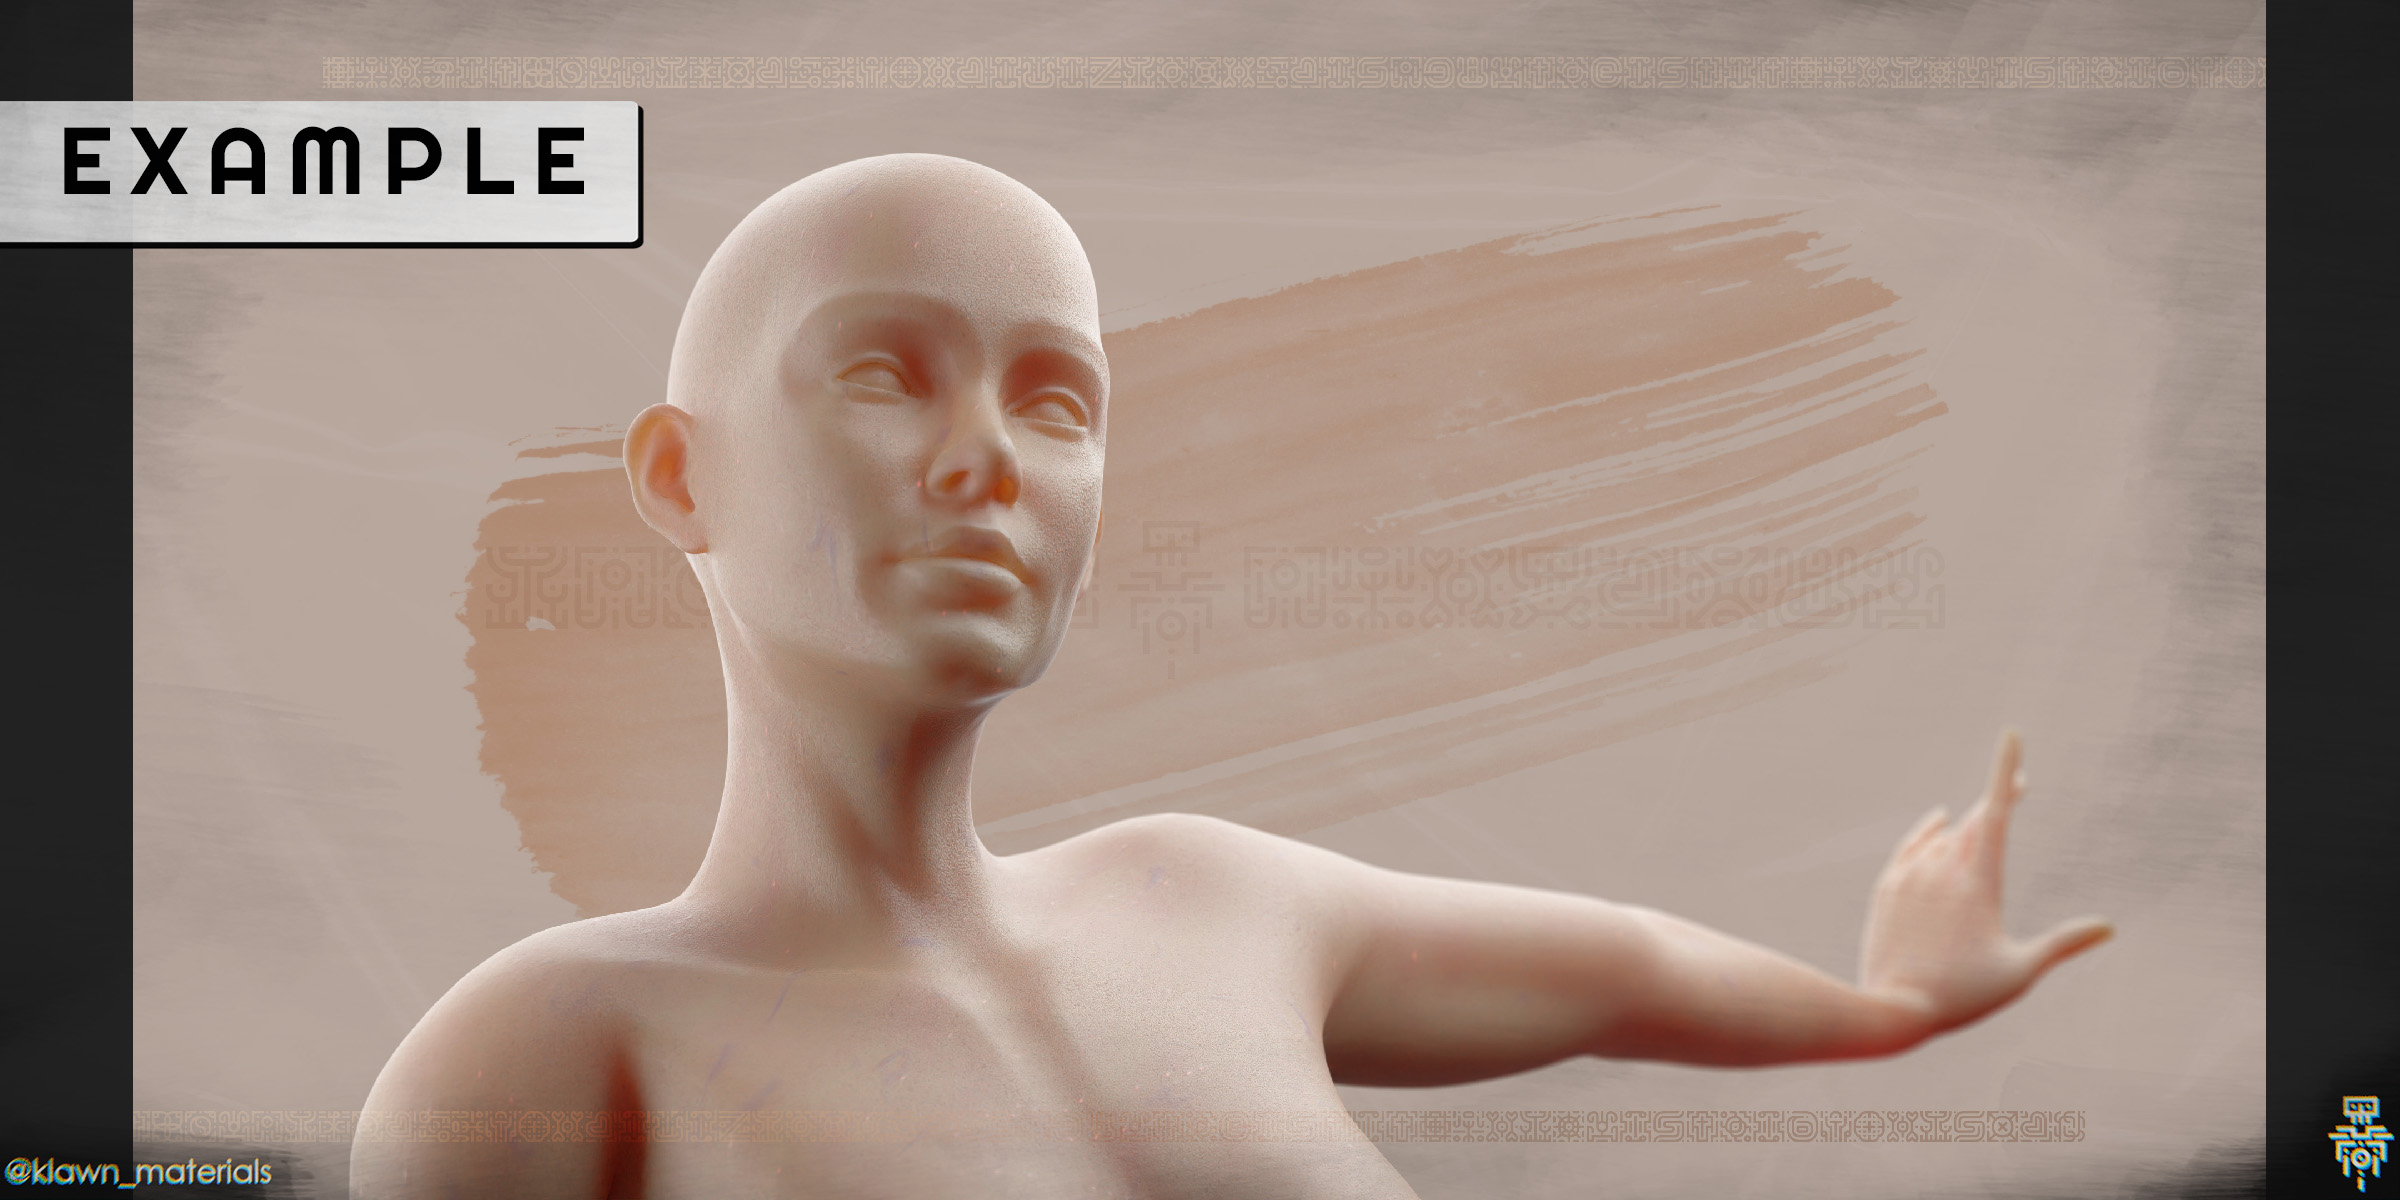
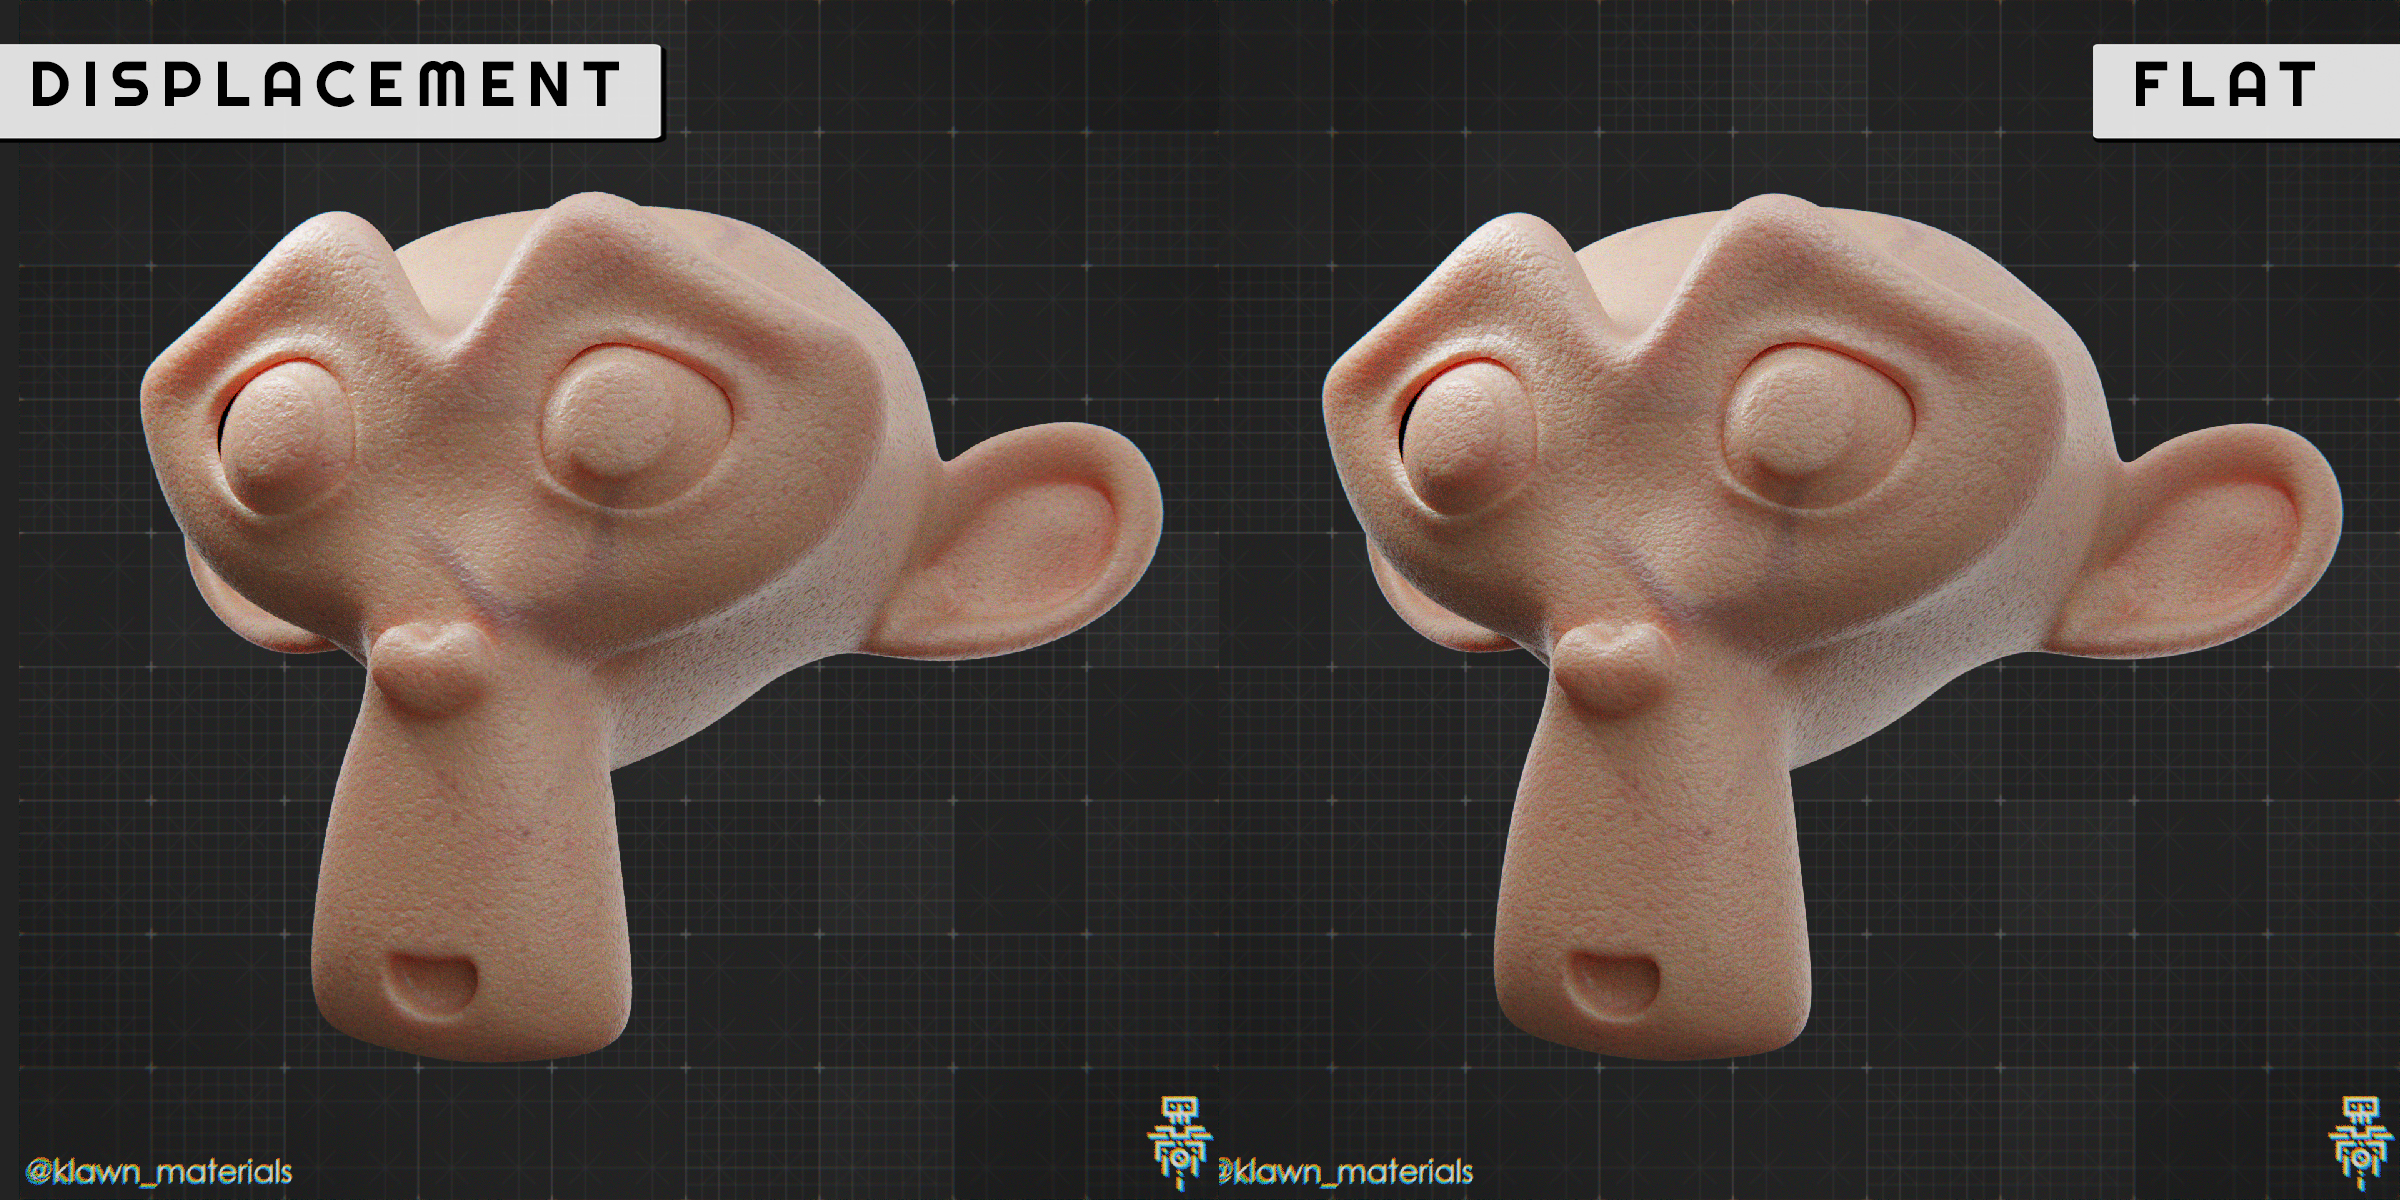
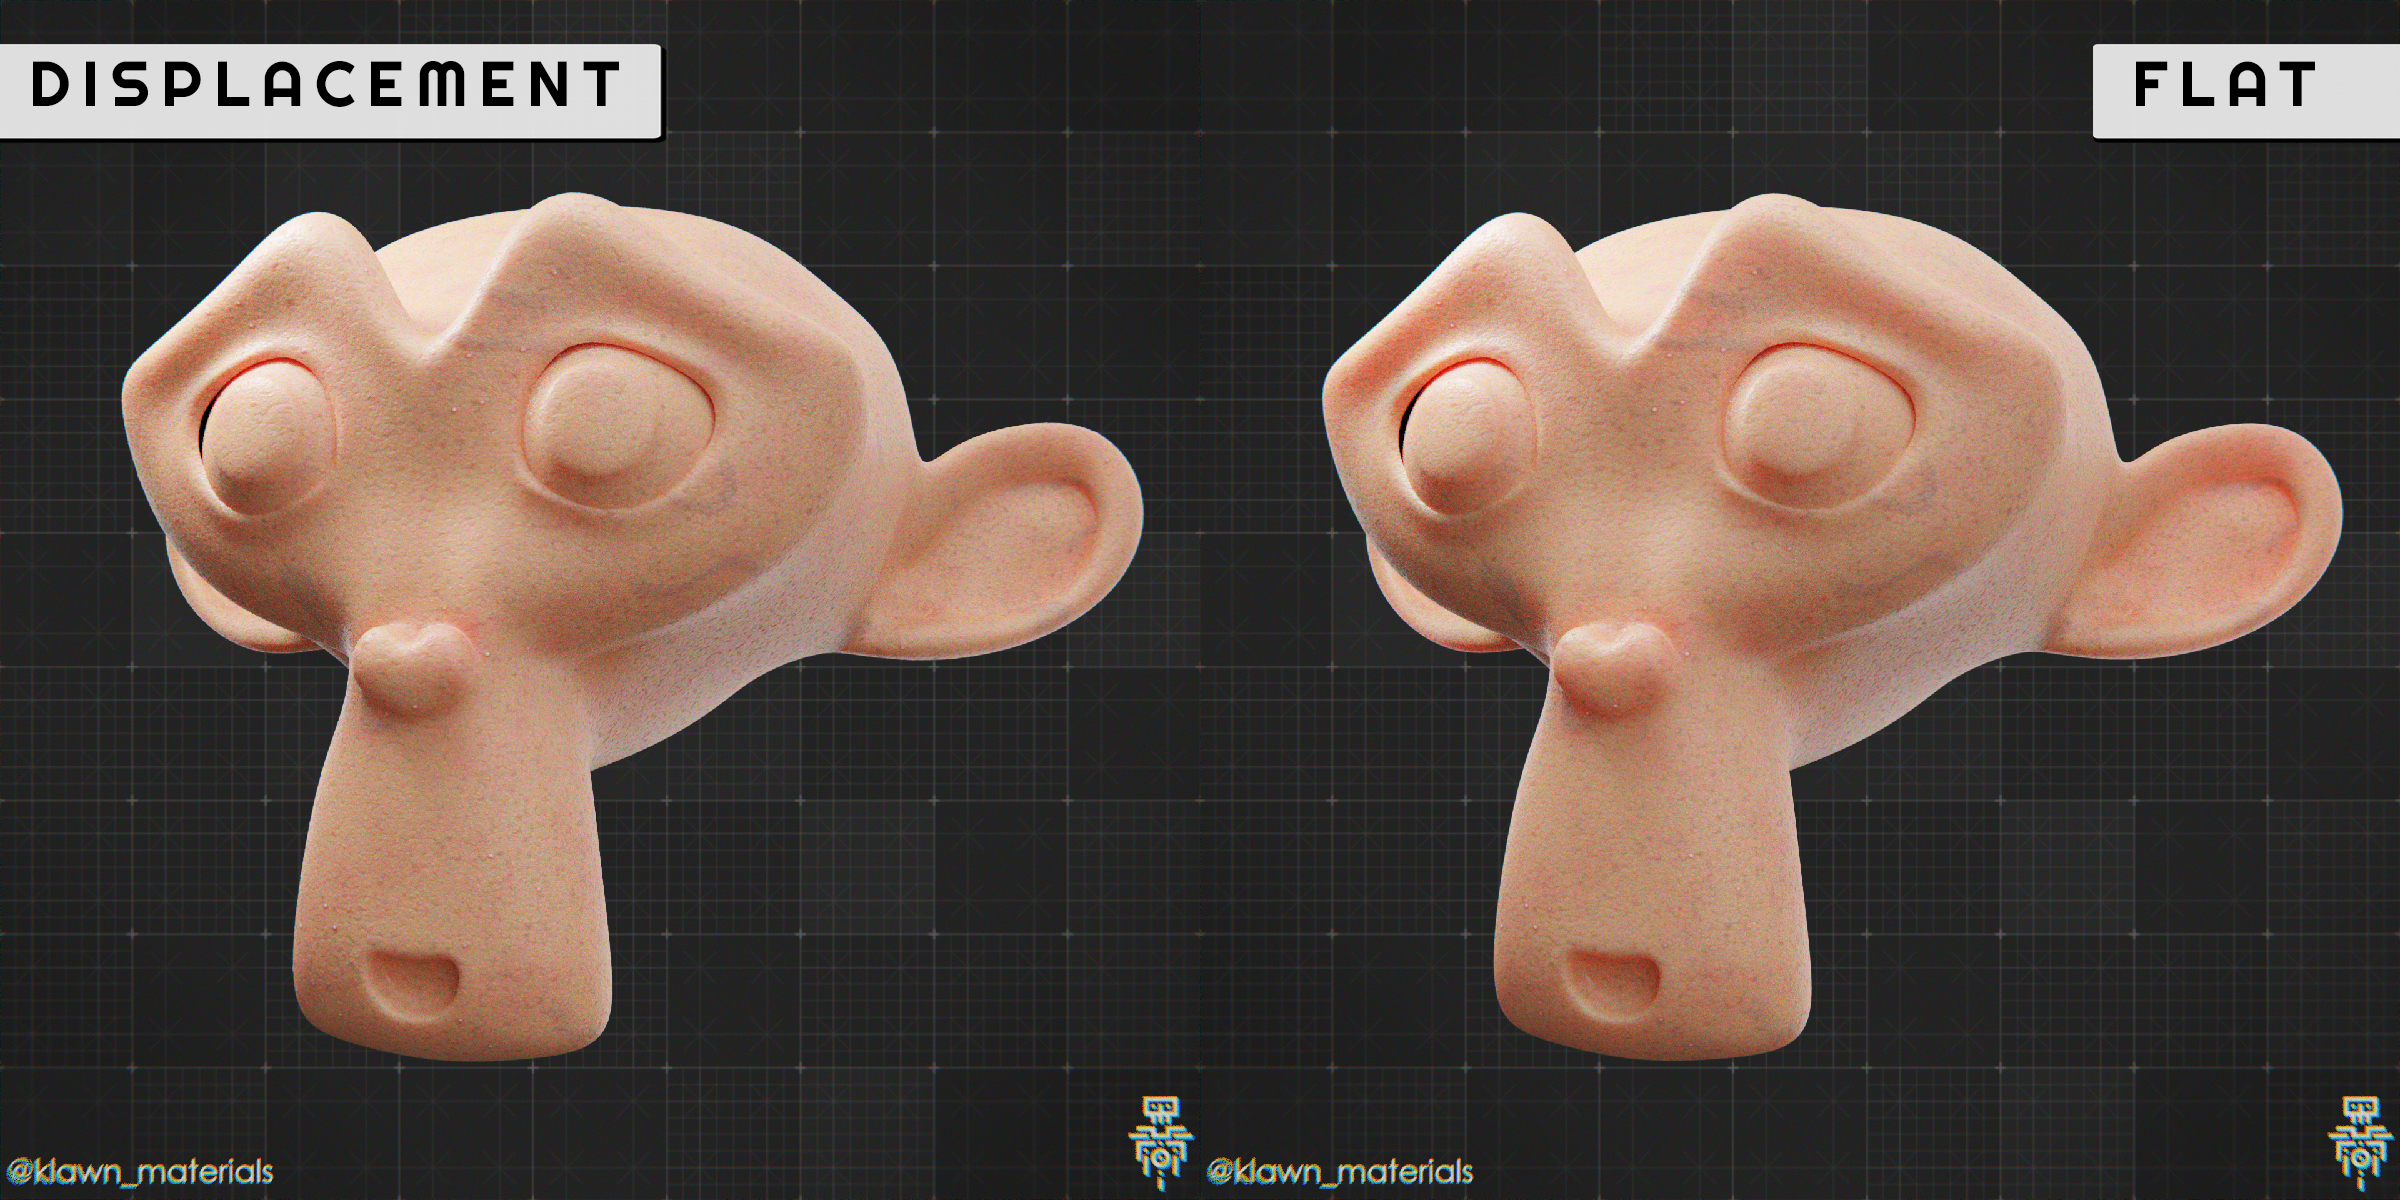
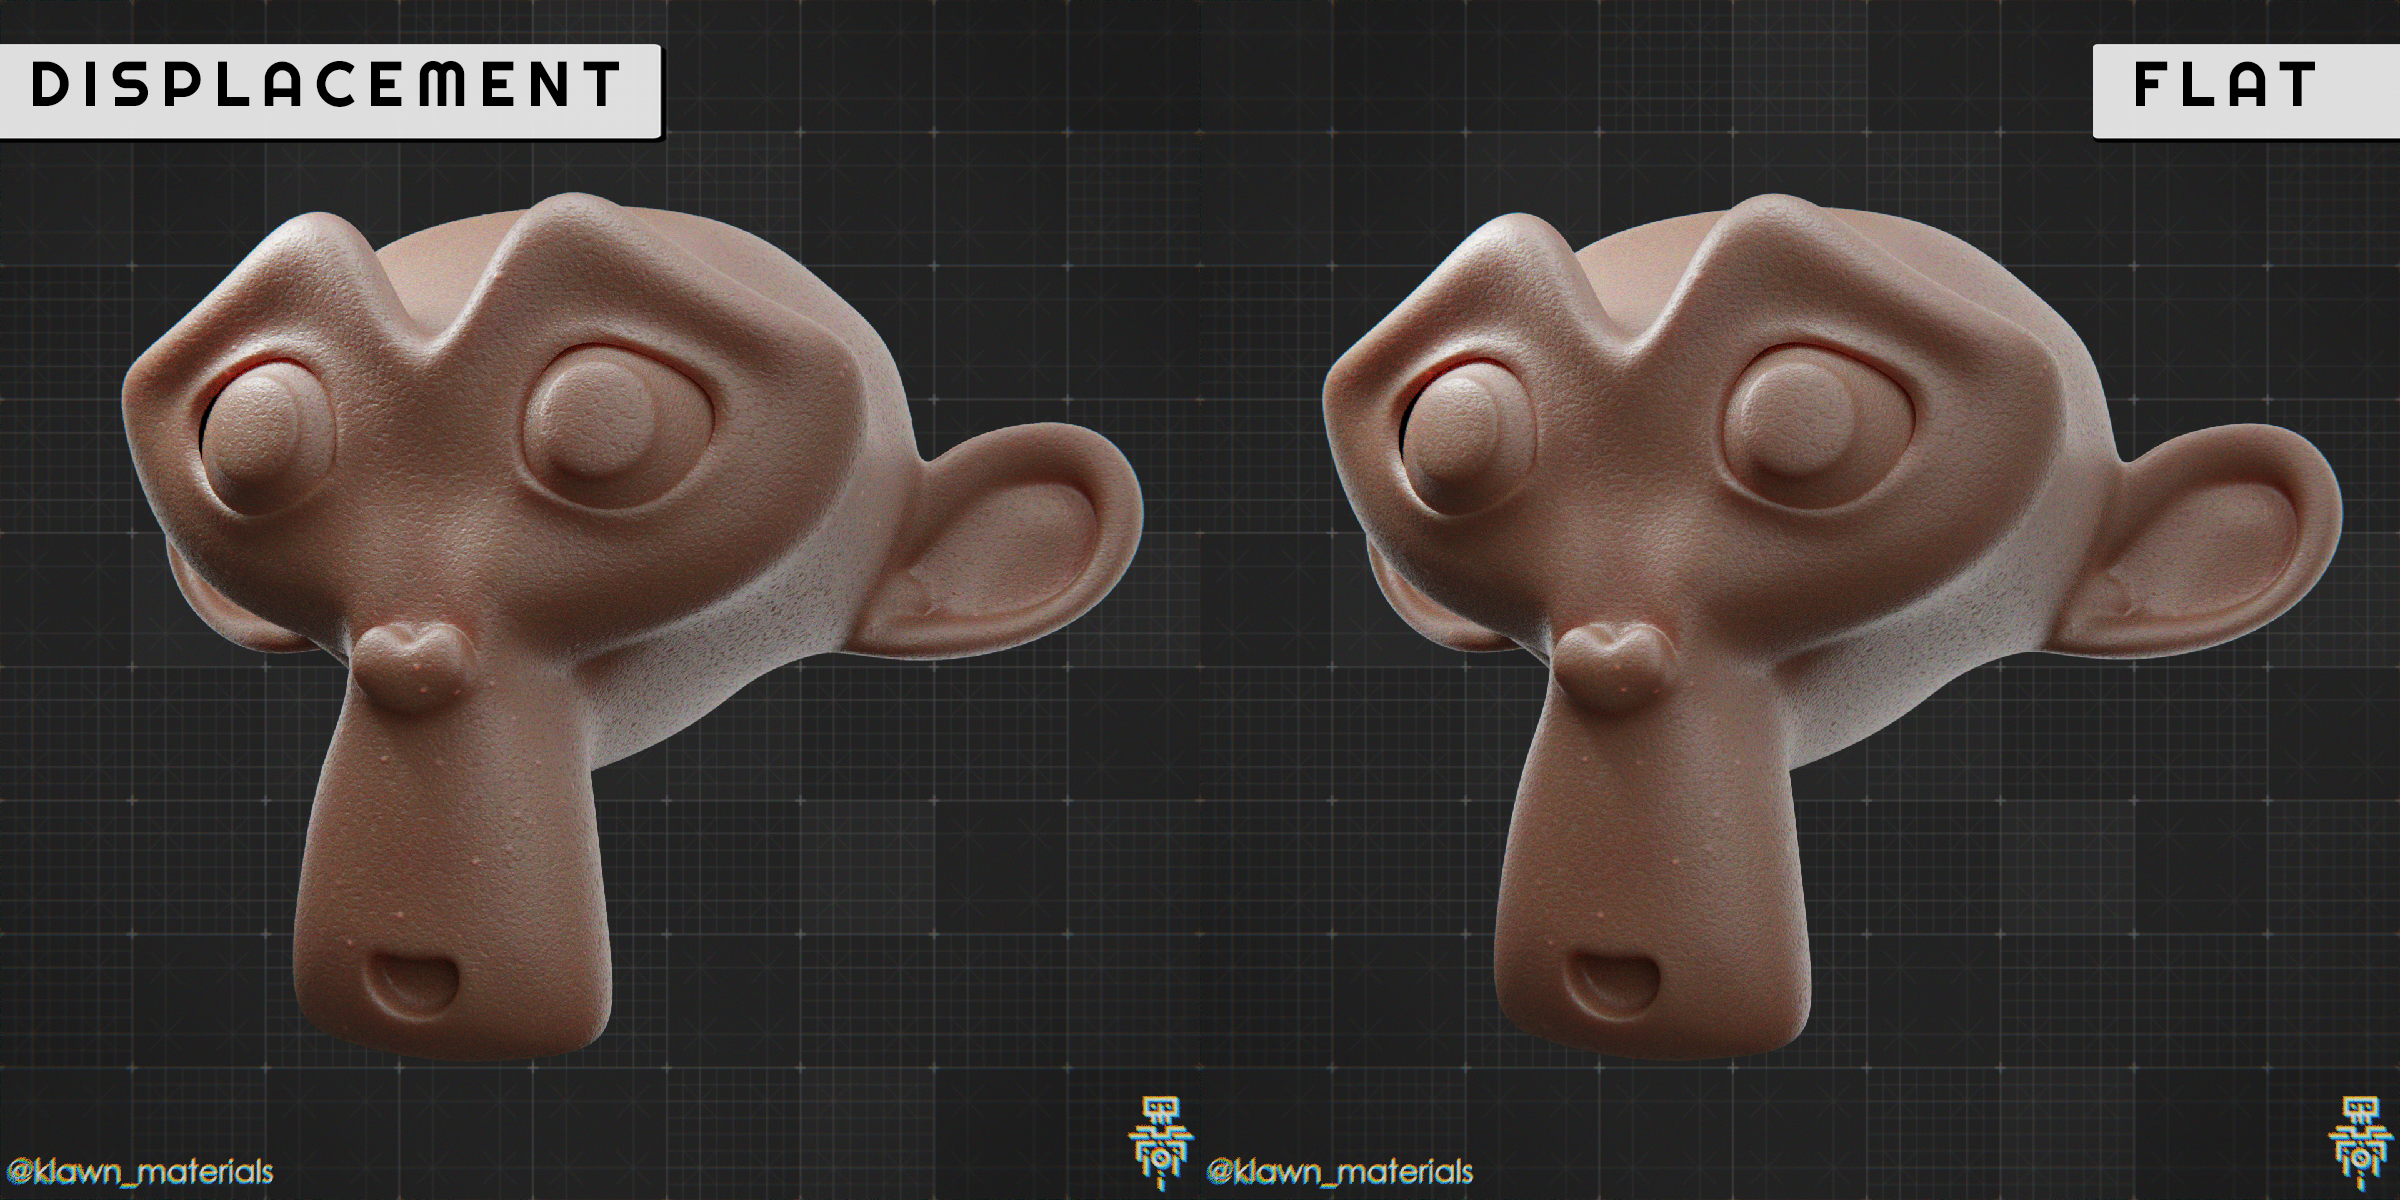
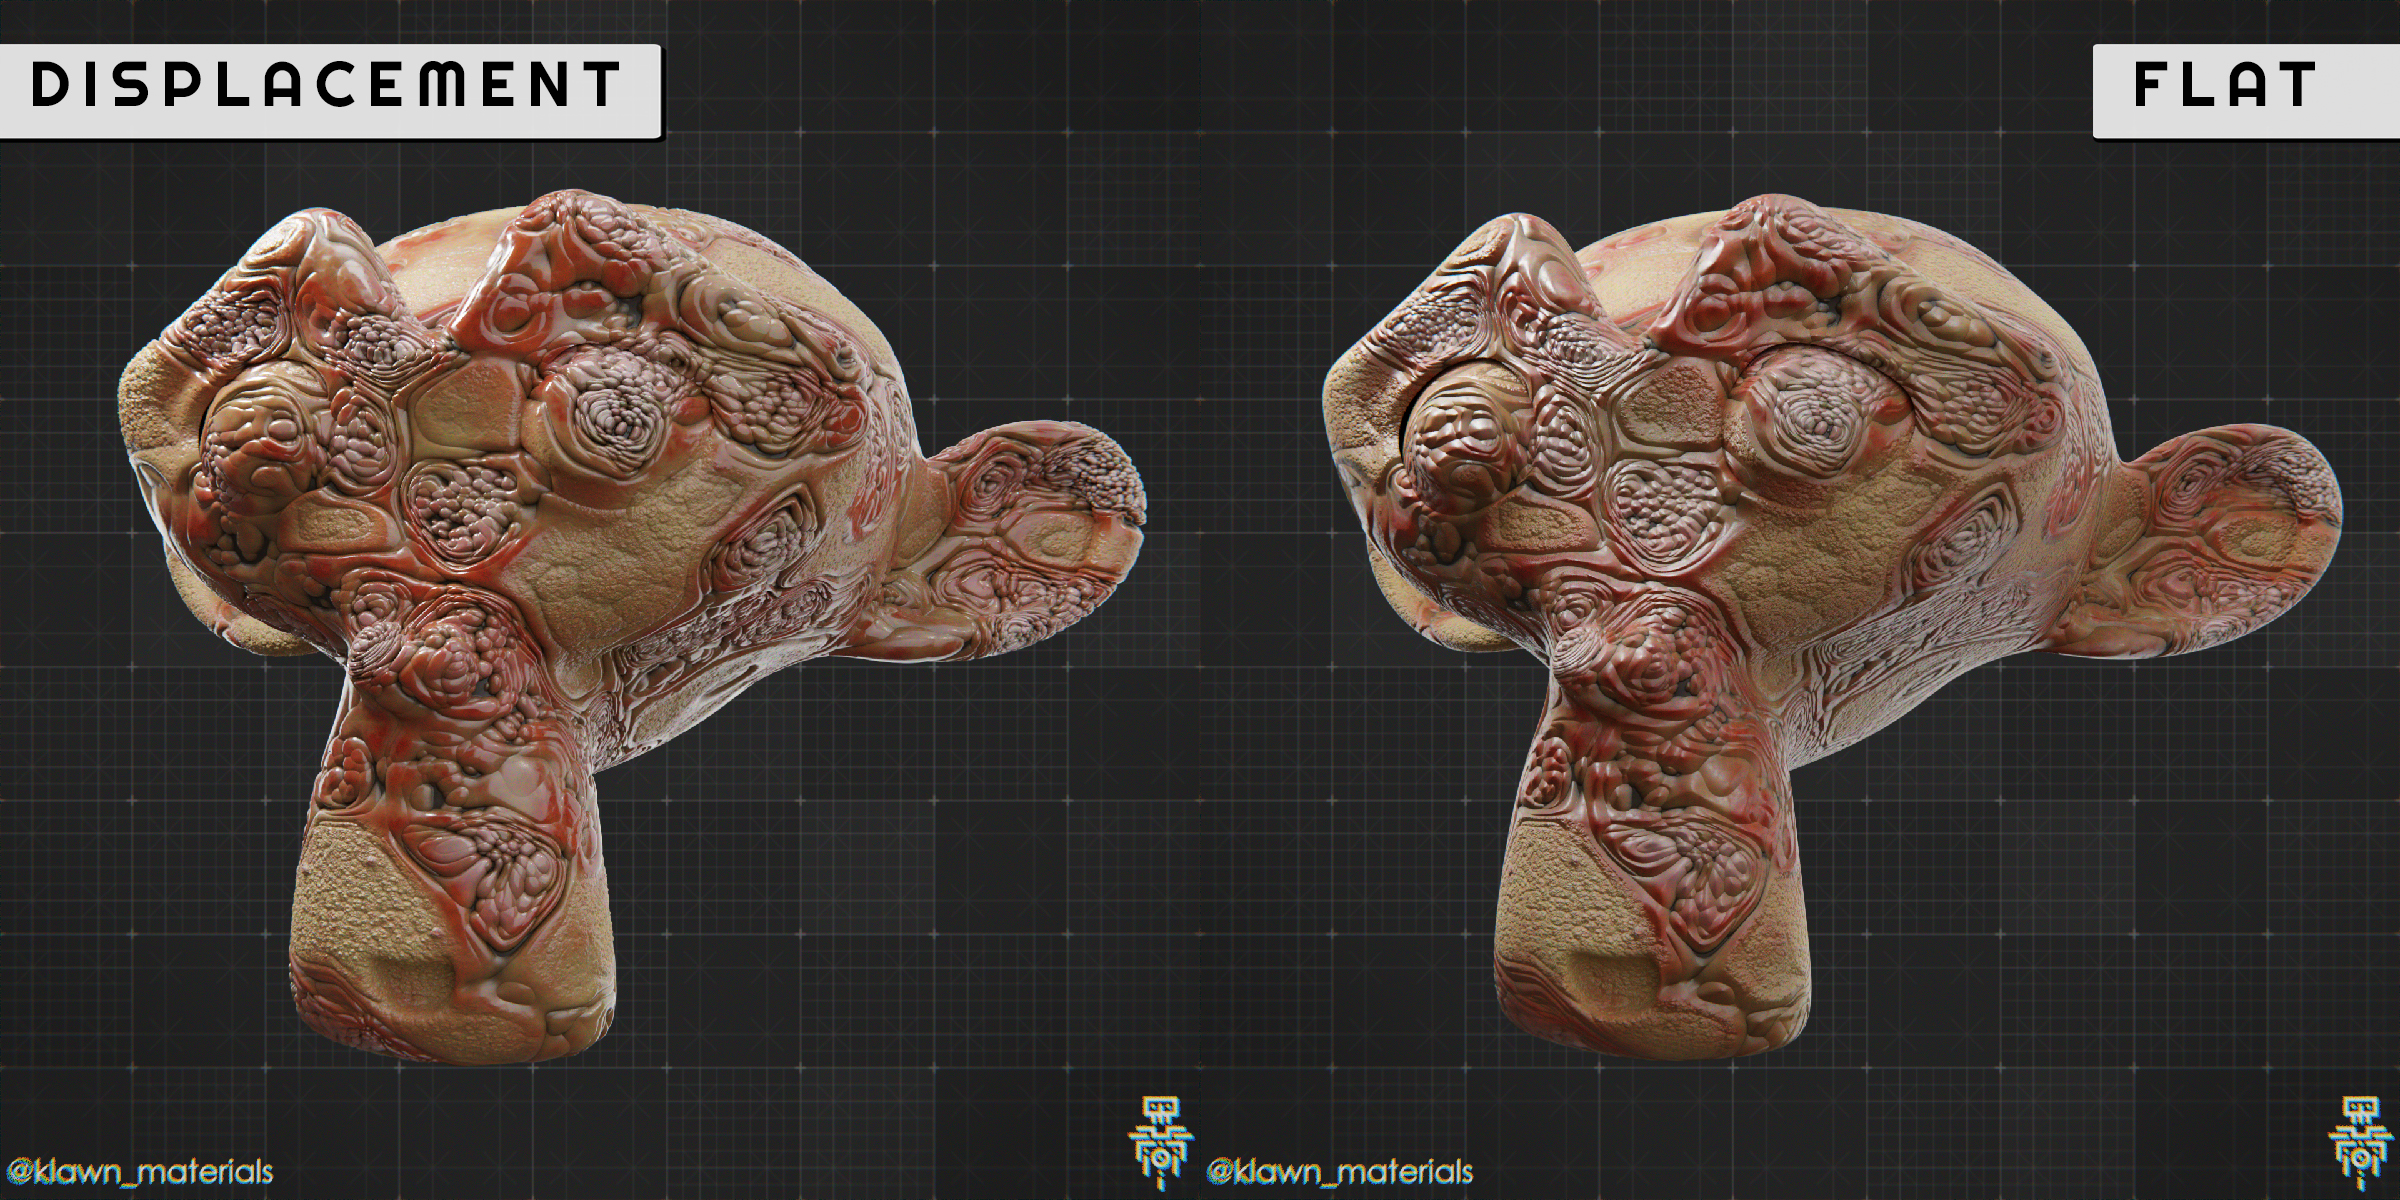
Procedural Anatomical Materials
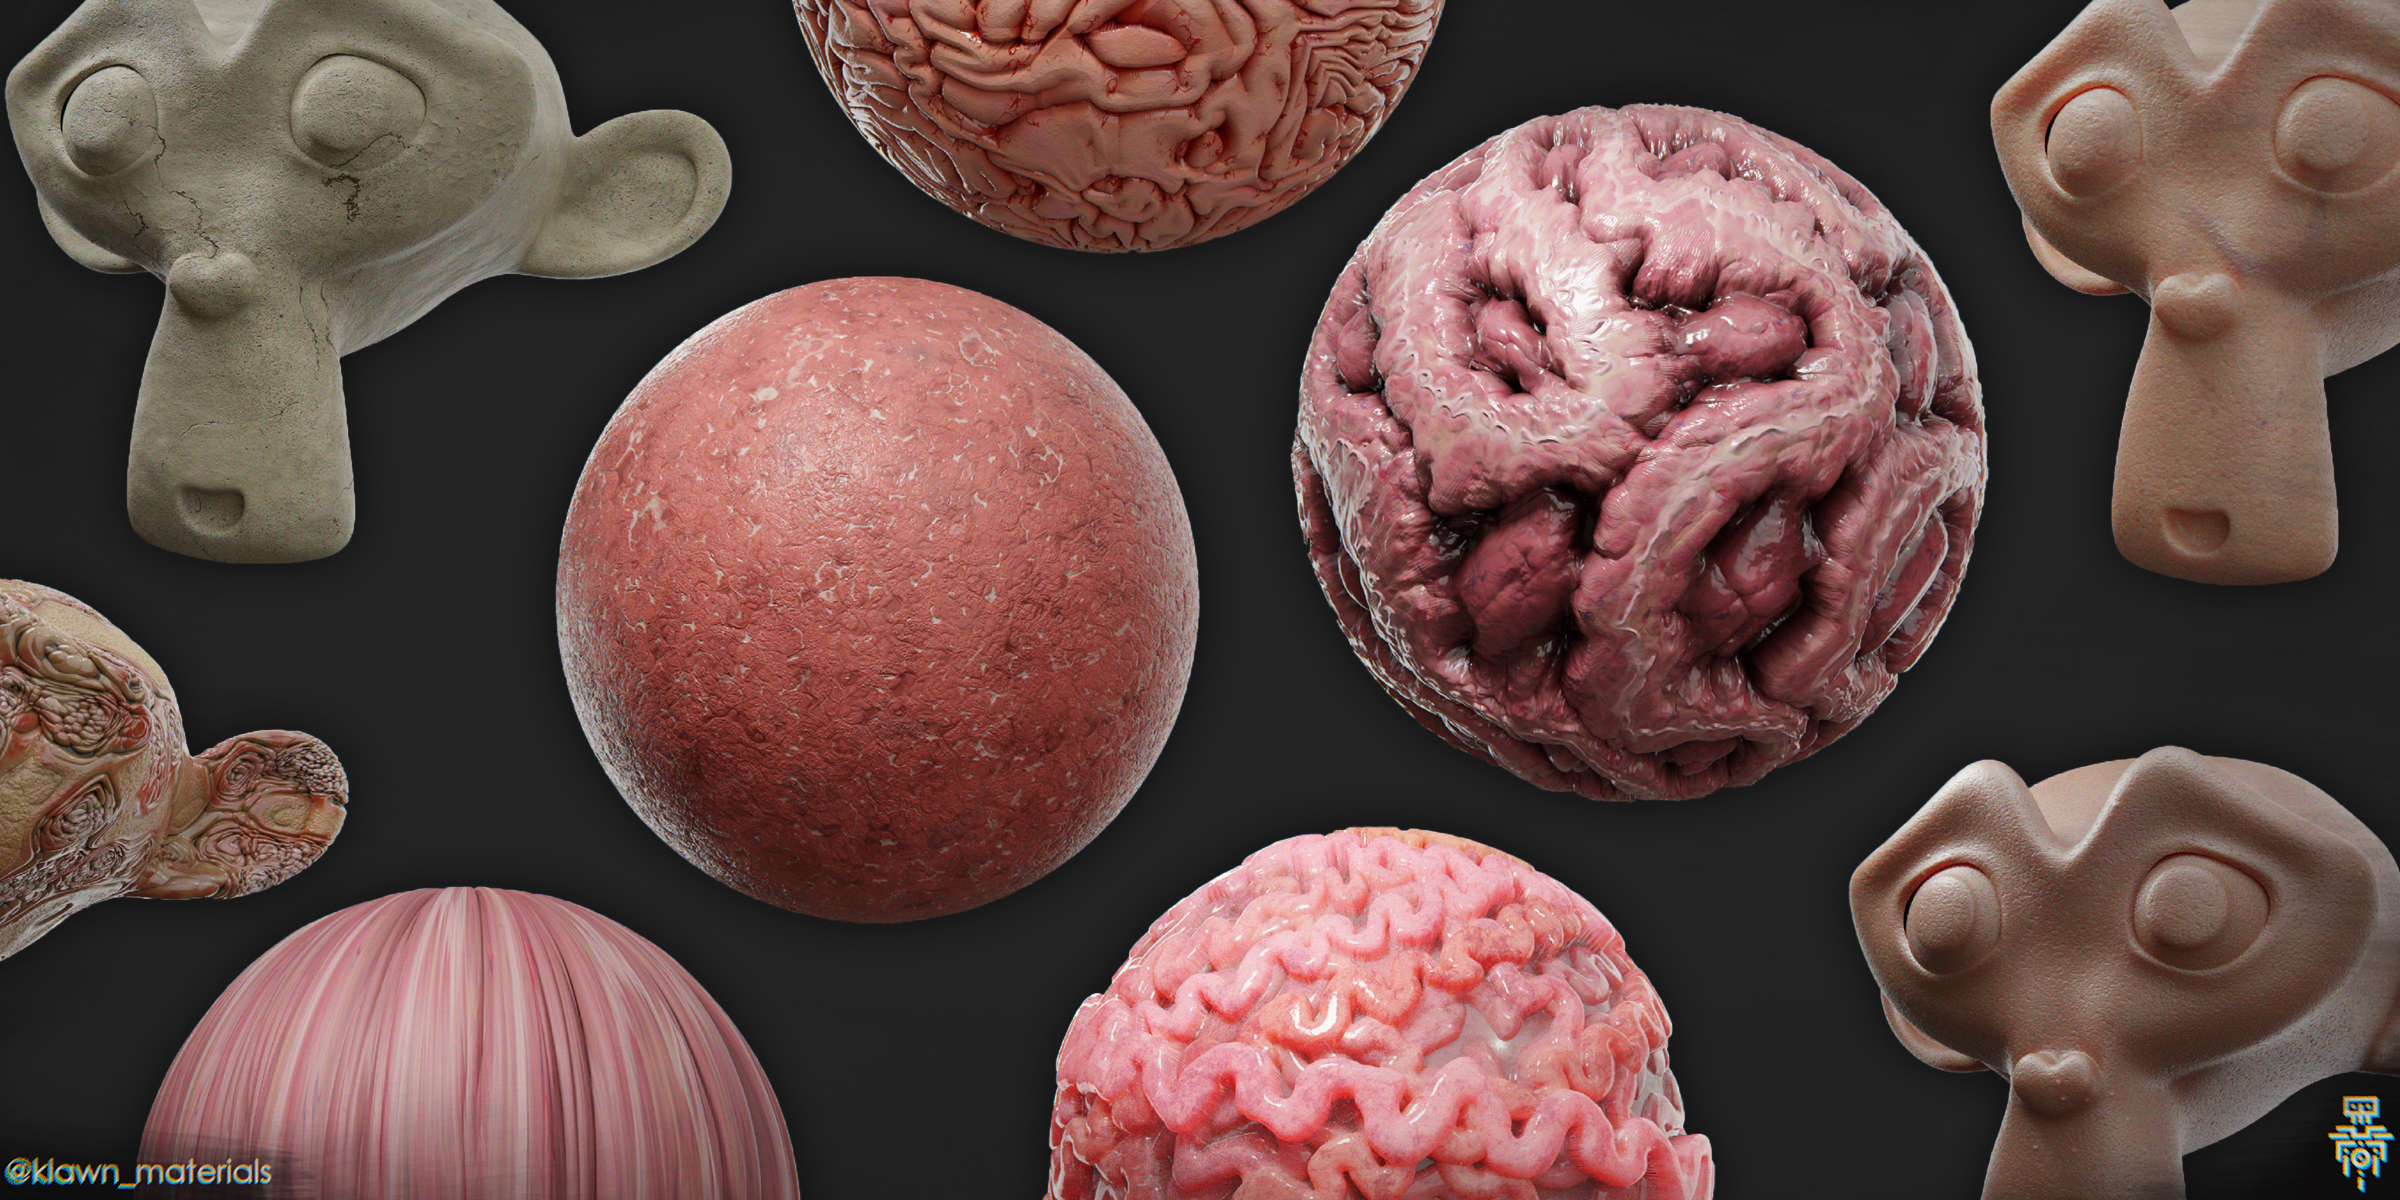
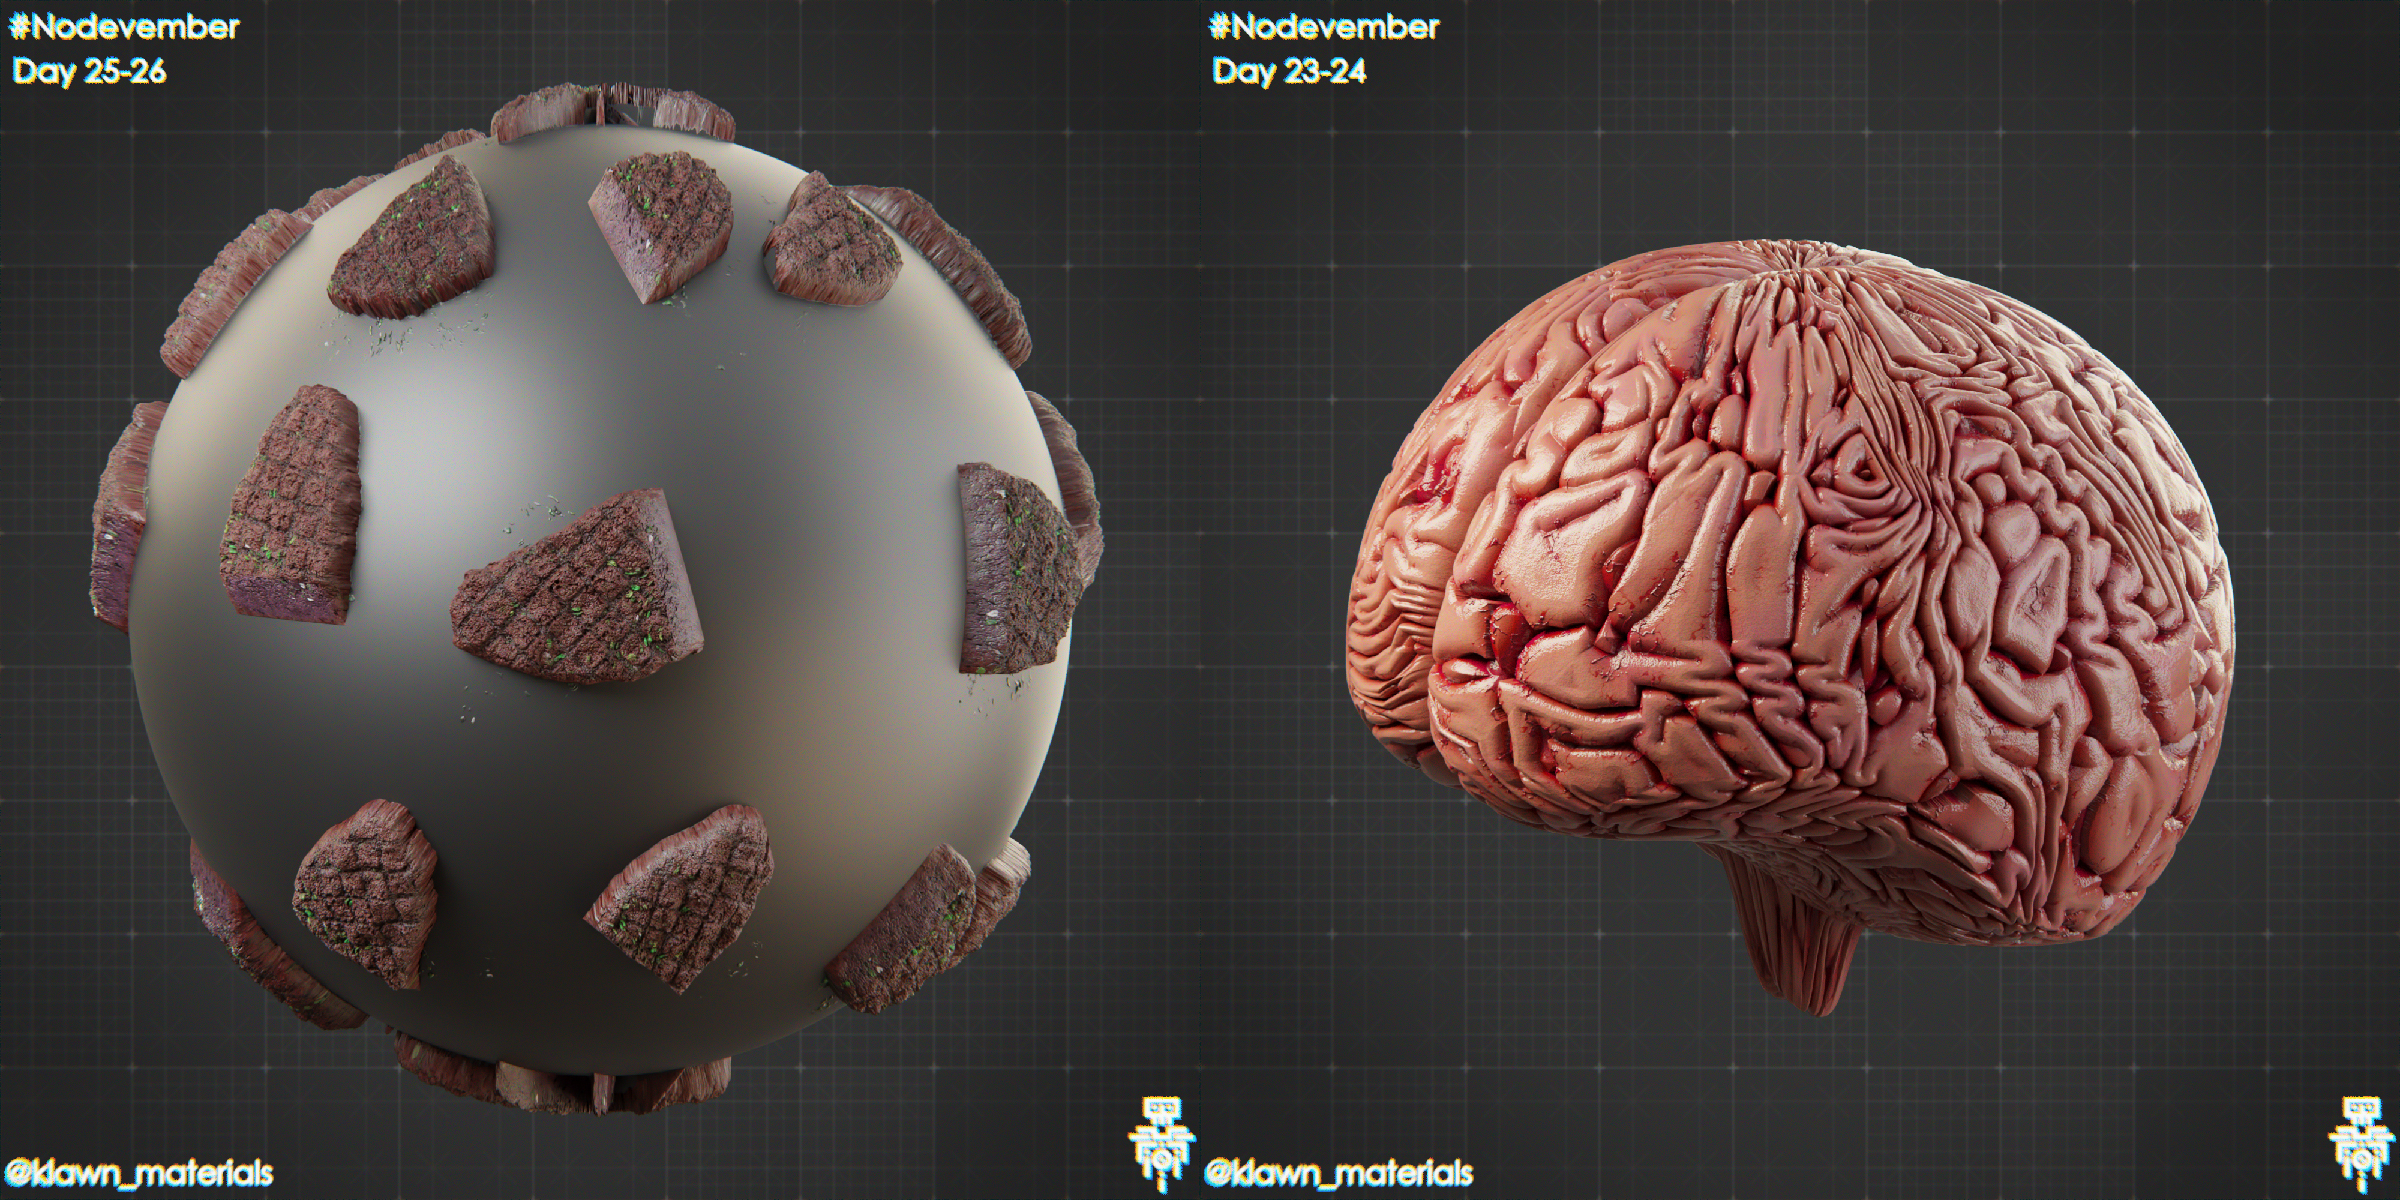
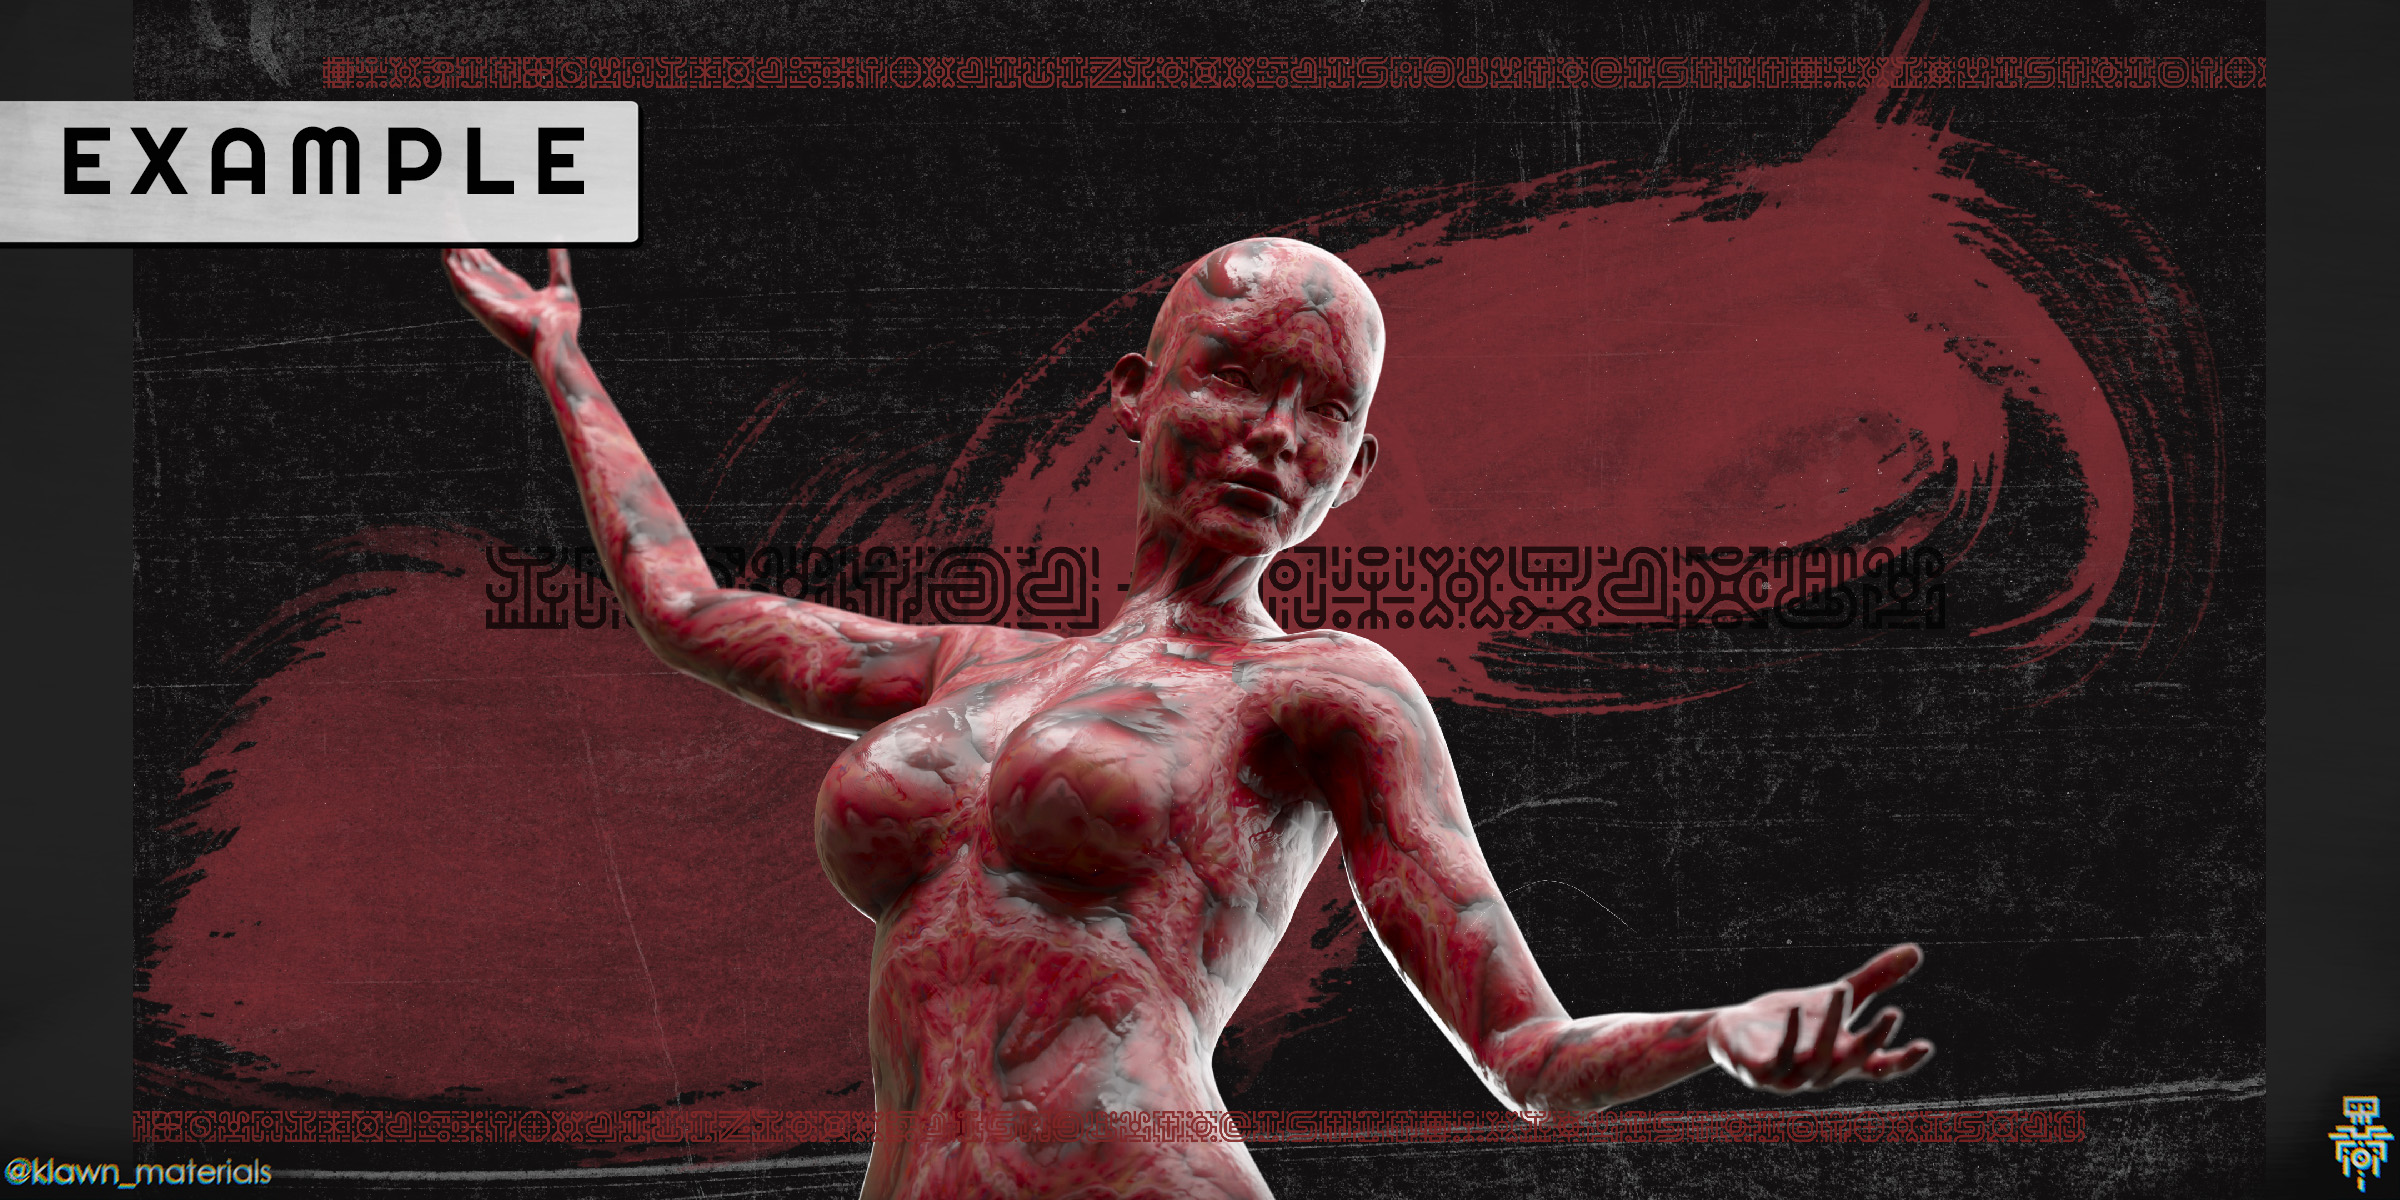
Super realistic entrails and skin textures.
Create the worst and disgusting textures with this set of materials!
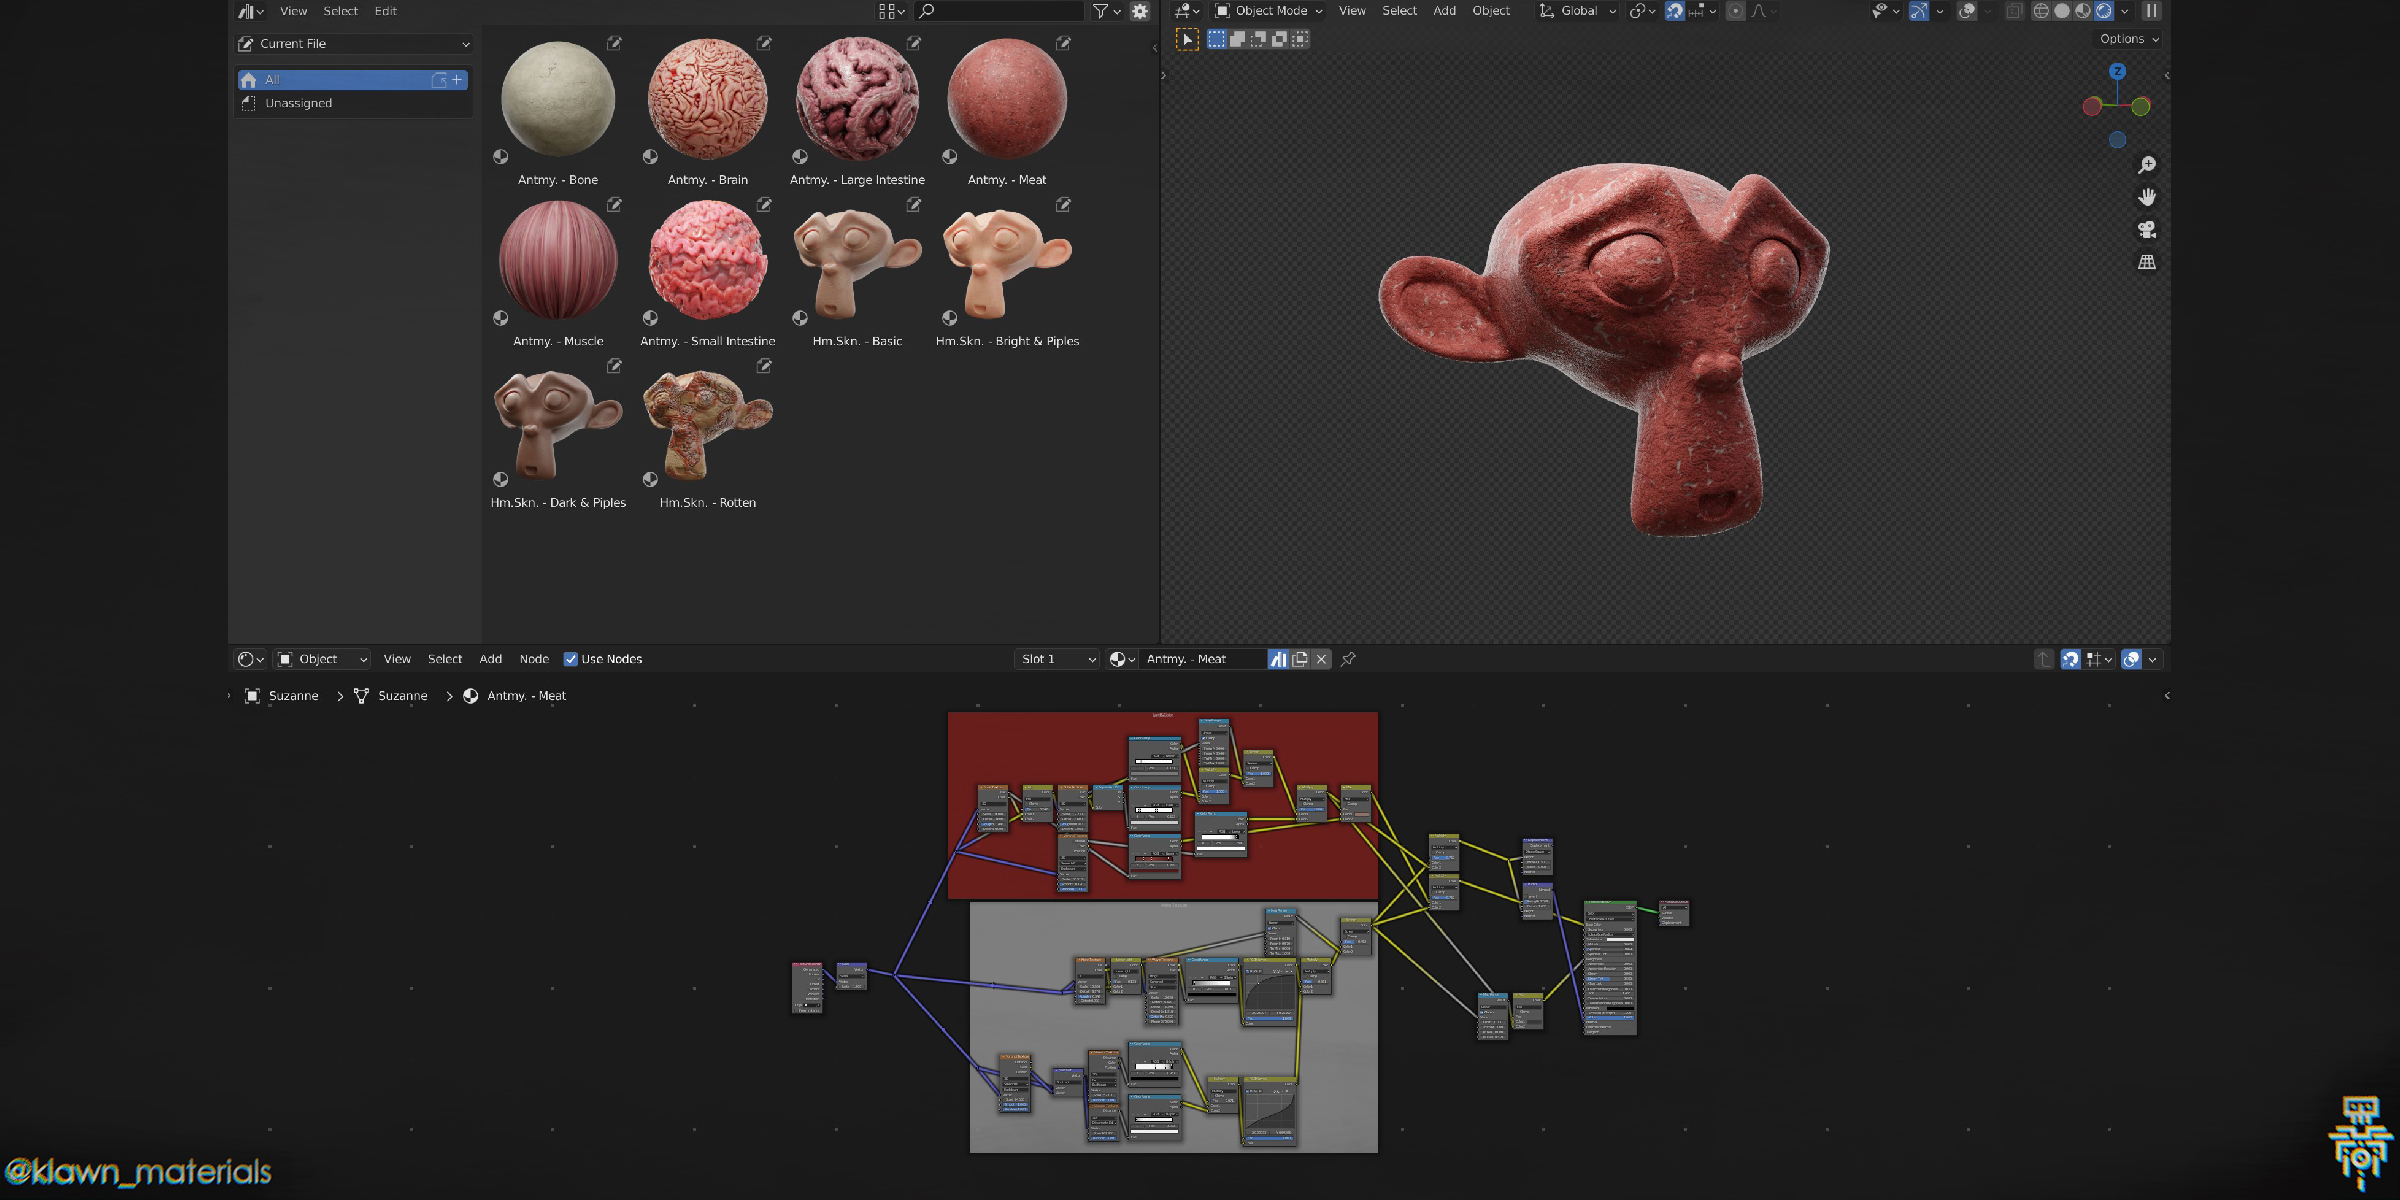
Supports the Blender 3.0 Asset Browser.
Blend file has the "K.M. - " prefix and each material has the "Antmy. - " and "Hm.Skn. - " prefix. PNG Thumbnails included.
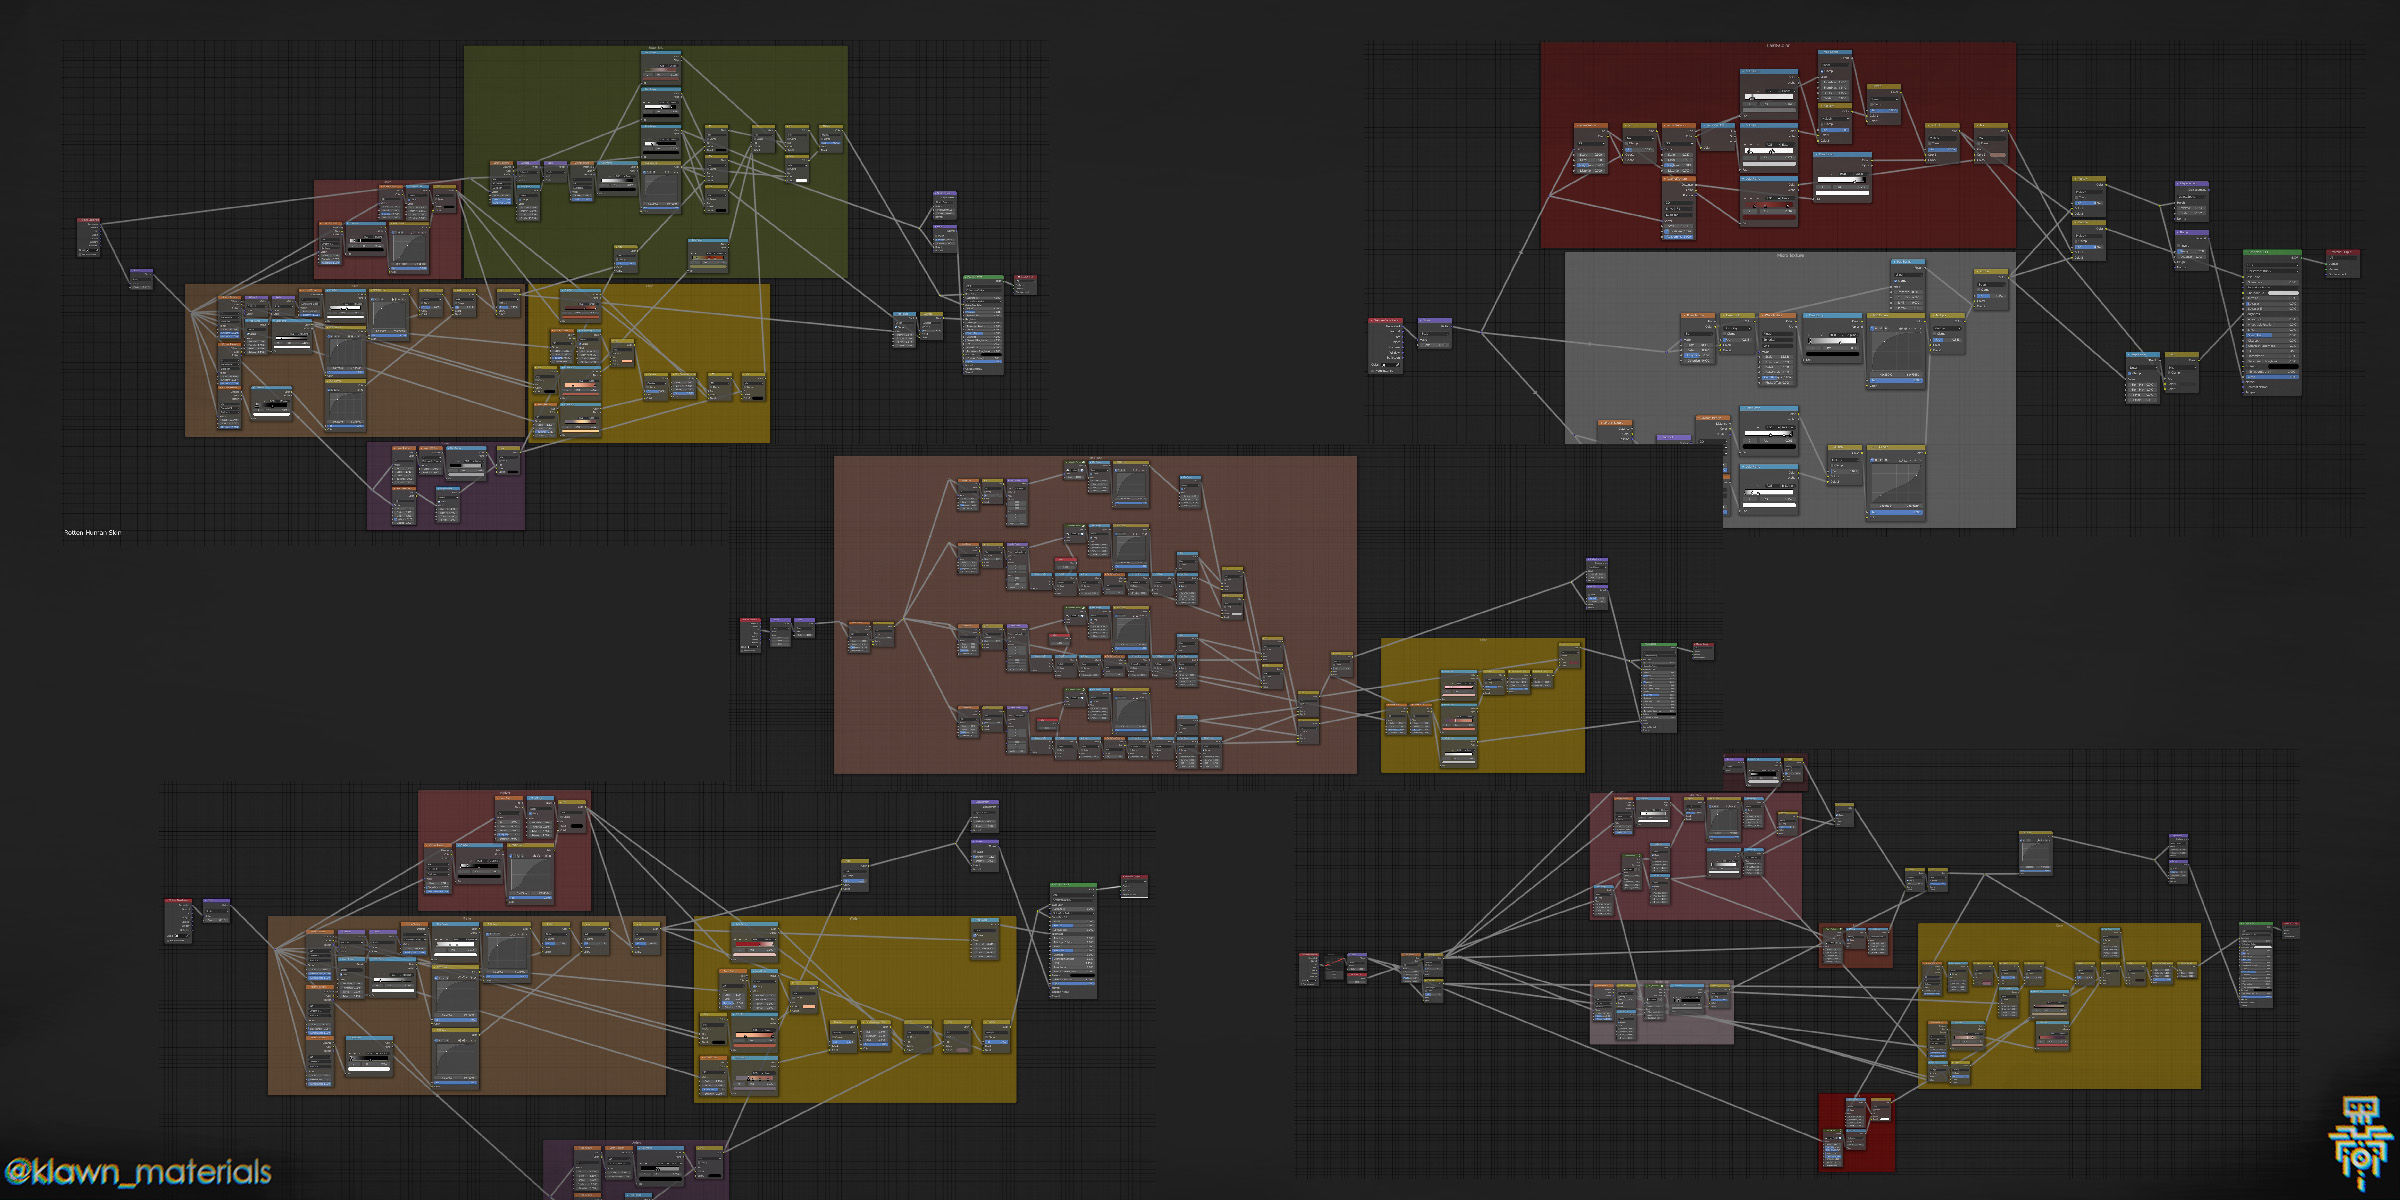
Organic textures are just as chaotic and messy in nature as glitch materials. Therefore, it makes no sense to compose node groups and I decided to divide the nodes into frames for more comfortable use.
Entrails materials:
1. Antmy. - Bone
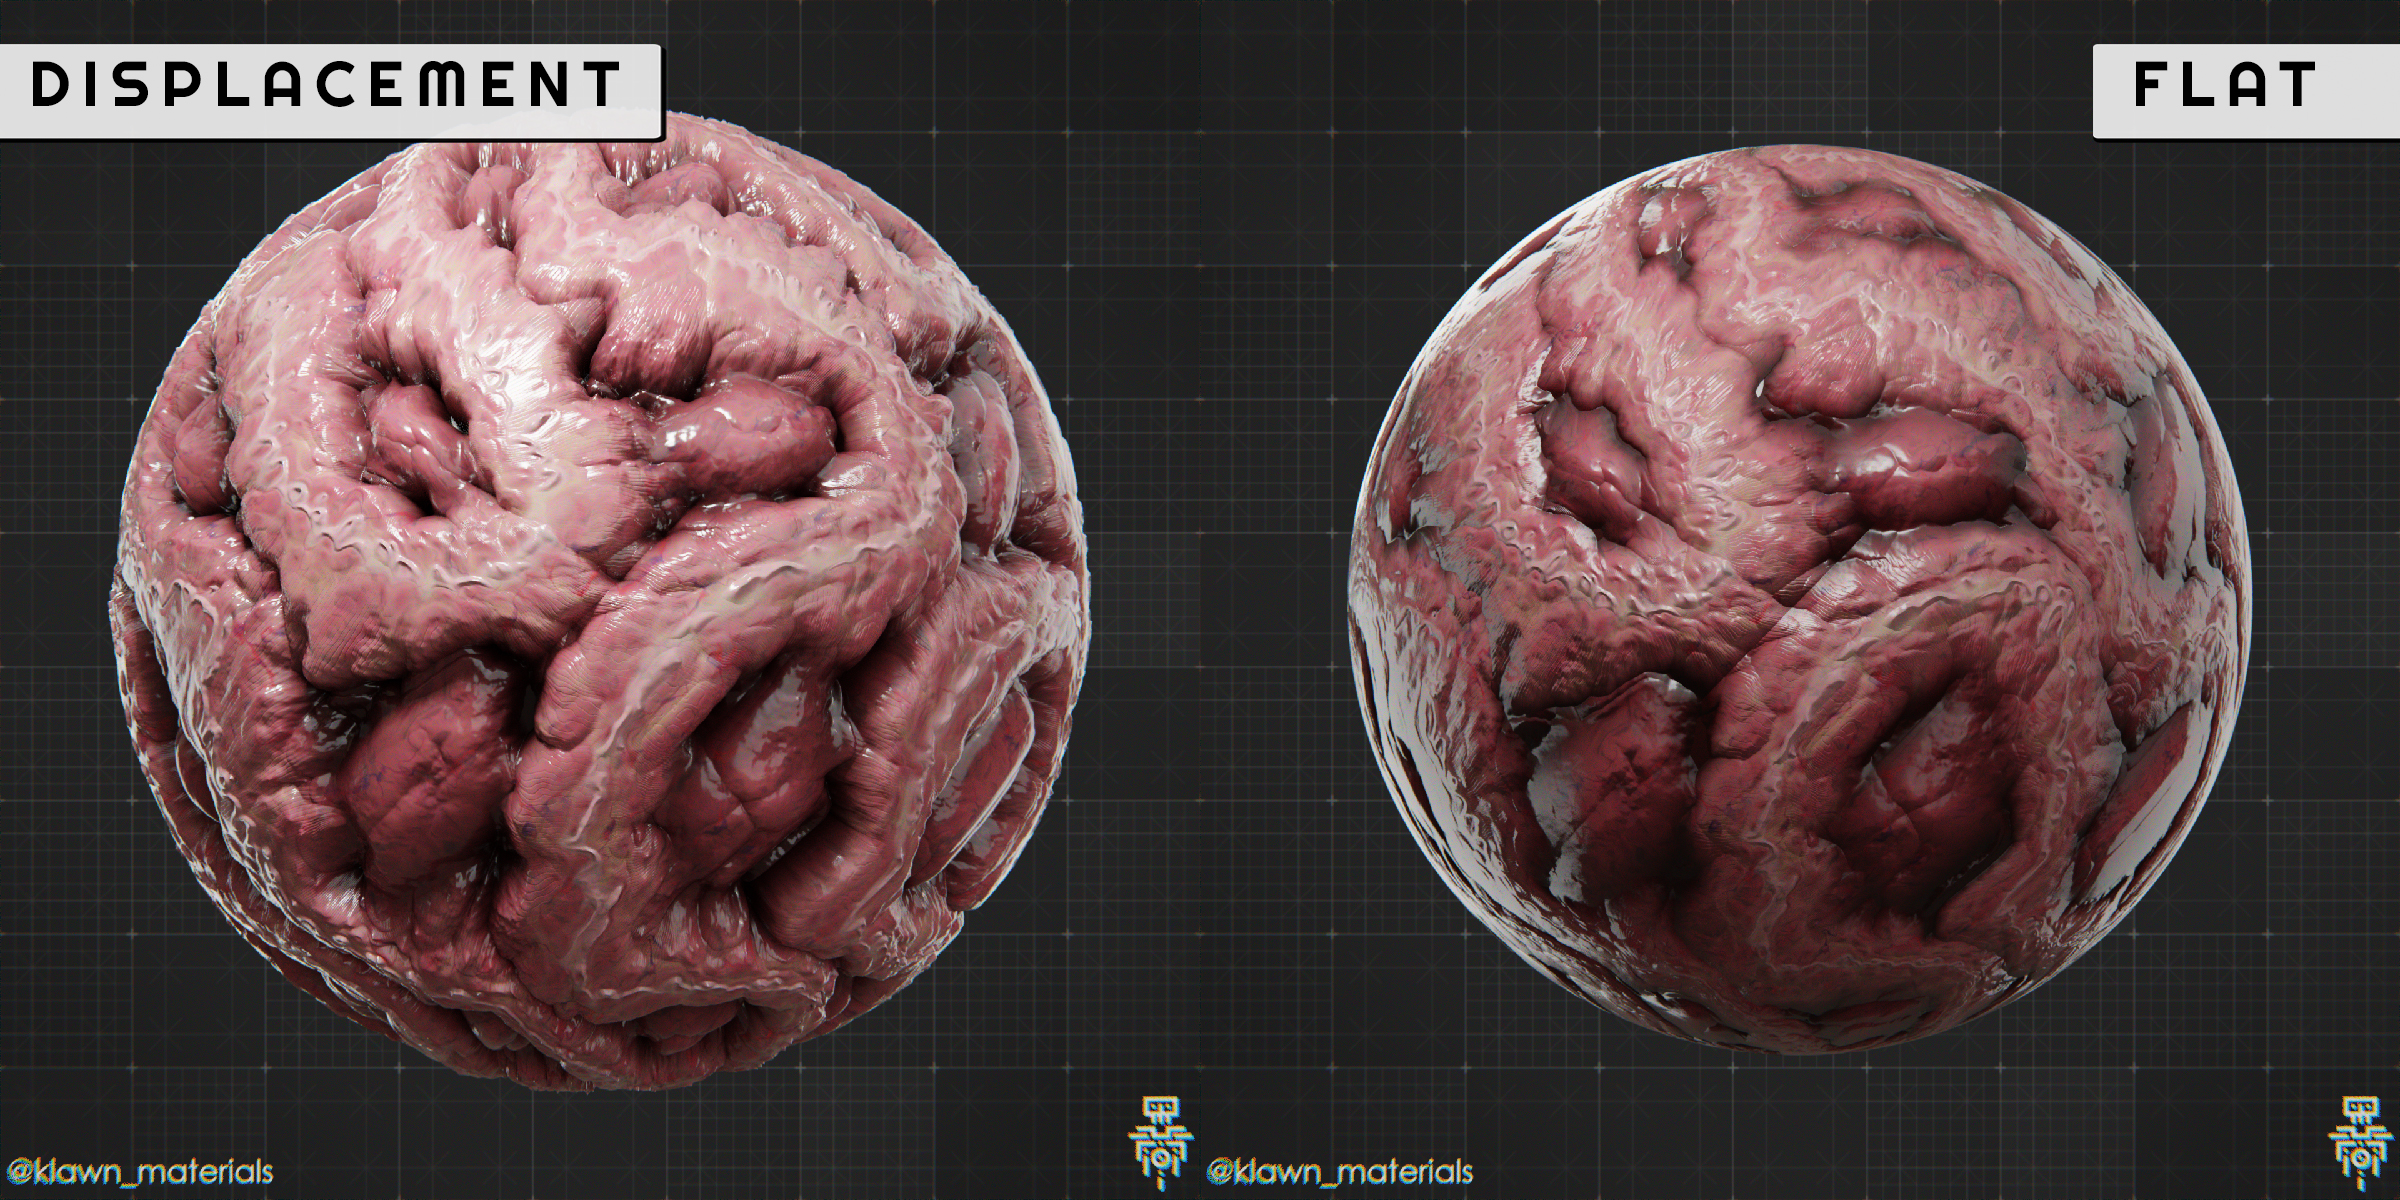
2. Antmy. - Brain
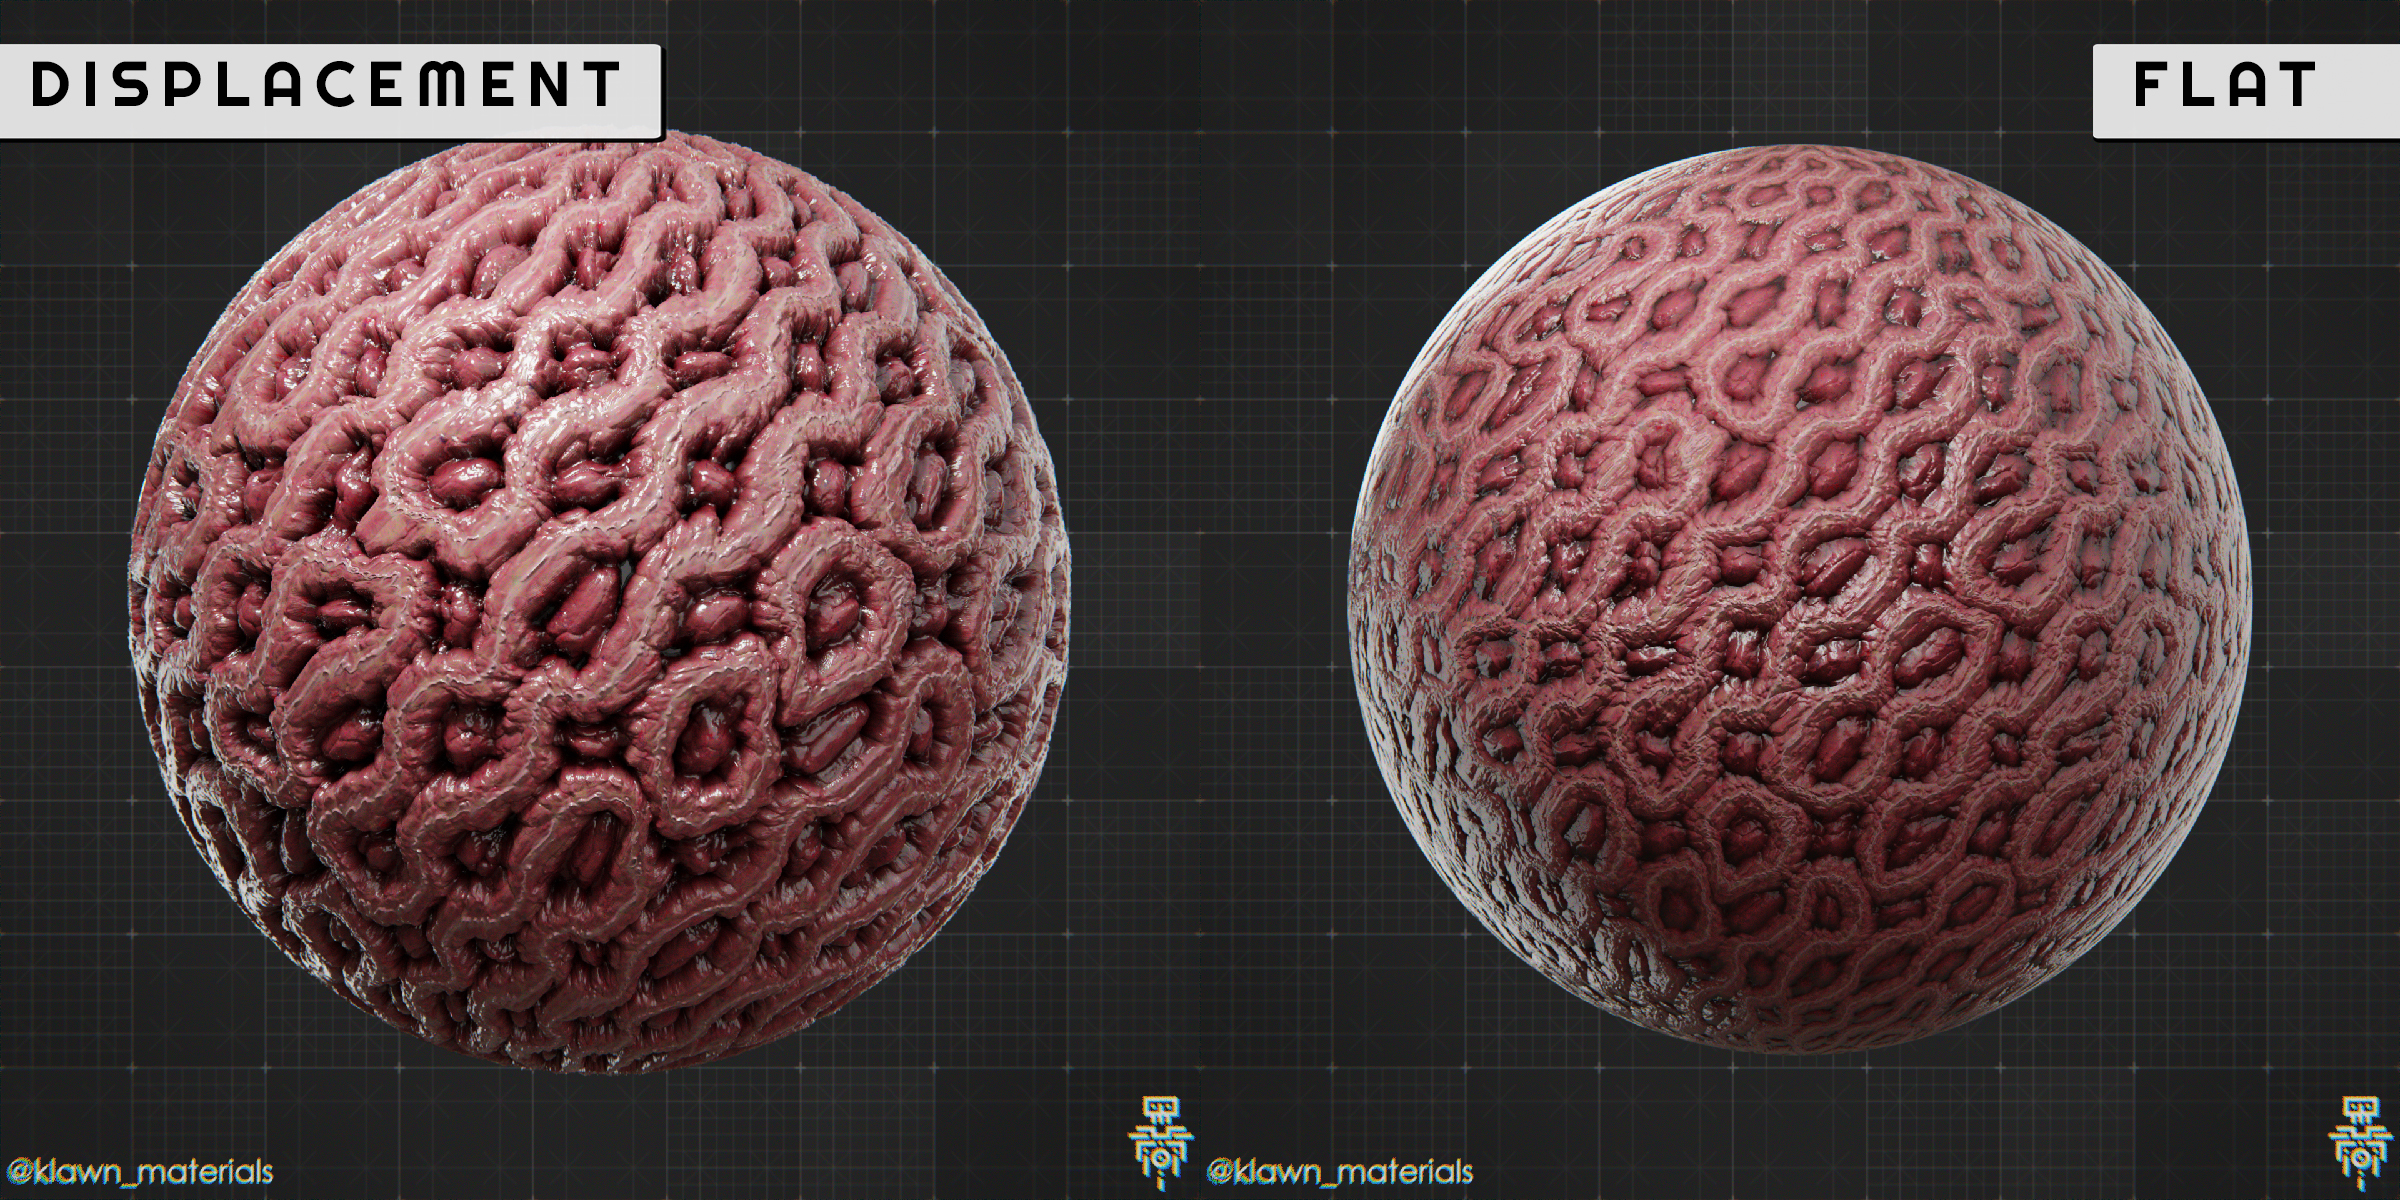
3. Antmy. - Large Intestine
4. Antmy. - Meat
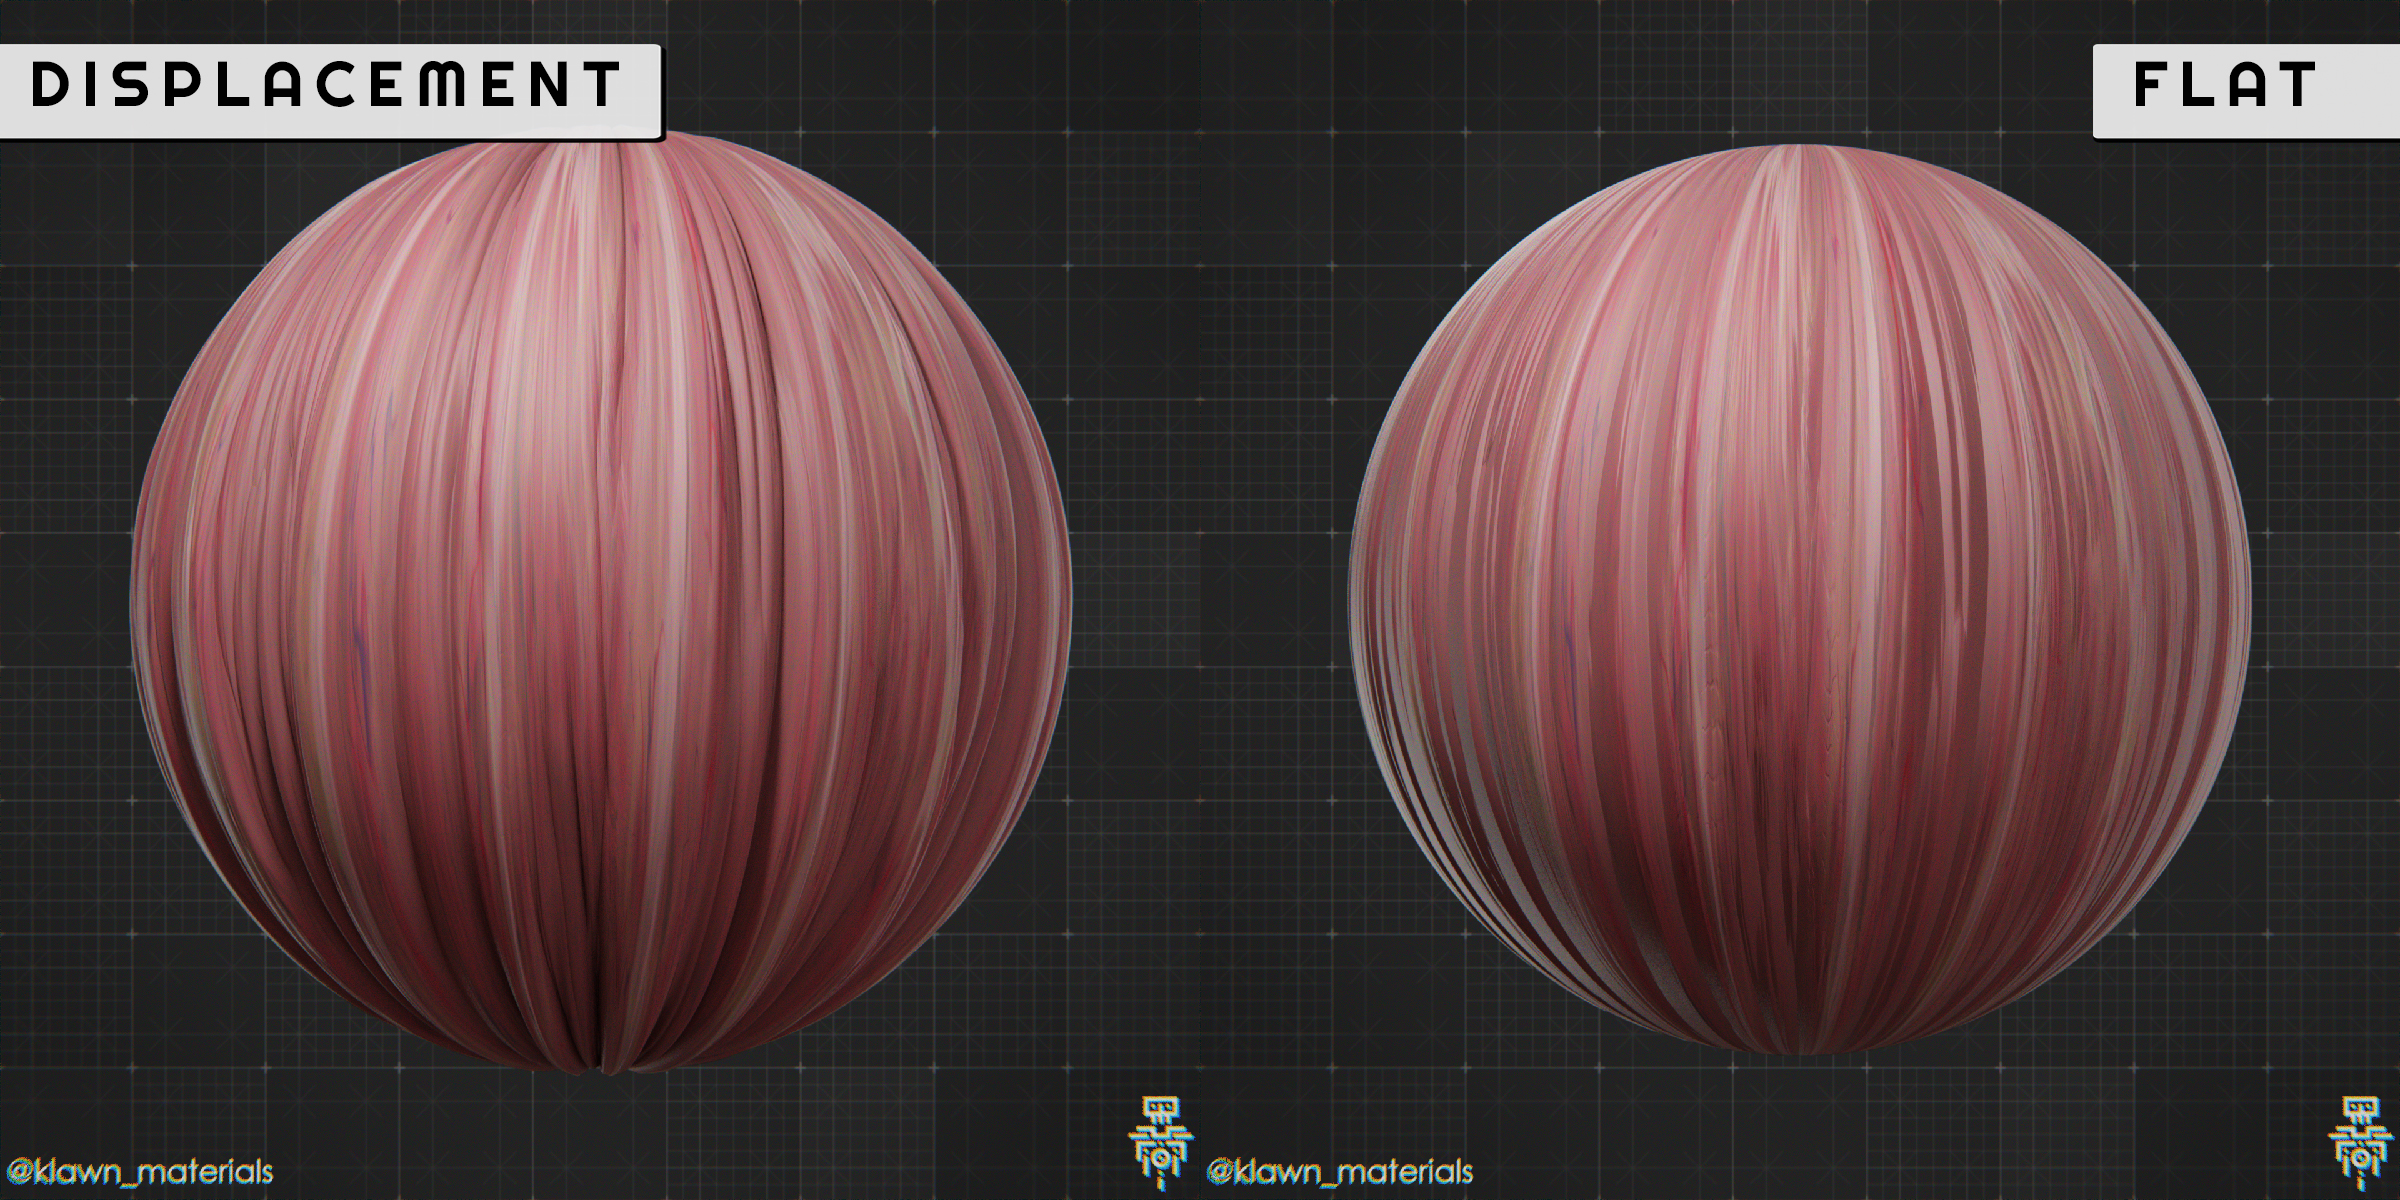
5. Antmy. - Muscle
6. Antmy. - Smal Intestine
Human skin materials:
1. Hm.Skn. - Basic
2. Hm.Skn. - Bright & Piples
3. Hm.Skn. - Dark & Piples |
4. Hm.Skn. - Rotten
To create more realistic skin, you can do 3 things:
1. Turn on subsurface in the Principled BSDF node. This will create translucent areas like real human skin.
2. Create miniature hair particle system.
3. Sculpt wrinkles where needed by hand.
If you are new to shaders then watch this start lesson on YouTube - https://www.youtube.com/watch?v=84ihoMLGkxQ&t
Why procedural shader textures instead of regular PBR maps?
- Infinite
resolution. Textures that you normally use are always limited by their
resolution and in close they are just mess of pixels. Procedural
textures, on other hand, have infinite resolution and a huge number of
elements that can be changed to suit your needs!
- With W data you can make a different texture with the same settings
to a group of objects. For example imagine that you need to make a
wooden fence. If you use a regular texture, then all your boards will
be the same, you can of course change the scale and change the
coordinates a little, but you still be limited to one image. Using
procedural textures, you can customize the materials as you like using
object data and W input. Apply it to all objects so they will be
absolutely unique, but consisting of the same material.
- Mix with other procedural materials and textures using mask
outputs. Combine colour, height and other maps with mixRGB node and mask outputs.
- And if you worry about render time then remember that you always can bake your customized textures. This is a very simple process. If you do not know how to bake then watch this video by Olav3D.
Images rendered in cycles.
The Discord server for 3D artists
The best blender shaders library and free node samples on my
