Pipes

If you've ever manually made pipes in blender, you know it can be time consuming. Even if you add depth to a curve, you will have to manually place joins.
Pipes is a geometry nodes setup that solves this.
It's very simple to use.
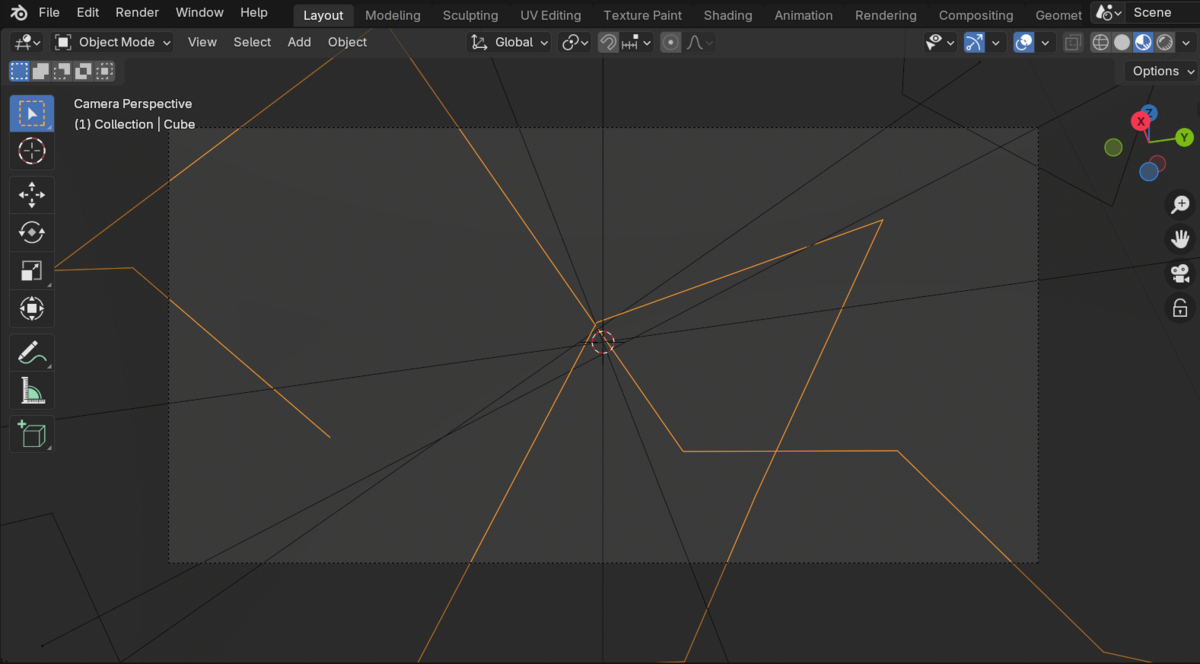
Take a cube, select all the vertices and merge at the center.
Bring in the geometry nodes setup either through File > Append and adding it as a geometry nodes modifier manually or through your asset browser.
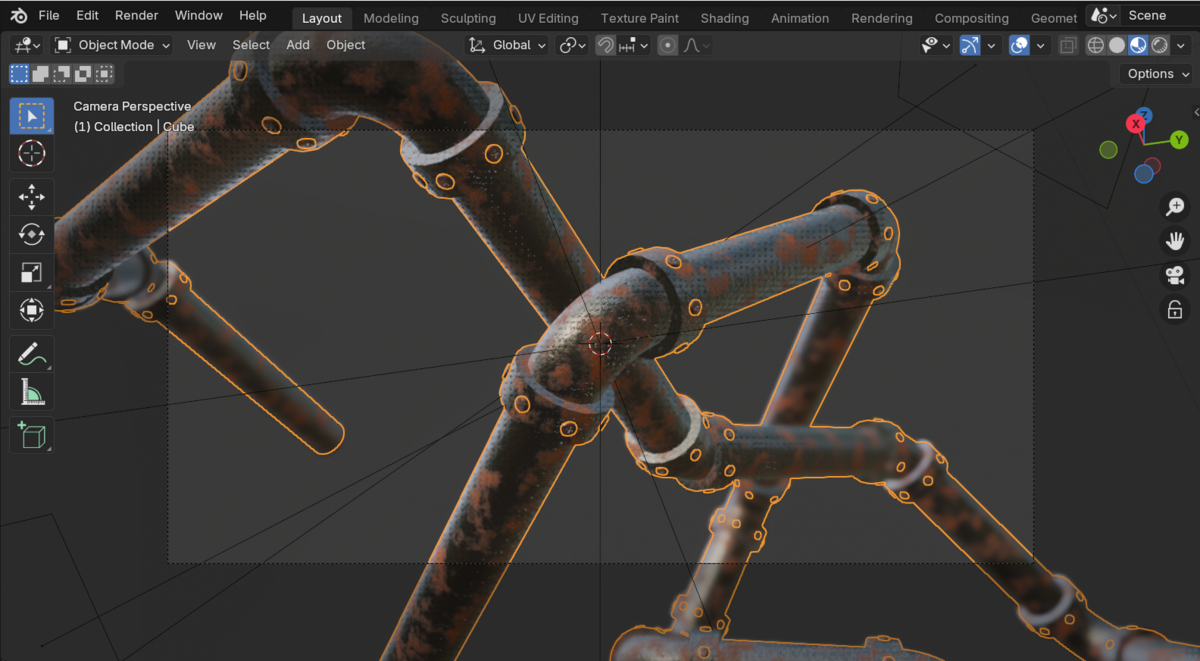
Make sure only the single point object (Cube) is selected, and then extrude points and watch pipes form.
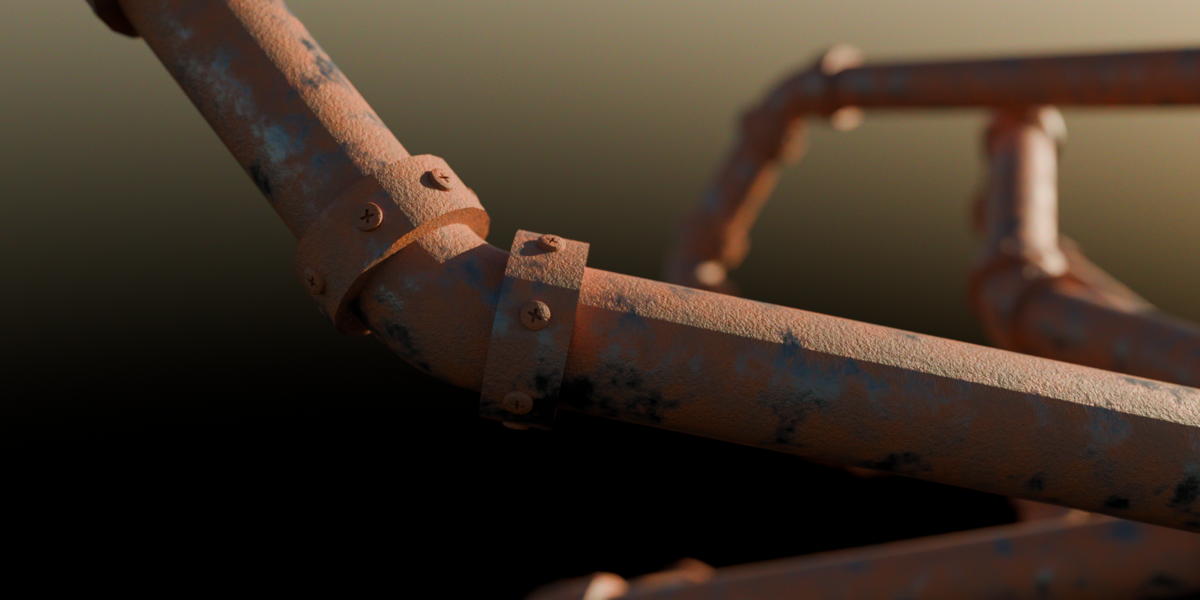
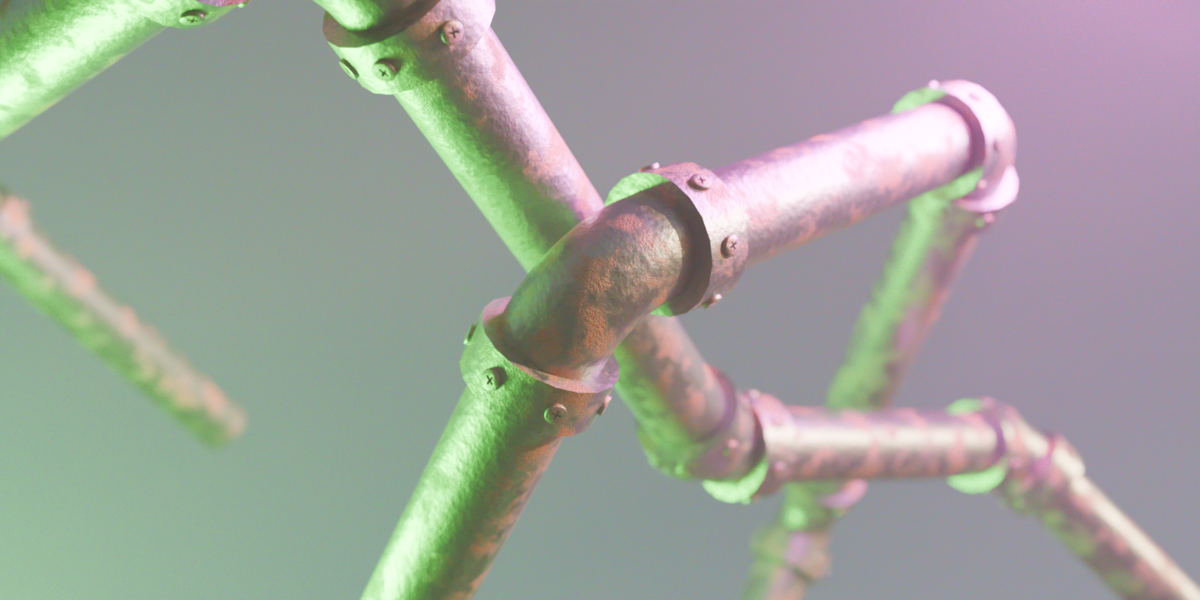
You can control the radius of the pipe, the radius of the joins, the length of the joins, the thickness of the pipe, the size of the bolts AND the frequency of the bolts plus shading and material controls!
The geometry nodes setup comes with a material attached for a rusty pipe. You can find the material and adjust the easily adjustable node group to change the appearance of the pipe.
To Note:
The pipes are calculated sequentially, so you cannot use the same point to extrude more than twice, it will mess up the calculations.
It is also best to work in order, so extrude, then extrude, so on.
If you need to do intersections, the easiest way would just be separating the point to a separate object, it should then work.
Installation:
- Purchase Pipes.
- Download the .blend file.
- Move it from your downloads to your assets file for use in the asset browser.
- Open your scene.
- Open an asset browser window.
- Find Pipes and drag it onto the object you want to use as the extruded points.