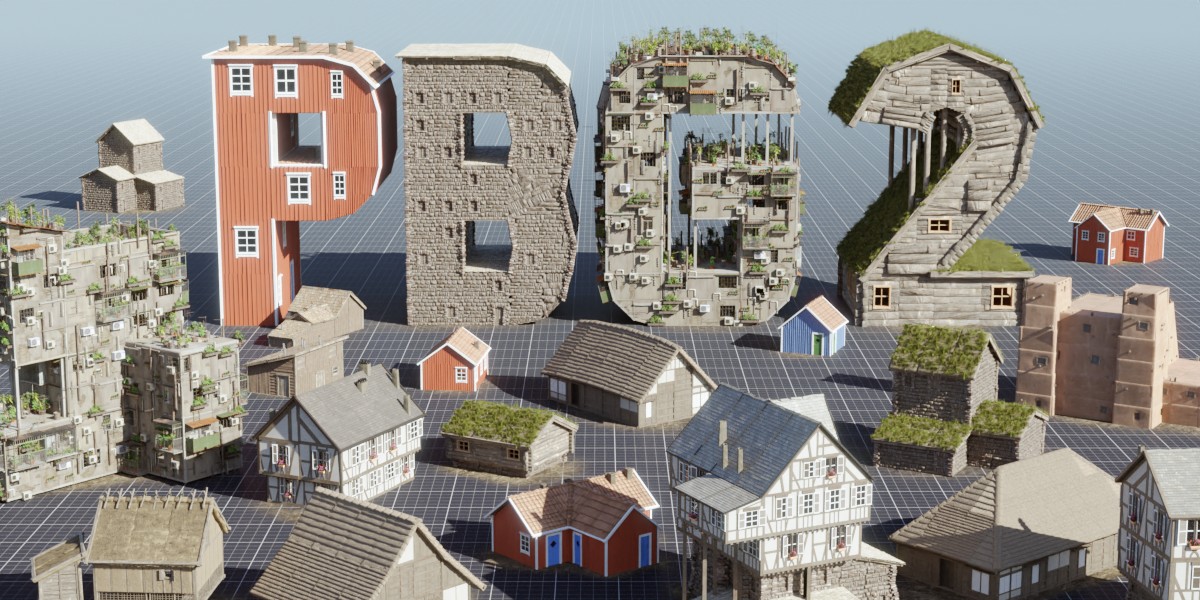
Procedural Building Generator 2
 Isak Waltin
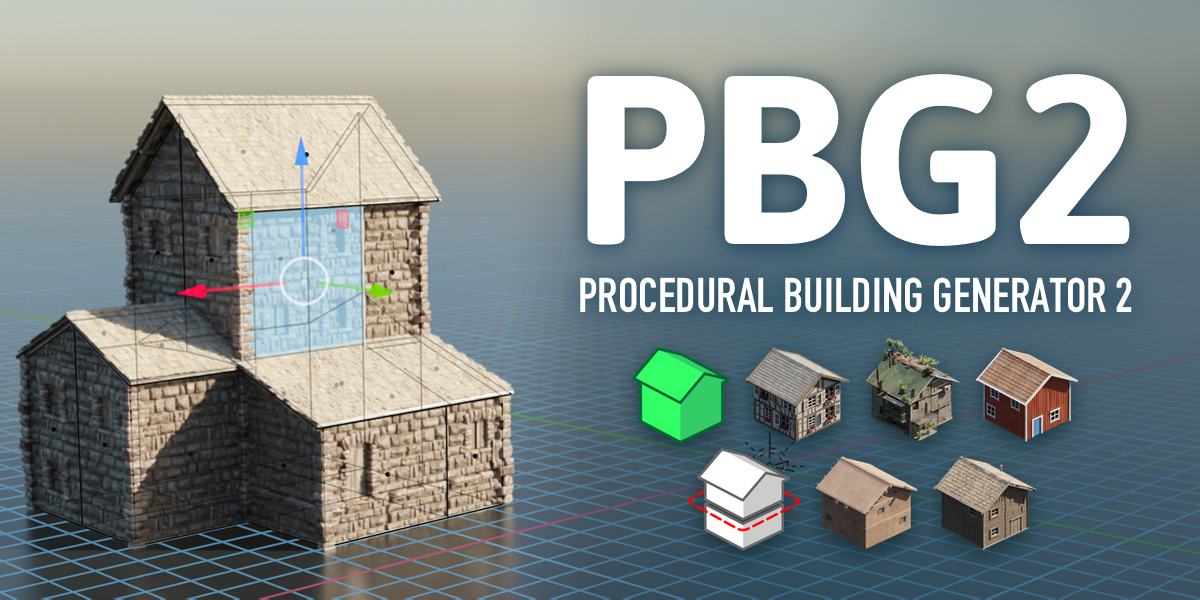
Procedural Building Generator 2
Version 1.0
For Blender 3.6
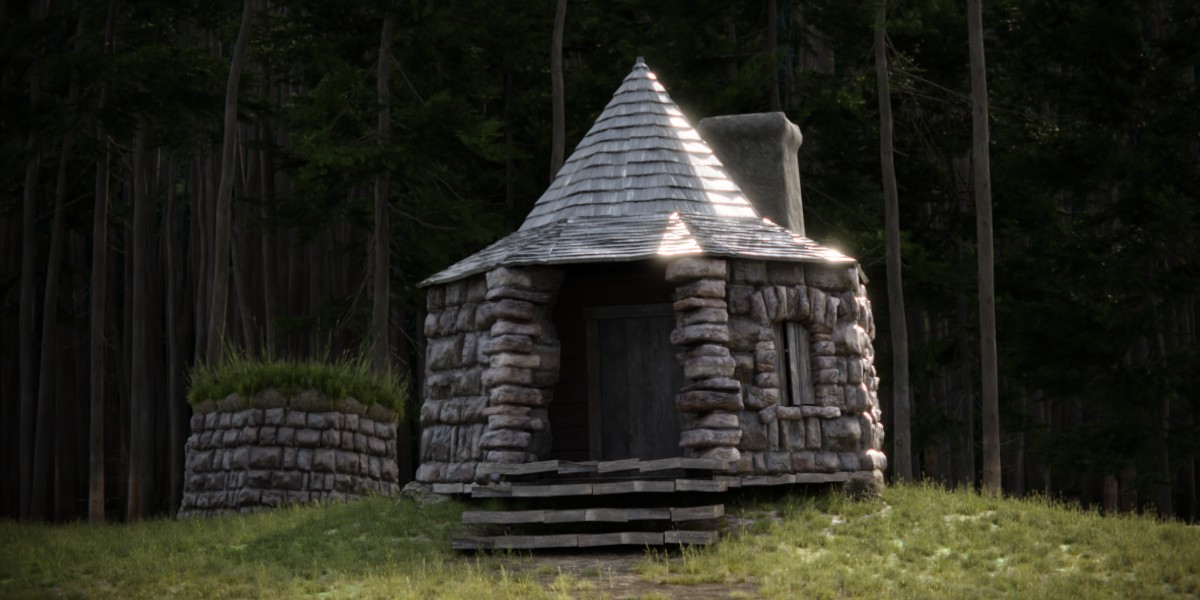
PBG 2 is a Geometry Nodes setup for Blender that turns any mesh into a render-ready building. It allows you to drag and drop a building preset onto an object and edit it in real-time.
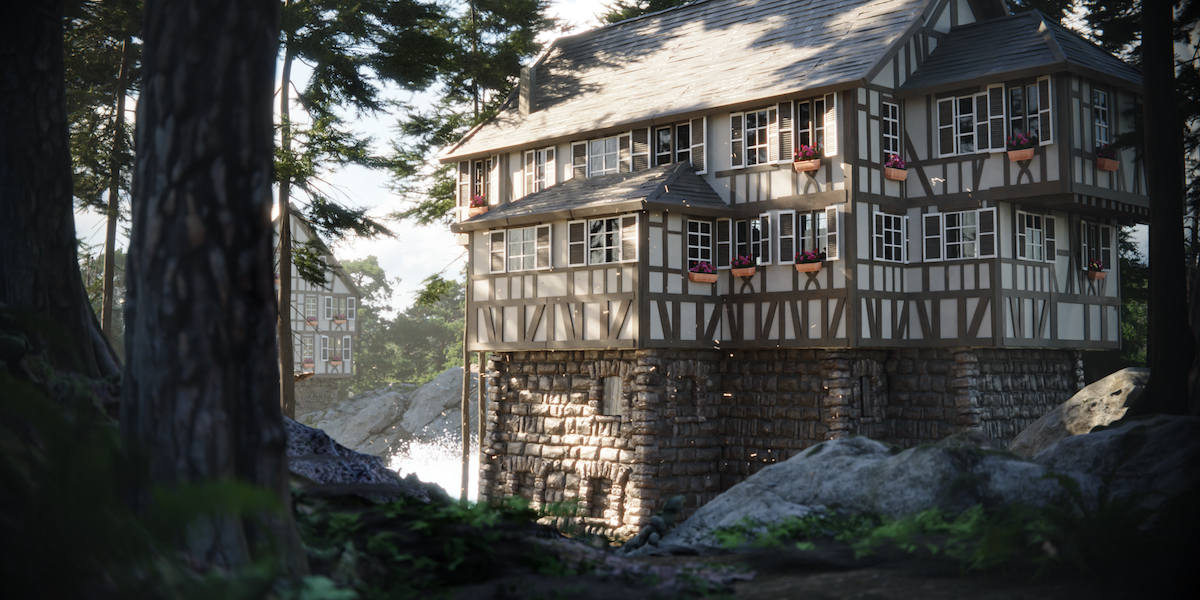
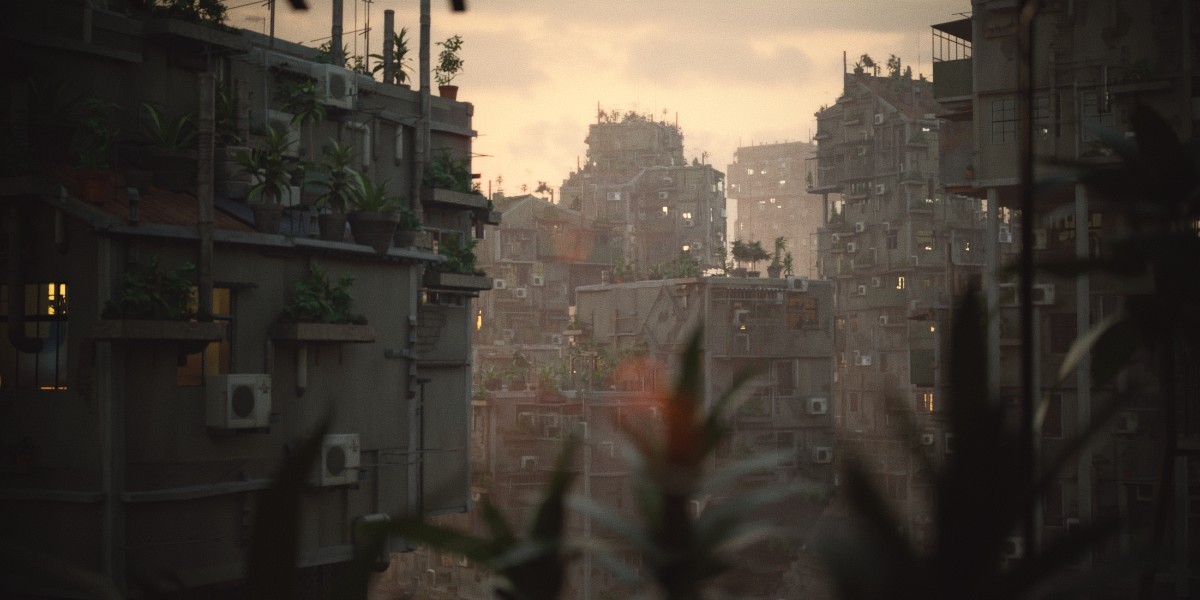
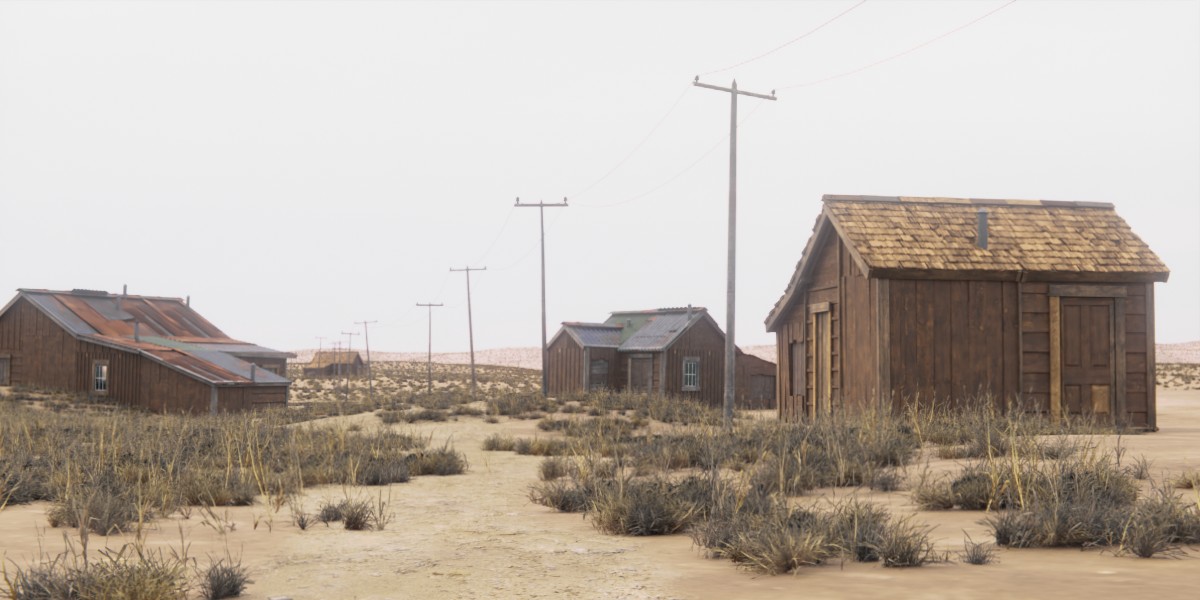
The base version comes with 5 building styles included.
The documentation can also be found at: https://docs.google.com/document/d/1fIAmVV5dSMnwPAobCZwd3tdbuMtB7Rh3-zJoVPaR1mU
Documentation
Getting started
When you download this product, you get a ZIP file. This is not an addon, so it can’t be installed the way an addon would be.
Here’s how to set it up once you’ve downloaded it:
Extract the zip file and place the folder somewhere convenient
Open Blender. Go to Edit>Preferences>File Paths>Asset Libraries
Click “+” and navigate to the folder “PBG_2”. Select it.
Set “Import method” to Link
-
Done!
The download contains a blend file with the generator, and subfolders with asset packs.
If you purchase more asset packs later, extract them and place them in the PBG_2 folder!
Setup PBG 2 in a project
Once you’ve completed the initial setup, all you need to do to add the Building Generator to an object is to open the Asset Browser and drag out a PBG node group.
There are 3 ways to setup the generator:
-
Super quick setup: Drag a Preset onto an object. This will instantly generate a render-ready building from that mesh. Presets have a few settings you can tweak right from the modifier window, like color and seed.
-
Quick setup: Drag a generator (Simple Building or Two-Part Building) onto an object. You also need to pick a style; they can be found in the Asset Browser as well. With a generator, all the settings are exposed in the modifier window.
-
Custom setup: See Custom setup.
After setting up the generator for an object, you can start modeling your mesh as usual. The generator will adapt in real-time.
Modeling tips
Quads usually give the best looking results. Tris work too, but might look less realistic. N-gons are not supported.
Scaling the object in object mode will also scale all the assets. If you instead scale in edit mode (or apply the scale in object mode with CTRL+A), the building will be re-generated as a larger building (read: more floors, as opposed to just bigger wall instances).
Staying within the realms of realistic building shapes will likely give the best results, but the generator is built to handle most meshes nonetheless.
Try to keep faces flat. Consider turning a bent quad into two tris by connecting two of its vertices using J.

Left: A distorted quad (visualized with Mesh Analysis)
Solution 1: Triangulate distorted faces (CTRL-T or select 2 opposing vertices and press J)
Solution 2: Flatten distorted faces (for example by scaling on Normal Z axis)
Useful tools:
Custom setup
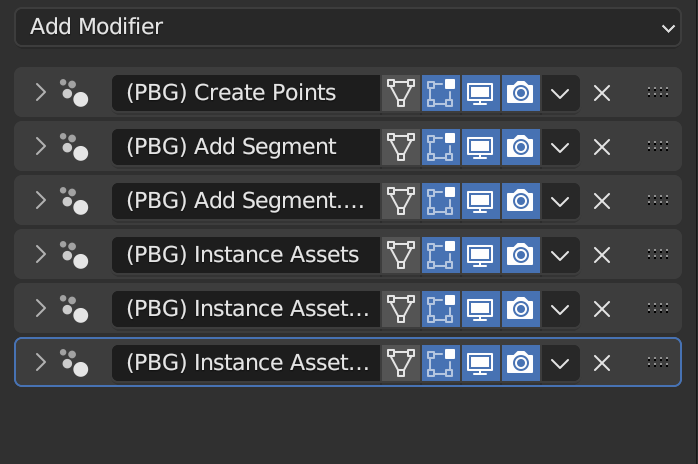
PBG 2 also comes with a couple of modular node groups that can be used in combination to get a building with more in-depth control than Simple Building or Two-Part Building. These node groups can be used either as separate modifiers or in one Geometry Nodes modifier.
The simplest setup (with the same result as the Simple Building node group) is to add a Create Points followed by an Instance Assets. To create a multi-segment building, use a Create Points followed by one or more Add Segment, followed in turn by two or more Instance assets (or similar).
Examples:
This is the same as the Simple Building node group


This setup enables mixing assets from different styles.

Select which ones in Instance Mixed Assets.
Here’s how to add more than 2 segments to a building.
Node groups
These are the node groups that come with PBG 2. All of them can be dragged and dropped on an object in your scene, but some only work in combination with others.
Simple Building

Dragging the Simple Building node group onto an object will turn it into a basic, procedurally generated building. You will need to select a style in the modifier settings.
Two-part Building

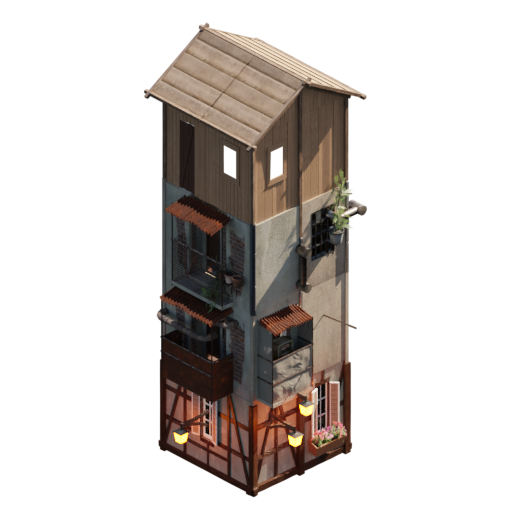
The Two-Part Building node group will turn a mesh into a procedural building with two segments. Really useful if you want shops on the bottom floor, a stone basement or only want to generate doors on the bottom floor.
You will need to select styles for both the bottom and the top segment (they can be the same).
Create Points
This node group generates points to instance building assets on. It is meant to be used in combination with either one of the Instance node groups below, and instead of the all-in-one building generators described above.
Add Segment

This will split the building, vertically. You will need a Create Points node group above this one, and two Instance Assets node groups (or any of the node groups that instance assets) after this one.
Instance Assets
This node group instances building assets on points generated by the Create Points node group. You will need to select a style in the modifier settings. All 3 Instancing node groups are interchangeable.
Instance Mixed Assets

Like Instance Assets, instances building assets on points generated by the Create Points node group. However, with this node group you can select 2-3 styles and mix them. For example, you can use it to have walls from the Wooden style and a tile roof from the Half-Timbered style.
Instance Custom Collections
Instances building assets on points generated by the Create Points node group. You will need to select a separate collection for every asset type specified.
Preserve State

This is meant to be used if you need to deform the mesh. See Simulations and deforming meshes for more info.
What this node group actually does is save the positions, normals and other properties of the mesh so that it can be retrieved after deforming it.
Convert to mesh

See Convert to mesh
Settings
Since the generators and presets are built from the same modular pieces, they share most of the settings that are accessed directly from the modifier.
Align walls horizontally: The generator will try to rotate wall assets as parallel to the ground as possible.
Flat roof as floor: Replace roof assets parallel to the ground with floor assets.
Use small roof tiles: Scatter “Small roof tile” asset (if it exists) across the roof.
Only use square walls: Disable Wide and Half wall assets.
Beam settings control the placement of corner beams on the walls and the roof.
Pillars: Place pillars where the building overhangs either itself, or the object chosen as Ground collision.
Greeble settings control the small details scattered across the roof and walls.
Align: Align to surface
Rotate: Randomize rotation (on local Z axis)
Advanced distribution: Enable if mesh will be animated/simulated. See Simulations and deforming meshes
Place doors: Place the door asset (if it exists) randomly.
Single wall/roof type: Use only one type of asset for walls/roof.
Checking Ceiling or Floor will add extra geometry to fill in the ceiling/floor, with the selected materials.
Color settings are a bit special. Most of the styles that come with PBG 2 are set up to use them. The alpha value controls how much of the selected color is mixed in, and the color controls the color.
See Material colors if you want to add this for your own styles.
Simulations and deforming meshes
PBG 2 comes with some experimental components to help with handling deforming meshes.
As an example, you might want to apply the building generator to a character that is deforming with an armature.
To ensure that the deforming building gets generated consistently across frames:
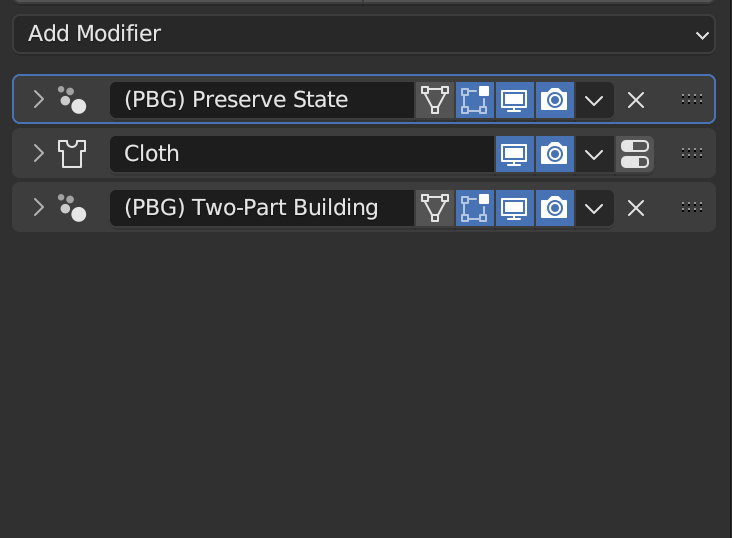
Add the Preserve State node group BEFORE any deforming modifiers, then add building generator node groups as usual AFTER the deforming modifiers.
If you are using greebles, check “Advanced Instancing” under Greeble settings. This avoids flickering when the mesh is deforming. (Note: Only works in combination with Preserve State)
Known limitations:
Extreme mesh deformations will result in inconsistencies.
Edge beams might flicker during playback. I haven’t found the cause of this and it isn’t consistent. To avoid this, either turn off all beams in the Beam settings, or re-render the faulty frames.
Pillars do not work well with deforming meshes. Consider disabling them.
Greeble rotation is wonky, to say the least.
An example of a setup where a cloth sim is applied to the building:
Create your own style
There’s a guide for creating your own building style included in the blend file:
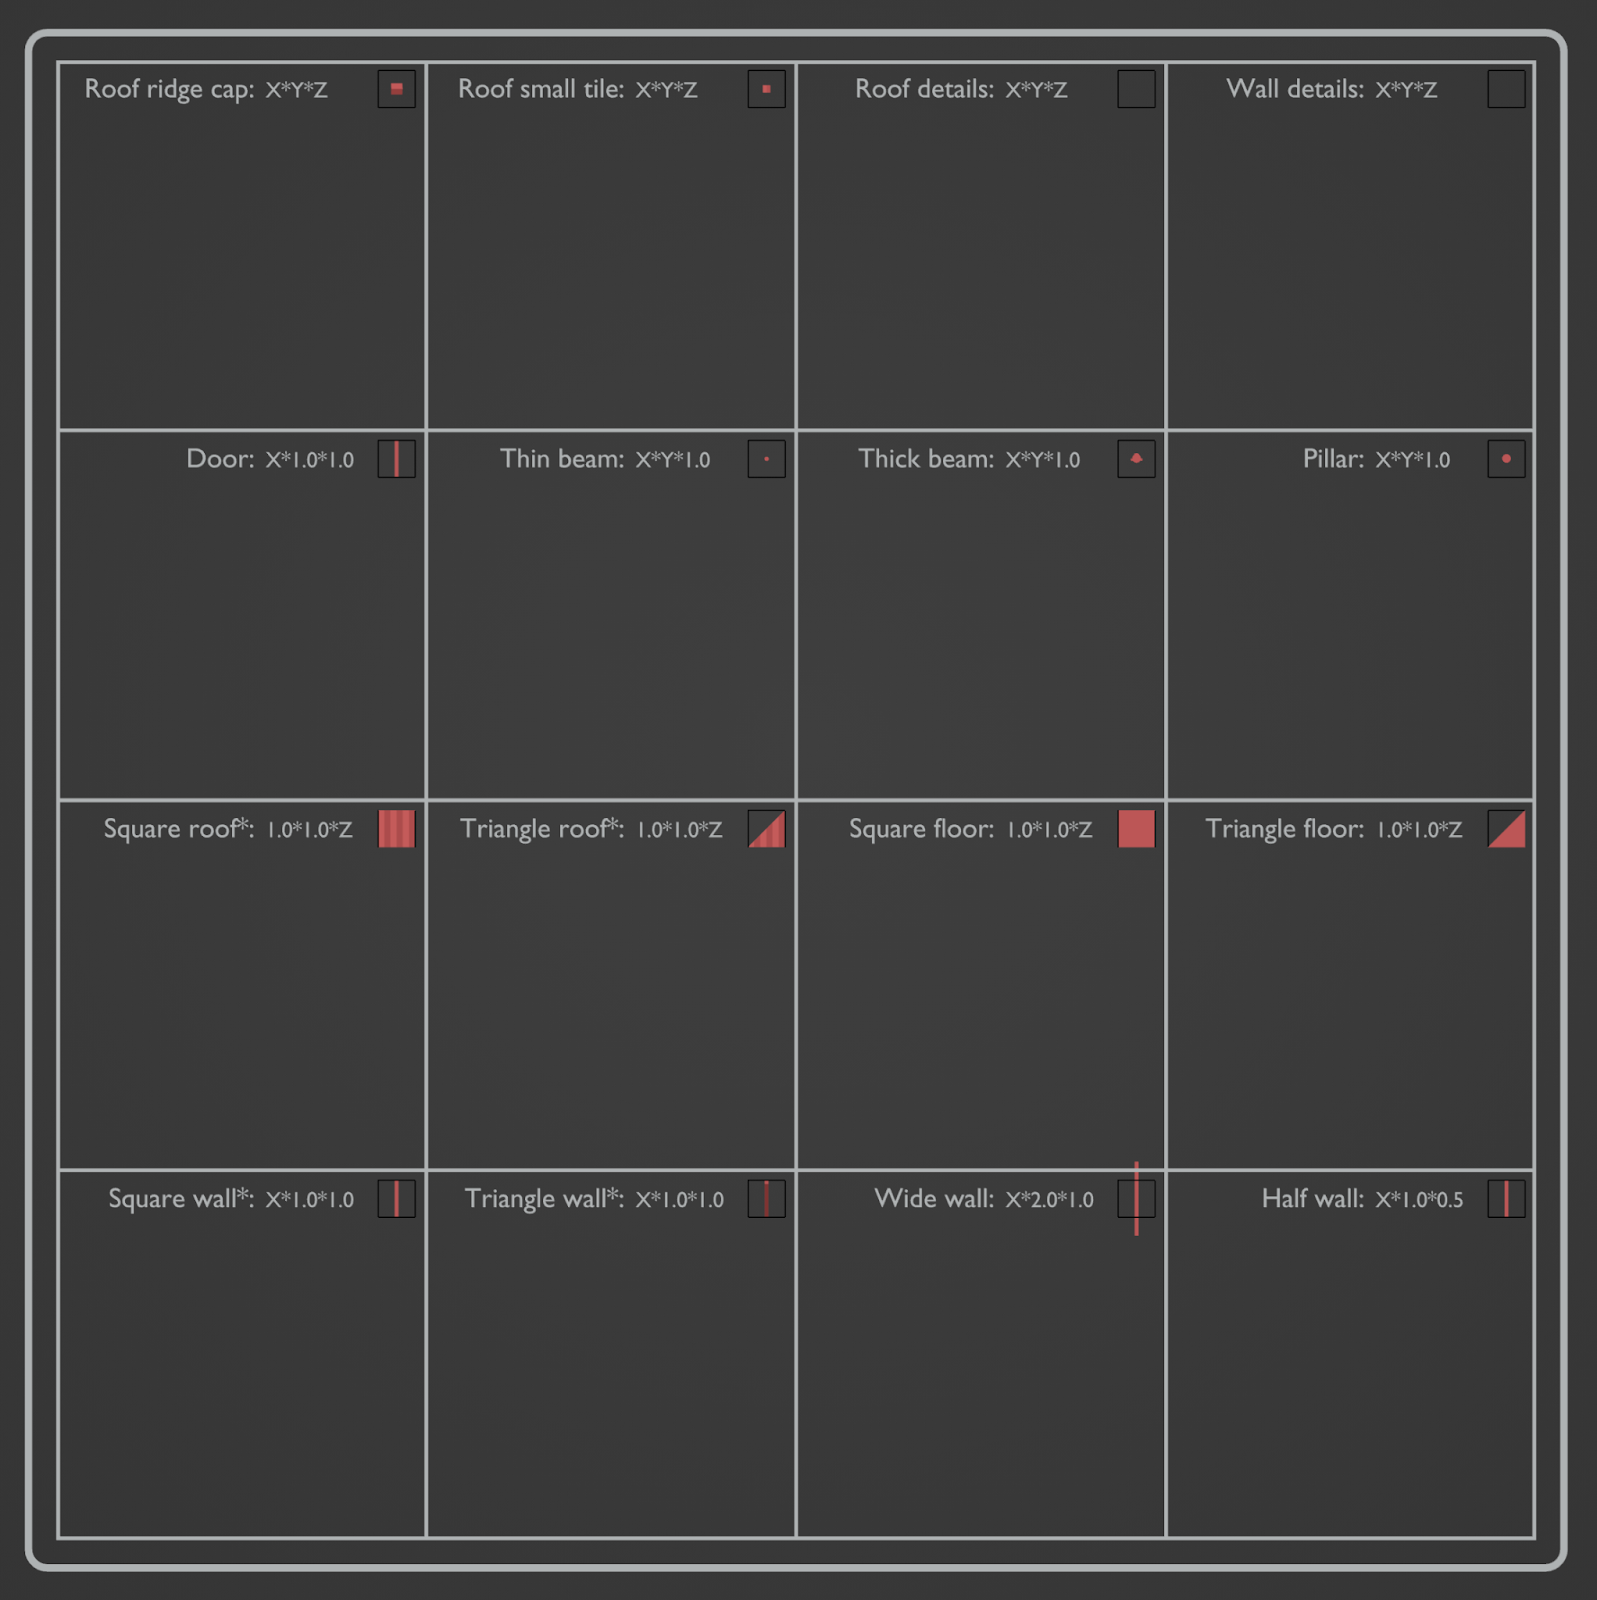
It contains all asset types you can have as well as their dimensions and orientations. If the dimensions are unspecified (e.g. all axes where it says X*Y*Z or X in X*1.0*1.0), any dimensions will work.
Assets
Some asset types (marked with *) are required for the basic building shape to appear, the rest are somewhat optional. The more assets of each type you create, the more variation the generated buildings will have.
Make sure the assets have the correct rotation and dimensions. Use the assets in the Template Building Style as a guide, and look at the dimensions specified in the Building style guide (the grid pictured above). It is always good practice to apply rotation and scale with CMD/CTRL+A.
Asset types
Square & triangle wall *: Used to build the main wall shapes.
Wide & half wall: Complementary wall pieces, these cover a wider range of possible wall shapes and are used to minimize unnaturally stretched assets. Can be disabled.
Square & triangle roof *: These build up every possible roof shape.
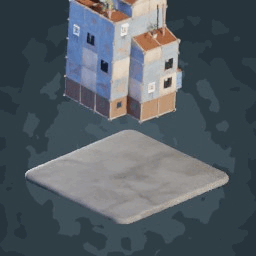
Square & triangle floor *: Floor. Can also be used instead of flat roofs if “Flat roof as floor” is checked.
Door: The door assets are separated in order to allow for turning them off, for example on upper floors.
Thin beam: Asset used (if enabled) between faces on a wall.
Thick beam: Thick beams are instanced (if enabled) on the corners of the walls, as well as roof edges and (if present) wall edges. The generator will try to orient these in the same direction relative to the corner, allowing for details such as quoins.
Pillars: Pillars will be placed (if enabled) where the source mesh overhangs itself, or where it overhangs a specified collision mesh.
Roof ridge cap: Instanced on the ridge of the roof and, flipped 180 degrees, in the valleys of the roof.
Roof small tile: Can be enabled, is scattered across the roof randomly.
Roof details: Instanced across the roof randomly.
Wall details: Instanced along the walls randomly.
(* necessary to build the basic building shape)
Categories/Collections
There are two methods for categorizing your assets for use with PBG 2.
The recommended method is to put all the assets in ONE collection, and position the assets in the correct square of the guide using the move tool (G). Make sure that the object origin is within the square of the corresponding category.
With this method, you can use your building style with the Simple Building, Two-Part Building, Instance Assets and Instance Mixed Assets node groups. Simply select the collection and the style is ready. The generator will automatically detect the asset type based on its position.
An alternative method is to put all the assets into separate collections, one for each of the specified asset types.
When using this method, you must use the Instance Custom Collections node group (in combination with Create Points). You also need to select all the collections manually every time you want to use the building style.
Material colors
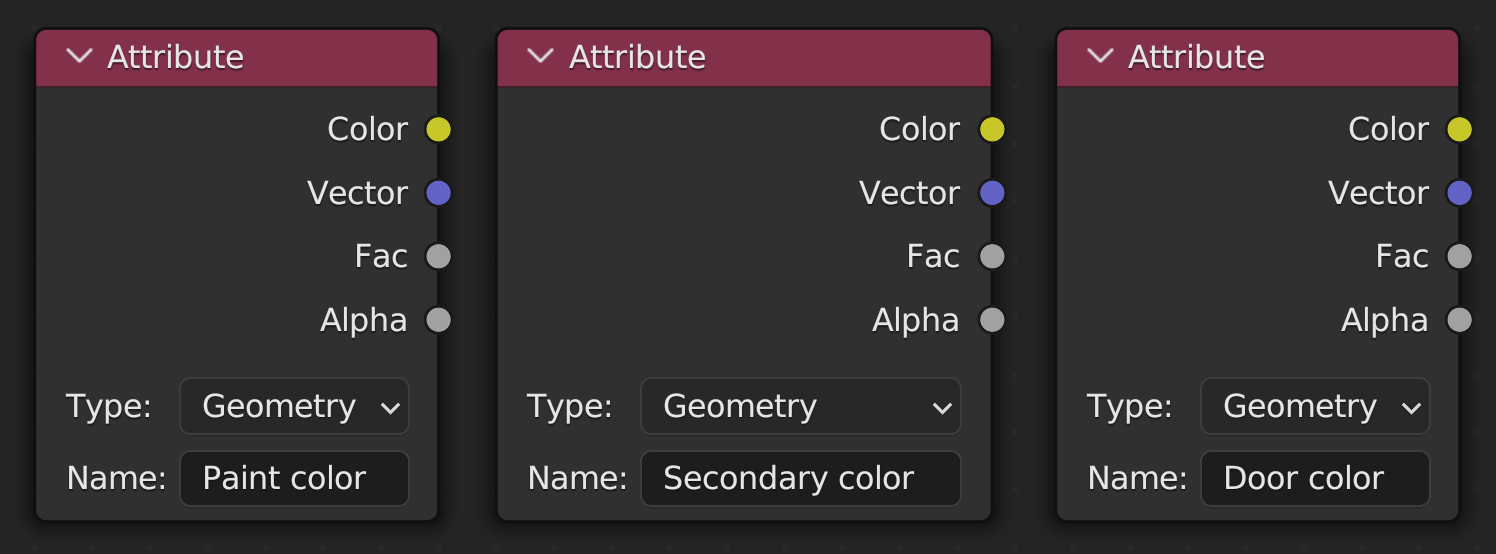
When creating materials for your own assets, you can use the attributes Paint color, Secondary color and Door color to control the color. This is how the pre-packaged styles work. The alpha of the color is used as the mix factor, i.e. how much of the specified color to mix in.
Convert to mesh
If you want to edit the mesh of the generated building, or export it, you will need to convert the building to a mesh.
Drag the Convert To Mesh node group onto the building.
(In object mode with the building selected) Go to Object>Convert>Mesh and check Merge UVs.
(Optionally) Bake the materials. See tutorials on Blender texture baking for this.
The materials in the pre-packaged styles were made for Blender and might not look the same if exported. Baking is one solution.
Explanations
PBG 2 or the Building Generator: This product, a collection of node groups, presets and styles.
Node group: A geometry node group. Can be dragged from the asset browser onto an object.
Style: A Style (or Building Style) refers to a collection of assets that can be selected to be used in a procedural building.
Preset: A preset in this case is a node group that is already set up with a style and some settings applied. You can drag it directly from the asset browser onto an object.
Asset Browser/Library: Blender has an asset browser that allows you to access your Asset Library from any blender project. PBG 2 is set up to use the Asset Library out of the box.
Greebles: Small details scattered across a surface.
Support
If you need help, join my support Discord server.
License
For buildings generated using PBG 2: Personal and commercial use is allowed, credit is appreciated.
You may not redistribute any of the geometry node groups themselves, for free or commercially.
The asset packs contain assets (materials, textures and models) from Polyhaven.com, ambientCG.com, pexels.com, unsplash.com, and https://www.si.edu/openaccess. They are licensed under Creative Commons — CC0 1.0 Universal.
One or more textures used in the asset packs have been created with photographs from Textures.com. These photographs may not be redistributed by default; please visit www.textures.com for more information.
-
$15
All PBG 2 node groups + 5 building styles
-
$20
Node groups + 5 styles + 4 historic building styles
Have questions about this product?
Login to message
| Sales | 1700+ |
| Rating | 9 ratings |
| Dev Fund Contributor | |
| Published | over 1 year ago |
| Software Version | 4.0, 3.6 |
| License | Royalty Free |