Music Motion
Music Motion Documentation
1. Installation & Setup
-
Download and Install
- Place the MusicMotion folder (or .zip file) in your Blender add-ons directory.
- In Blender, go to Edit > Preferences > Add-ons, click Install, select the add-on, and enable it.
-
Access in Blender
- Open or create a Blender project.
- Go to the 3D View and open the Sidebar (
Nkey by default). - Navigate to the Music Motion tab to find the plugin’s panel.
2. User Interface Overview
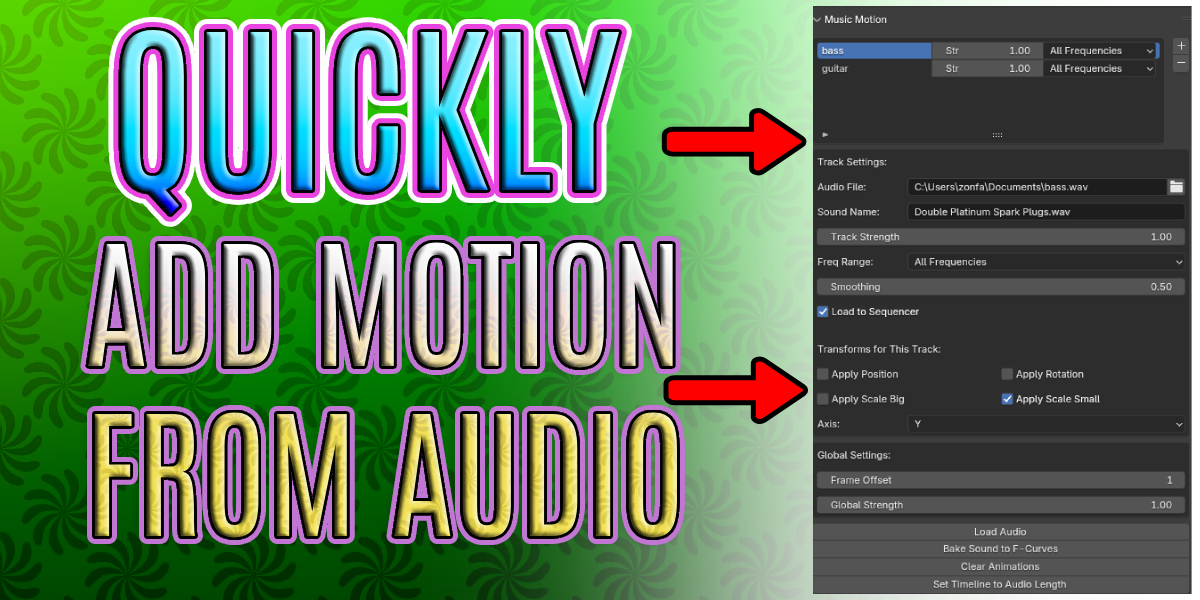
When you open the Music Motion panel, you’ll see:
-
Audio Tracks List
- Add/Remove buttons to create multiple tracks (e.g., bass, vocals, percussion).
- Each track can have a distinct file path, strength, and frequency settings.
-
Track Settings
- File Path: Load your chosen audio file.
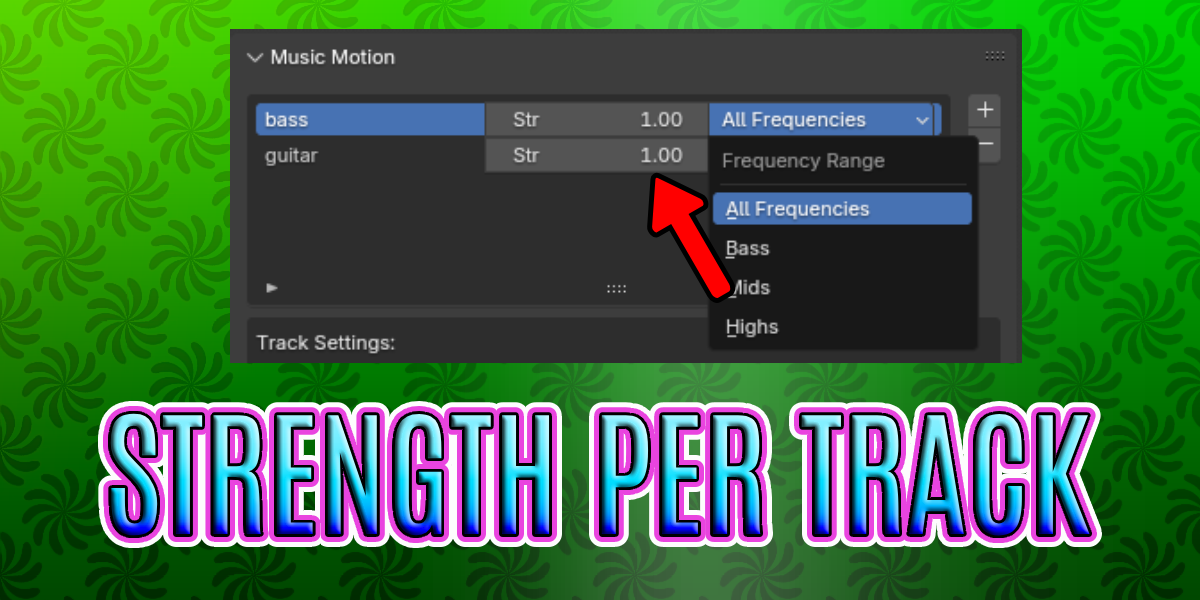
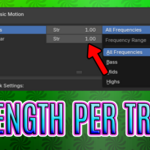
- Strength: Controls how strongly this track influences the selected objects.
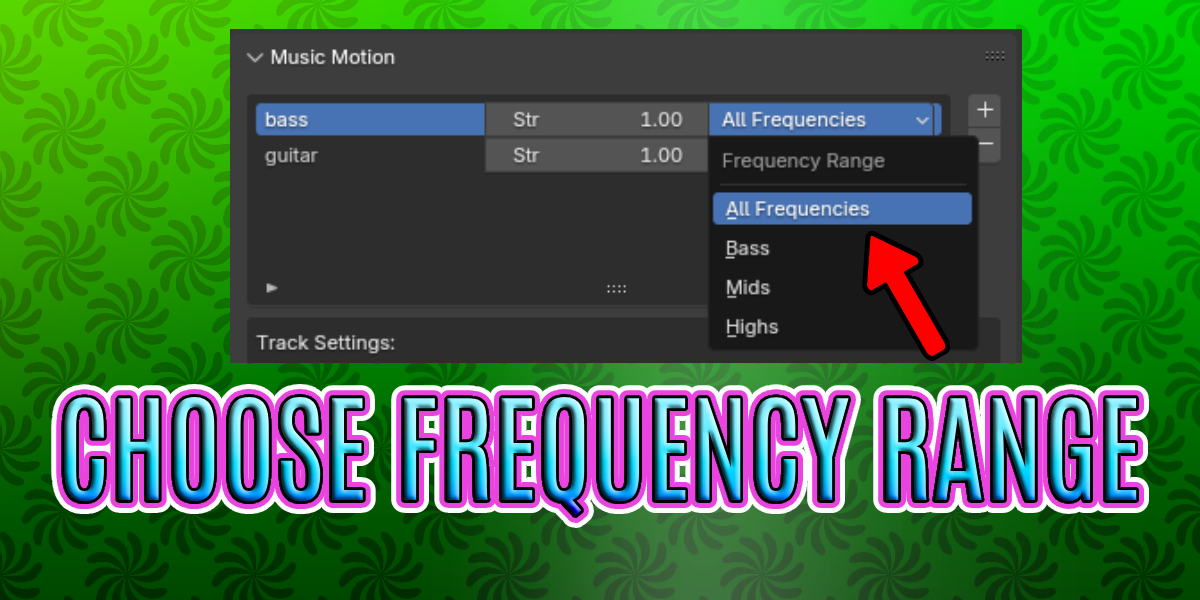
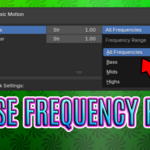
- Frequency Range: Choose All, Bass, Mids, or Highs to refine what part of the audio drives motion.
-
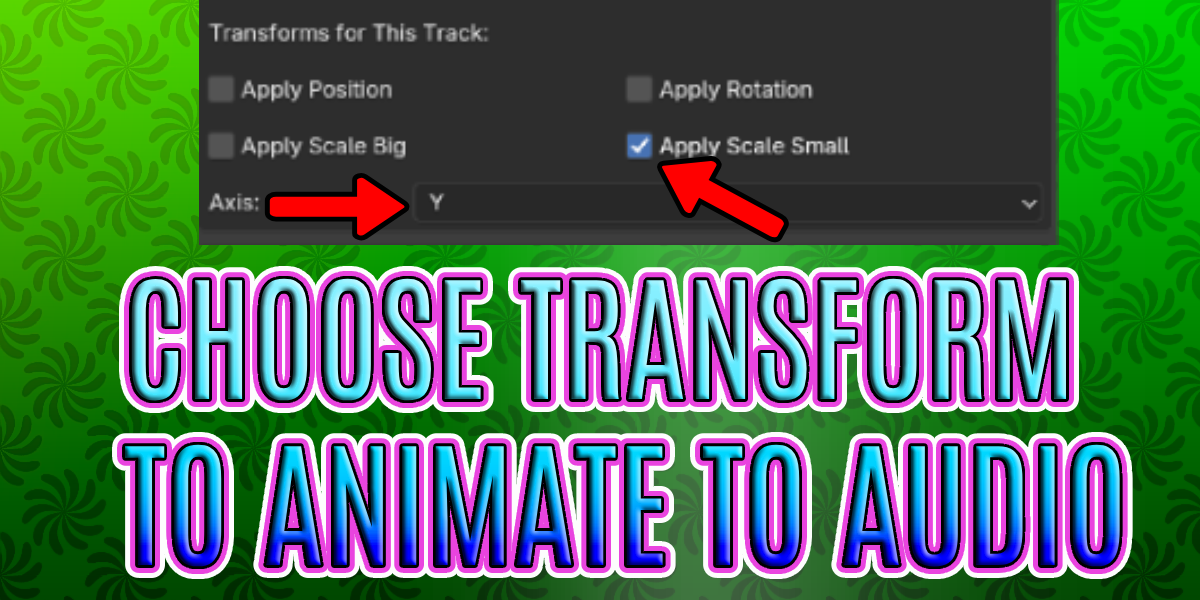
Transform Toggles
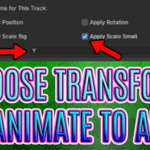
- Position / Rotation / Scale: Choose which properties get animated.
- Scale Big / Scale Small: Decide how amplitude affects scale (e.g., 0..1 -> 1..2 or 1..0).
- Axis: Select one or more axes (X, Y, Z) for each property.
-
Global Settings
- Frame Offset: Where in the timeline to begin applying motions.
- Global Strength: Multiply all track influences by a final scale factor.
-
Operators
- Load Audio: Ensures Blender recognizes your file(s) internally.
- Apply/Bake Animation (or Bake Sound): Processes your audio data and generates real animation changes.
- Clear Animation: Removes all previously generated audio-driven keyframes from selected objects.
(Note: The specific operator names might differ slightly depending on your final version.)
3. Quick Start Workflow
-
Add a Track
- Click the Add button to create a new audio track entry.
- Assign a File Path to load your audio file (WAV, OGG, or other supported format).
-
Set Frequency & Strength
- Adjust the Strength slider to control how strongly this track will drive motion.
- Select Bass, Mids, Highs, or All to focus on specific parts of the audio spectrum.
-
Choose Transforms & Axes
- Enable Position, Rotation, or Scale toggles (or multiple).
- If scaling, pick Scale Big (amplitude 0..1 → 1..2) or Scale Small (amplitude 0..1 → 1..0).
- Select X, Y, Z, or a combination to define the direction of movement or rotation.
-
Global Settings
- Frame Offset: If you want the animation to start later in the timeline, set an offset.
- Global Strength: Increase or decrease the overall effect from all tracks.
-
Load Audio & Bake
- Hit Load Audio to confirm the file is recognized.
- Make sure you have your objects selected in the 3D View.
- Click Bake Sound to F-Curves (or similar operator) to generate animation data.
- Play or scrub your timeline to see how your objects respond to the music.
-
Refine & Re-Bake
- Switch Frequency Range, tweak Strength, or move the timeline range.
- Re-run the bake process until you get the perfect sync.
- Use Blender’s Dope Sheet or Graph Editor if you want to manually edit curves further.
-
Render Your Animation
- Once you’re satisfied, render frames or an animation as usual.
- Enjoy a perfectly timed, music-driven scene!
4. Detailed Feature Notes
4.1 Multiple Audio Tracks
- You can load multiple audio files (e.g., bass and vocals).
- Each track can animate different transforms or different axes on the same objects or even separate objects.
- The final result is a layered effect, combining amplitude data from all tracks.
4.2 Frequency Range
- All: Full bandwidth of your audio.
- Bass: Typically around 20–250 Hz, emphasizing low-end hits (e.g., kick drums).
- Mids: 250–2000 Hz, central frequencies (often vocals, guitars, etc.).
- Highs: 2000–20000 Hz, capturing cymbals, hi-hats, and treble elements.
- Tip: This is approximate; real-world audio can vary.
4.3 Strength Sliders
- Per-Track Strength: Fine-tune amplitude for each audio track so it doesn’t overpower or underwhelm your scene.
- Global Strength: A universal multiplier. If you want everything to be more pronounced, raise this slider.
4.4 Transform Toggles & Axes
- Position: Great for bouncy or pulsing motions.
- Rotation: Ideal for spinning objects or rocking back and forth with the beat.
- Scale: “Big” scaling expands objects as the audio peaks; “Small” scaling shrinks them.
- Axes: Combine axes for diagonal motion, or isolate just one to keep it simple.
4.5 Frame Offset & Scene Range
- If your music is offset within the timeline, set Frame Offset accordingly so the visual movement lines up with the correct part of the audio.
- Ensure your scene’s start and end frames are long enough to capture the entire track.
4.6 Clearing Animation
- If you need to start over or remove audio-reactive keyframes, select the objects and click Clear Animation.
- This deletes only the motion generated by Music Motion (i.e., transforms on the selected objects), leaving other keyframes unaffected.
5. Tips & Best Practices
-
Use Short Audio Snippets for Testing
- Load a small portion (e.g., a 10-second WAV) to quickly see results and experiment with settings.
-
Combine Multiple Tracks
- Animate one object’s scale with the bass track, another’s rotation with vocals, etc., for a rich, layered effect.
-
Balance Track Strength vs. Global Strength
- Start with moderate values (like 1.0 each). Then tweak if you need bigger or subtler movements.
-
Check Frequencies
- If you’re not seeing movement, try “All Frequencies” to confirm there’s audible content in the file.
- Bass or Highs might be too quiet for certain songs.
-
Further Customization
- After baking, open the Dope Sheet or Graph Editor in Blender to manually tweak curves (e.g., smoothing, offsetting peaks, layering effects).
-
Scene Lighting & Materials
- Even the best motion benefits from good aesthetics. Add lights, materials, and camera work to enhance your final renders.
6. Troubleshooting FAQ
-
No Keyframes Generated?
- Ensure an object is selected before baking.
- Check you have a Dope Sheet area in your layout (so the operator can write data).
- Confirm audio is recognized (try the “Load Audio” button).
- Make sure Strength isn’t 0.0.
-
Objects Not Moving to the Beat?
- Try increasing either the track’s Strength or the Global Strength.
- Switch to “All Frequencies” if your chosen range is too quiet.
-
Sporadic or Overly Chaotic Movement
- Lower Strength, or try a narrower frequency range (like Bass or Mids).
- Adjust the resulting curves in the Graph Editor to smooth out extremes.
-
Animation Sync Issues
- Check your Frame Offset if the track’s start doesn’t align with your scene.
- Make sure you’re playing the animation at the correct FPS to match your audio tempo.
-
Artifacts or Gaps in the Audio
- Use a stable, uncompressed format (like WAV) for best results. Some compressed formats can behave unpredictably.
7. Conclusion
Music Motion brings your Blender scenes to life by synchronizing 3D object movement with music or sound effects, all within a simple, intuitive interface. From subtle ambient motion to bold, beat-driven transformations, the possibilities are endless.
Create, experiment, and let your scene dance to the rhythm—no manual keyframing required.
Discover more products like this
audio visual audiovisualizer Audio-Visualizer audio animation audio analysis audiovisual geometry nodes audio visualization
