Minotaur
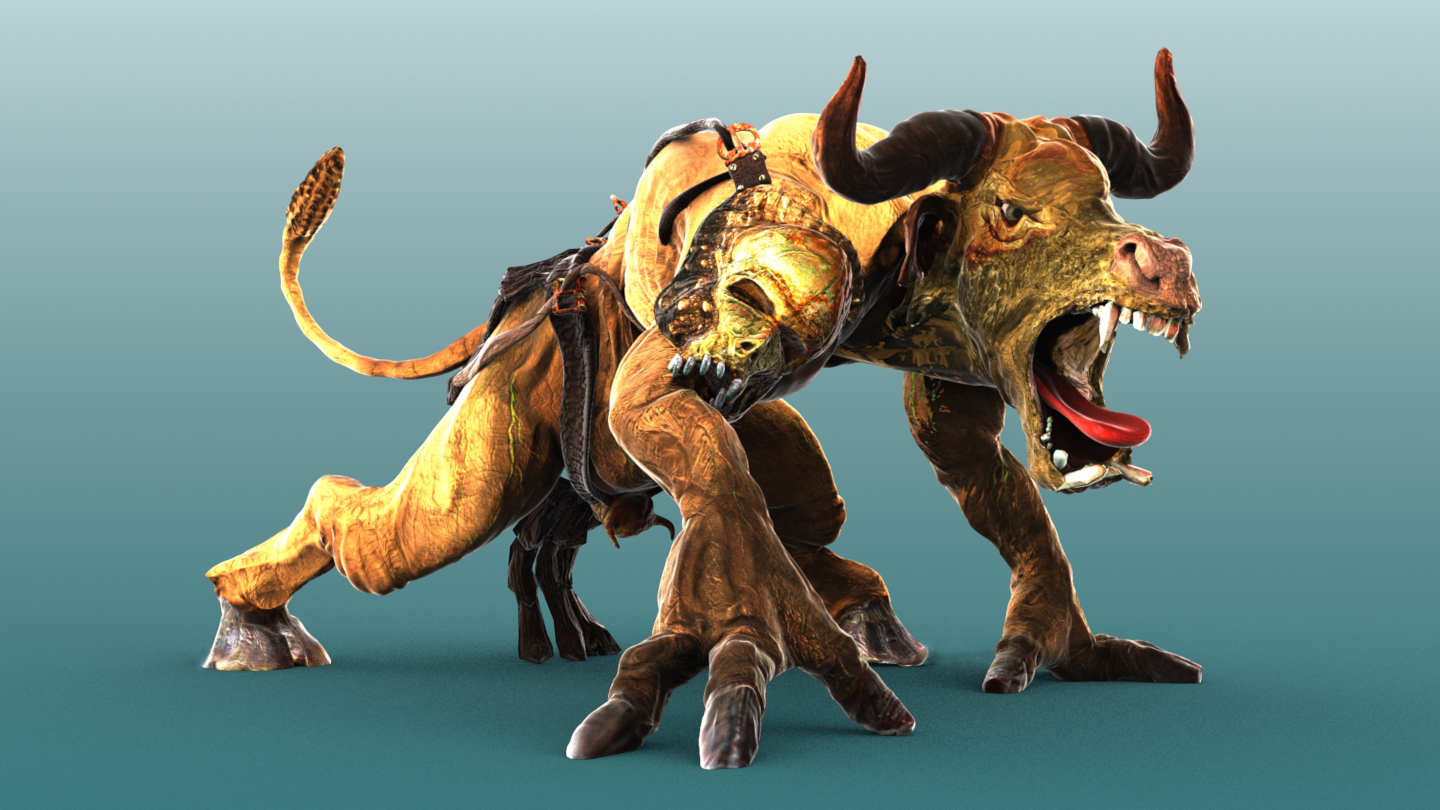
A Super Versatile Minotaur, Rigged And Ready To Rumble
The Minotaur consists of two main 3D components that being the Minotaur itself and the Minotaur's Armour. As the components are modelled separately they are not interdependent. In other words, you can use the Minotaur with or without his armour and/or extract and use the armour on a completely separate character.
Although these two components also consist of other objects or sub-components, what distinguishes these main components is that each sub-component inhabits the same UV layout within its main component.
Let's have a look at the main components in a little more detail.
Main Component 1: The Minotaur Model
The Minotaur Model can further be broken down into several other components including
- upper teeth and lower teeth
- tongue
- left eye and right eyes
As these components typically do not deform during animation (they are only transformed), they can safely be parented to a bone for the purposes of animation.
This is, of course, with the exception of the tongue. As the Minotaur uses Blender's Rigify system, we, fortunately, are provided with deformation bones and controllers too for the tongue.
Main Component 2: The Minotaur's Armour
The Armour is a more complex main component as it is made up of several objects. Including,
- Straps
- Shoulder Guards
- Loincloth
How these components contribute to the rig during animation, takes on three different approaches.
The simplest approach can be seen with the shoulder guards which are weighted to the Minotaur's shoulder bones and also to the first upper arm bone for a little extra deformation that assists with the prevention of objects intersecting.
Avoiding Intersections
It's worth noting at this point that in order to rig the Armour so that it deforms with the Minotaur's movements and avoids excessive intersections, we have taken a hybrid approach that results in a combination of techniques while keeping viewport interactivity responsive with minimal dynamic simulations.

Bearing this in mind although the straps could be animated with a cloth simulation, this would be overkill given that they are intentionally designed to look and act like a hard leathery material. As a result, the straps are weighted to the armature and follow the Minotaur's body deformations. One of the key tools, in terms of avoiding too many intersections between the Armour straps and the Minotaur's body, would be in Shape Keys. Shape Keys or Morph targets can be used to tweak the armour and main body when intersections become visible.
Shape Keys are particularly useful when rendering stills as they add a great deal of convenience, without compromising on the outcome or the scene's believability.
Finally, the Minotaur's loincloth is animated by means of dynamic simulation. This adds to the scene's realism while keeping simulations at a minimal. The Minotaur's body is set as a collision object and as both objects have a polycount that can be rendered in realtime the simulation can be computed within a very reasonable timeframe.
As a result, it's advisable that you Bake a dynamic simulation to disk before rendering an animation
What does the Minotaur product consist of?
The Minotaur product comes with two main production-ready blend files, a supplementary FBX file with a baked walk cycle and a water-tight, stylized STL file for 3D printing.
- Minotaur_for _animation
- Minotaur_for_stills
- FBX baked walk cycle
- STL stylized model for 3D printing
Each file is optimized for it's specified outcome and the production-ready blend files all have textures in high-res, 4K packed into the .blend file.
Production-Ready Files
The Minotaur for Animation file uses Blender's Eevee renderer with the Principled BSDF shader. This provides the speed and level of detail required to render animation sequences with reasonable overhead and quality.
The Minotaur for stills file uses a more complex approach to rendering by leveraging on Blender's Cycles renderer. Both the main Minotaur and Armour meshes have highly customizable shading networks that include Sub-surface scattering (SSS), Fresnel, Ambient Occlusion and many high-res masks for targeting specific parts of each model. For instance, if you wanted to change the minotaur's veins from green to red and make them glow there are already masks in place to help you achieve that.
Shading Network

Although at first glance the Shading Network might seem complicated, it is in fact very logical and follows a simple design principle. That being,
Create a single shader (for example a Diffuse) that applies to the entire model.
Then minimize the shader's coverage with a mask and mix in the previous shader that followed the same methodology, through a Mix shader.
Effectively, what this means is that it is really easy to take each Shader's output and plug it directly into the Material Output's Surface input to see exactly how each shader affects the model.
If you would like to learn more about how the textures, materials and UV's are built for the Minotaur, the following post can help you gain deeper insight.
https://rabbitmacht.co.za/2020/07/28/minotaur-xiii-texturing-materials-and-uvs/This post covers SSS and the differences in Render Quality based on a conventional setup vs the minotaur's proprietary setupRigged with Rigify for Animation
Although I have often noted the benefits of a translation-biased rig to many of my students, in this instance, for the sake of simplicity and to curb the learning curve the Minotaur uses the very popular Rigify for animation. As you may already be aware Rigify automates the process of creating a Forward Kinematics (FK) rig which is used for deformation as well as a controller rig that uses various transforms and restraints for posing the FK rig.
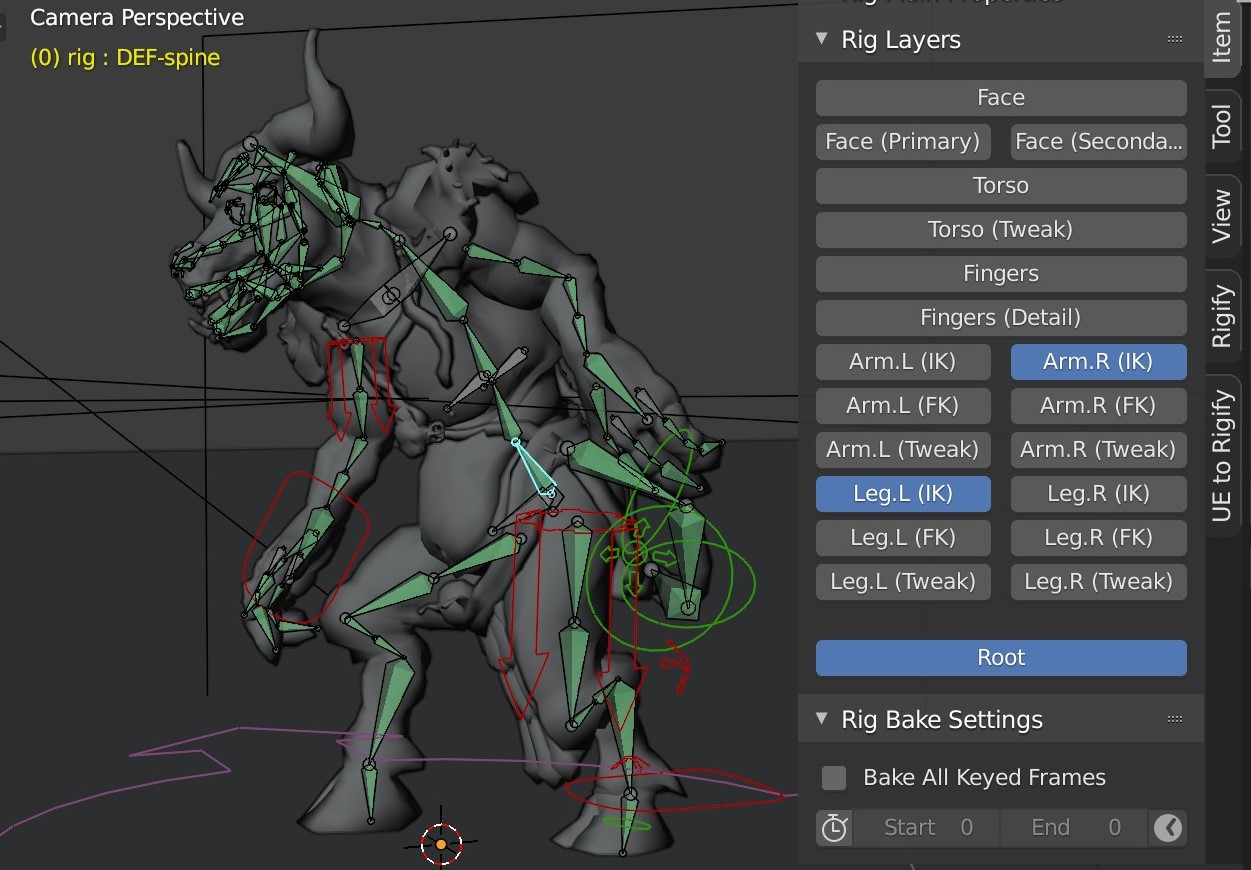
Animating with Rigify is intended to be relatively straight-forward and once your animation rig has been generated no special plugins are required thereafter.
The Rigify Metarig has also been included in the production files, giving you the ability to regenerate the rig if you wish to do so.
The minotaur comes equipped with a 40 frame loopable walk cycle. This provides an example of how you would set up multiple animations for your character particularly if you wanted to export it to a game engine.
If you want to learn more about the significance of a Forward Kinematics rig the following post can help you get a better understanding of that. Although controller rigs are essential for making character animation manageable and will generally consist of various hierarchical chains with restraints such as Inverse Kinematics, they will still typically rely on an underlying FK rig to actually deform your character's geometry, read more below..
https://rabbitmacht.co.za/2020/08/03/minotaur-xiv-fk-and-pose-rigs/In this post we take a closer look at a custom FK rig for the Minotaur and his armourUsing the NLA Editor
Blender's Non-linear Animation Editor, not to be confused with an NLE (Non-linear Editor) which is typically used for video editing and is also another tool available within Blender, provides a high level of abstraction relating to animation data. In much the same way that you can rearrange video clips in an NLE such as Adobe Premiere Software, Blender's NLA Editor allows you to convert animation sequences into clips (also called Actions) and rearrange them in any desired order.

With the rig selected open Blender's Non-Linear Animation (NLA) Editor. This allows you to push down the current animation to an Action. When exporting animations for a game character you would typically create multiple Actions such as walk, run, jump etc. By using actions the game engine is able to distinguish one sequence from another in a non-linear way. In other words, if you wanted your character to jump the game engine would go straight to the jump action as opposed to first playing the walk animation then the run animation and finally reaching the jump animation.

Once an Action has been created you can still edit it by simply selecting the action in the NLA Editor and hitting Tab on the keyboard. The action's keyframes will then be exposed in the Timeline, Graph Editor and the Dope Sheet. To create another Action you could return to the NLA select the action you are editing and hit Tab to exit Edit mode. Then simply keyframe another animation. To ensure that the old action does not override the visibility of the new action uncheck it's NLA track, this effectively mutes the action.
Also included within the Minotaur product is an FBX file demonstrating what an animation baked and exported might look like. You can simply import this FBX into another 3D application or separate it into two main parts one consisting of the rig with the Minotaur and the other consisting of the rig with the Armour. There are many different ways of exporting animations from Blender into game engines including UE to Rigify and UEfy to name a few. However, your use case might require something different. If you have any questions, comment below and someone will be sure to help you out.
Working with Proxies and the Shrinkwrap modifier
The Minotaur comes with an active Modifier stack, this means that in order to get the most out of the file it's recommended that the file is edited in Blender. The modifier stack actively contributes to the file's output, it is editable and some components are hierarchically immutable. Understanding the Minotaur's proxy model setup will assist greatly in reconfiguring the modifier stack.
Find out more about the Minotaur's modifier stack and how it optimizes the rendering process, both in the viewport and for high quality renders, by means of proxies in the following posts.
Proxy Model Setup for The MinotaurOptimizations for RenderingHigh-Resolution Sculpt Data
The Minotaur for stills file comes with an ultra-high-resolution sculpted version of the Minotaur and his Armour. You can find the high-res versions within a scene collection post-fixed with HR. These models are made of many hundreds of thousands of polygons so caution should be exercised when trying to render these models.
Their primary purpose is for the displacement of the realtime model's subdivisions through the Multires modifier at render-time.
In the following post, you can find out more about how the high-res models are constructed through non-destructive as well as Dyntopo sculpting.
High Frequency Detailing Through SculptingA Highly Efficient UV Layout
Whether you are creating characters that will be hand-painted or texture mapped by compositing photos an efficient UV layout is crucial to avoid exposing seams. A UV layout that is effective will not only be applicable for your 3D application but for 2D editing as well, as such UV's should be laid out matching the form of a character as close as possible while still avoiding stretching.
You can find out more about generating an efficient UV layout in the following post.
An Optimal UV Layout for the MinotaurIf you have any questions get in touch. We'd love to hear from you.