Light-X Pro
Light-X Pro - Intuitive Lighting for Blender
Light-X Pro is an add-on that aims to streamline and enhance the lighting workflow in Blender. With Light-X Pro
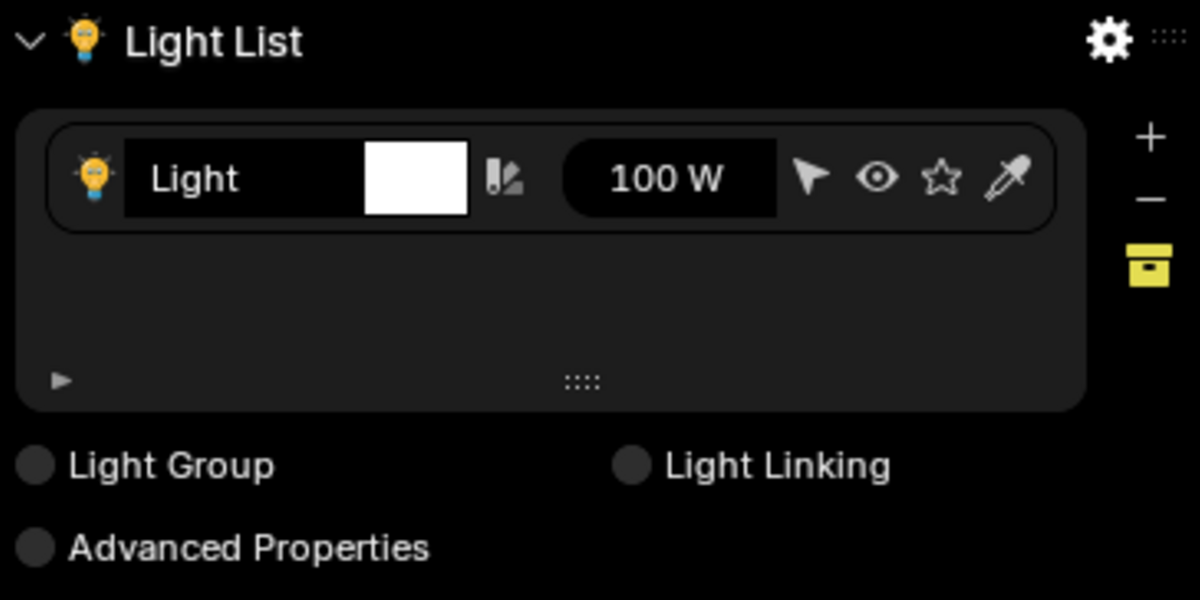
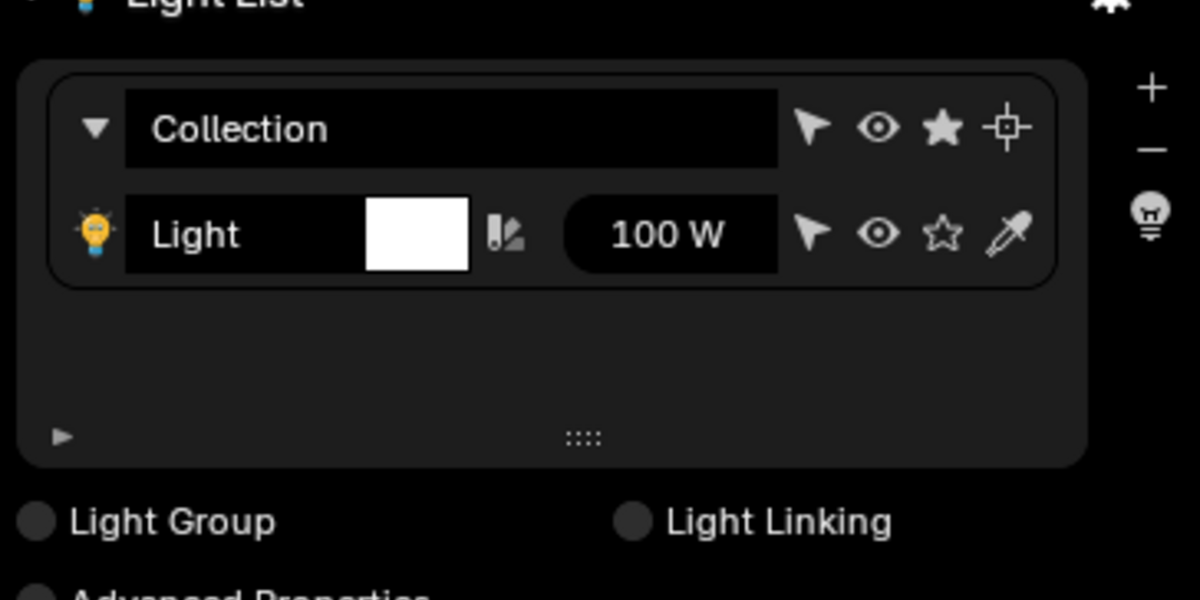
Light List
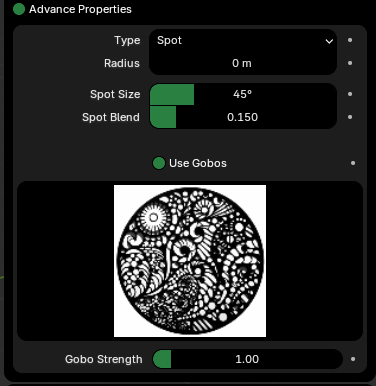
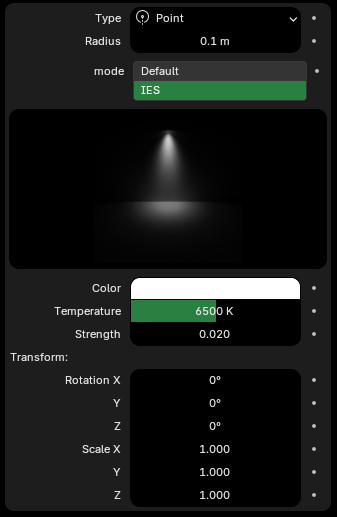
-
Key Features
Comprehensive Light and Collection Management
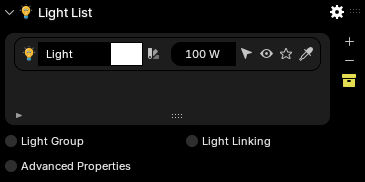
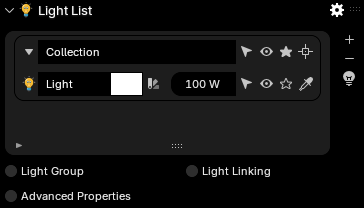
- Scene-Wide Overview: View all lights and collections in a unified, interactive list.
- Expand and Explore Collections: Drill down into collections to see individual lights and their properties.
- Filter Options: Switch between viewing individual lights or grouped collections for efficient organization.
Advanced Lighting Controls
- Energy and Color Adjustments: Easily tweak energy levels and colors for individual lights or entire collections.
- Solo Mode: Instantly isolate a light or collection, hiding all others for focused editing.
- Visibility Toggles: Control the visibility of lights or collections with a single click.
Powerful Light Interaction Tools
- Random Color Generator: Experiment with randomized light colors to find creative inspiration.
- Track Object Functionality: Track selected objects or remove tracking constraints on the fly.
- Light Tagging and Filters: Organize lights with custom tags and filter them for efficient workflow.
IES & Gobo Lighting Integration
- IES Texture Support: Apply realistic light patterns with IES textures (recommended for Blender 3.6+).
- Spotlight Gobos: Add intricate textures and designs to spotlights with customizable strength and scale.
Dynamic Property Management
- Supports advanced property settings such as:
- Light Type Adjustments: Customize light-specific properties like radius, shape, angle, and blend.
- Shadow Options: Access detailed shadow controls for both Eevee and Cycles.
- Collection-Level Actions: Batch manage visibility, selection, and movement of lights.
Customizable User Interface
- Scalable UI: Adjust UI scale for a comfortable user experience.
- Intuitive Filters: Search lights by name, tags, or collections for quick access.
- Advanced Property Display: Access detailed settings for selected lights directly in the UI.
Who Is It For?
Light-X Pro is designed for artists, lighting designers, and Blender users seeking:
- Precise control over complex lighting setups.
- Time-saving features to speed up their workflow.
- Enhanced creative freedom with advanced lighting tools.
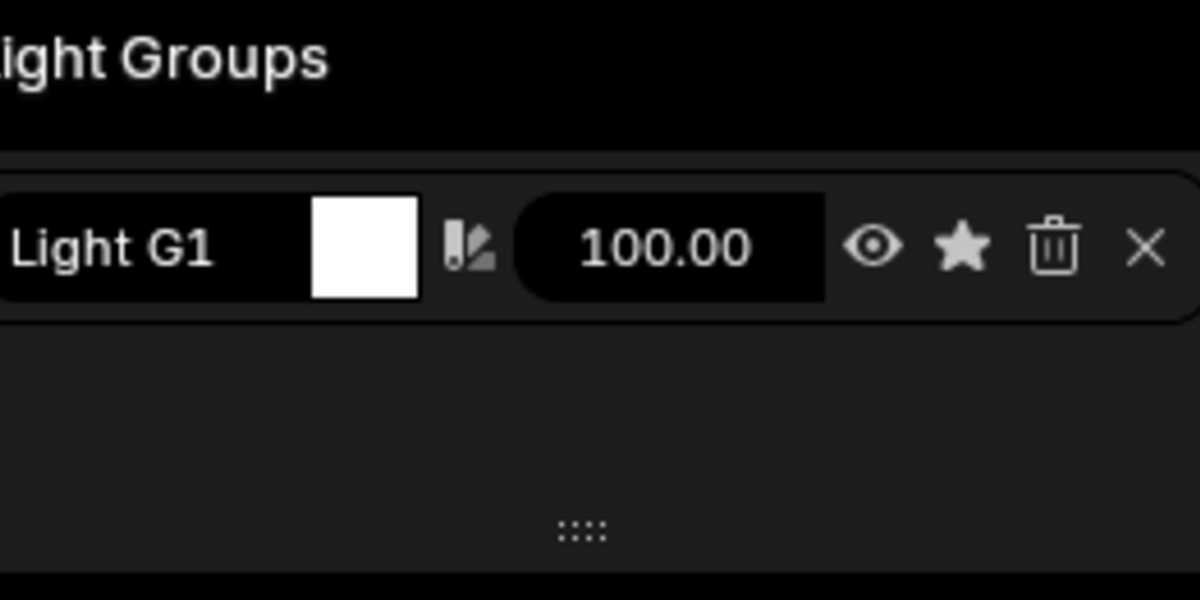
Light Group
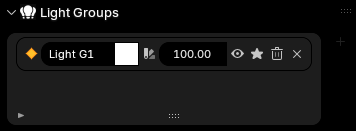
-
Key Features:
Light Group Creation & Assignment
- Quickly create new light groups and assign them to selected light objects in your scene.
- Automatically generates sequential light group names for easy identification.
Energy & Color Controls
- Customize light group properties directly from the interface:
- Adjust Energy: Fine-tune the intensity of all lights within a group with a unified slider.
- Change Colors: Apply precise or randomized colors to entire light groups effortlessly.
Light Management Tools
- Solo Mode: Focus on a specific light group by temporarily hiding all other lights in your scene.
- Visibility Toggles: Quickly show or hide all lights within a group with a single click.
- Add/Remove Lights: Assign or remove individual lights from a group while retaining group properties.
Randomization Options
- Inject creativity with random color generation for light groups, perfect for experimenting with dynamic lighting schemes.
User-Friendly Interface
- A clean and intuitive panel in the 3D Viewport UI under the "Light Groups" tab.
- Integrated UI List for easy navigation and management of multiple light groups.
Light Linking
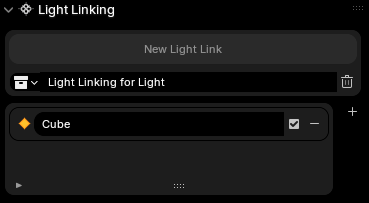
-
Key Features:
Dynamic Receiver List Management
- UI List Integration: View and manage objects linked to lights directly from a clean and functional UI.
- Custom UI Scaling: Automatically adjusts the interface scale based on your preferences for an optimized user experience.
Light Linking Tools
- New Light Link Creation: Quickly create light links for active light objects, with clear feedback if a link already exists.
- Receiver Toggle: Easily include or exclude objects from light linking via intuitive checkbox controls.
- Receiver Removal: Remove linked objects with a single click using the streamlined UI.
Collection Management
- Active Collection Display: View and edit the name of the active collection directly within the panel.
- Collection Creation & Deletion: Seamlessly manage linked collections with dedicated buttons for adding or removing them.
- Dynamic Availability: Buttons automatically adjust their enabled state based on the context (e.g., no active light or collection).
User-Friendly Interface
- A dedicated panel in the 3D Viewport's "Light-X Pro" tab ensures easy access to light linking tools.
- Custom Icons: Includes visually appealing icons for light groups, collections, and operations for a polished interface.
- Expandable Design: Panel options can be expanded or collapsed as needed, keeping the workspace clutter-free.
Comprehensive Workflow Integration
- Supports Blender's active object and collection system, ensuring seamless interaction with existing workflows.
- Provides clear feedback for missing or invalid configurations, such as absent collections or inactive lights.
Undo Support
- All operations support Blender's undo system, allowing for non-destructive experimentation with light linking.
Who Is It For?
This add-on is designed for 3D artists and lighting professionals who need precise control over light linking in Blender. Whether you're setting up detailed scene lighting for animations or isolating objects for specific effects, Light Linking Pro simplifies and enhances the process.
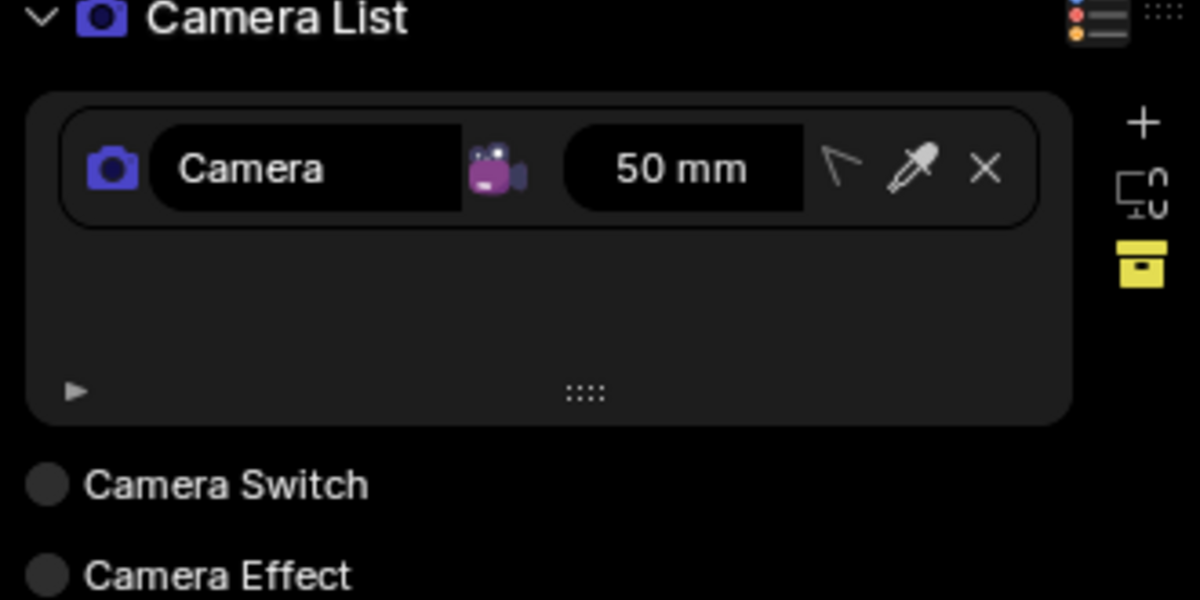
Camera List
-
Key Features:
Intuitive Camera List Interface
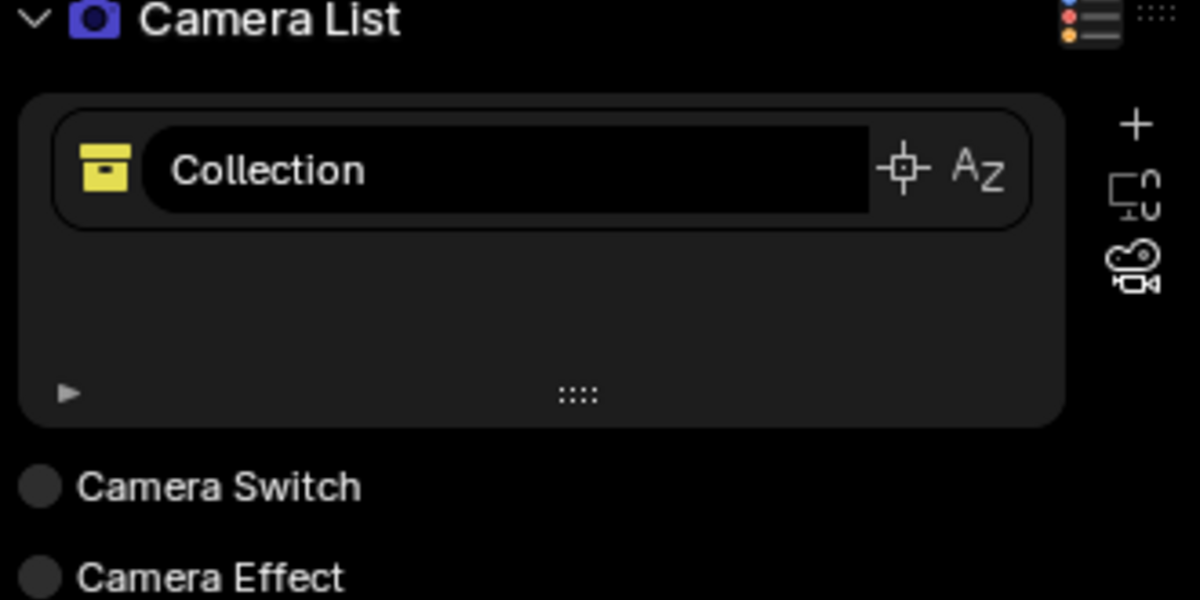
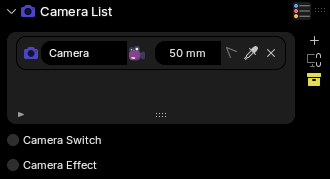
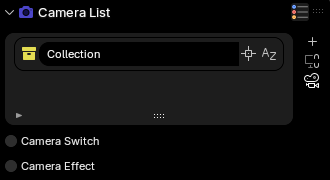
- Camera and Collection Views: Toggle between managing cameras individually or organizing them by collections.
- Customizable UI Scale: Adapt the interface for better readability and usability based on your preferences.
Camera Properties Management
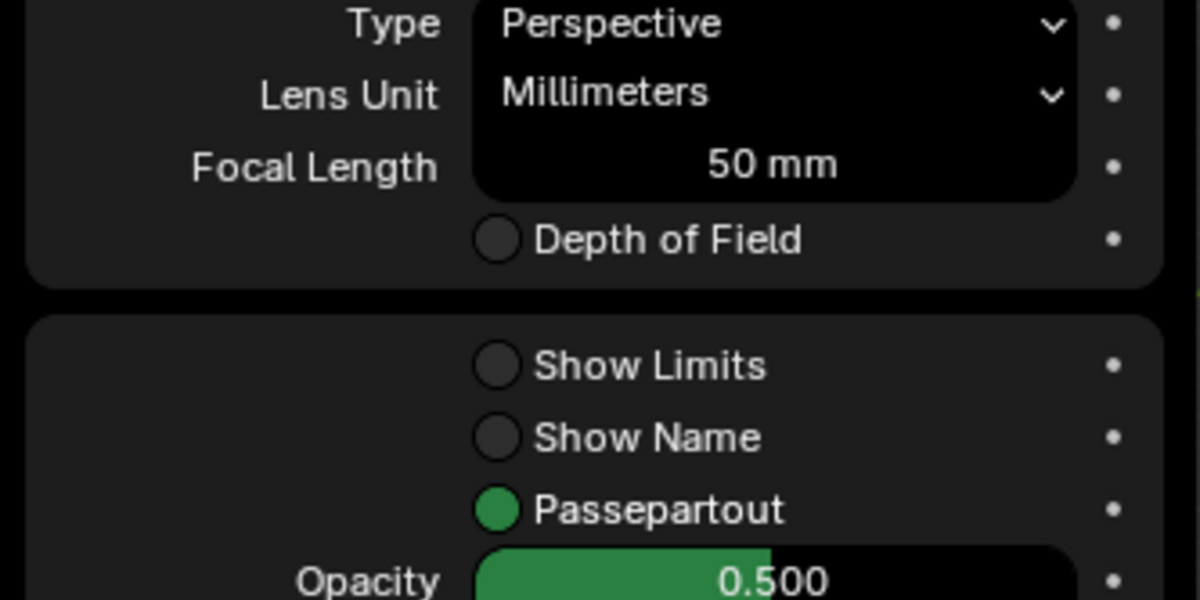
- Lens and Perspective Controls: Adjust focal lengths, orthographic scales, and angle settings seamlessly.
- Depth of Field Support: Fine-tune DoF properties, including focus distance, aperture settings, and bokeh effects.
- Display Options: Enable features like passepartout, limits, and composition guides directly from the panel.
Camera Interaction Tools
- Add Cameras from View: Quickly add new cameras to your scene based on the current view.
- Toggle Camera Lock: Lock or unlock the camera view directly from the panel.
- Select and Track Objects: Easily assign or remove object tracking for cameras with built-in operators.
Batch Operations
- Track All Cameras in Collection: Automatically set all cameras in a collection to track the active object.
- Batch Rename Cameras: Streamline your workflow with a powerful batch renaming tool.
- Solo and Group Visibility: Adjust camera visibility or focus on specific groups with simple toggles.
Collection-Specific Features
- Move Cameras Between Collections: Reorganize your cameras by dragging and dropping them into collections.
- Filter Cameras by Collection: Enable a focused view for specific camera groups in your scene.
- Custom Operators for Collections: Perform collection-wide actions, such as setting all cameras to track or renaming them efficiently.
Advanced Camera Controls
- Lens and Perspective Switching: Quickly toggle between perspective and orthographic views.
- Passepartout Opacity Control: Adjust the viewport overlay for enhanced focus during composition.
- Dynamic Constraints Management: Add, delete, or modify camera tracking constraints with ease.
User-Friendly Panels
- Main Panel: Manage all cameras and collections through a clean and structured interface under the "Light-X Pro" tab.
- Properties Subpanel: Dive into detailed camera settings like DoF, display preferences, and lens configurations, all accessible within a dedicated section.
Who Is It For?
This add-on panel is designed for Blender users of all skill levels who want to:
- Optimize their camera organization.
- Leverage advanced camera features.
- Simplify the management of cameras and their properties across complex scenes.
Camera Switch
-
Key Features:
Camera Switch Management
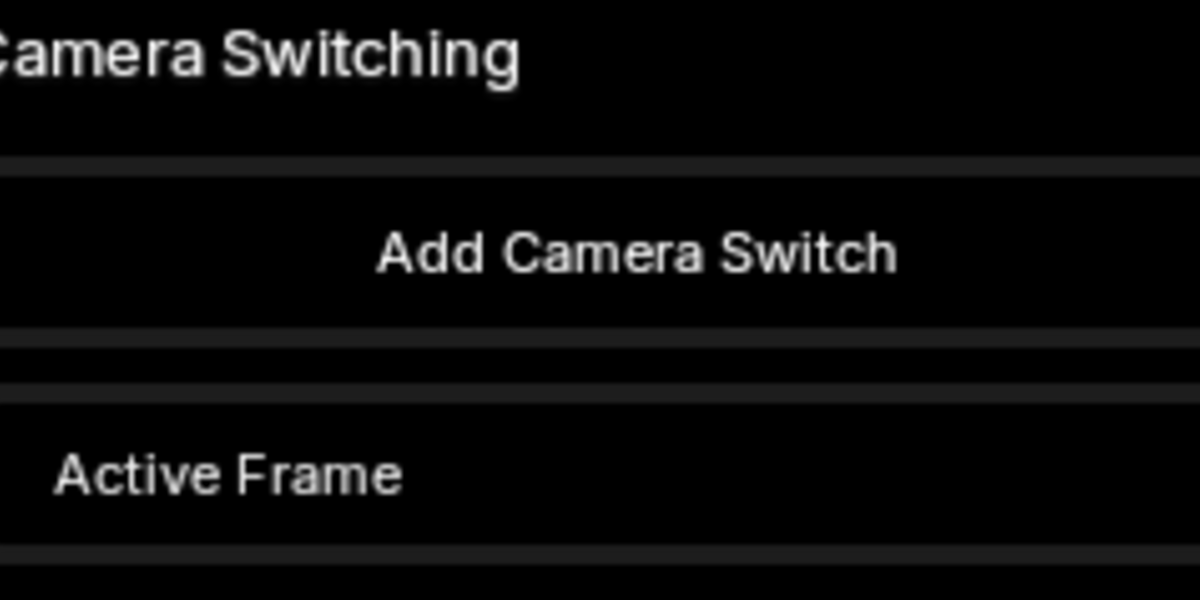
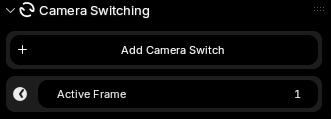
- Create, edit, and delete camera switches directly from a user-friendly interface.
- Assign cameras to specific frames for precise control over scene transitions.
Interactive Frame Navigation
- Jump to the frame of any camera switch with a single click.
- Highlight the active camera switch for the current frame to keep track of your composition timeline.
Customizable UI List
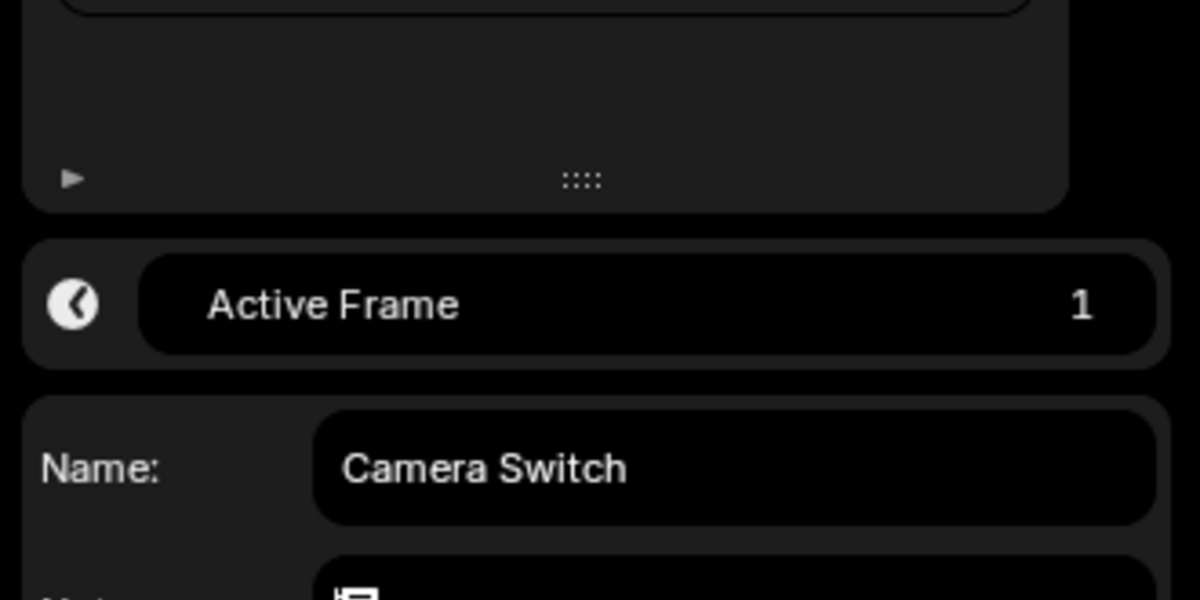
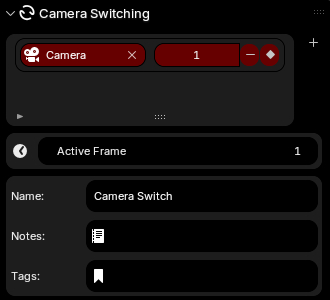
- A detailed list view to manage all camera switches:
- Displays associated cameras and their assigned frames.
- Includes quick-access buttons for removing or navigating switches.
- Compact and responsive layout for streamlined editing.
Advanced Filtering & Sorting
- Filter camera switches by name or tags to quickly locate the desired switch.
- Enable sorting options for alphabetical or reverse order views.
- Dynamic updates ensure filters and sorting reflect real-time changes in your list.
Detailed Switch Properties
- Add descriptive notes and tags to each camera switch for better organization.
- View and modify the properties of the currently active switch directly in the panel.
Add-On Integration
- Fully integrates with the 3D Viewport UI under the "Light-X Pro" tab.
- Includes customizable UI scaling to match user preferences.
Effortless Workflow
- Add new camera switches at the click of a button, or remove them with ease.
- Supports undo operations to ensure a non-destructive workflow.
Why Choose Camera Switch Manager?
This add-on panel is ideal for 3D artists, animators, and filmmakers who need precise control over camera switching in complex Blender projects. Simplify your animation timeline and ensure seamless transitions between shots with this powerful tool.
Camera Effects
-
Key Features:
Intuitive Effect Management
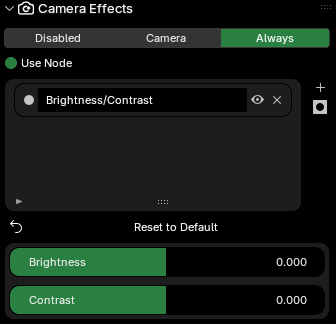
- Effect UI List: Organize your camera effects in a convenient list with tools to rename, toggle visibility, reset, or delete effects directly from the interface.
- Selectable Effects: Quickly activate and modify specific effects using radio button selectors.
Comprehensive Effect Library
-
Color Effects:
- Brightness/Contrast
- Color Balance (with multiple correction modes)
- Color Correction
- Exposure
- Gamma
-
Filter Effects:
- Glare (Bloom, Fog Glow, Ghosts, Streaks, Star)
- Sun Beams
- Vignette Effect: Dedicated controls for creating dramatic and focused lighting in your scenes.
Dynamic Effect Controls
- Each effect comes with specialized settings for precision control:
- Glare: Adjust type, quality, and threshold for cinematic highlights.
- Sun Beams: Fine-tune source position and ray length.
- Color Balance: Use ASC CDL or Lift-Gamma-Gain modes for advanced color grading.
- Brightness/Contrast and Gamma: Simple yet powerful sliders for immediate adjustments.
Vignette-Specific Panel
- A dedicated Vignette Controls panel allows for:
- Mask adjustments (width and height).
- Blur customization (X/Y size and intensity).
- Alpha Over settings for color blending.
Compositing Integration
- Automatically updates Blender’s compositor nodes when applying or toggling effects.
- Ensures compatibility with Blender’s versioning, supporting the latest compositor workflows.
Enhanced Usability
- Reset to Default: Quickly revert an effect to its original settings with a single click.
- Toggle Visibility: Enable or disable individual effects to experiment with various looks.
- Add/Remove Effects: Expand your list of effects or clean it up with ease.
- Customizable UI Scale: Adjust the interface size for better accessibility and comfort.
Dynamic UI Interactions
- A context-sensitive UI ensures that only relevant settings are displayed for the selected effect.
- Designed for a smooth, distraction-free experience with scalable and adaptive layouts.
Storyboard
-
Key Features:
Storyboard Creation & Editing
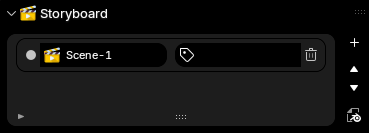
- Effortlessly add storyboard panels tied to specific cameras and frames.
- Automatically renders and saves storyboard images in Workbench mode for consistent and clear visualization.
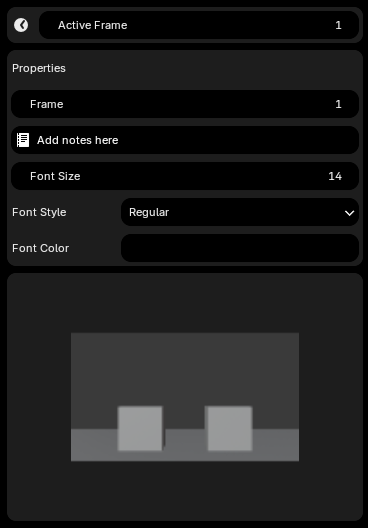
- Dynamically manage and edit storyboard properties, including:
- Frame assignment
- Custom annotations
- Font size, style, and color for annotations.
UI List for Panel Management
- Navigate through storyboard panels using an intuitive UI list.
- Highlight and select panels for quick access to their properties.
- Integrated tools for tagging and deleting panels.
Organizational Tools
- Reorder Panels: Move storyboard panels up or down in the list to match your narrative sequence.
- Tag Panels: Add tags to storyboard panels for better organization and filtering.
Preview and Active Frame Control
- View a large preview of the selected storyboard image, loaded as a custom icon.
- Synchronize storyboard panels with Blender’s active frame to match your timeline.
Export to PDF
- Seamlessly export your storyboard to a professional-quality PDF document.
- Includes storyboard images, annotations, and customizable layout options for easy sharing and presentation.
Solo and Selection Tools
- Easily switch between storyboard panels tied to different cameras and frames.
- Integrated selection tools to quickly identify and focus on specific storyboard elements.
Who Is It For?
This add-on panel is ideal for:
- Filmmakers planning their scenes and camera setups.
- Animators visualizing sequences before committing to full production.
- Storyboard Artists looking for a streamlined workflow within Blender.
Render Settings
-
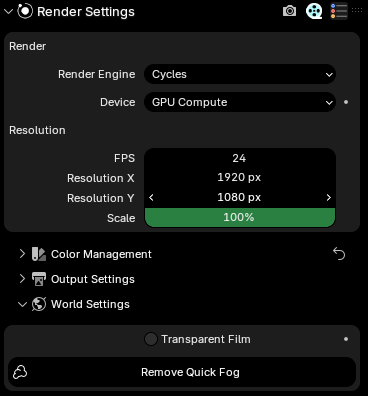
Main Render Settings:
- Render Engine: Choose the rendering engine to be used (e.g., Cycles, Eevee).
- Device (Cycles only): Specify the hardware device to be used for rendering with Cycles (CPU, GPU, etc.).
- Resolution: Set the output image dimensions (width and height) and scaling percentage.
- FPS (Frames Per Second): Define the frame rate for animation renders.
- Subpanels:
-
Color Management: Provides settings for color management during rendering.
- View Transform: Defines how colors are transformed from the scene's linear space to the view space.
- Look: Controls the overall look of the rendered image (e.g., Filmic, Artistic).
- Exposure: Adjusts the overall brightness of the rendered image.
- Gamma: Sets the gamma correction for the final image.
-
Output Settings: Configure the output file for the rendered image.
- Path: Specify the location and filename for the rendered image.
- Image Settings: Access settings related to image format (PNG, JPEG, etc.), compression, and color depth.
-
World Settings: Control the environment settings that affect the rendered scene.
- Transparent Film: Enables background transparency for the rendered image.
- World Color (if Background node exists): Set the background color of the scene.
- Add Quick Fog (if no fog present): Quickly add a fog volume to the scene. (Button disabled if fog already exists)
Studio
-
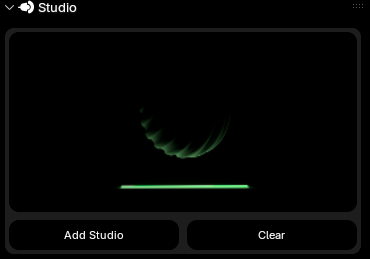
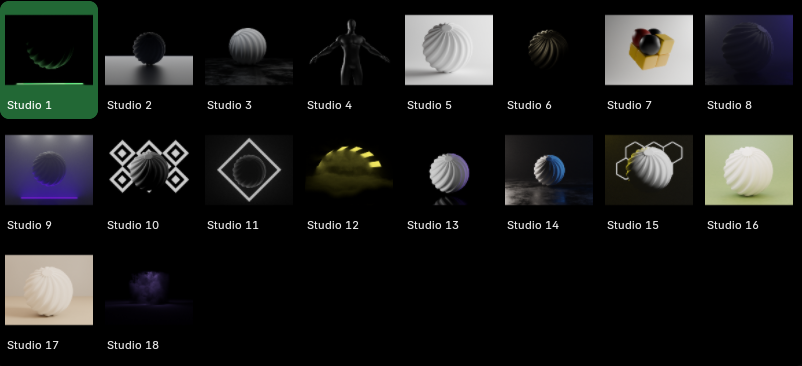
Studio Management:
- Add a new studio setup to the scene.
- Clear the current studio setup from the scene.
-
Advanced Volumetric Control (if "s18" studio is selected):
-
Assuming "Advanced Volumetric" material exists:
- Edit the "Volume Color" of the Principled Volume node within the material.
-
For Noise Texture nodes:
- Adjust the "Scale," "Detail," and "Roughness" properties to control the noise pattern.
-
For Color Ramp nodes (with at least 2 elements):
- Modify the "Interpolation" type for color blending.
- Edit the color and position of the first two color ramp elements.
-
Assuming "Advanced Volumetric" material exists:
Emission
-
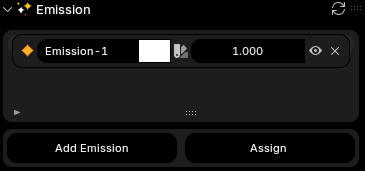
Emission Material List:
- Dynamically displays all materials in the scene that utilize an Emission shader node within their node tree.
- Provides immediate visual identification of the currently assigned emission material to the active object (if any).
- Optimized for clear presentation with a designated display height of three rows.
-
Contextual Awareness:
- In the absence of an active object selection, the panel gracefully informs the user with a dedicated message.
-
Material Absence Notification:
- A clear and concise message is displayed if no materials in the scene currently employ an Emission shader.
-
Add Emission Material Button:
- Offers a prominent and easily accessible button to swiftly create a new material with an Emission shader, readily assignable to the active object.
-
Batch Assign Material Button (Optional):
- (If included) This feature provides a convenient option for assigning the active material to multiple selected objects simultaneously, streamlining the workflow.
Material Creation and Assignment:
Discover more products like this
light-addon light Studio Render camera light group Lighting camera addon Emission

