 Jayanam


Installation
- Purchase and Download: After purchasing JRetopo from the Blender Market, download the .zip file to your computer.
- Open Blender: Launch Blender and go to Edit > Preferences (or Blender Preferences on macOS).
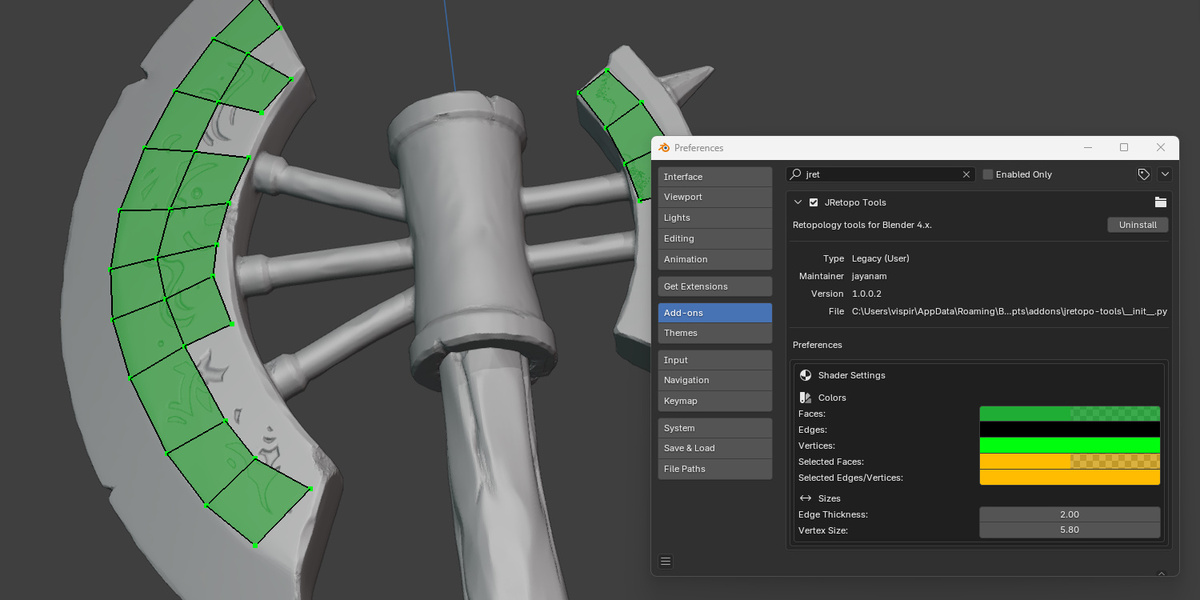
- Install the Add-on: In the Preferences window, navigate to the Add-ons tab. Click the Install button, then locate and select the downloaded JRetopo .zip file. Click Install Add-on.
- Enable JRetopo: Once installed, find JRetopo in the add-ons list, check the box next to it to enable it, and you’re ready to go!
-
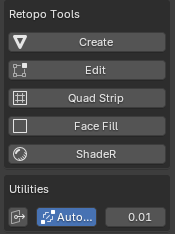
Access the Tools: JRetopo will now be available in your Blender interface in the Tools panel
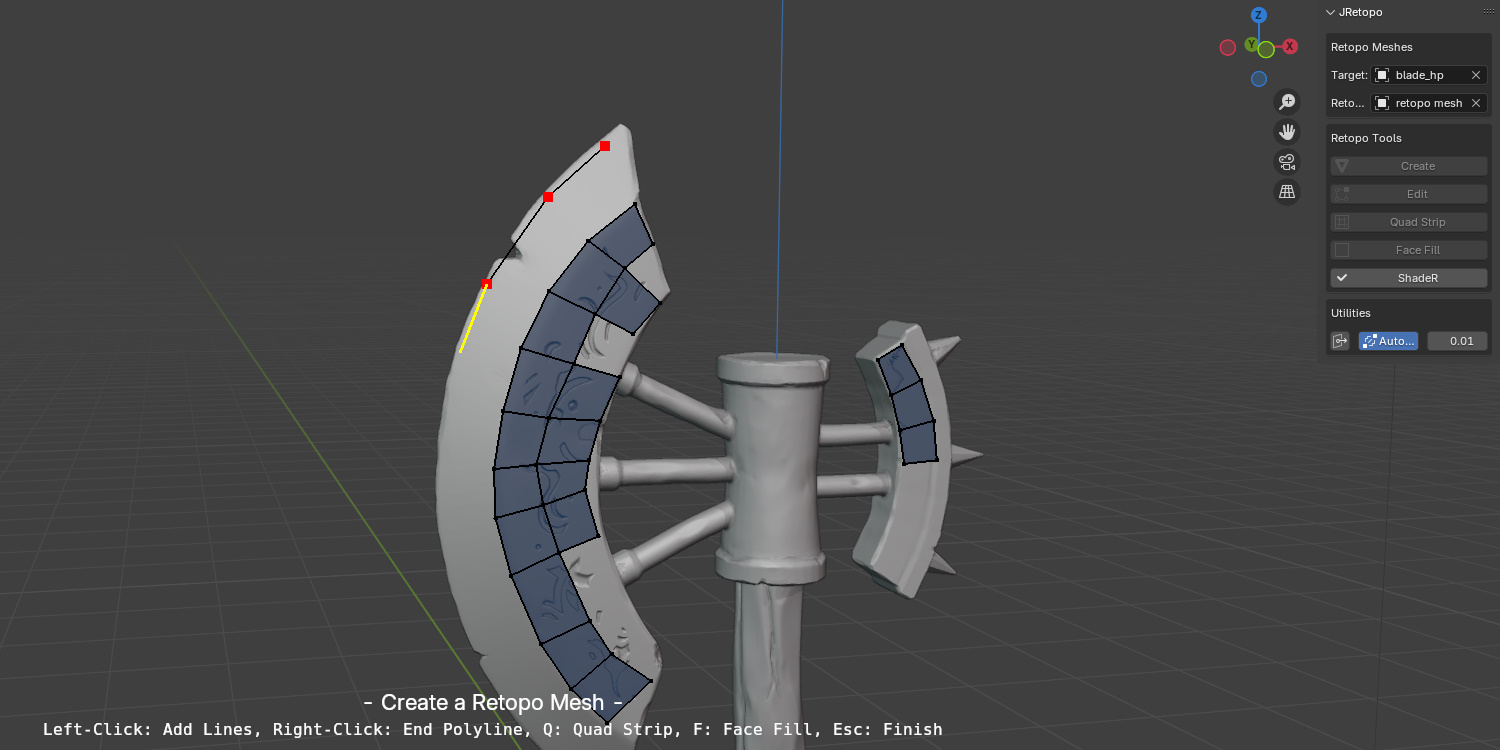
After loading your project with the high poly model that you like to retopo, select Create in the JRetopo panel to start the retopology process. With the tool activated click onto the target object (the high poly mesh) to create the foundation of your retopo mesh.
Extend the retopo mesh
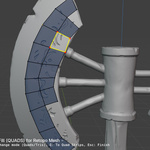
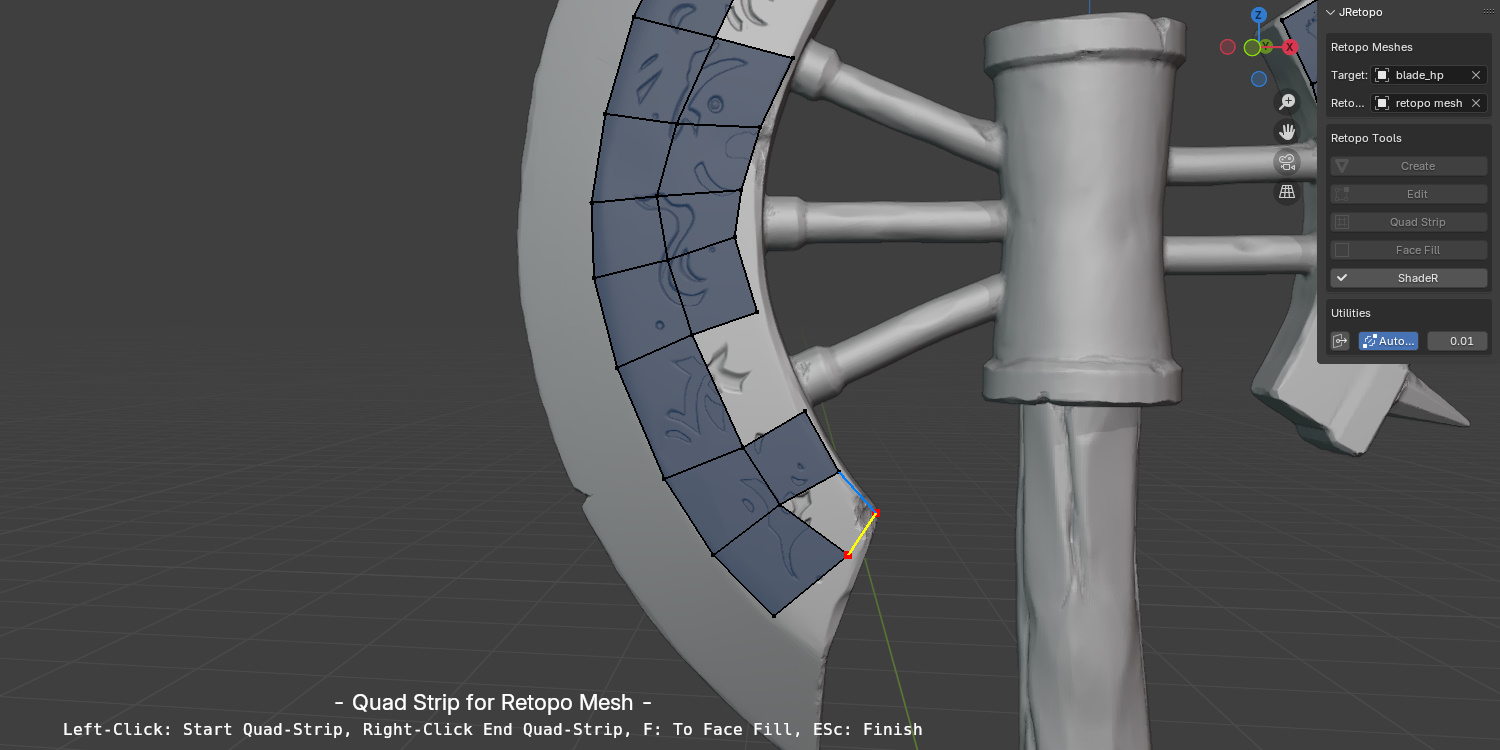
After the retopo mesh is created you can use the tools Quad Strip and Face Fill to create the faces for your mesh. Quad Strip can be used to add faces to the edges of the mesh. The potential starting point of the Quad Strip is highlighted by the tool. Click onto the target mesh to create the second and then the third point, faces are added automatically - after that the quad strip can be extended.
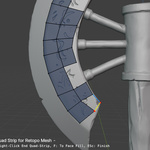
If you like to complete a Quad Strip, just right click. After that you can continue to create the next quad strip. You can try it by an example, the process is very intuitive.
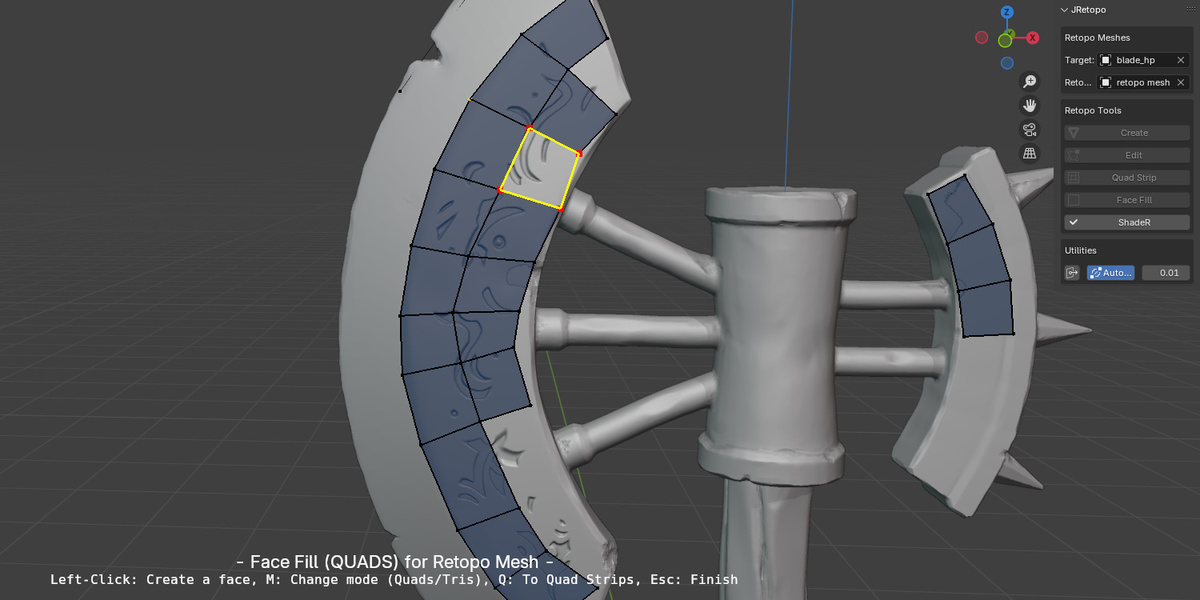
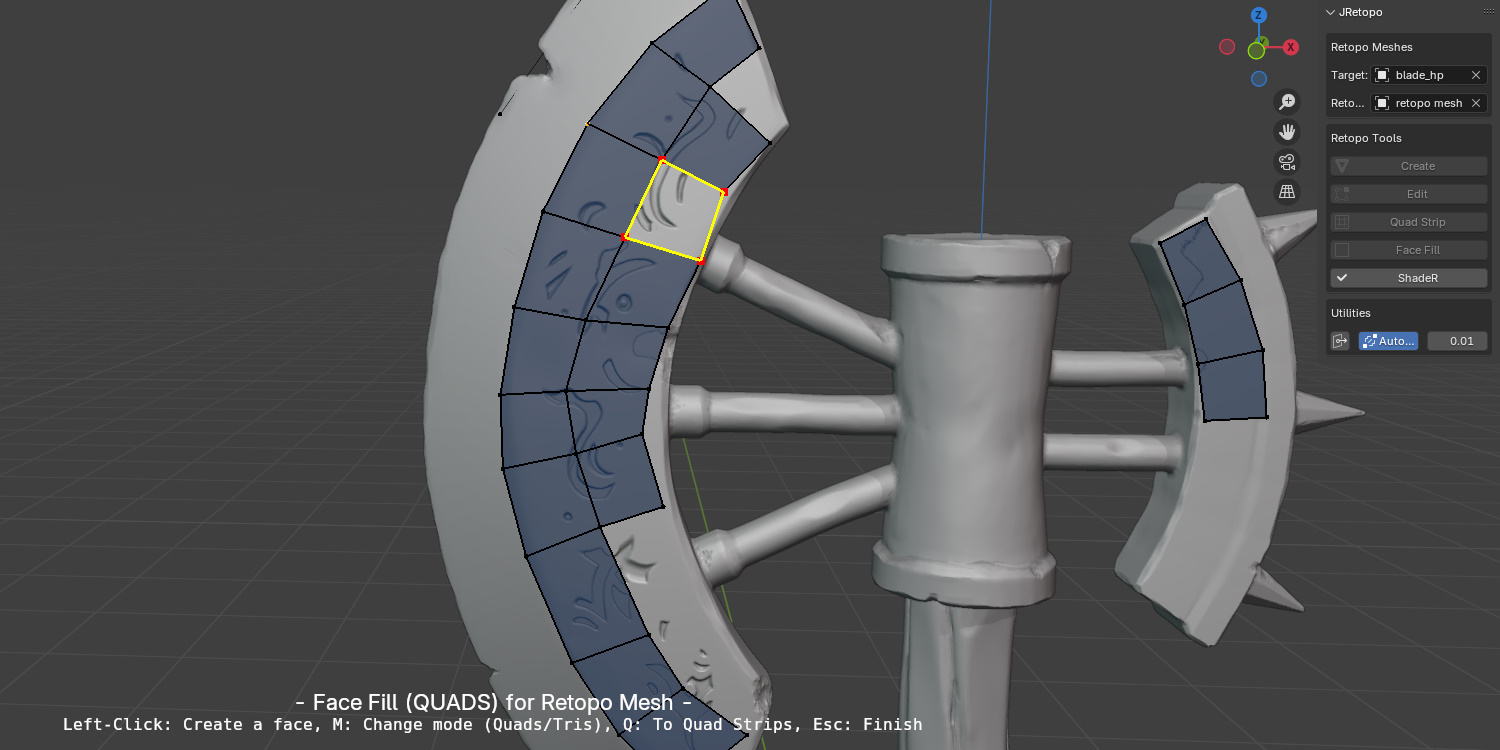
If you like to connect 3 or 4 vertices to a face, you can use the Face Fill Tool. The tool tries to find the vertices to be connected automatically, which is highlighted then by a yellow rectangle. When you left click, the face is created.
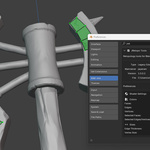
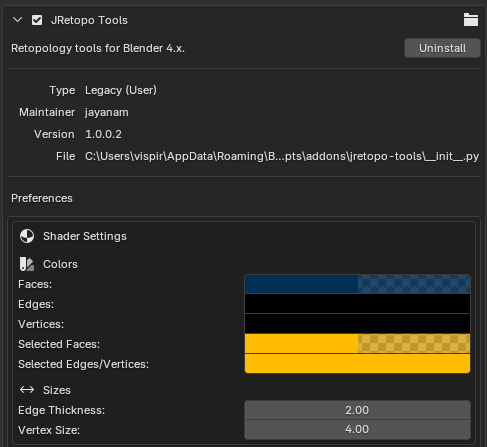
Using the Retopo shader
Once a retopo mesh is created you can activate the ShadR tool. This shader displays the retopo mesh above the target mesh. The settings for the shader can be changed in the Addon Preferences.
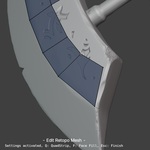
Retopology Settings
The Edit Tool activates some predefined retopology settings like snapping to the target mesh and automerge for vertices.

When closing the Edit tool by pressing the Escape key, your previous settings will be restored.
Have questions about this product?
Login to message