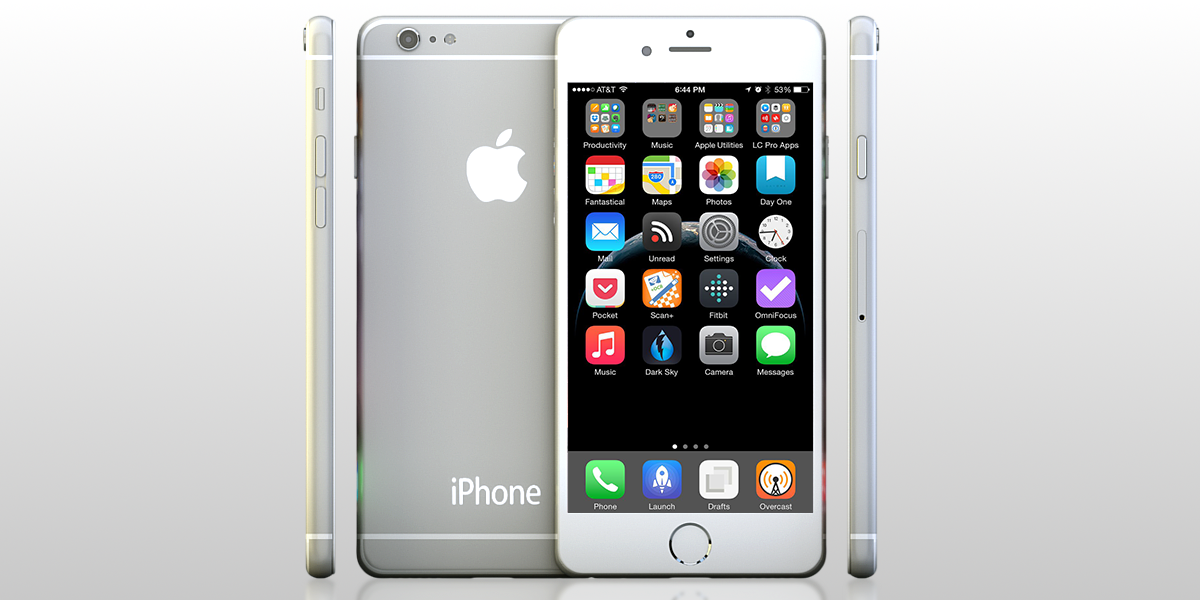
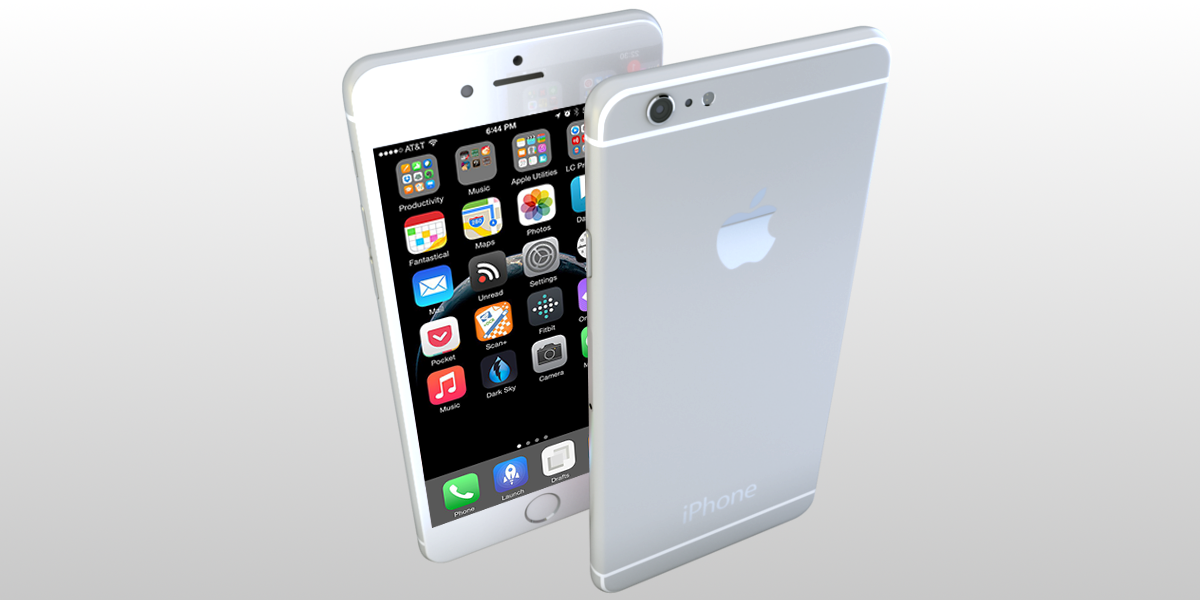
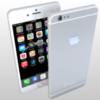
Iphone 6
Hi! Thanks for your interest in this product. Here is a little help for you to start using this product in your amazing productions:
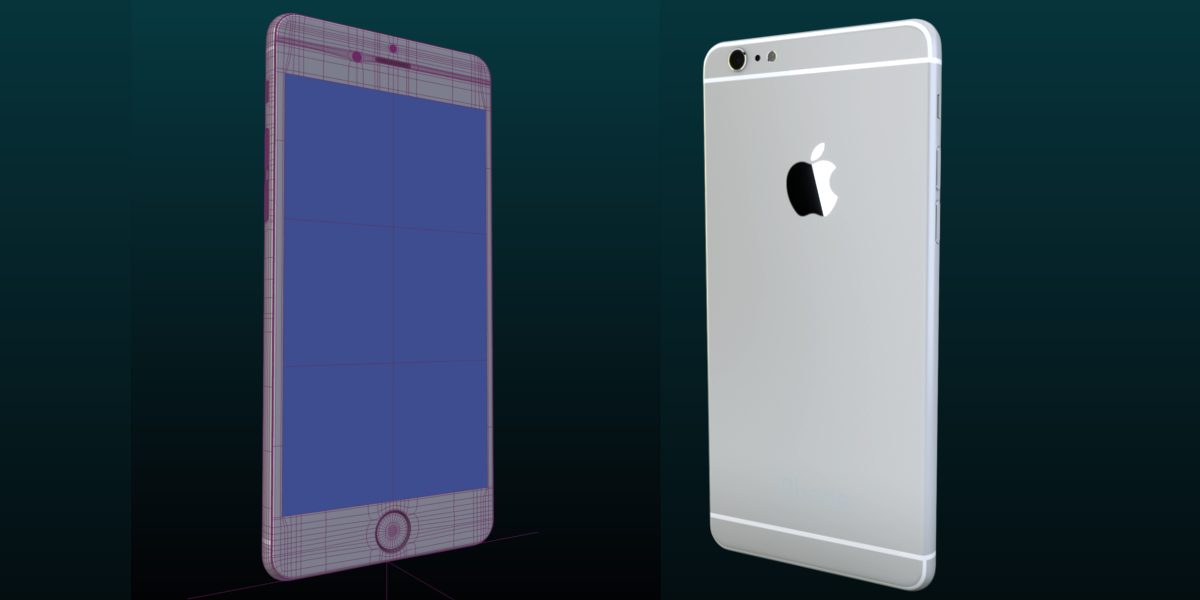
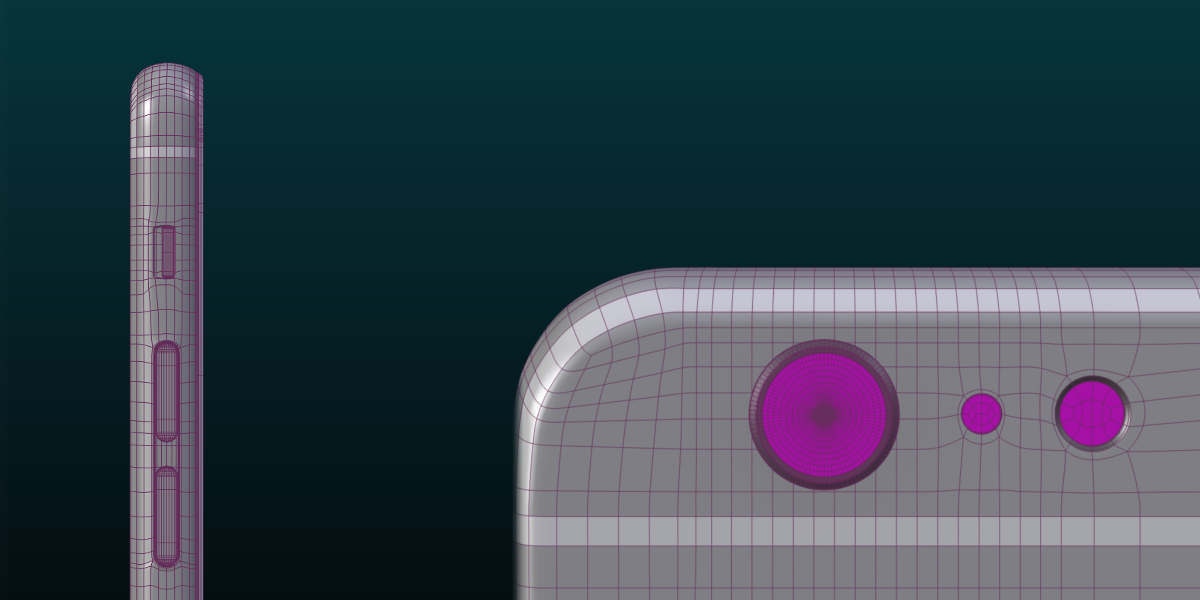
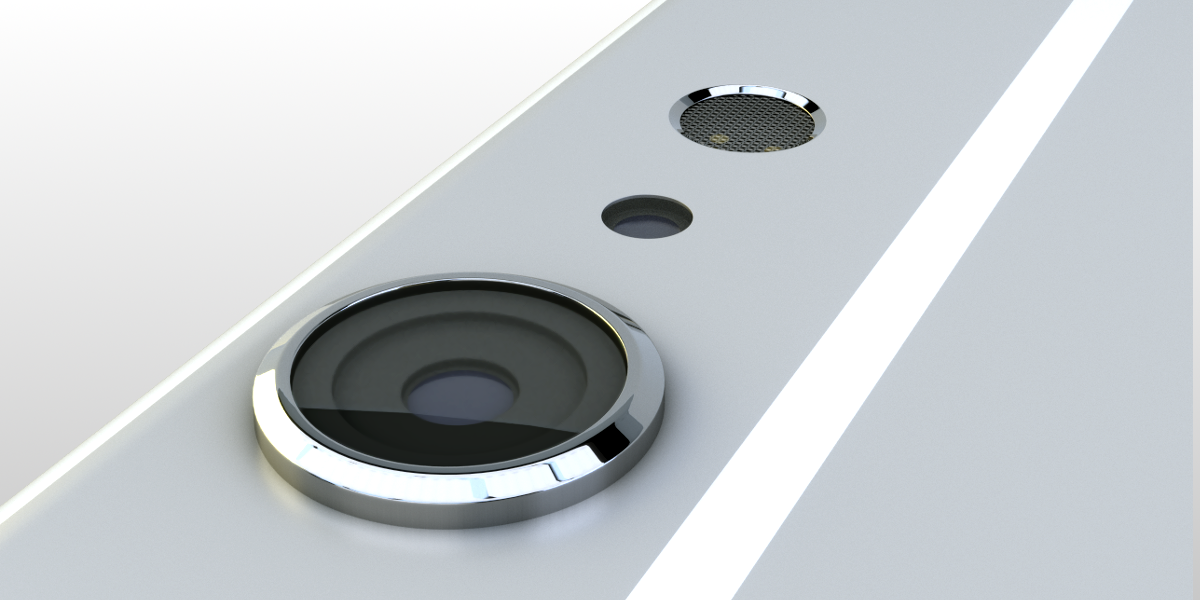
- Models: Layer 1 contain the models and the controller for the Iphone 6. In layer 2 you will find a simple studio set up.
- Materials:
1.) To move all the models at once, use the empty object called “Main_Control” as your pivot point for rotation, translation and scale.
2.) To change the logo and letters texture, select the “Rear_Plastic” object and go to the node editor, there you will find a node labeled “Logo and text”.
3.) To change the color of the materials, select the object with the material you want to change and look for the node labeled “Main_Color”.
4.) To change the logo and letters texture, select the “Screen” object and go to the node editor, there you will find a node labeled “Screen Texture”.
- Using the models in your scenes:
1.) The best way to use this 3D model is to link it in to your own scene. To do that, you can use Blender's “Link” feature (CTRL + ALT + O) and look in to this file for the “Group” category. Link the group called “Iphone6_Group” by double clicking on it.
2. To append the models in to your scene, use the “Append” feature and follow the same steps mentioned above. Happy Blending!
