 VICUBE Animation


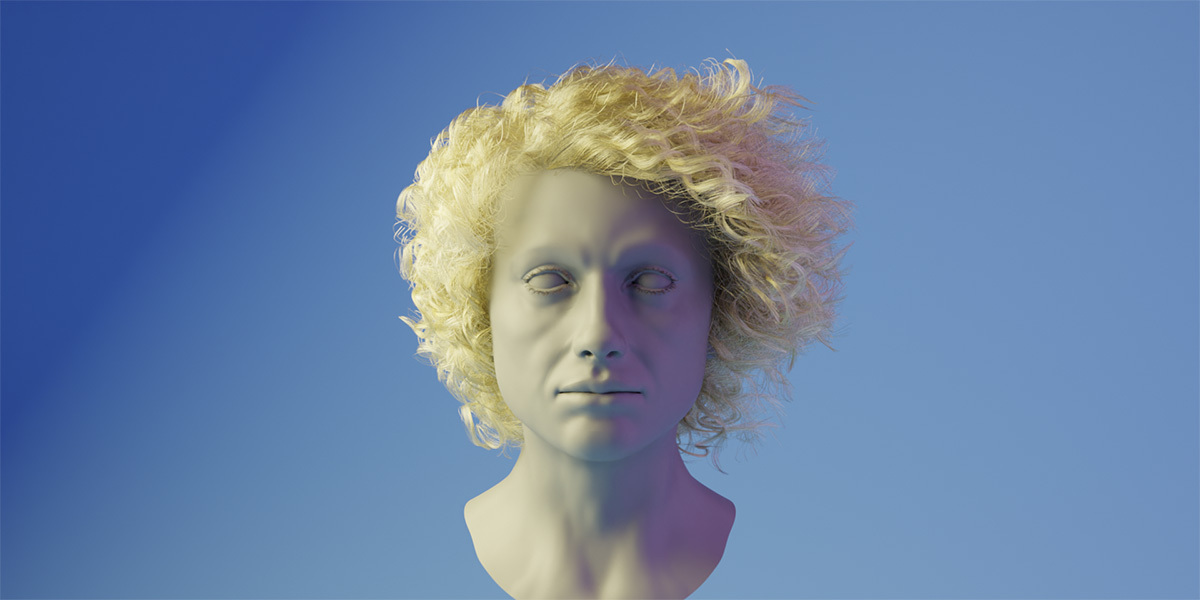


What is HairFlow?
HairFlow is an addon to animate Blender's new hair system. It works with any curves object, whether the hairs are only generated through modifiers or are finished hair without any Geometry Nodes. It can be widely used for any character or animal and comes with many cool features that make hair simulation easy and fun.
How does it work?
The simulation is based on Blender's new simulation node system. It is able to animate every single hair strand while still respecting the original shape of the hair. You can animate as many hairs in your scene as you want and control all physics settings directly in the modifier independently.
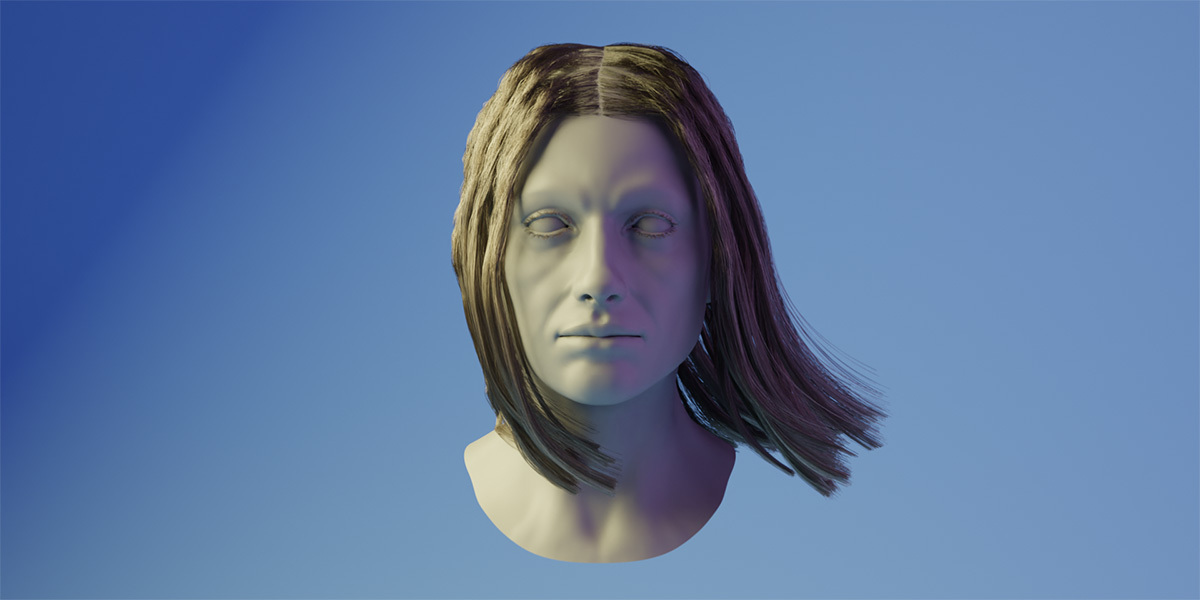
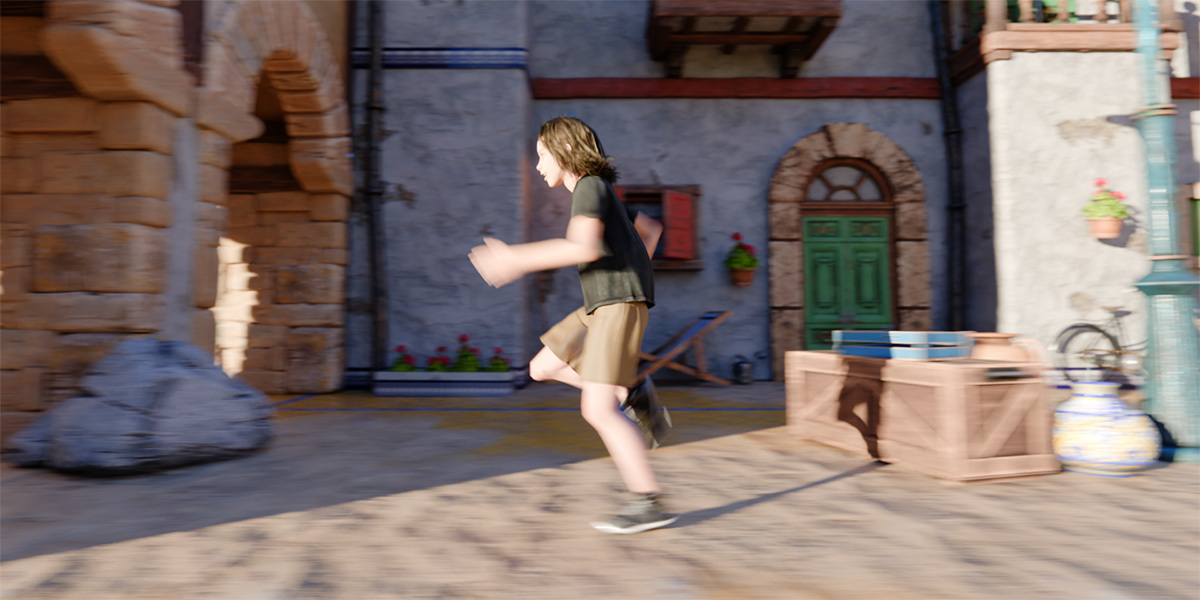
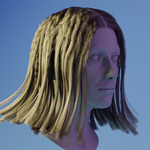
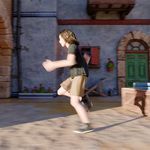
Simulate Wind Effects
Simulate wind effects on all hairs you want and control the strength and turbulence independently.
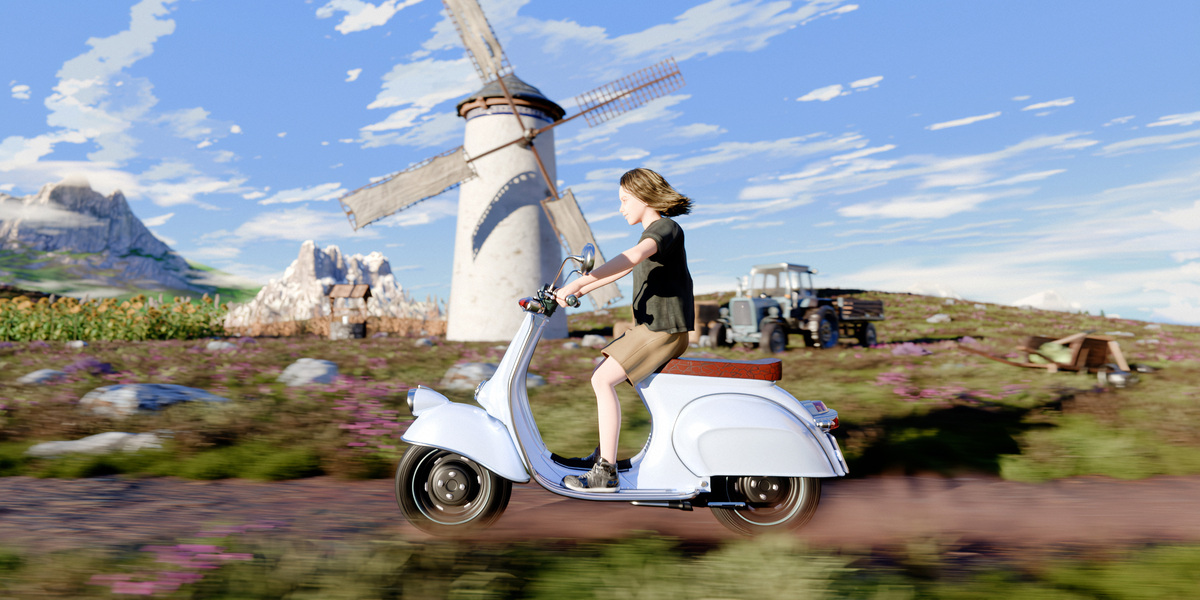
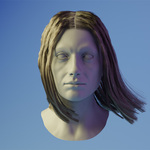
Change the Gravity
Want to make space shots? Then just decrease the gravity, and your hairs will go up. Or increase it, and your hair will fall down more strongly.

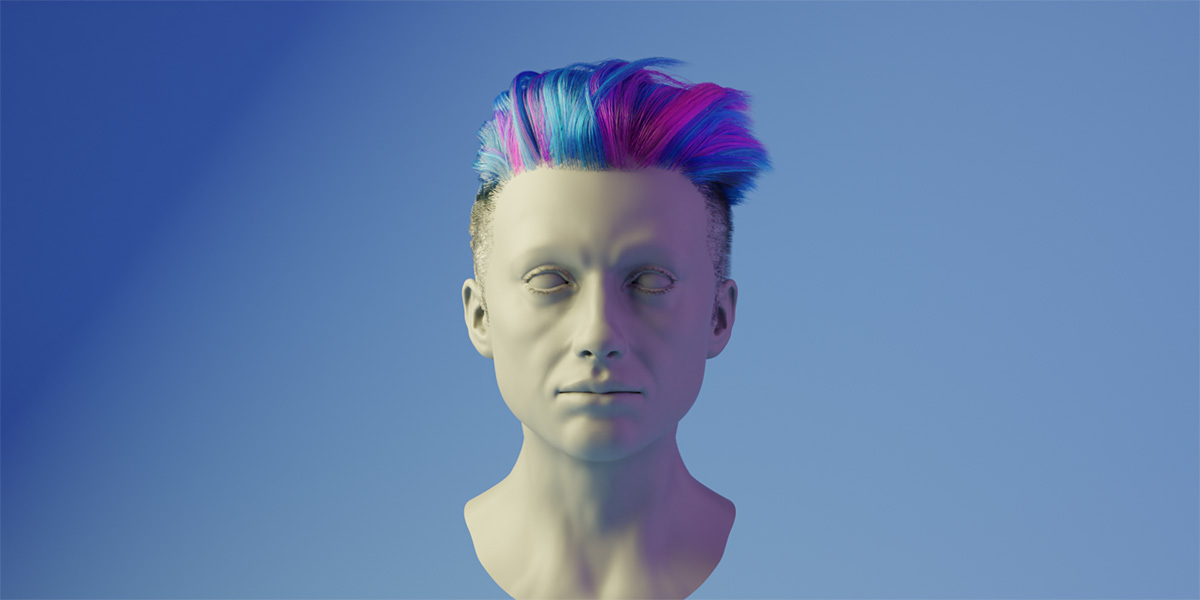
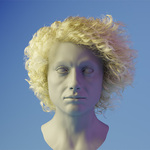
Radial Force and Frizz
With the newest version you can now also easily simulate electric shocks, goosebumps and more.

Better Control
If needed, you can apply two different physics settings for different hair parts, like shorter and longer sections, to have more control over the output. This can be very helpful for more flexible ponytails or to address problematic hair parts with more settled settings.
Hair Collision
It is possible to select a collision object to which the hair will react. One for the head/main part and also an additional independent object. With version 1.2, the collision is now much more precise than before, allowing you to simulate longer hair and achieve much better results with object interactions.
Include Objects
We wanted to go a step further and solve another very annoying problem with hair curves. HairFlow also gives you the ability to attach up to two objects to specific points on the simulated hair, which will move and rotate with it. This allows you to attach items like hair ties to the hair, enabling them to dynamically move with it.
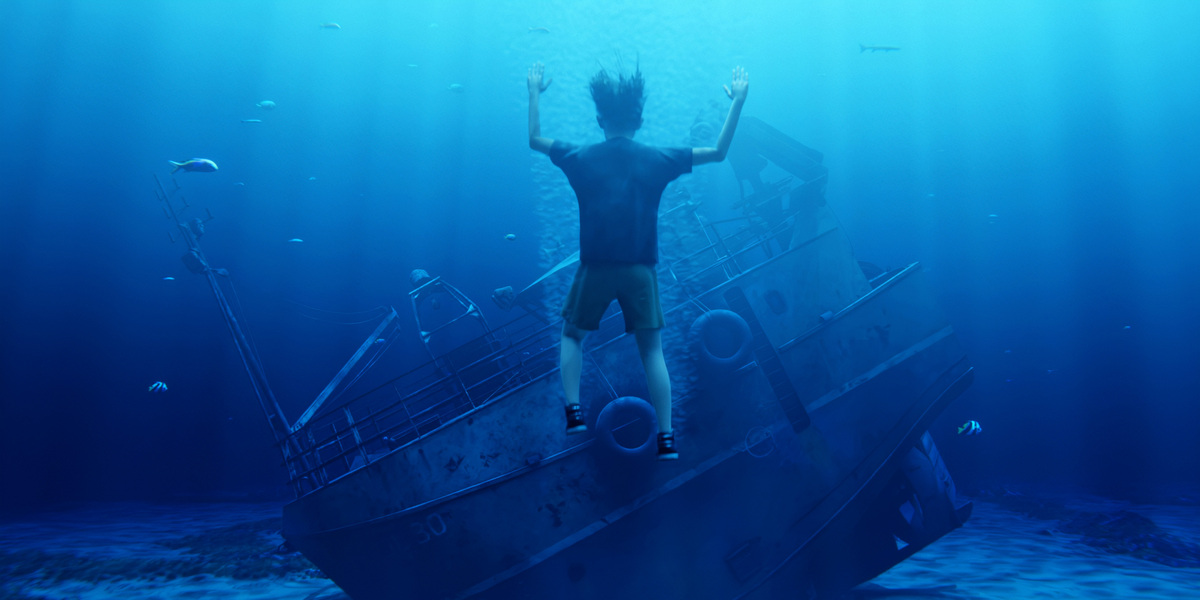
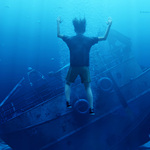
Simulation Speed
Play with the physics settings and make them your own. You can even control the responsiveness of the hair. So you can decrease the simulation speed for underwater shots or increase it for more reactive hair.

Realtime Feedback
Even with many hair strands, the addon can perform quite well. But if it gets too slow, you can activate a proxy hair with just one click, which replicates the appearance of the original hair but outputs a reduced number of hairs for a faster inspection of all changes. With the newest version, you can also interpolate hair without losing any performance, allowing you to reach the previous amount of hair strands with much faster calculations and smaller baking files.
Does it work on animals, etc.?
Yes! It can animate every curves object, whether it is hair or fur. With the newest update, it now also fully supports Blender's Surface Deformation Nodes and even most third-party geometry node-based deformation modifiers. As long as the simulation modifier is last, it can calculate all deformations caused by the deformation modifiers. Here you can see a test scene from the Cosmos Laundromat Demo by Blender Studio (CC BY 4.0 License). The particle systems were converted to hair curves and then animated with HairFlow.

Here another examples with simulated fur, this time on my Fuzzy character.
And here is an example of the new surface deformation support in HairFlow 1.2.
Bake It
You can bake the simulation natively under the Physics Properties tab. Keep in mind that the simulation data can take up several gigabytes per shot (which will also increase RAM usage accordingly) because Blender currently doesn´t support compressed baking files for geometry-nodes-based simulations. This will hopefully be added soon in an upcoming Blender version. With version 1.2, you also have the ability to use only a part of the hairs for the calculation and interpolate the rest for much smaller baking files.
License Note
The example hairs were created by Daniel Bystedt (CC-BY-SA License), sourced from the Blender demo files page, and entirely made with Geometry Nodes. The sheep scene is from the Cosmos Laundromat Demo by Blender Studio (CC BY 4.0 License). The particle systems were converted to hair curves and also completely animated with HairFlow.
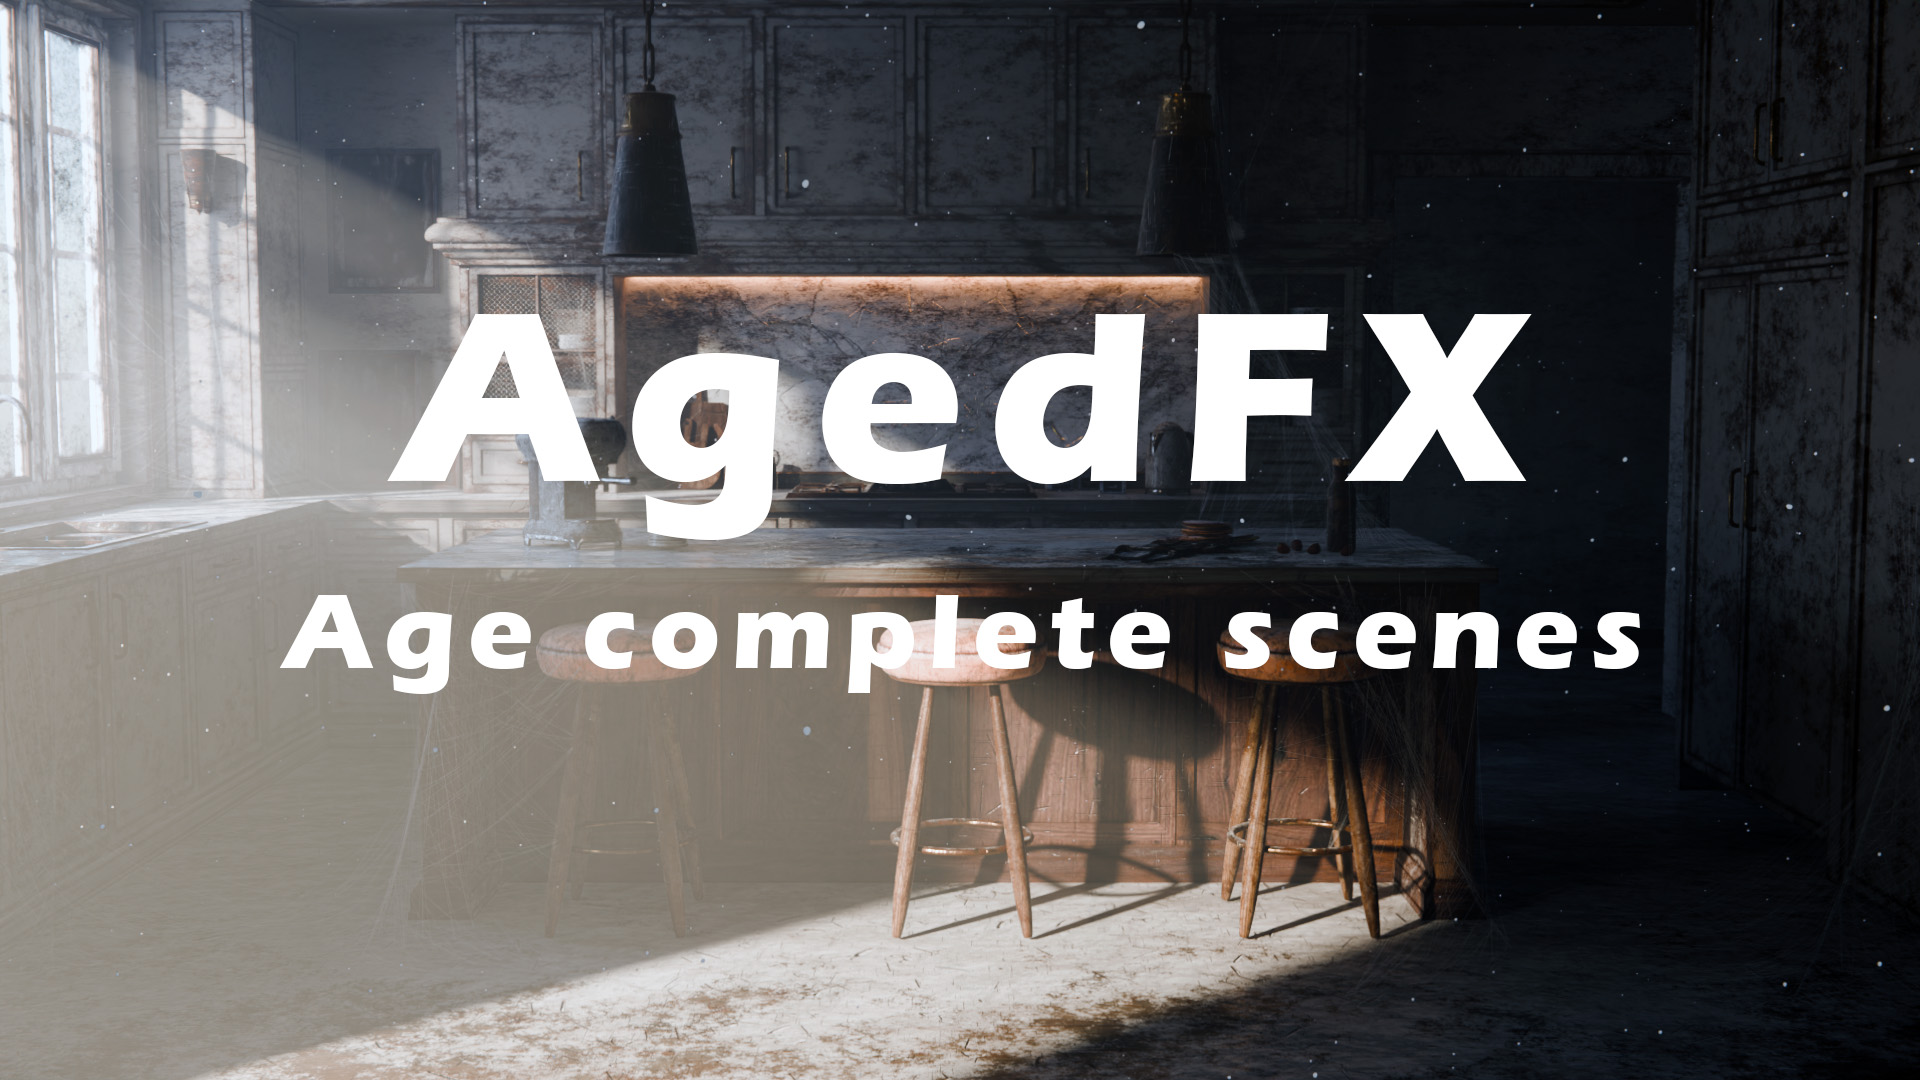
Check Out My Other Addon
AgedFX is the ultimate solution for effortlessly adding realistic aging effects to single objects or entire scenes in Blender. It's a complete toolbox for all kinds of material manipulation effects and atmospheric details which can do the repetitive tasks for you.