Grass - Asset Pack
Importing grass assets

To import one or more of the grass assets into your scene go to the File menu then select Append.
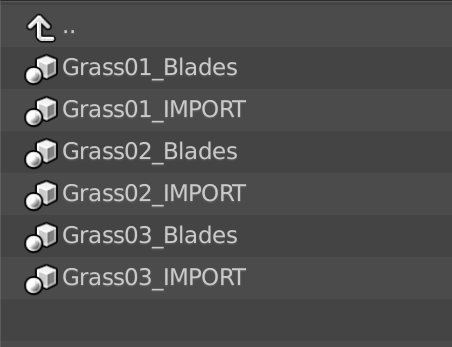
Navigate to the Grass_ASSETPACK_x.x.blend file and, once opened, proceed to the Group folder. Then select one or more of the groups marked as 'IMPORT'.
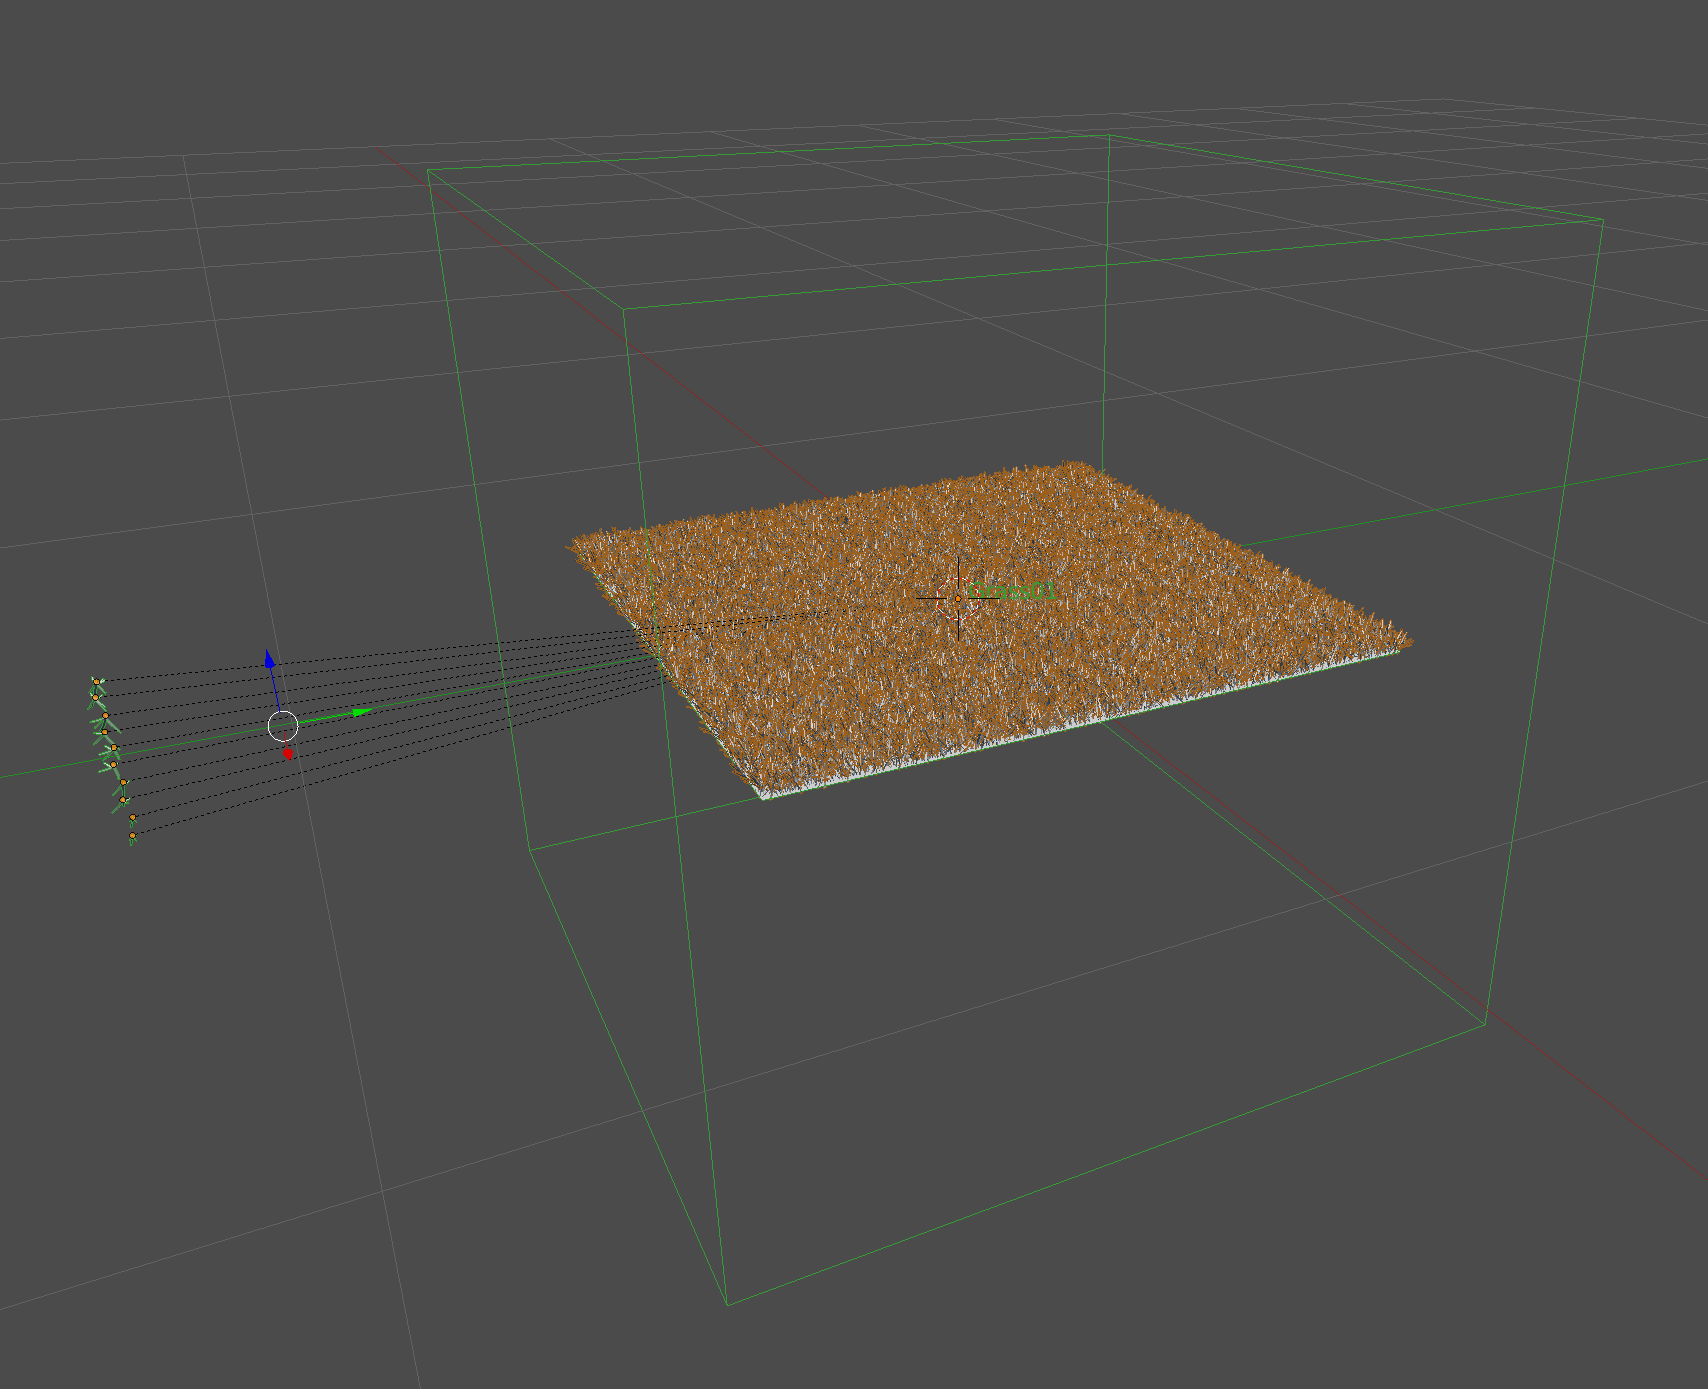
This will import a few objects into your scene. For each grass types there are around 10 grass blades, a plane with a particle system already setup and an empty that they are all parented to. In most cases you will now want to move all these objects to an unused, unrendered layer so they are hidden from your scene.
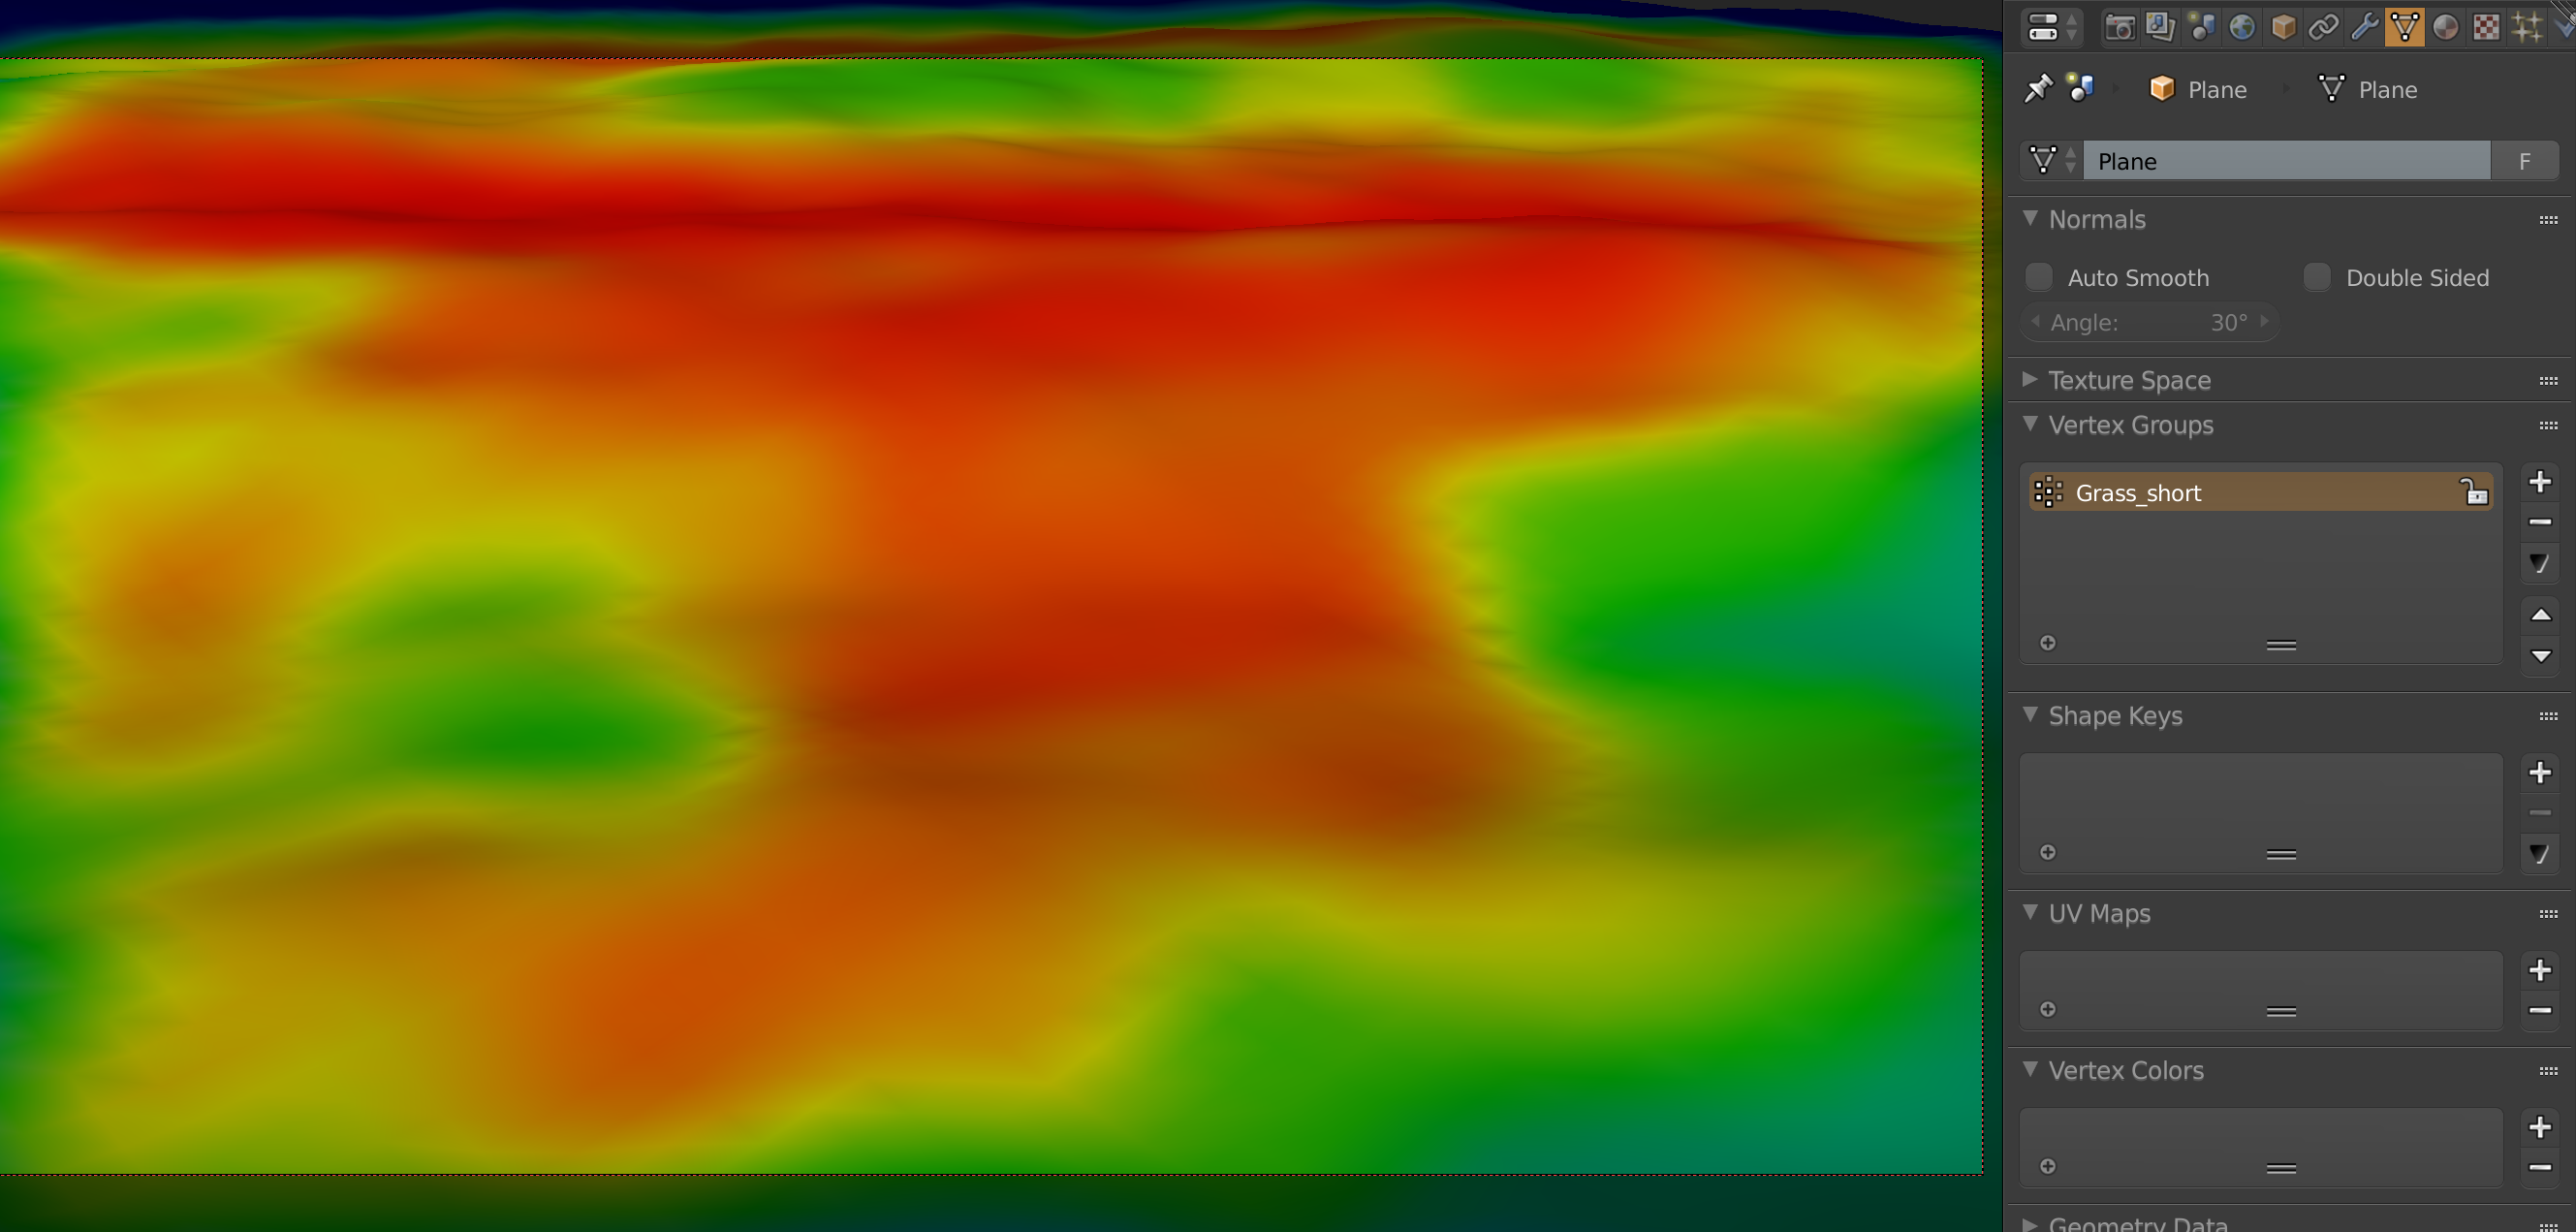
As an optional step to decrease memory usage and render times or to have fine control over where the grass is applied; Select the object you want Grass applied to, create a vertex group, name it and then paint in a weight map via weight paint mode.

All that is left to do now is to add a new particle system to the object, select the appended particle system named GrassXX_ParticleSettings, then simply adjust the number of grass particles to use based on the size of the area. You will also need to select the vertex group you created under vertex groups.
That's it, the grass will now be in your scene and ready to render. For the sake of UI performance it'll be a good idea to disable the particle system's visibility in the viewport.
Using the Material Node Group

The GrassShader Material Node Group allows you to customise the included grass types as well as allowing you to use your own model grass should you need to.
Blade Color
Blade Color - The color of the grass
Stem Color - The color of the stem
Stem Amount - The amount of stem to use, 0 being none, 1 being max.
Edge Color - The color of the edges of the grass blade. (Defined by UV, not geometry)
Edges Amount - The amount of edge coloring to use, 0 being none, 1 being max.
Ageing
Ageing Scale - The scaling of the ageing patches
Ageing Amount - The amount of ageing.
Ageing Hue Adjust - Adjust the hue/color of the ageing patches.
Variation
Variation Amount - The amount of per blade color variation to use. 0 being none, 1 being normal and above that for more extreme variation.
Variation Hue Adjust - Adjust the hue/color of the variations. 0 by default.
Striping
Striping fakes the effect of cross-cut grass. Where grass is cut in different directions to make attractive lawns etc. In the real world this is created by light hitting grass blades at different angles, here it is faked by means of a hue adjustment and some stripe textures.
Shader Adjustments
Roughness Adjust - Adjust the roughness of the material, 1 for normal, 0 for none.
Translucency Amount - Adjust the level of translucent shader. Use between .2 and .4 for best results.
Subsurface Amount - Adjust the level of subsurface. Use between .2 and .4 for best results.
NOTE: For best results, use either Translucency or SSS, not both.
Creating your own Grass
If you choose to model your own grass to use with the included shader you will need to mimic the UV layout. Regardless of length or shape, try to unwrap it close to the image below. This will insure the stem and edges settings work correctly.