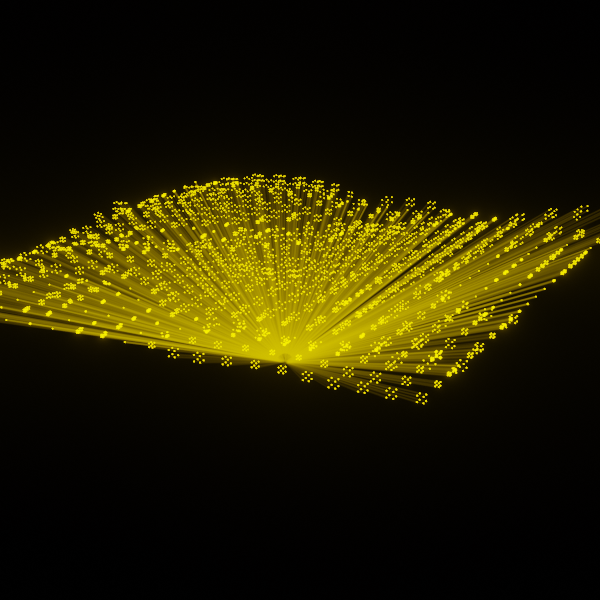
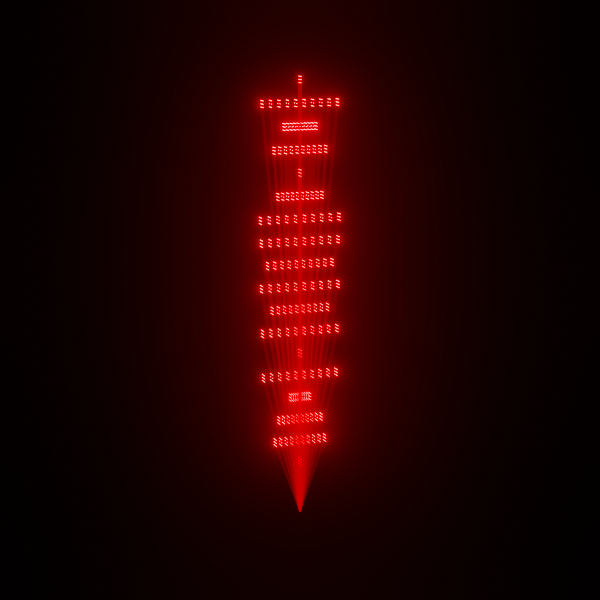
Hologram Geometry Node Pack
How to import each hologram.
Hologram From Object
Step1. Choose File then select the sub action Append.
Step2. Find the project file included in the product downloads, should look like this image below.
Step3. Locate the NodeTree folder, double click it.
Step4. Locate the type of hologram you want to import. For example Hologram From Object.
DISCLAIMER: Use the Hologram From Object not Hologram From Object Node,
Step5. Hit Append.
Step 6, The rest of the setup is more, to each their own, so read on.
DISCLAIMER: Use the Hologram From Object not Hologram From Object Node,
Now the steps below depend on each node themselves.
Hologram From Object:
Step1. After appending, select the cone, rename it to hologram. Then afterwards, set the rotation and location of the cone to 0, all 0.
Step2. Now go to Modifiers tab choose the Geometry Nodes modifier.
Step3. Now go to the Geometry Nodes Tab at the top and go to the Geo Nodes area, choose the drop down and select Hologram From Object, not Hologram From Object Node.
Step4. Now go to the modifier tab and make sure it looks like this under Output Attributes.
Step5. Now under the node itself, the "Holofied" Object parameter is the object that's turned into a hologram. This is the Torus that is included in the appendage. The Beam Spawn Point is where the light beams are projected from. The rest of the parameters are self explanatory.
Horizontal Audio Hologram
Step1. This one is a little different because you need to import the node called Horizontal Audio Hologram, not Horizontal Audio Hologram Node.
Step2. This node only imports the spawn point, so add a cube to the scene, and set up Geometry Nodes modifier, under the modifier tab on the cube itself.
Step3. Now do the same processes as above to make the geometry node modifier look like this by making the drop down Horizontal Audio Hologram and the attributes the same as below.
Step4. Now head to the Geometry Nodes tab at the top.
Step5. From here set the Spawn Point Object to the Spawn object imported with the node. It may already be set as that but should look like this.
Step6. All parameters from here on are simple as well. Play around, should find something cool.
Vertical Hologram
Step1. This one is basically the same as the vertical audio hologram. Just vertical. So append the Vertical Audio Hologram.
Step2. Likewise it also only imports only the Spawn object. So add a cube object.
Step3. Now apply the Geometry Node modifier.
Step4. Now choose Vertical Audio Hologram, and fill in the proper attributes, if not already filled in upon import.
Step5. Now head to the Geometry Nodes tab at the top.
Step6. From here set the Spawn Point Object to the Spawn object imported with the node. It may already be set as that but should look like this.
Step7. As well, these parameters should be like the last one.
Field Hologram
Step1. Append the Field Hologram, not Field Hologram Node.
Step2. Likewise it also only imports only the Spawn object, this time just named Sphere. So add a cube object.
Step3. Now apply the Geometry Node modifier to said cube.
Step4. Now choose Field Hologram, and fill in the proper attributes, if not already filled in upon import.
Step5. Now head to the Geometry Nodes tab at the top.
Step6. From here set the Spawn Point Object to the Spawn object imported with the node, so the Sphere. It may already be set as that but should look like this.
Step7. As well, the parameters should easy to navigate.
Ring Hologram
Step1. Append the Ring Hologram, not RingHologram Node.
Step2. Likewise it also only imports only the Spawn object. So add a cube object.
Step3. Now apply the Geometry Node modifier to said cube.
Step4. Now choose Ring Hologram, and fill in the proper attributes, if not already filled in upon import.
Step5. Now head to the Geometry Nodes tab at the top.
Step6. From here set the Spawn Point Object to the Spawn object imported with the node, so the Sphere. It may already be set as that but should look like this.
Step7. As well, the parameters should easy to navigate.
Conoid Hologram
Step1. Append the Conoid Hologram, not Conoid Hologram Node.
Step2. This time it imports the Spawn Point object and a Sphere.
Step3. Now apply the Geometry Node modifier to said Sphere not Spawn Point.
Step4. Now choose Conoid Hologram, and fill in the proper attributes, if not already filled in upon import.
Step5. Now head to the Geometry Nodes tab at the top.
Step6. From here set the Spawn Point Object to the Spawn object imported with the node, so the Sphere. It may already be set as that but should look like this.
Step7. Now it may create it super small, so select the Sphere/Hologram and enlarge it to view.
Step8. As well, the parameters should easy to navigate.
Discover more products like this
holograms green-hologram bfcm24 eevee spring24 summer24 loveblender hologram geometry node summer23 bfcm23 blue-hologram spring23 eevee-animation geometry_nodes Cycles from-tutorial blender eevee winter24
