Mallet: Geometry Builder For Map Creation
VIDEO DOCUMENTATION
DOCUMENTATION
Location
Panel
3D Viewport ‣ Sidebar ‣ Mallet
Actions
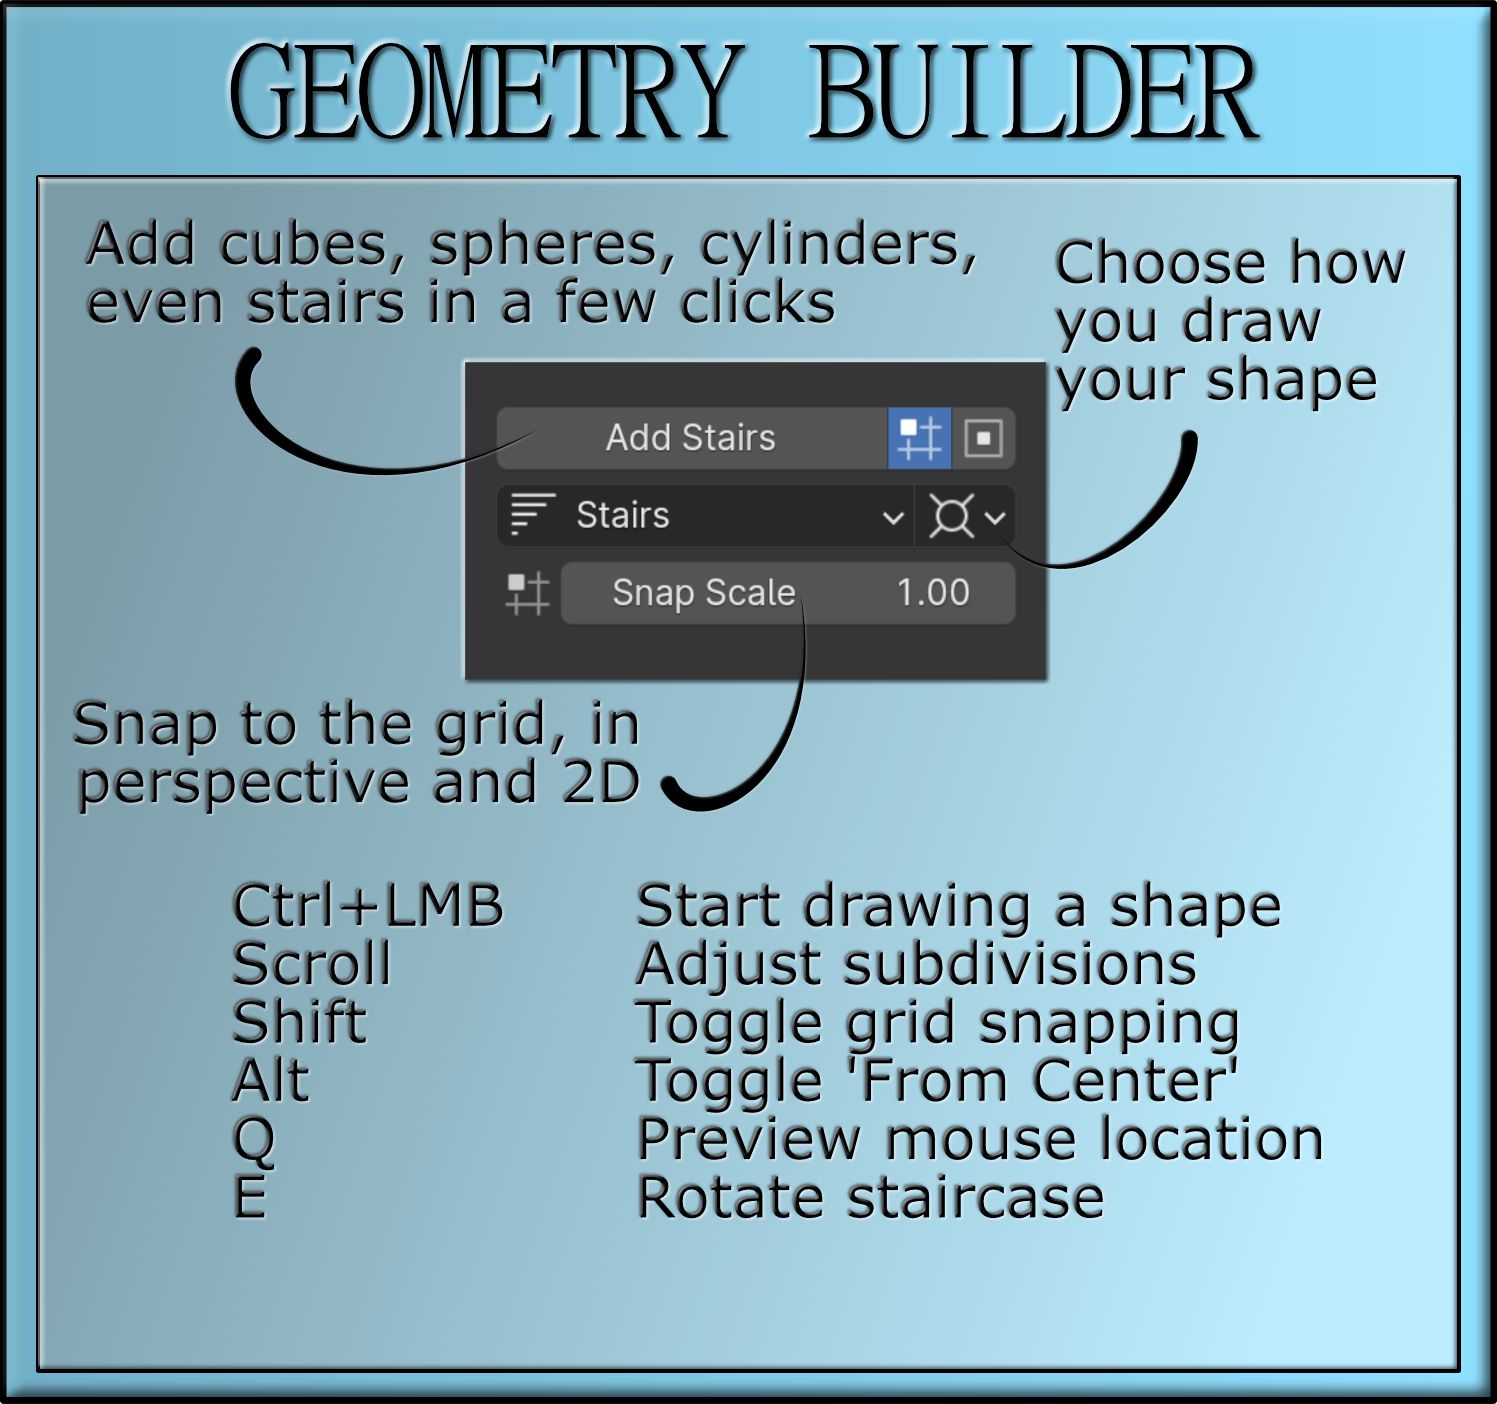
Add Object
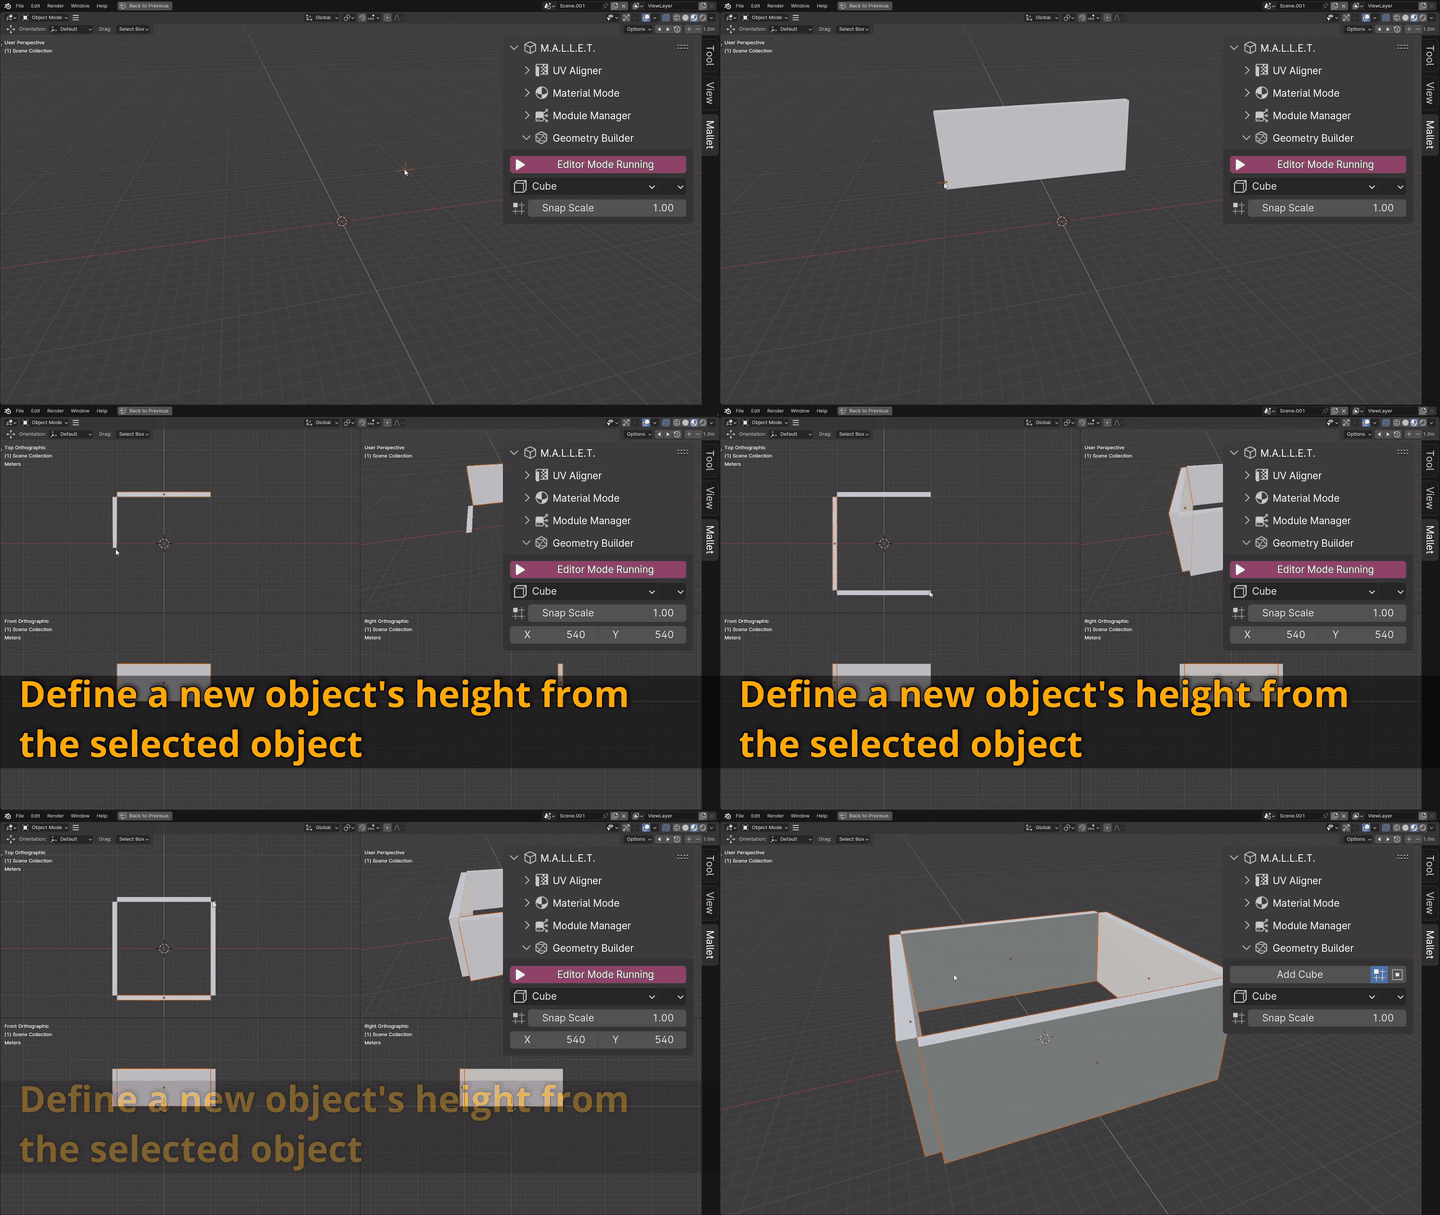
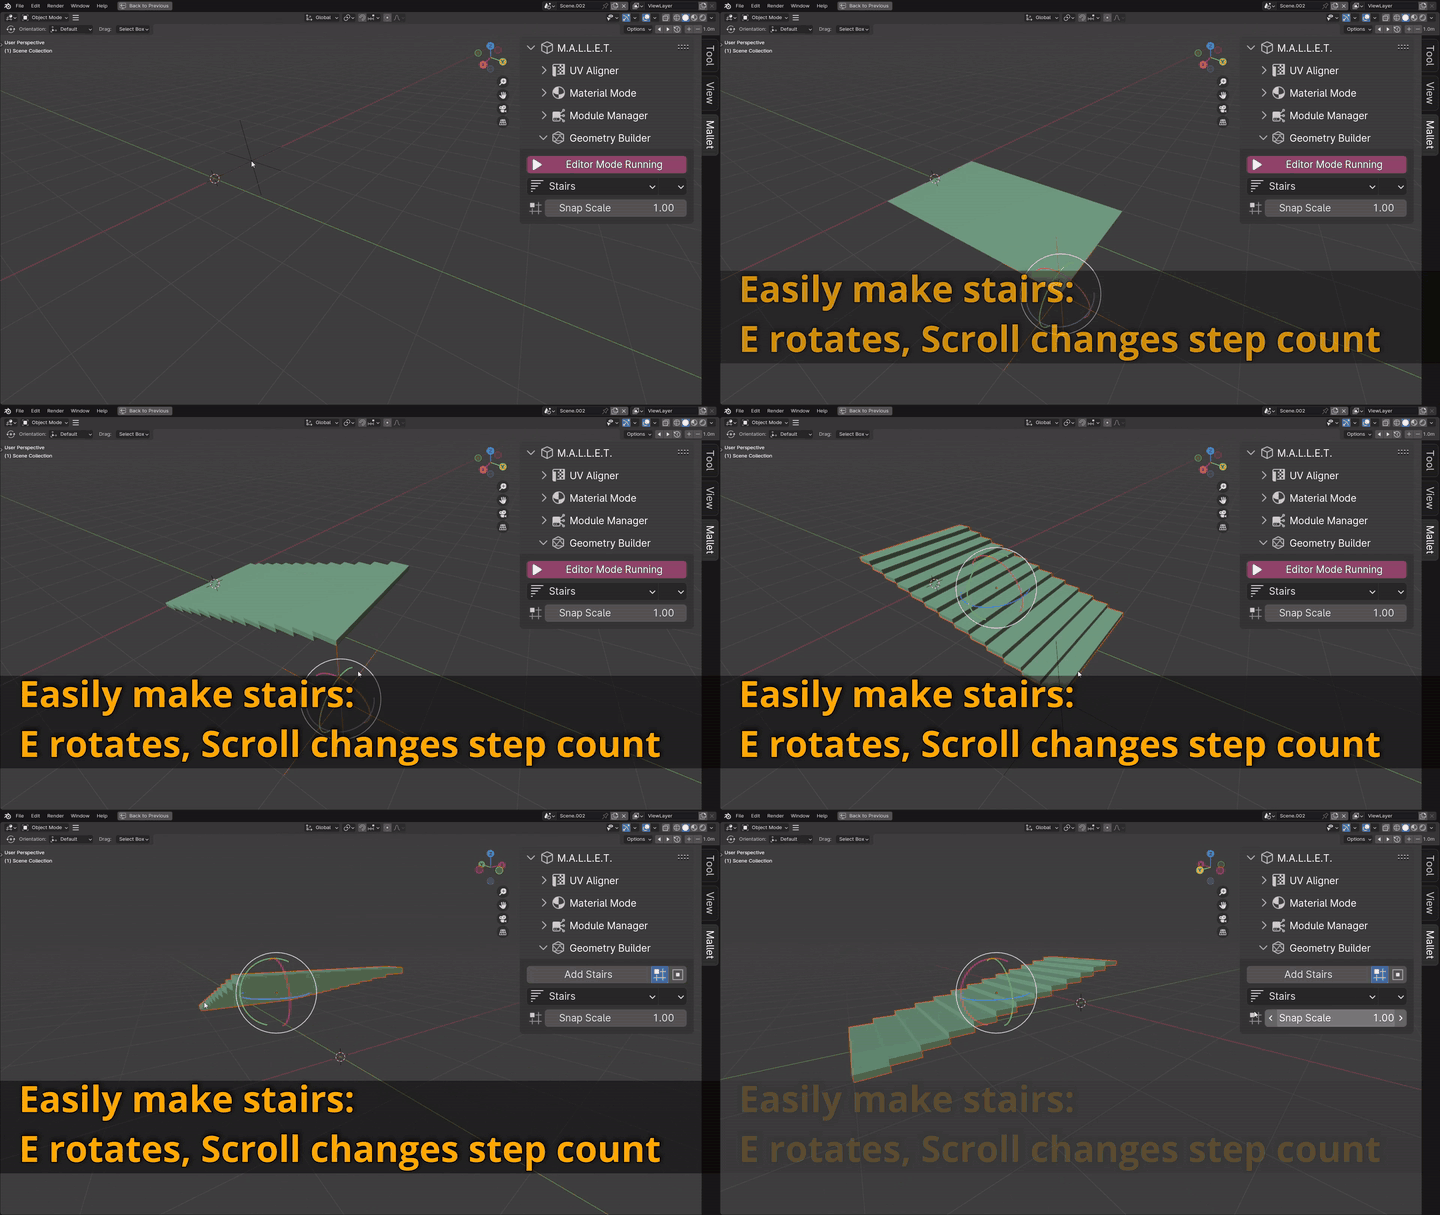
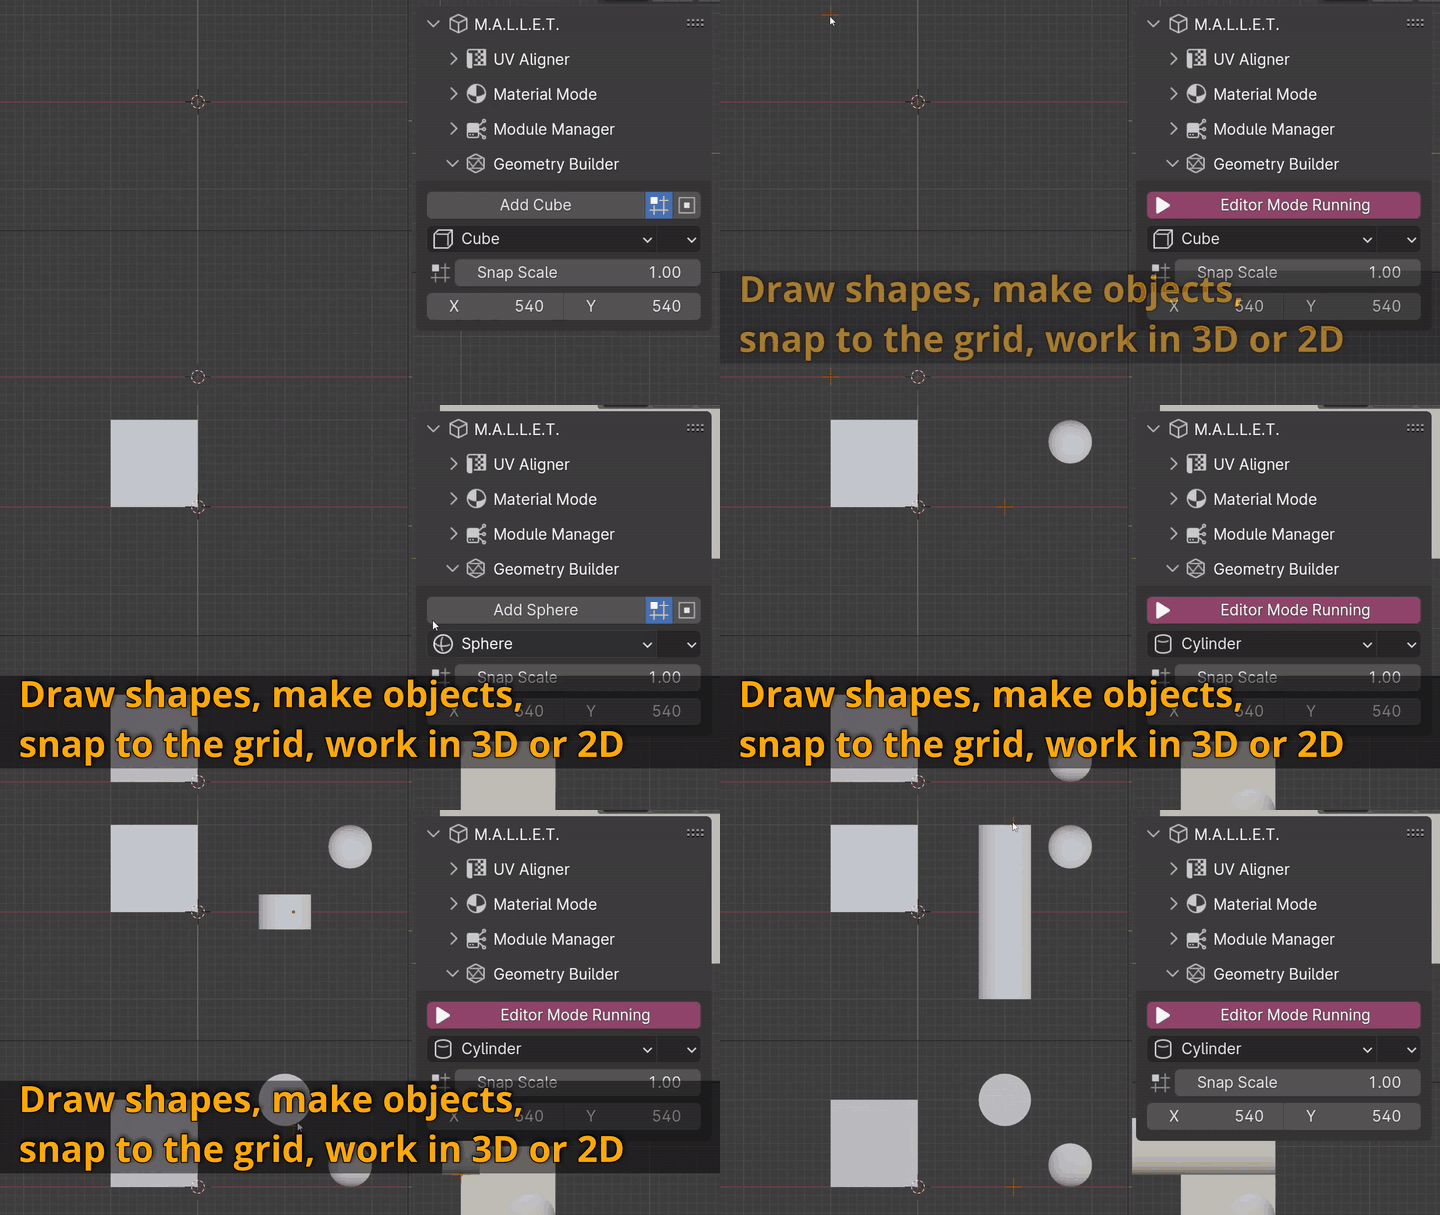
Renamed to match the object that will be created, clicking this enters “Object Making” mode. For as long as the button shows up red. In this mode, Control + Left Mouse Button will start adding an object (mouse movement and Left Mouse Button will define the width and then the height).
Holding Shift will toggle snapping. Holding Alt will toggle ‘From Center’. Pressing Q will toggle a preview of where the ‘cursor’ is in 3D space. Mouse Wheel up and down will change the subdivisions of objects (or the number of steps on a staircase). Pressing E while creating a staircase will rotate the direction of the steps. Press Enter or the button again to confirm.
Settings
Snap
The points should snap to the grid. Note that this works by rounding the location of the mouse dependent on the Snap Scale, it does not snap to the actual grid itself. Higher values have a larger ‘jump’ between points.
Snap Scale
How much space is between each snapping point (by what value the location is rounded by, by the equation of ‘(round(location * 1/scale)) / 1/scale’).
From Center
Draws shapes using the initial mouse point as a centre rather than an edge. For instance, the first mouse click of a sphere will define the middle of that sphere in From Center mode, while it will define a corner otherwise.
Shape Type
Selects which shape to create when using the Add Object too. Unfortunately, it is not possible to change this shape dynamically; the Add Object has to be stopped and started again for the change to take effect.
Offset Type
When the first and second click of an object are drawn, these can only be made form 2 axes. The third axis is not visible at all in the 2D views and for the 3D view it is impratical to try and get it. To that end, the Offset Type defines what that 3rd ‘location value’ is expected to be. This can be said to be where the ‘base’ of the mesh will be drawn to.
‘Face’ (default) snaps the offset to the face of any object found in its path; when no object/face is found, it defaults to a value of 0. ‘Cursor’ and ‘Origin’ work in similar ways, using the location of the 3D cursor or the origin point of the selected object. ‘Value’ allows you to define your own distance from the 0-point of an axis to start drawing from (defined by the ‘Offset’ value).
Mouse Multiplier
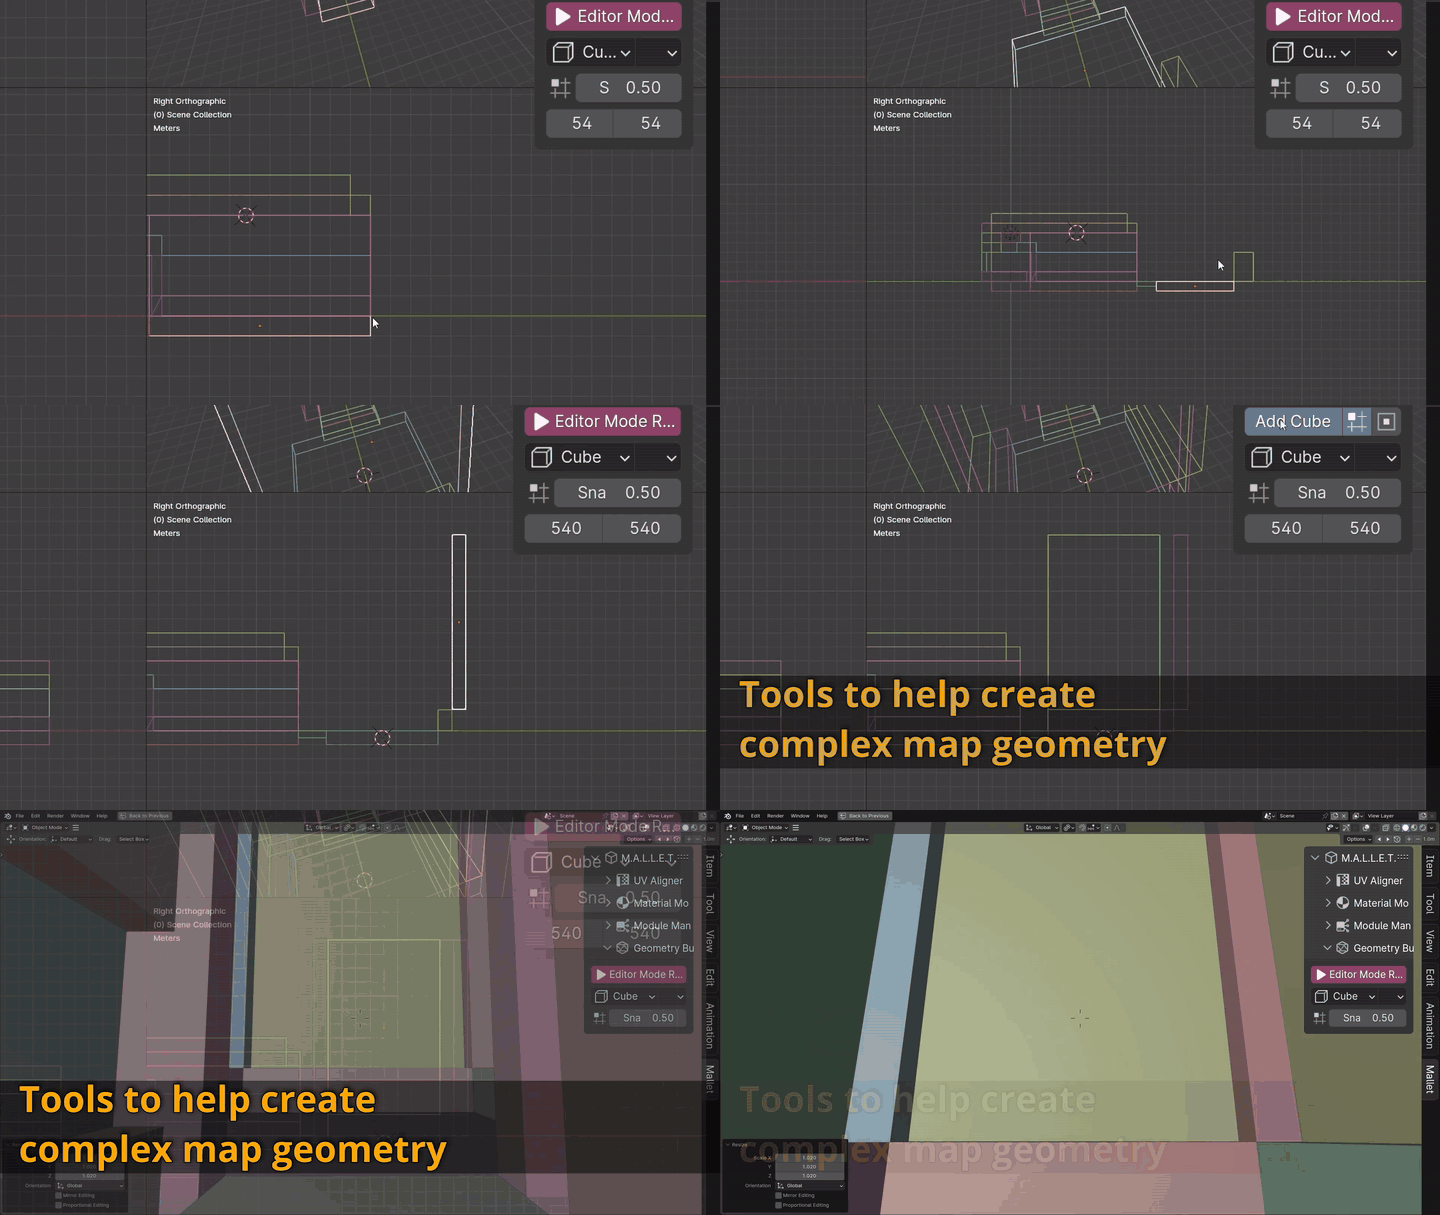
Unfortunately, due to a limitation of Blender’s API, the location of the mouse in 3D is not accurately attained without some help. The X and Y values need to be set for the mouse position to be properly attained when using the Quad Views. This can be found by activating the tool, pressing Q to show the temporary cursor, and then adjusting these values up or down until the locations match up.
Lower values move the object more (in relation to the movement of the mouse), while higher values move it less.
These values are unique to your layout, specifically to the resolution of your monitor and the width and height of the 3D viewport in the layout. If you find the value that’s right for you and then change the size of the 3D viewport, the values may no longer be accurate.
The ‘Y’ and ‘X’ value are very often the same or nearly the same. Once you find one, try using it for the other.
There is a tutorial at at the Video Documentation section to help you set this up. Changing one’s window layout isn’t that common, so once you set this up once, you can usually forget about it.
