Geared Armillary Sphere - Model And 3D Print
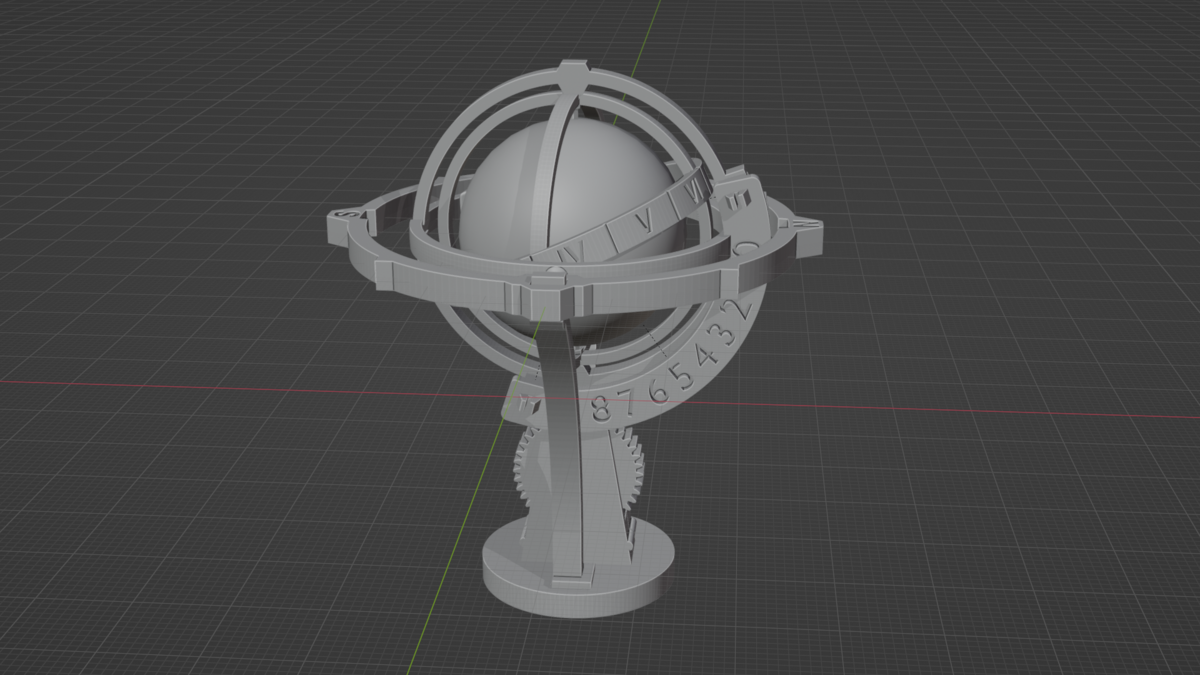

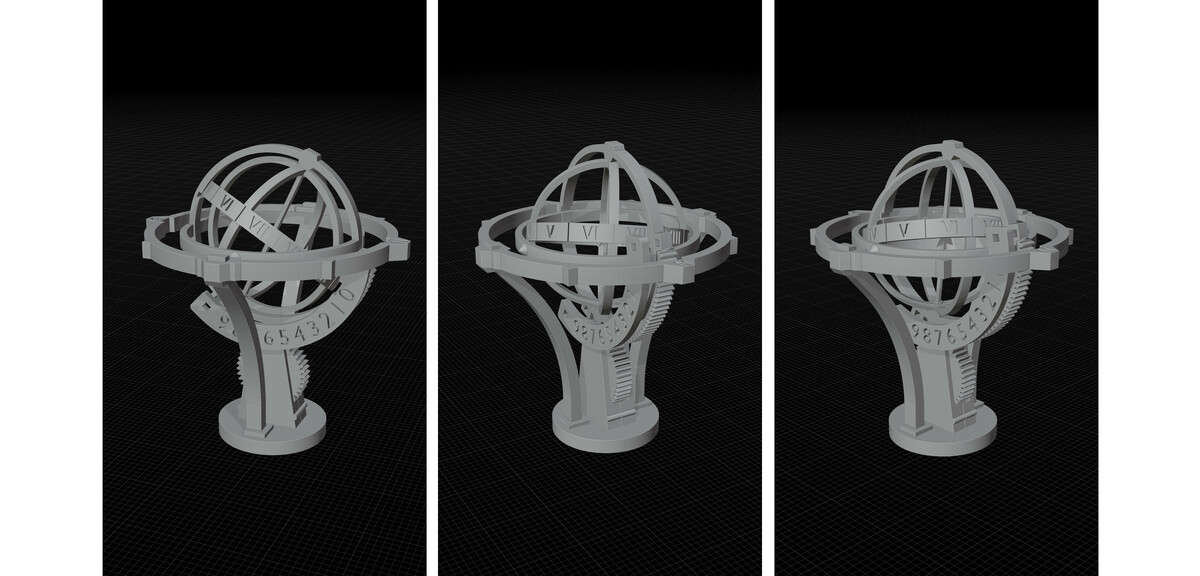

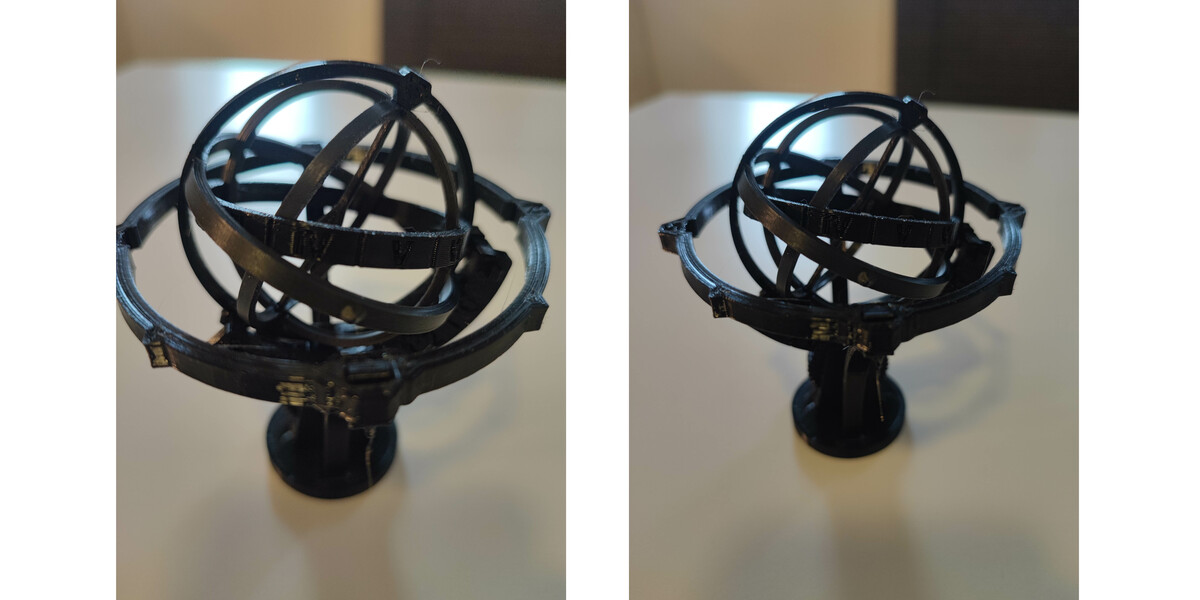

A fully 3d print optimized, mini-sized, but functional Armillary Sphere for your desktop.
The device, besides the unique look, visualizes the path the Sun takes at certain times of the year at certain latitudes. It gives a good impression of the expected noon height of the Sun, its orientation on the sky, and the length of the expected daytime.
Video demo here.
The model is gear driven. By rotating the main drive, the latitude is set safely and securely. A small Sun indicator can be attached on the Ecliptic ring (printed optionally from a different color filament) to visualize the Sun.
The setup has all the 3d ready files in STL format, and the BLEND files with the model in addition with the original meshes for further modification and customization, if necessary.
Enjoy !
-------------------------------------------------------------------------------------------------------------------------------------------
Brief How To Use The Armillary Sphere
1. Orient the whole assembly to the north
2. Put the Sun Indicator approximately to the current date on the Ecliptic ring (Or just take note where that current date is). Set your Latitude by rotating the Main Gear. ((Example - for 65 degrees North, you will rotate until the Latitude Plate shows 6.5)
3. Position yourself so, that you are level with the Horizon ring. Rotate the Ecliptic ring gently to a position where the current date location intersects the Horizon ring from above. THIS IS THE MOMENT OF SUN RISE. (If you use the Sun Indicator attachment, it has un Upper and Lower part. These indicate when the twilights begin)
4. Rotate the Ecliptic ring further. The Path the current date takes as rotated above the Horizon ring is the path the Sun takes. You will see its highest position, its orientation and direction in the sky.
5. From the portion of that path above the horizon you can have a good sense of how long the daylight and nighttime is at that time of the year
6. If you rotate to the highest position, and you know its time (from observation), you can deduce the approximate Sunrise and Sunset times
-------------------------------------------------------------------------------------------------------------------------------------------
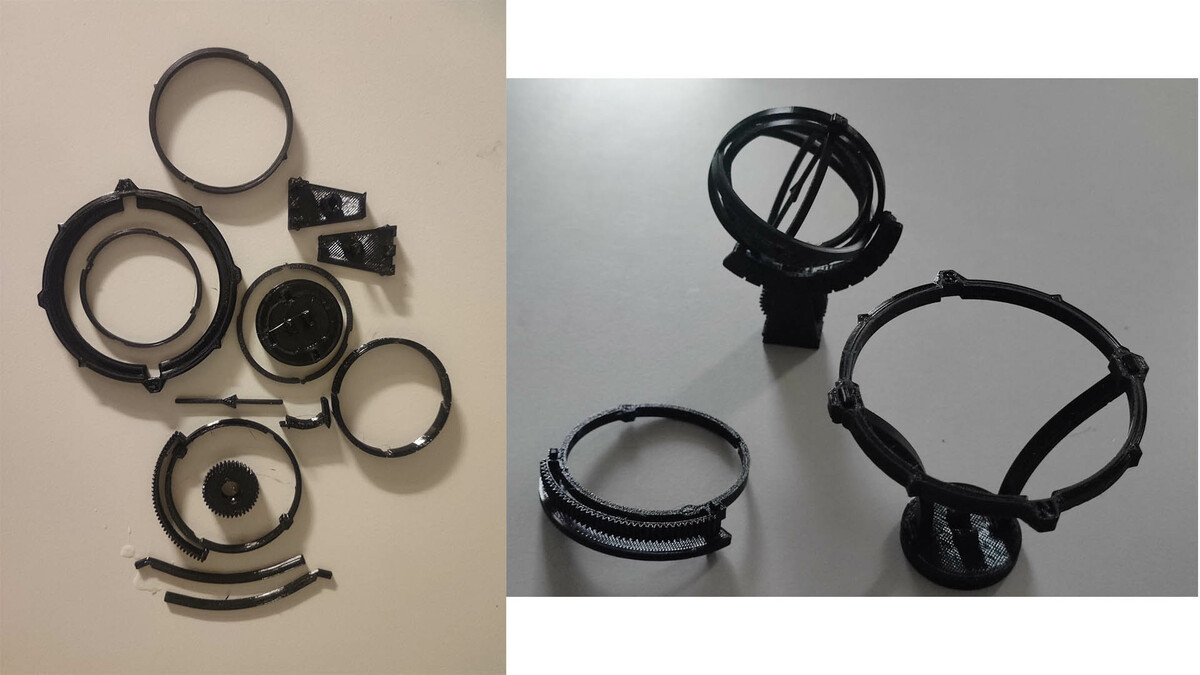
PRINTING - The model was printed and tested in PETG with 0.2 mm layer height. The positioning of the model parts is self-explanatory. They were designed to lay on their flat parts and be easy and fast to print. The infill is 25-50%.
Since every 3d printer is different a bit, if something is too loose or tight, print that part only with appropriate scaling again.
Superglue is recommended to attach the base and the pillars.
NOTE - Inspired by the many available Sundial and Armillary designs to combine gearing and features into one neat pack.