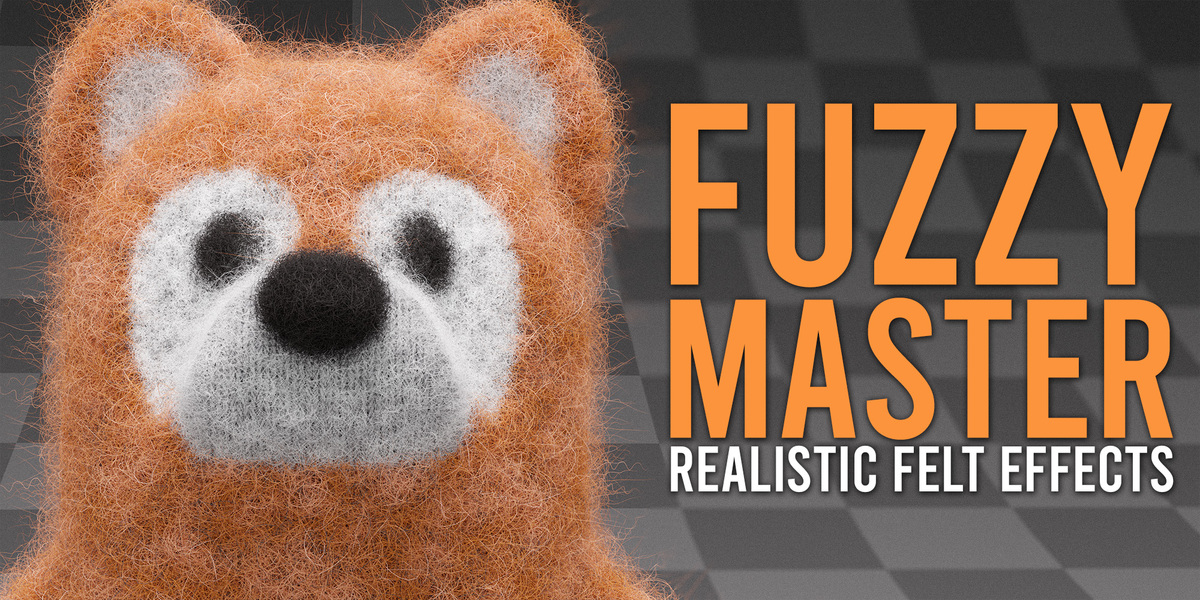
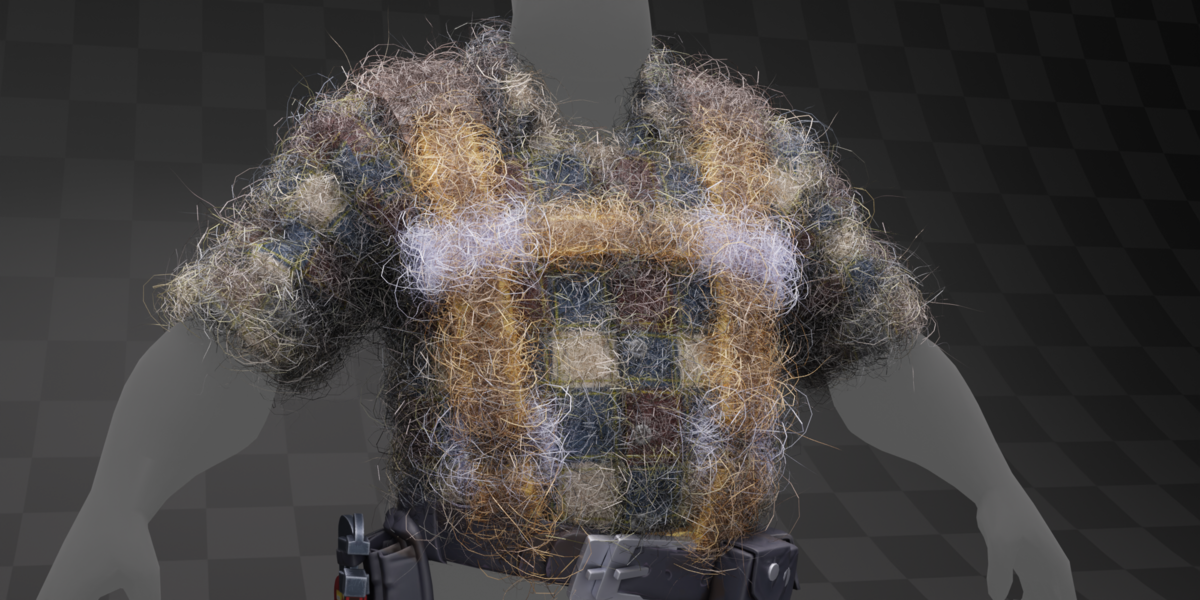
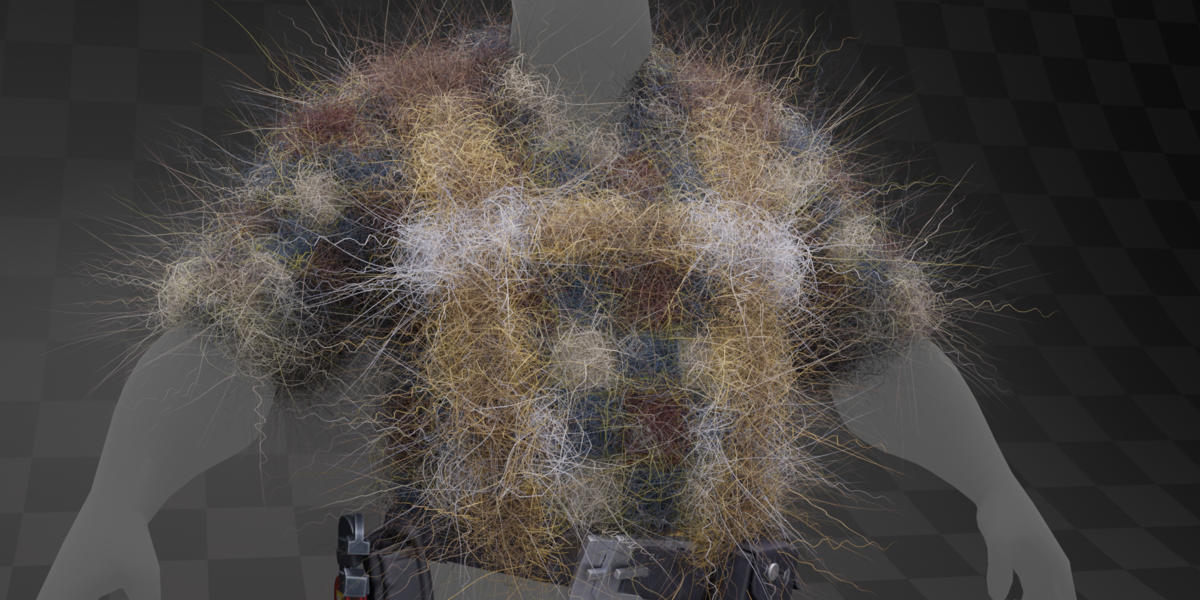
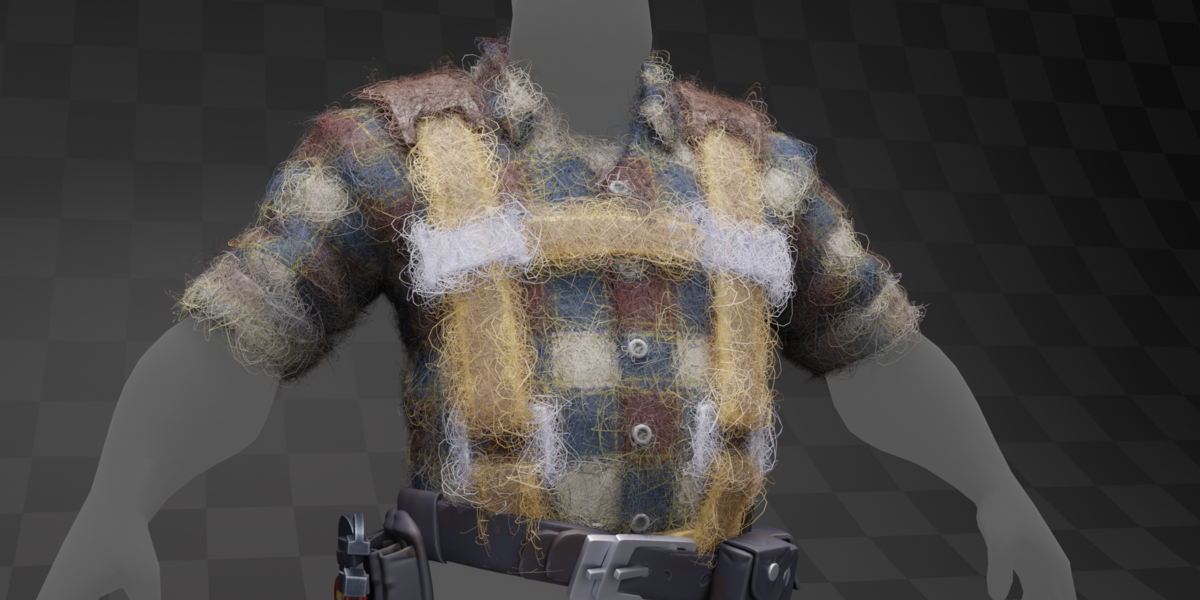
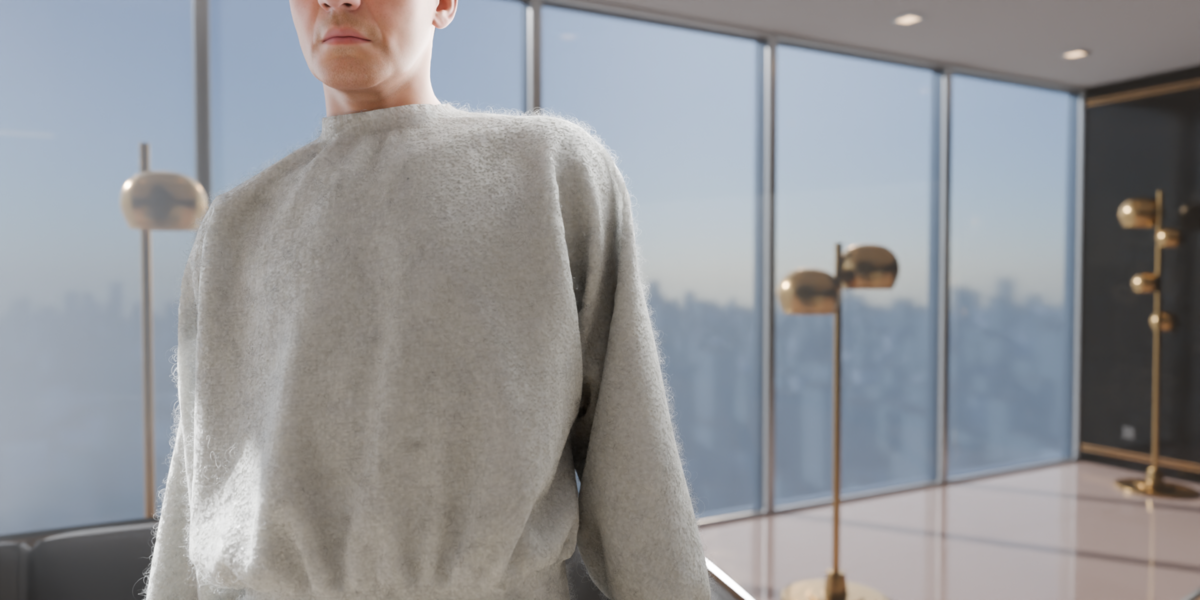
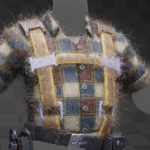
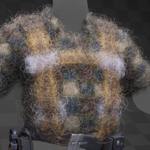
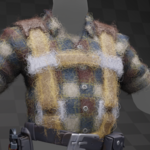
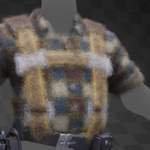
Fuzzy Master: Realistic Felt Effects
Video tutorials
Free Version Tutorial / Pro Version Tutorial
Fuzzy Master Documentation
By Lazy3D
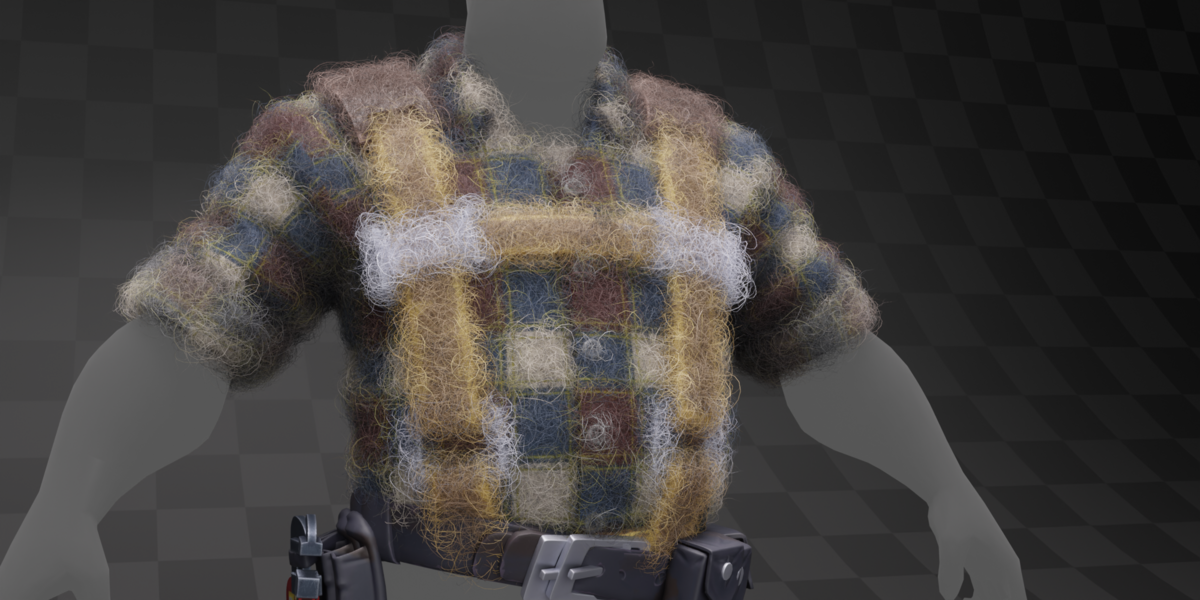
Welcome to the Felt Add-on for Blender—a versatile tool crafted to optimize and elevate your workflow when handling hair materials and textures. Whether you're an experienced 3D artist, animator, or passionate hobbyist, Felt offers intuitive operators and user-friendly interfaces that simplify intricate material management tasks, enabling you to create stunning and lifelike hair effects effortlessly.
VIDEO TUTORIAL -
Panel: Fuzz Master: Realistic Felt
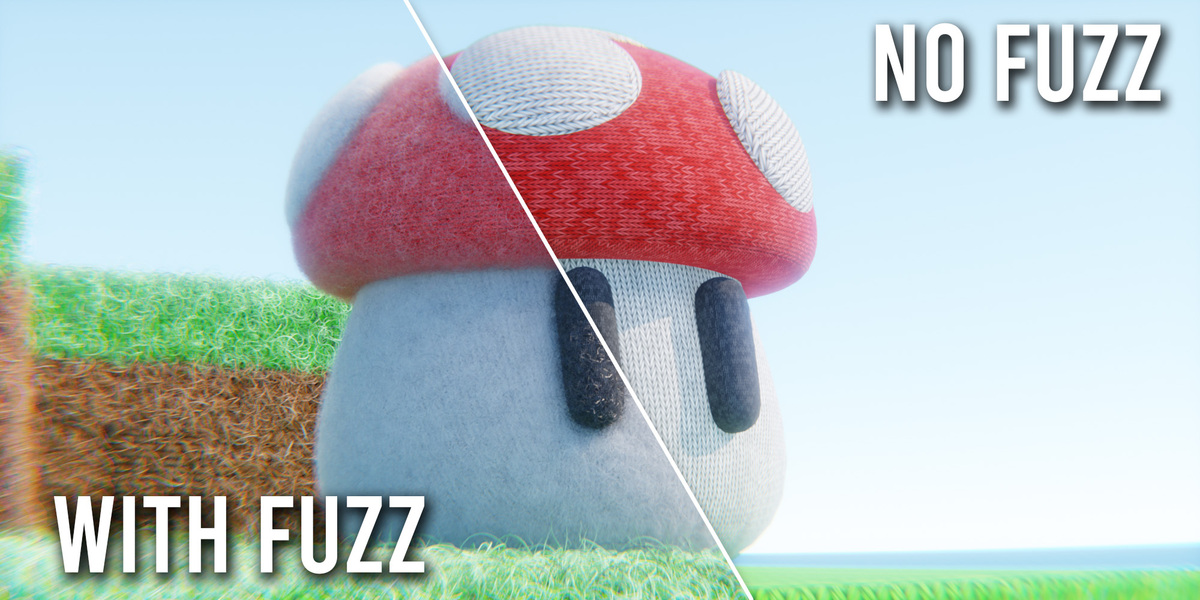
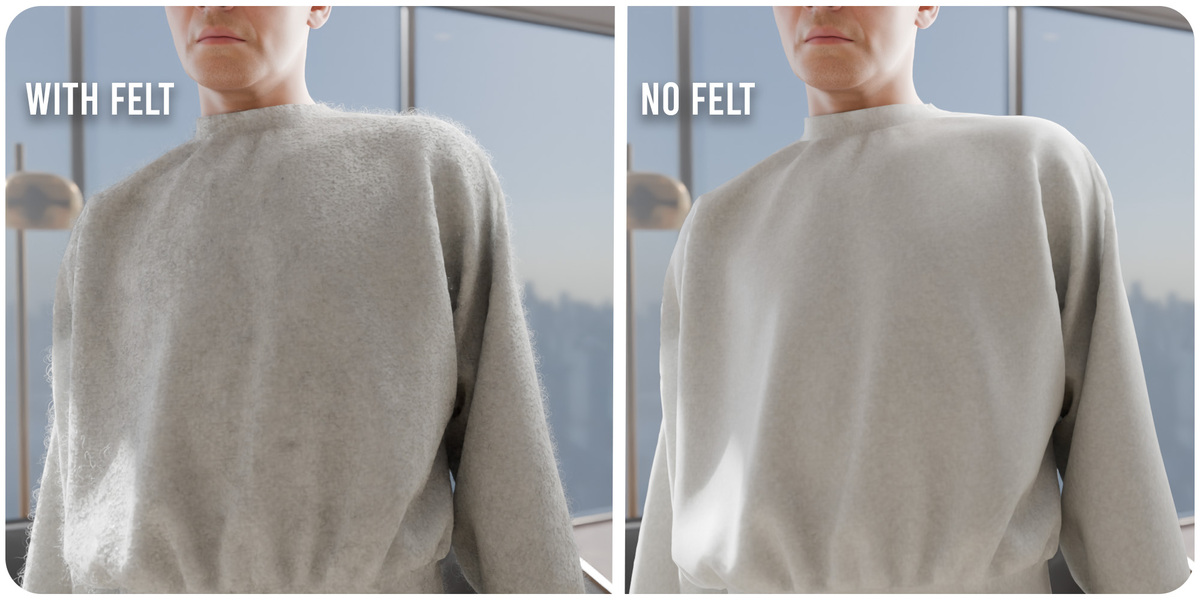
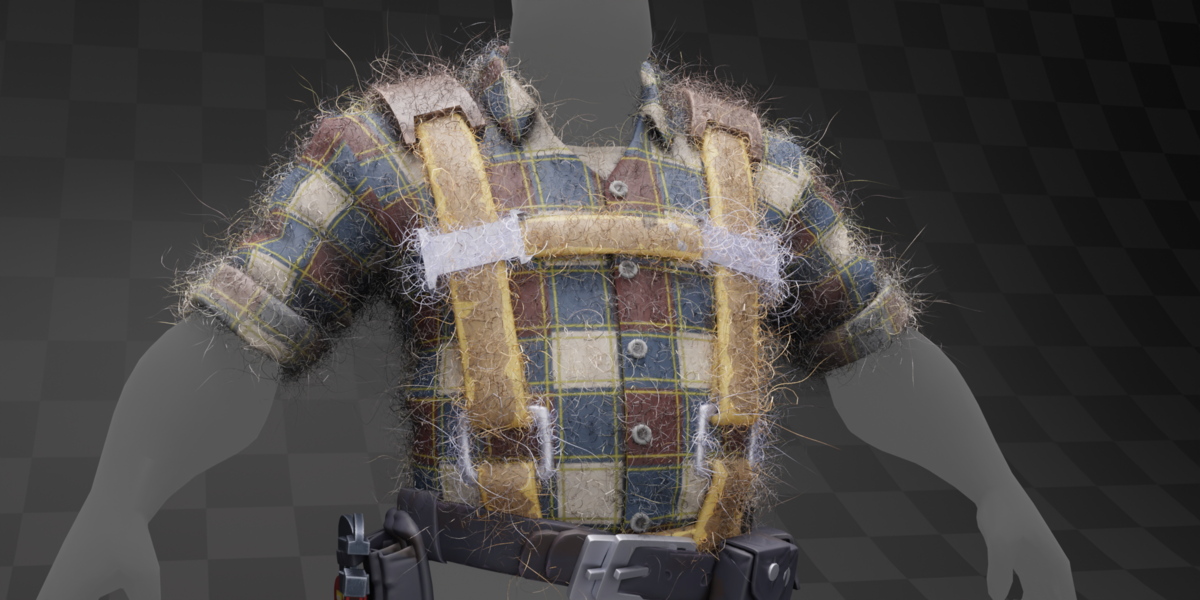
This panel is designed to streamline the process of applying realistic felt and fuzz-like effects to your models. It includes the following functionality:
Button: Import Felt Modifier
- Description: This button imports and applies a preset felt modifier to the selected object. The modifier simulates a realistic felt or fuzzy texture effect, instantly enhancing the surface's visual detail.
- Usage:
- Select the object you want to apply the felt effect to.
- Click the Import Felt Modifier button.
- The felt modifier will be added to the object, and you can further adjust its settings in the modifier stack or through the material properties.
After clicking the Import Felt Modifier button, this dialog appears, providing additional customization options for applying the felt modifier. The options include:
Checkbox: Light Mode
- Description: When enabled, the felt modifier is applied with optimized settings for lightweight performance. This is ideal for scenes requiring minimal resource usage or faster rendering times.
- Use Case: Recommended for high-poly models or when working in performance-constrained environments.
Checkbox: Hide Geometry
- Description: When enabled, the base geometry of the object is hidden, leaving only the felt effect visible. This is useful for achieving a stylized look or isolating the felt material for rendering.
- Use Case: Ideal for projects where the focus is on the felt effect itself or when blending the effect with other visual elements.
General Settings
- Density [Render]:
- Adjusts the density of the particles or felt effect visible during rendering.
- Usage: Higher values result in a thicker felt appearance but may increase rendering time.
- Density [Viewport]:
- Controls the density of the particles or felt effect displayed in the 3D viewport.
- Usage: Lower values improve viewport performance, while higher values provide a closer preview of the final render.
- Material:
- Displays the material currently assigned to the felt effect.
- Usage: Select or modify the material used for the felt, ensuring compatibility with your object’s look.
- Hide Geometry:
- Toggles the visibility of the base geometry beneath the felt effect.
- Usage: Enable this option to isolate the felt effect or achieve a transparent base.
- Vertex Map Distance Mask:
- Allows for selecting a vertex group or map to control the felt effect based on vertex distances.
- Usage: Useful for creating custom falloff effects or localized felt coverage.
Form Settings
- Add Spiky Hairs:
- Toggles the addition of spiky hair particles for a more dynamic or stylized felt effect.
- Particles Scale:
- Adjusts the overall size of the individual particles in the felt or hair effect.
- Usage: Smaller values create a finer texture, while larger values result in a coarser appearance.
- Randomize Scale:
- Introduces randomness to the size of the particles.
- Usage: Adds variation to the felt effect for a more natural or organic look.
- Straighten Hair:
- Controls the straightness of the hair particles.
- Usage: Increase the value for straighter hairs or decrease it for more curvature.
- Hair Length:
- Sets the length of the individual hair particles.
- Usage: Longer hairs result in a more dramatic effect, while shorter hairs create a subtler texture.
- Thickness:
- Adjusts the thickness of the hair strands.
- Usage: Use thinner hairs for delicate effects or thicker hairs for bold, pronounced looks.
- Curve Resolution:
- Defines the resolution of the curves used for the hair particles.
- Usage: Higher values create smoother curves but may impact performance.
- Flatten:
- Controls how flattened the hair particles appear.
- Usage: Useful for achieving a compressed or squished appearance.
- Randomize Flatten:
- Adds variation to the flattening effect for a less uniform look.
- Usage: Creates a more natural, uneven texture.
- Hair Position Offset:
- Shifts the starting position of the hair particles.
- Usage: Adjust this to reposition the hair strands on the object’s surface.
Stray Hairs
- Stray Hair Count:
- Controls the number of stray hairs that appear outside the main felt surface.
- Usage: Higher values add more stray hairs, creating a messier, more organic look.
- Flatness:
- Adjusts how flat the stray hairs lie on the surface.
- Usage: Increase this value to make stray hairs less prominent and closer to the object’s surface.
- Scale:
- Controls the overall size of the stray hairs.
- Usage: Use smaller scales for subtle details or larger scales for exaggerated effects.
Animation
- Animation Steps:
- Determines the number of animation frames for dynamic effects on the felt or hair particles.
- Usage: Use this to control the smoothness of animated transitions. A higher value results in more steps for gradual changes.
- Influence:
- Sets the strength of the animation effect on the felt or hair particles.
- Usage: Increase this value to make the animation more pronounced or decrease it for a subtler effect.
Procedural Dirt
- Enable:
- Toggles the application of procedural dirt to the felt material.
- Usage: Check this box to add dirt details for a more weathered or natural appearance.
- Density:
- Adjusts how dense the dirt appears on the felt surface.
- Usage: Use higher values for heavier dirt coverage or lower values for subtle dirt effects.
- Scale:
- Controls the size of the procedural dirt pattern.
- Usage: Larger scales create broader dirt patches, while smaller scales result in finer details.
- Position Offset:
- Modifies the placement of the dirt pattern on the object’s surface.
- Usage: Adjust this to fine-tune the alignment of the dirt effect.
- Dirt Material:
- Displays or allows you to assign the material used for procedural dirt.
- Usage: Select a pre-defined material or create a custom one for unique dirt effects.
Material Type
Select from three preset material types to define the overall look of the hair material:
- Default:
- A balanced, general-purpose material for hair with a standard appearance.
- Harsh:
- Adds a rougher, more pronounced texture, ideal for stylized or dramatic effects.
- Soft:
- Creates a smooth, subtle material with a softer look, perfect for delicate effects.
Color Options
- Color:
- Adjusts the base color of the hair material.
- Usage: Click to select or input a custom color.
- Darker:
- Controls the darkness level of the material.
- Usage: Increase to darken the material or decrease for a lighter look.
- Loose Brightness:
- Adjusts the brightness of the hair material, particularly around loose strands.
- Usage: Higher values result in brighter loose hairs, while lower values create a dimmer effect.
Surface Properties
- Roughness:
- Defines the surface roughness of the hair material.
- Usage: Higher values create a matte appearance, while lower values make the surface shinier.
- Specular IOR Level:
- Controls the index of refraction for the specular highlights.
- Usage: Adjust this value to fine-tune the strength and sharpness of specular reflections.
Panel: Optimization Settings
The Optimization Settings panel is designed to enhance rendering performance and manage scene optimization. Below is a detailed explanation of each parameter:
Enable Camera Culling
- Description: Toggles camera culling, which limits rendering calculations to objects visible within the camera's field of view.
- Usage: Enable this option to improve performance by skipping objects outside the camera's view.
Focal Length
- Description: Specifies the focal length of the camera in millimeters.
- Usage: Adjust this to match your desired perspective and ensure proper culling for the scene.
Image Width (px) & Image Height (px)
- Description: Defines the resolution of the rendered image in pixels for width and height.
- Usage: Modify these values to control the size of the output render or preview.
Padding
- Description: Adds extra space around the camera’s field of view to include objects slightly outside the visible area.
- Usage: Increase this value to prevent clipping objects near the edges of the camera view.
Show Camera Sensor
- Description: Displays a visual overlay of the camera’s sensor size in the viewport.
- Usage: Useful for aligning objects or verifying the camera's framing.
Backface Culling
- Enable Backface Culling:
- Description: Excludes backfaces (faces not facing the camera) from rendering.
- Usage: Enable this option to reduce rendering calculations for objects where backfaces are unnecessary.
Holdout
- Holdout Mesh:
- Description: Allows you to select an object to use as a holdout mesh, which creates a mask in the render, excluding certain areas from being rendered.
- Usage: Pick an object to act as the holdout region.
- Holdout Collection:
- Description: Allows you to specify a collection of objects for holdout masking.
- Usage: Assign a collection to exclude multiple objects from rendering simultaneously.
- Holdout Offset:
- Description: Adjusts the offset for the holdout effect, controlling the depth or extent of the masking area.
- Usage: Fine-tune this value to match your scene's requirements.
Discover more products like this
addon wool animated plush animal-fur hair fuzz desighn fur sale fabrics clothes Fast minky geonode Shader eevee denim fabric weaving stop motion Node lint stylized lifelike procedural design master character realistic 3d Weave velvet crochet Cartoon felt knitting needle felt tool cloth
