MAIN PANEL:
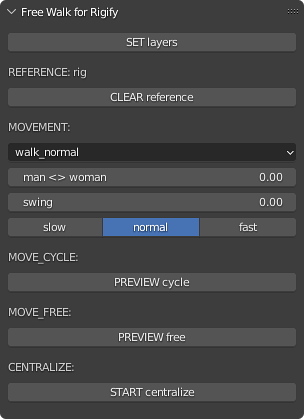
The panel is shown in 3D view > Sidebar > Free Walk for Rigify when the armature is in pose mode. However, the armature must have the custom property “rig_id” to be identified as a Rigify rig.

[ SET layers ]
This button turns ON only the Rigify layers that will be used. The others will be turned OFF.
REFERENCE:
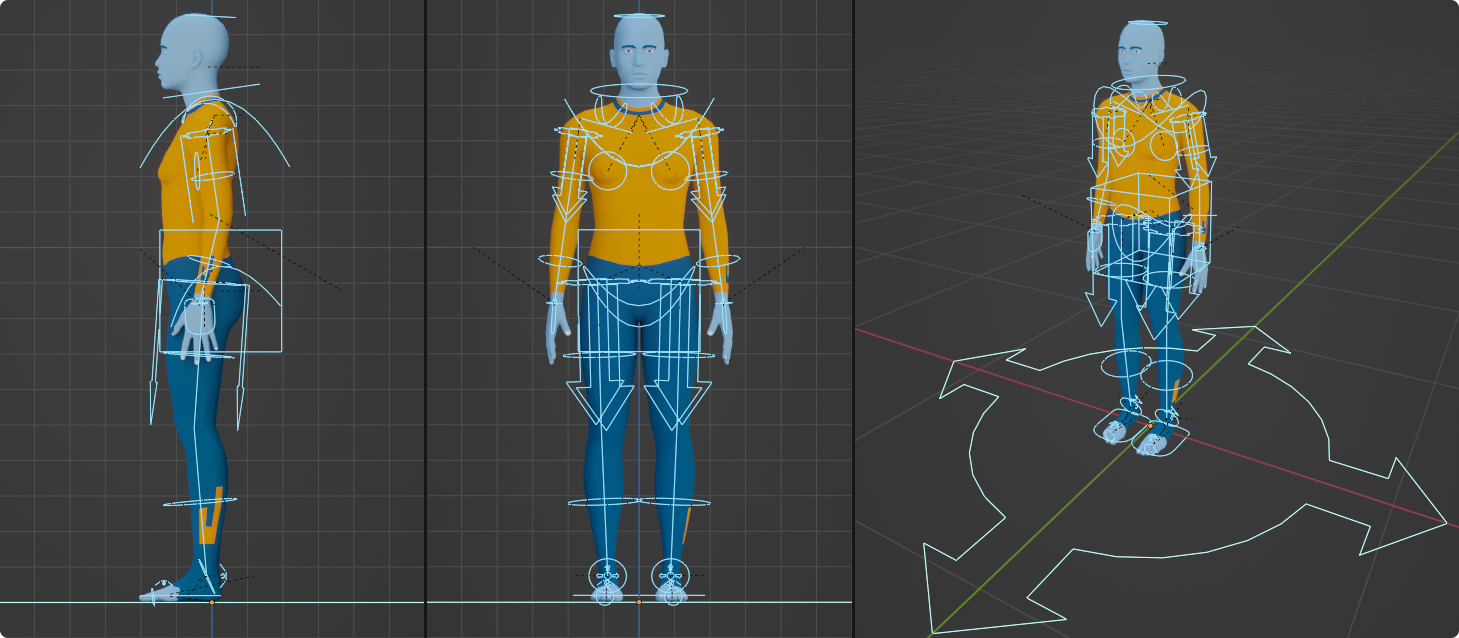
For the addon to work properly, it is necessary to calibrate the program because each character has specific measurements. So select all bones, reset all transformations and place the character in the pose shown bellow:


[ GET reference ]
This button captures the reference pose to memory (the settings panel will be locked).
[ CLEAR reference ]
This button removes the reference pose from memory (the settings panel will be unlocked).
MOVEMENT:
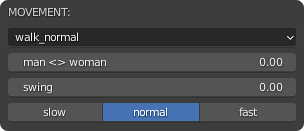
The main panel offers some controls to customize the walking animation.

[ type ]
Only walk_normal available yet.
[ man <> woman ]
( 0.00 <> 1.00 )
[ swing ]
( 0.00 <> 1.00 )
[ slow ] [ normal ] [ fast ]
Walking speed selector.
MOVE_CYCLE:
It plays movement in a repeating loop.

[ PREVIEW cycle ]
This button starts the walk preview. The processing is executed 12 times per second, however the animation is updated only at key points.
[ lock hand ik to fk ]
When active, this boolean button positions the hands IK on the hands FK.
[ ABORT ]
This button aborts the preview. The character’s pose is restoured and the scene is updated.
[ create Action ]
This button converts the preview into a new action. The frame rate of the scene is considered for time preservation. The values of the controls are recorded in the action name.
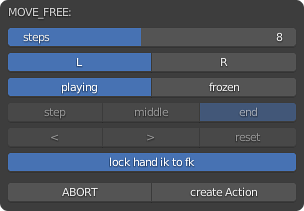
MOVE_FREE:
It plays movement in a free sequence. Be careful, this process writes keyframes to the current action, so make sure the correct action is selected before using it. Also, before starting, place the cursor on the desired frame where the animation should start.
NOTES:
after clicking on [ PREVIEW free ] button, the addon adds Emptys to the scene, it is possible to rotate them to direct the movement on their y-axis.
when status is frozen and scene is in objeto mode, the paused step is set by the selected Empty. When the armature is in pose mode, use the [ < ] and [ > ] buttons to switch between steps.
you need to wait for the frame to freeze completely to edit the character's pose. The edited poses are saved in memory depending on the selected leg ( [ L ] or [ R ] ).

[ PREVIEW free ]
This button starts the walk preview. The processing is executed 12 times per second, however the animation is updated only at key points. Before starting, place the cursor on the desired frame where the animation should start.
[ steps ]
This slider controls how many steps will be taken ( 1 <> 16 ).
--radio button: LEG--
[ L ]
This radio starts the process with the left leg foward.
[ R ]
This radio starts the process with the right leg foward.
--radio button: STATUS--
[ playing ]
This radio plays the preview in real time.
[ frozen ]
This radio freezes the preview for editing the character's pose.
--radio button: FROZEN RADIO--
only available when the preview is frozen.
[ end ]
This radio freezes the last frame of the selected step. The final pose changes the middle pose. So it is recommended to edit it before editing the middle frame.
[ middle ]
This radio freezes the middle frame of the selected step.
[ step ]
This radio plays the step in a loop for viewing purposes only.
--row of buttons: FROZEN BUTTONS--
only available when the preview is frozen and the armature is in pose mode.
[ < ]
This radio goes to the previous step.
[ > ]
This radio goes to the next step.
[ reset ]
This radio reset user edits only in the frozen frame ( [ end ] or [ middle ] ). You need to wait for the frame to freeze completely to use it.
[ lock hand ik to fk ]
When active, this boolean button positions the hands IK on the hands FK.
[ ABORT ]
This button aborts the preview. The character’s pose is restoured and the scene is updated.
[ create Action ]
This button converts the preview into the current action. The frame rate of the scene is considered for time preservation.
CENTRALIZE:
It centers the root. Just go to the last keyframe and choose the desired option. The addon insert all necessary keyframes. Be careful, make sure the correct action is selected before using it.
NOTES:
after clicking on [ START centralize ] button, the addon adds an Empty to the scene. The root is centered according to its position and rotation.

[ START centralize ]
This button starts the centering process. Before starting, place the cursor on the last keyframe.
[ ABORT ]
This button aborts the centering process.
[ Root ]
This button only centers the root.
[ All ]
This button centers the object and the root.
SETTINGS PANEL:
The panel is shown in 3D view > Sidebar > Free Walk for Rigify when the armature is in pose mode. However, the armature must have the custom property “rig_id” to be identified as a Rigify rig. Beside, the settings are only available when the reference pose has not been captured or has been cleared.
NOTES:
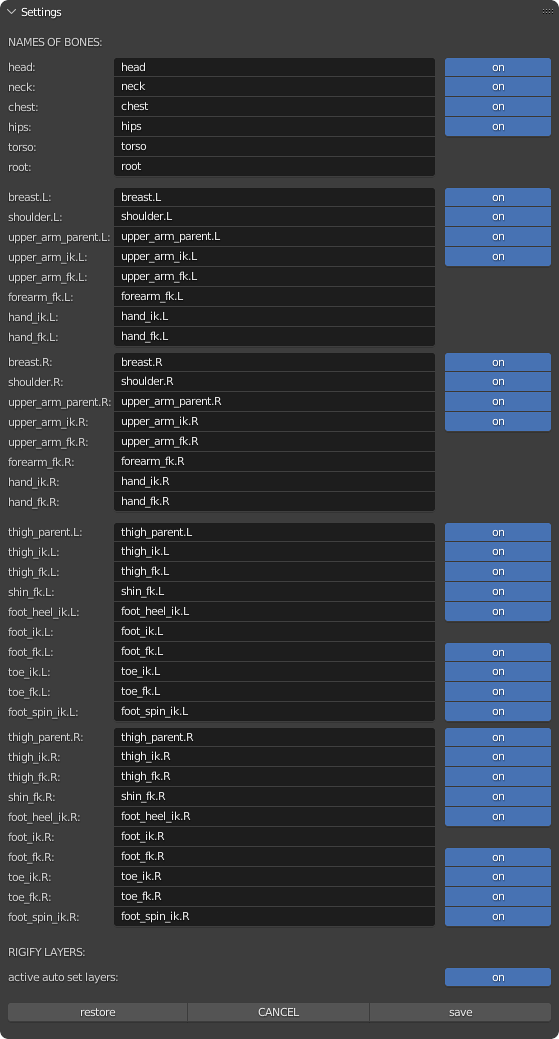
the addon was made to work with modern versions of Rigify rigs (0.6.6 or later). It is recommended to keep the original names of the bones and layers. However, this experimental panel is intended to help users when a Rigify rig is other than the default. So, it is possible to change the names of the bones and turn off most of them. Furthermore, if the layers are different from the default, it is possible to disable the auto set layers to manually activate the layers of the necessary bones.
bones that cannot be disabled: root, torso, upper_arm_fk, forearm_fk, hand_fk, hand_ik, foot_ik.

[ EDIT ]
This button enables the panel for editing settings.
[ restore ]
This button restores the default settings.
[ CANCEL ]
This button cancel the edit returning the previous settings.
[ save ]
This button saves the new settings.
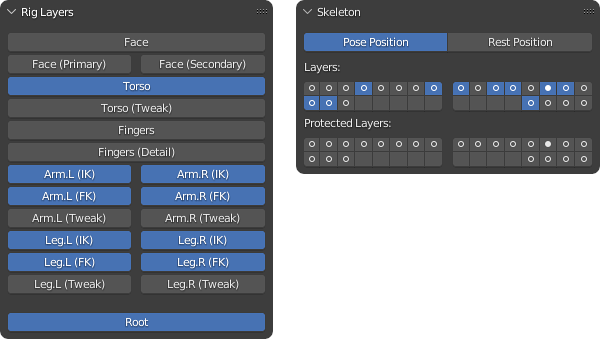
previous versions of Rigify, default layers:

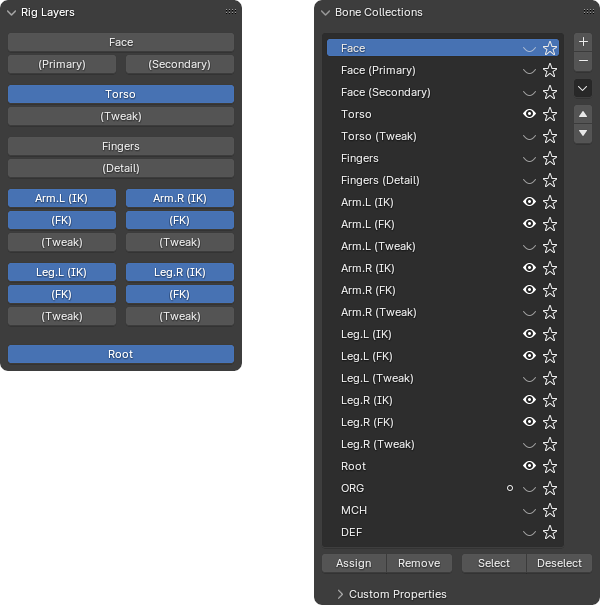
current versions of Rigify, default layers:

how to install:
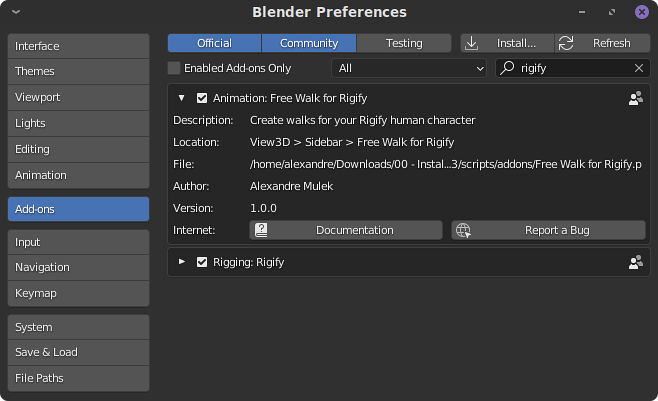
Copy the .py file into the blender installation folder (example, blender > 3.3 > scripts > addons), or start the Blender, open the Preferences > Add-ons and click on the Install button to select the .py file. The addon will be listed and you can enable it by pressing the checkbox:
