Fastpbr Cycles & Eevee
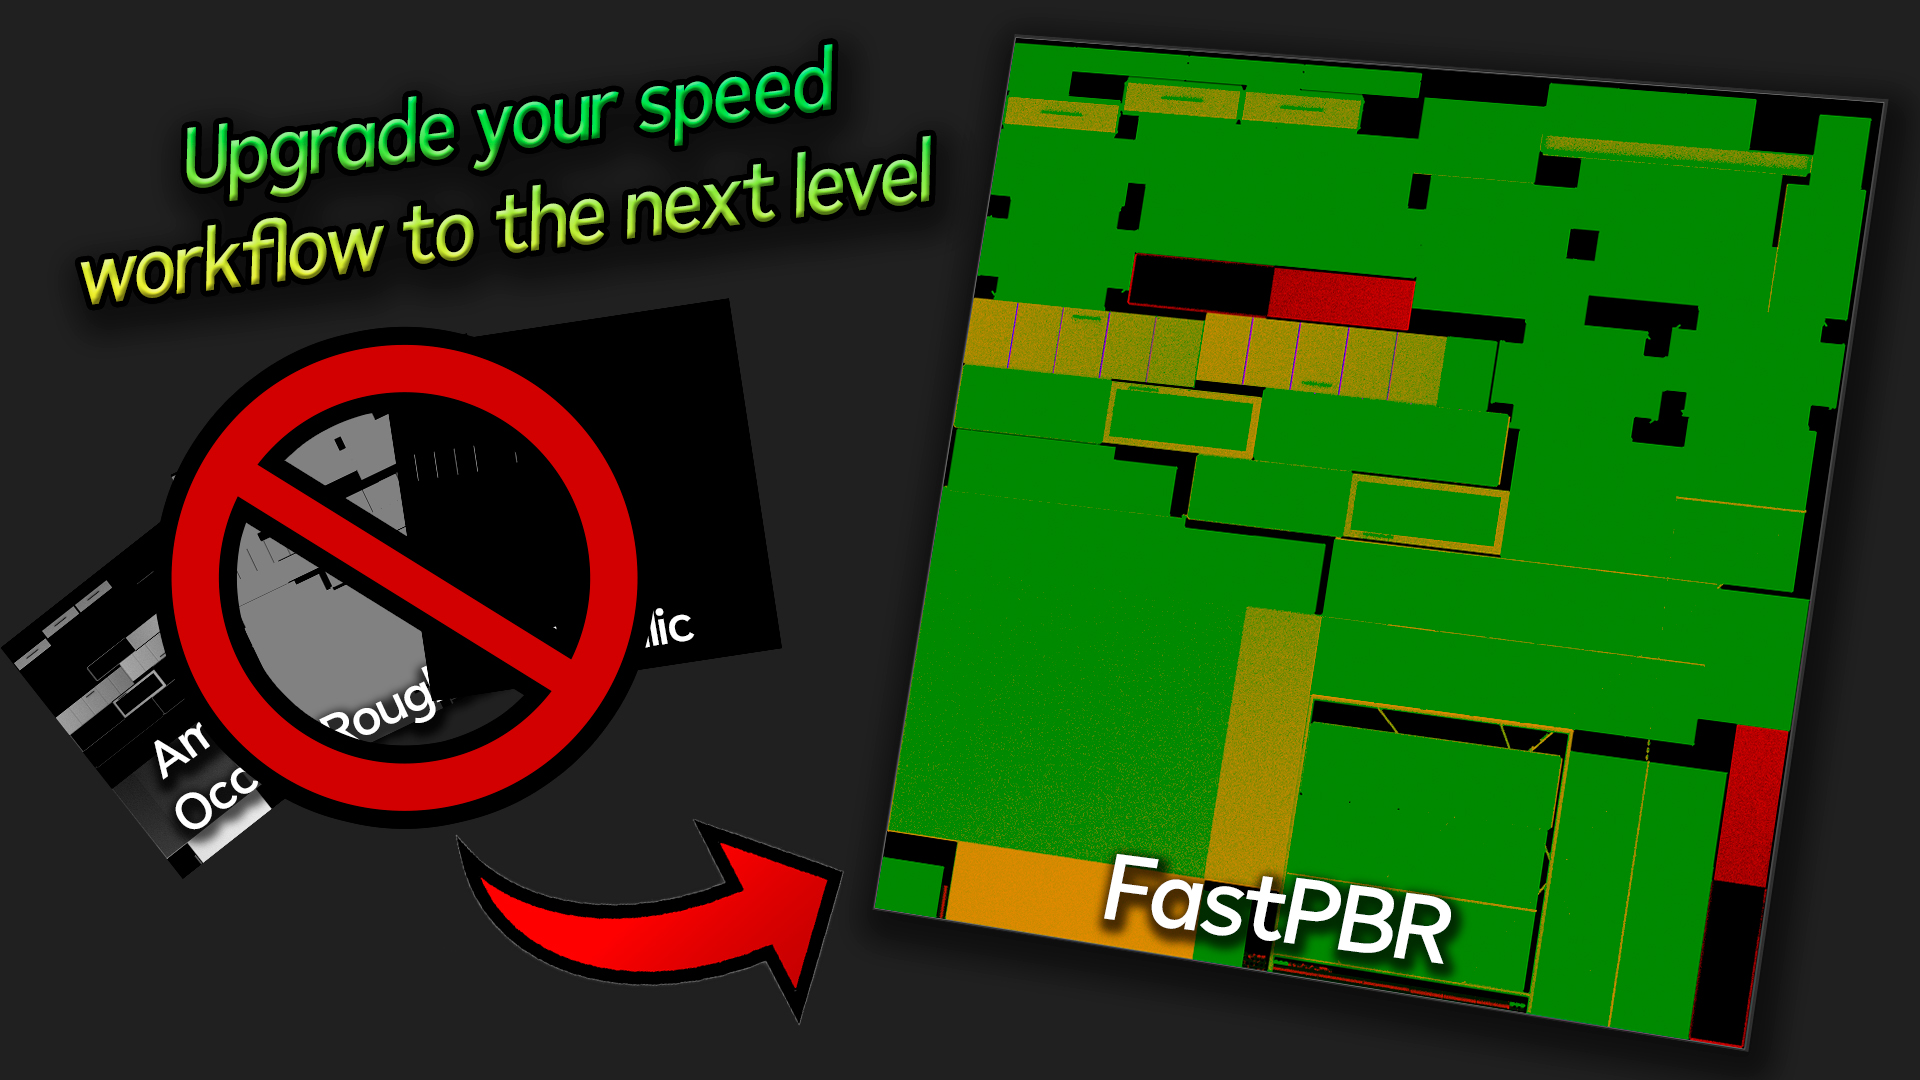


FastPBR is here!
Introducing FastPBR: Revolutionize your workflow with this groundbreaking product that allows users to replace Ambient Occlusion, Roughness, and Metallic texture maps with a single map, maximizing optimization and achieving identical results with enhanced performance.
FastPBR is a game-changer for artists and designers seeking to streamline their processes. Say goodbye to the hassle of managing multiple texture maps and the time-consuming task of fine-tuning each one. With FastPBR, you can consolidate all the necessary information into a single map, saving you valuable time and effort.
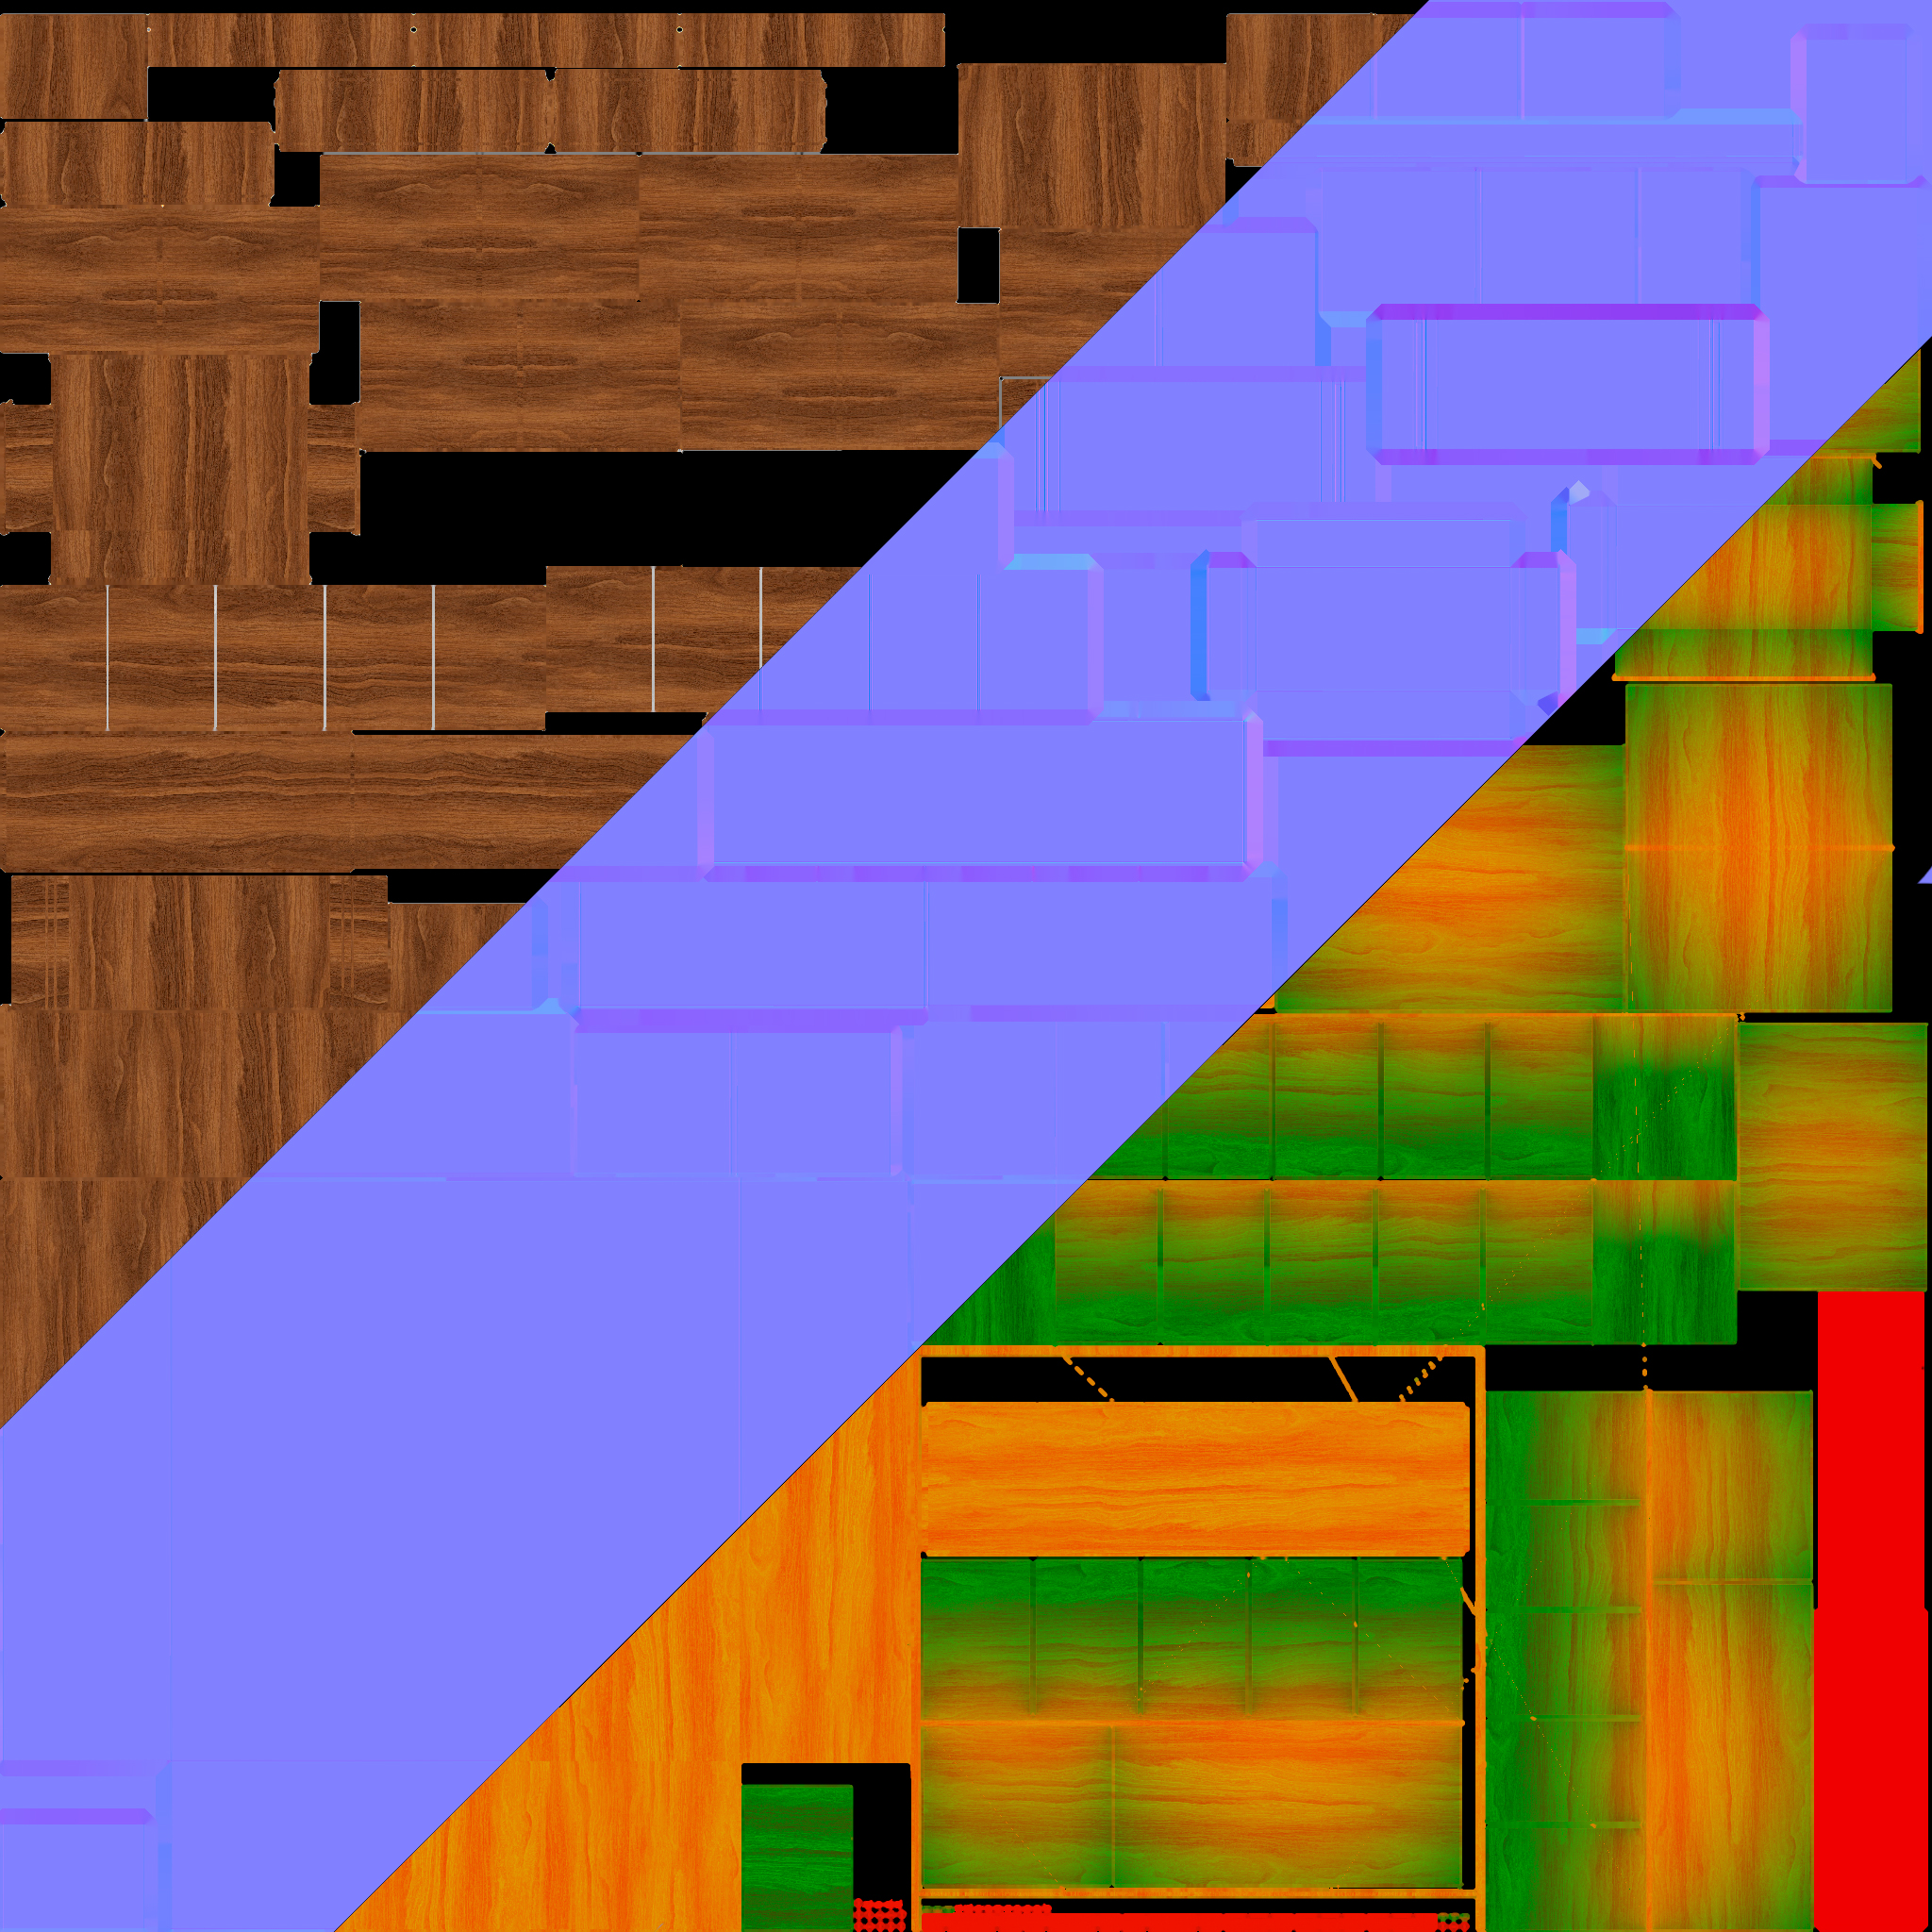
By integrating Ambient Occlusion, Roughness, and Metallic properties into one map, FastPBR optimizes rendering performance without compromising the quality of your results. Enjoy the same level of realism and accuracy in your renders while experiencing a significant boost in efficiency.
FastPBR process

Saving demostration

Compatible with Cycles & Eevee!
FastPBR is compatible with the Cycles and Eevee rendering engines. This powerful tool will optimize your workflow regardless of which rendering engine you use. Whether you're working on a project in Cycles or Eevee, FastPBR will provide you with the same benefits: the ability to replace multiple texture maps with just one, maximizing efficiency and achieving consistent high-quality results. Make the most out of both Cycles and Eevee with FastPBR and take your renders to the next level.

Nodetree denmostration

How to use?
Once you have converted your maps with FastPBR, you will need to implement them into your workflow. To do this, you should load them into the Shader Editor as an "Image Texture" node with the color space set to "Linear" (1*). Once loaded, connect it to a "Separate Color" node (2*).
Now, what you need to do is load a "Mix" node in multiply mode and connect the R (Ambient Occlusion) output of the "Separate Color" node to position B, and the Image Texture containing the "Diffuse" map to position A of the "Mix" node (3*).
Next, let's connect the G and B outputs of the "Separate Color" node. Connect the G output to the "Roughness" input of the "Principled BSDF" node, and the B output to the "Metallic" input.
(1*) Ensure the "color space" parameter of the Image Texture node is set to "Linear".
(2*) Use a "Separate Color" node to separate the channels of the input texture.
(3*) Use the "Mix" node in multiply mode to blend the diffuse and ambient occlusion channels.
And that's it! You now have the maps connected with just one texture map!
Just in case, I have left a .blend file containing only the nodetree I just explained in case you get lost
