Cinematic Look With Blender 3.0 - Step By Step Tutorial - Updated 2023
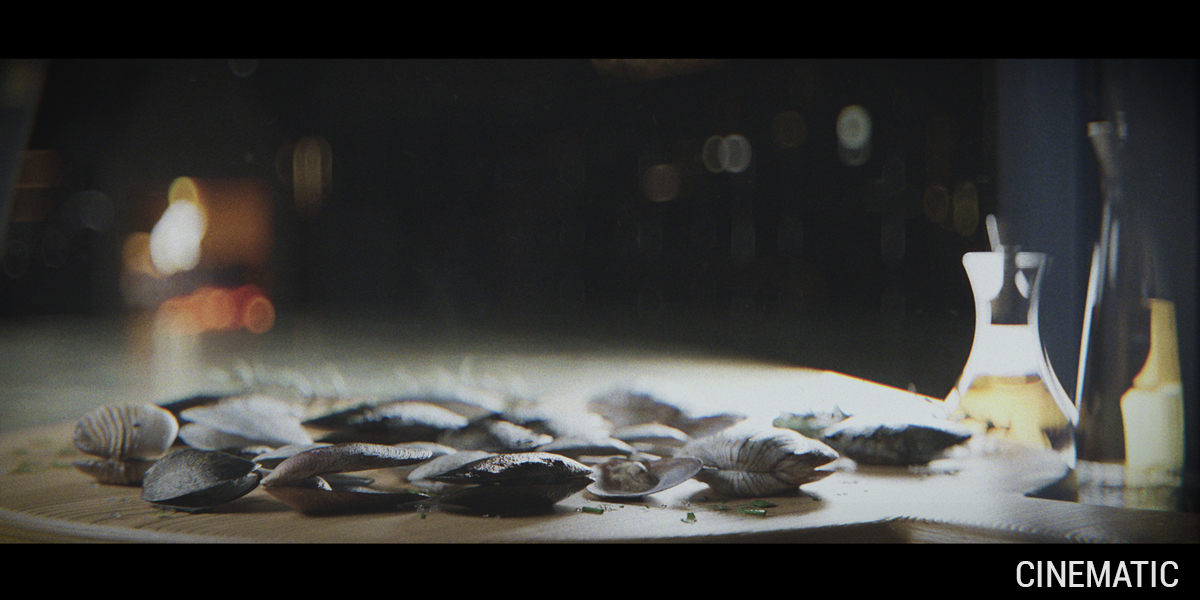
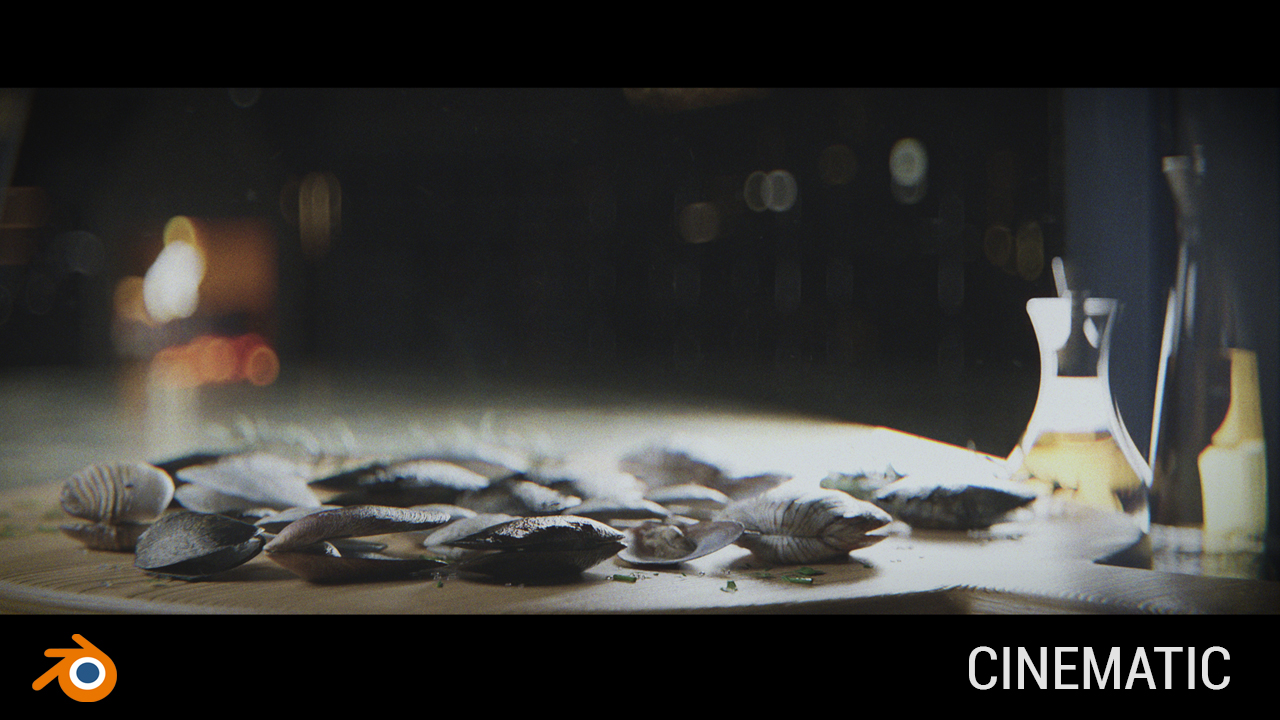


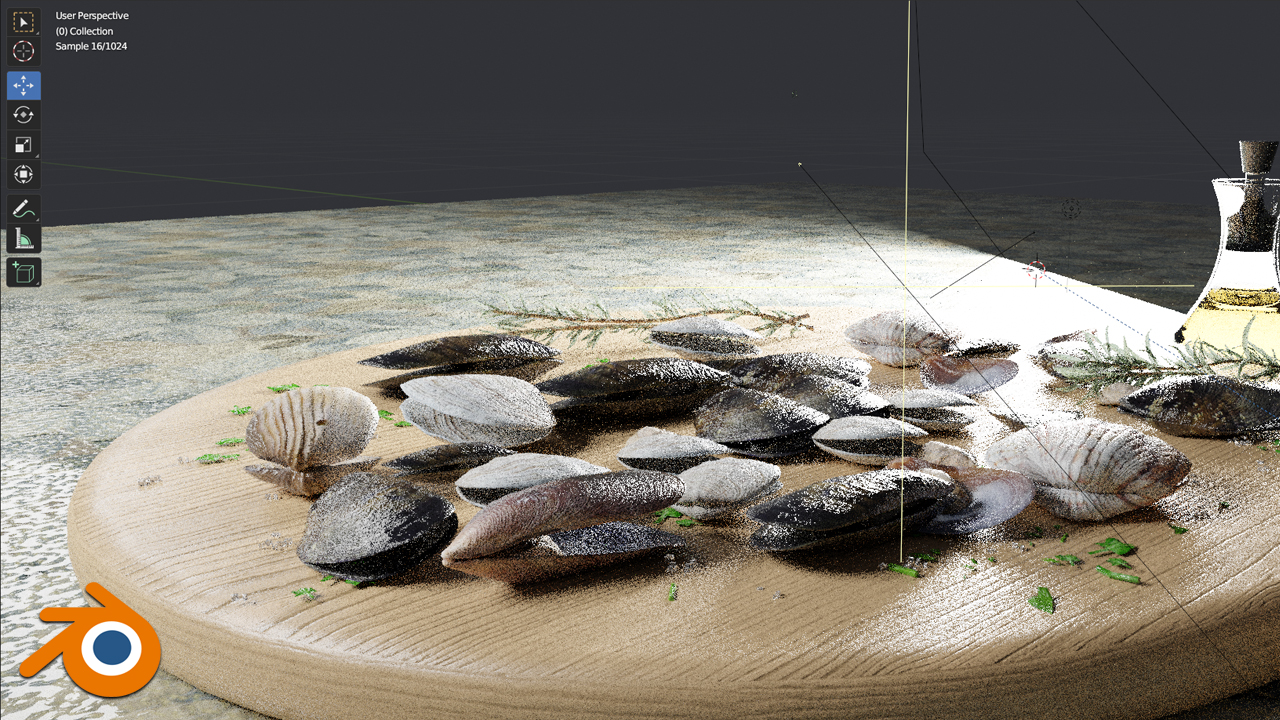

Hello and welcome to the new tutorial. In this tutorial, we will create and animate a cinematic scene from the introductory video in the free program blender step by step.
We will talk about modeling, texturing, unwrapping, lighting, post-processing, and more.
The entire process of creating this scene is recorded, so the tutorial is easy to follow even for blender beginners.
The tutorial was updated in January 2023. A new sound was recorded with several new details and subtitles.
The tutorial is separated into 14 parts with an average duration of 9 minutes to make it easier to follow.
This is the workflow that I have learned in the last 3 years of using Blender.
First, we'll cover the basics in a 10-minute introduction to help you understand Blender better.
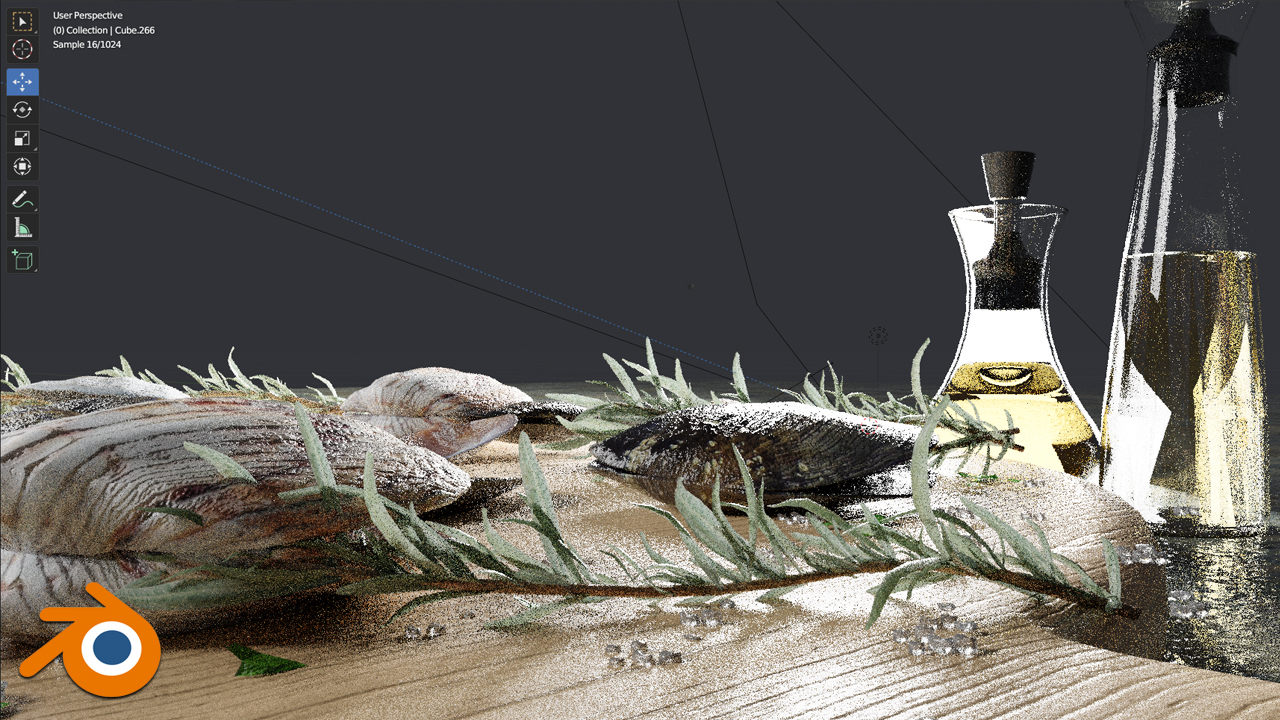
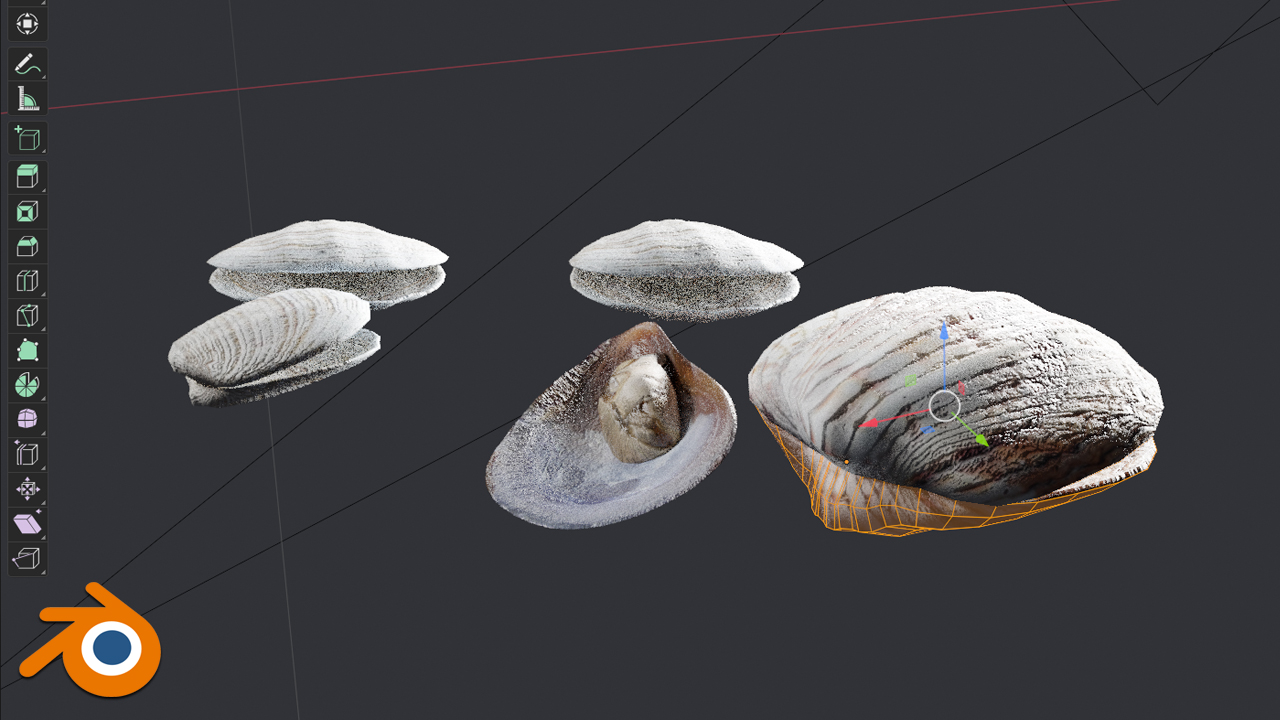
After that we will model and texture the shells, table, cutting board and background elements.
I'll show you where to find free textures, how to blend textures and create a bump, roughness, and other maps, how to unwrap and create procedural textures.
I will introduce you to the most common shortcuts in blender and how to model with the help of shortcuts.
We will also work with objects imported into the blender from external sources. I'll show you the best places to download objects, materials, and the most useful addons I use in Blender.
All resources and links are included in the tutorial, and subtitles with shortcuts are also available.
In the end, we will do post-processing in After Effects. After Effects is not necessary, you can achieve a good result without post-processing.
Speech-language: English + subtitles
Video resolution of the tutorial: 4k
final .blend file included + all resources
The first part for free
1 - Modeling mussel
2 - Unwrapping and materials
3 - Modeling the second shell
4 - Modeling of the third shell
5 - Cutting board - Modeling and material
6 - Composition and lighting
7 - Salt and parsley
8 - Tablecloth and oil bottles
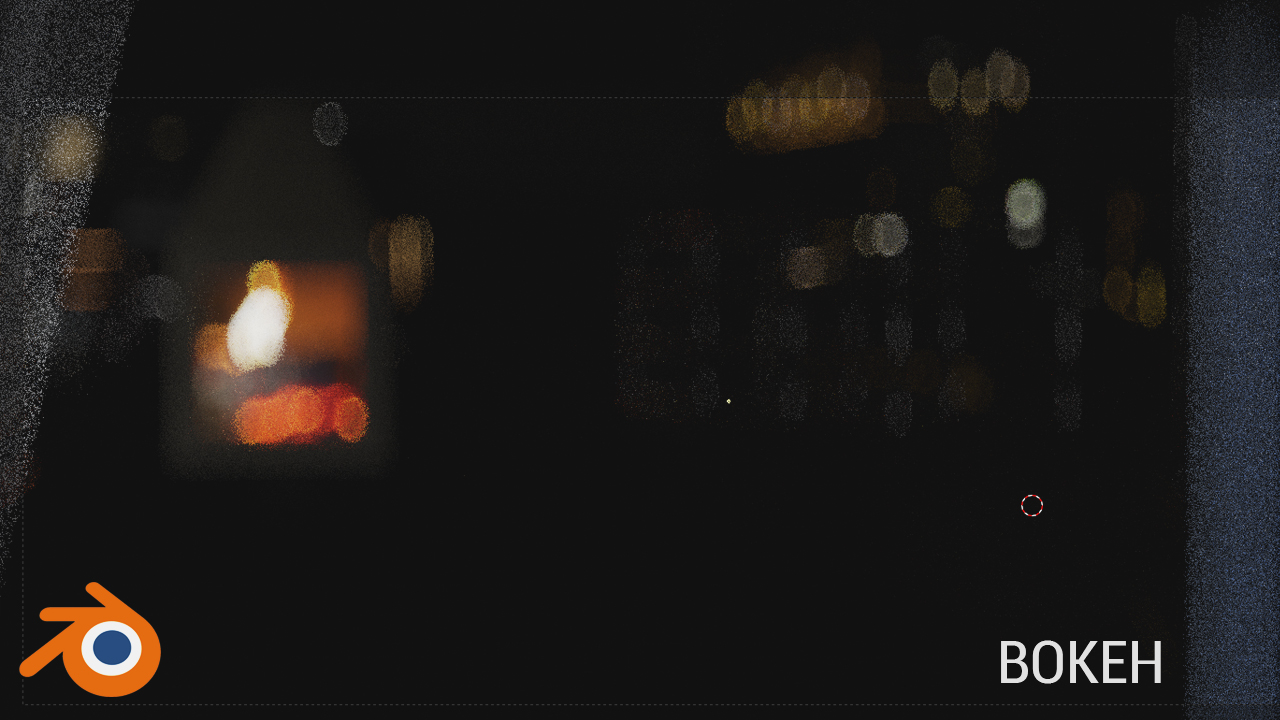
9 - Background and bokeh effect
10 - Shelves and background
11 - Creating a fire and a fireplace
12 - Vignetting object and compositor
13 - Post-processing - Grain, Glow, Chromatic aberration, Halation
14 - Post-processing - Color correction and lens flare
Take a look at my previous tutorial
Complete Blender Workflow For Creating Cinematic Animation

 Old Apple Macintosh Cinematic Look Tutorial - 2 Hours 40 Min
Discover more products like this
spring24 movie loveblender23 3D Photorealism loveblender bfcm22 blender tutorial bfcm23 film summer22 after effects summer23 cinematic spring23 bcon22 3D blender learning spring22 3d modeling tutorial winter24