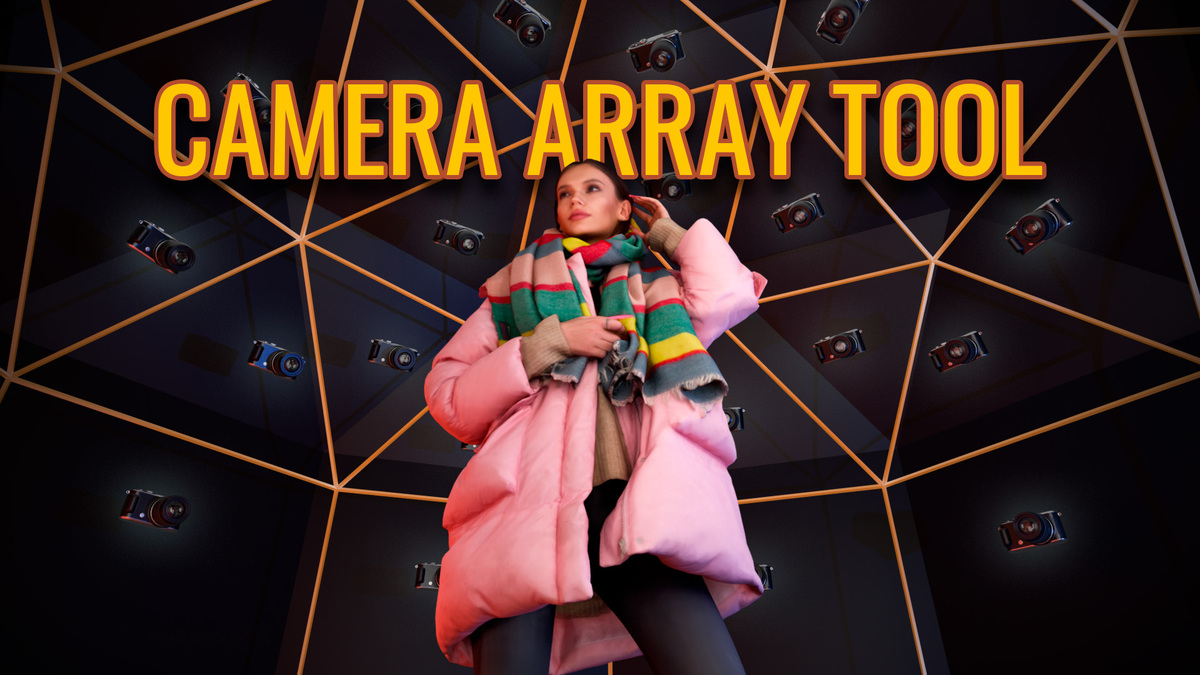
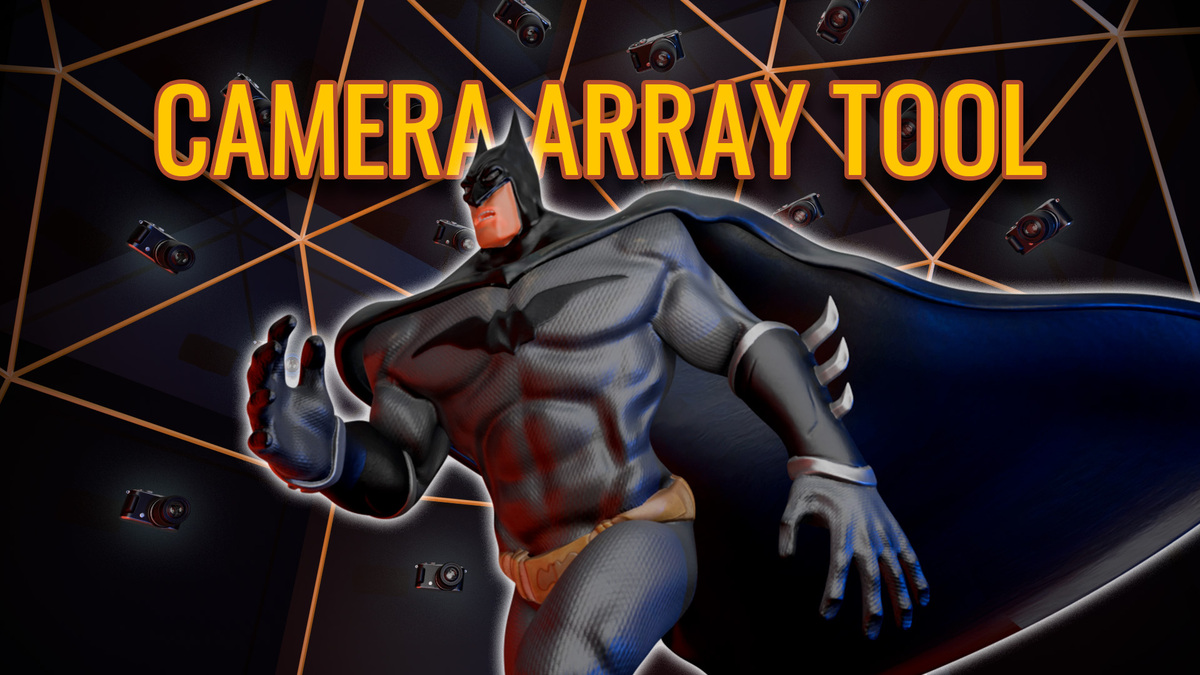
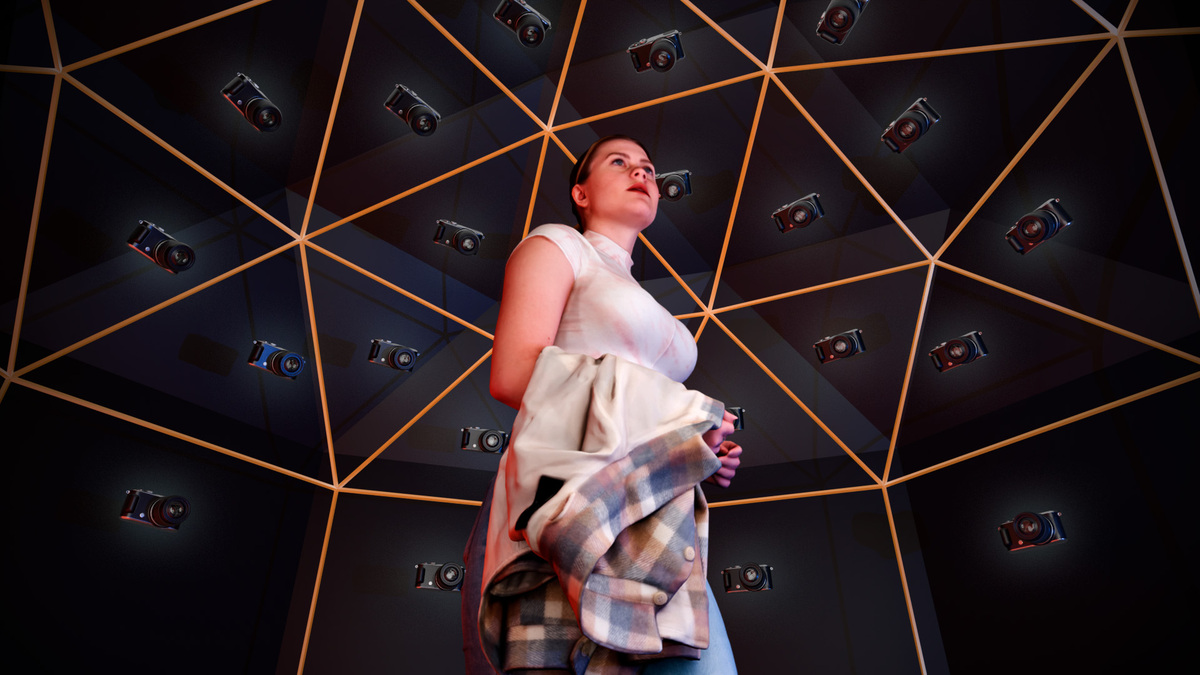
Camera Array Tool
 ToppiNappi
in Addons
ToppiNappi
in Addons

Video Tutorial
Check out these videos from my Youtube channel:
How to Install the Camera Array Tool in Blender
-
Download the Add-on:
-
First, download the Camera_array_tool.zip file to your computer.
-
Do NOT unzip the file
-
-
Open Blender:
-
Launch Blender and make sure you're in the default layout or the workspace where you'd like to use the tool.
-
-
Install the Add-on:
-
Go to the Edit menu at the top of Blender and select Preferences.
-
In the Preferences window, click on the Add-ons tab on the left side.
-
At the top-right corner, click the Install... button.
-
In Blender 4.2, go to the Blender Preferences:
-
Click on the down pointing arrow top-right corner of the preference window.
-
Select Install from disk from the dropdown menu.
-
-
Navigate to the location where you saved Camera_array_tool.zip select the file, and click Install Add-on.
-
-
Enable the Add-on:
-
After installation, you'll see the addon listed in the Add-ons tab under the search bar.
-
Check the box next to Camera Array Tool to enable it.
-
-
Access the Add-on:
-
Close the Preferences window.
-
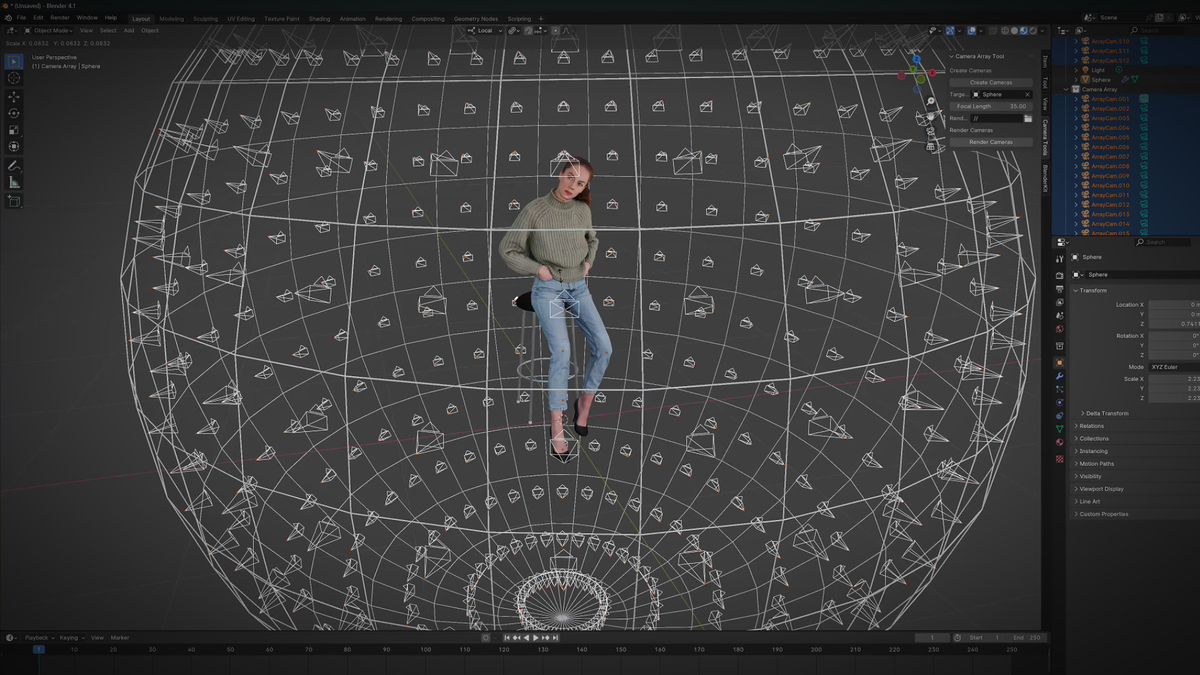
The Camera Array Tool will now be available in the N-Panel under the tab labeled Cam Array in the 3D Viewport.
-
Notes:
-
Ensure you have Blender 3.6 or later for full compatibility.
-
If you encounter any issues during installation, make sure the addon is correctly downloaded and that you're using a compatible version of Blender.
-
In Postshot training goes smoother with ADC profile. MCMC can sometimes freeze when training synthetic Gaussian model. Pot most of the time Both profiles works.
-
Also for 4DGS training remember update Postshot to the latest build https://www.jawset.com/builds/postshot/windows
Have questions about this product?
Login to message
| Published | about 2 months ago |
| Software Version | 4.3, 4.2, 4.1, 4.0, 3.6 |
| Extension Type | Add-on |
| License | Royalty Free |
Discover more products like this
render multiple cameras gaussian splatting camera Animation Rendering colmap Camera Array 3dgs Datasets Image rendering Radiancefields Dynamic Gaussians Camera array tool 4DGS