 zeg technical design
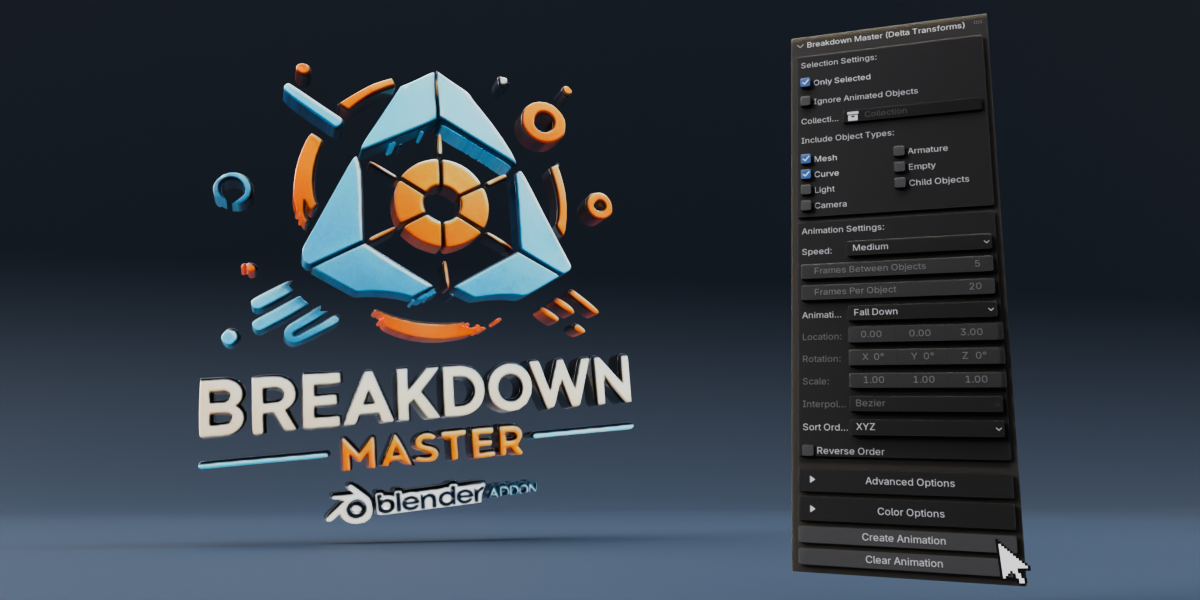
-
User Interface & Usage
-
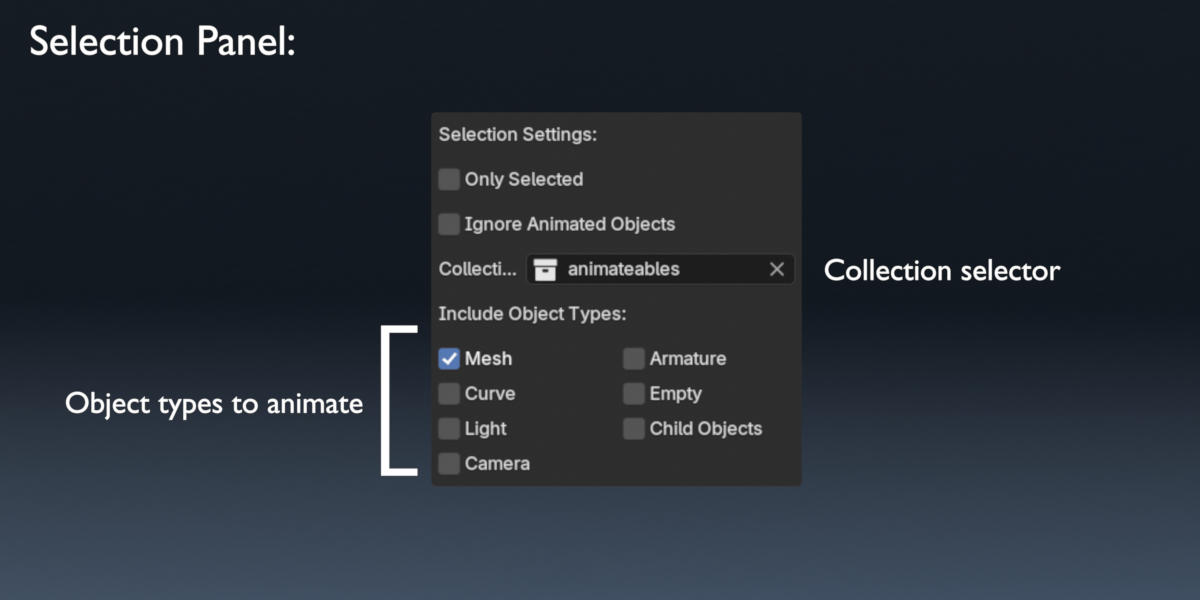
Main Panel in the 3D View:
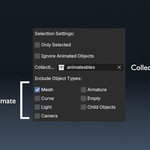
You’ll find a sidebar panel titled "Breakdown Master". This panel is divided into simple sections:- Selection Settings: Choose whether to animate just the selected objects or all objects in the scene.
- Object Types: Check which types (Mesh, Curve, Light, Camera, etc.) you want to include.
-
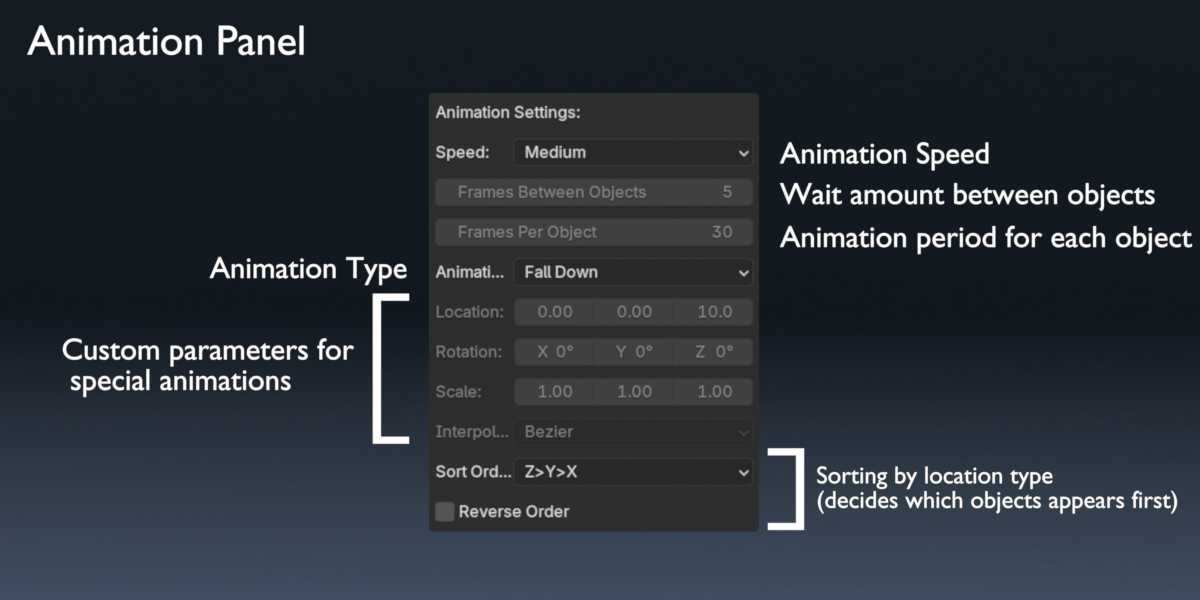
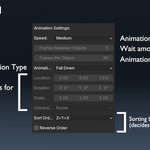
Animation Settings:
- Pick a preset speed or set custom timing with options like “Frames Between Objects” and “Frames Per Object.”
- Choose an animation style (such as Pop or Fall Down) or customize your own offsets for location, rotation, and scale.
-
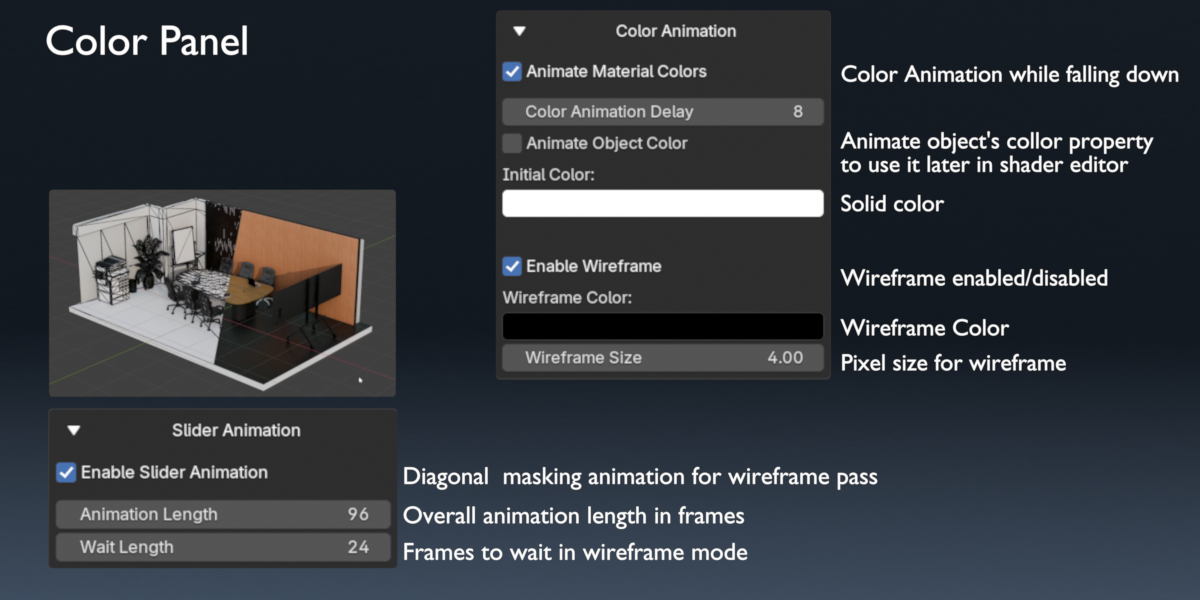
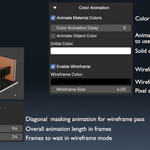
Advanced Options & Color Settings:
- Toggle extra settings like sorting order and scene framing.
- Enable color animations or wireframe effects if needed.
-
Slider Animation (Optional):
- Add a slider effect to your objects with simple settings for its timing.
-
Action Buttons:
- Create Animation: Applies the animation based on your settings.
- Clear Animation: Removes any breakdown animations and resets changes.
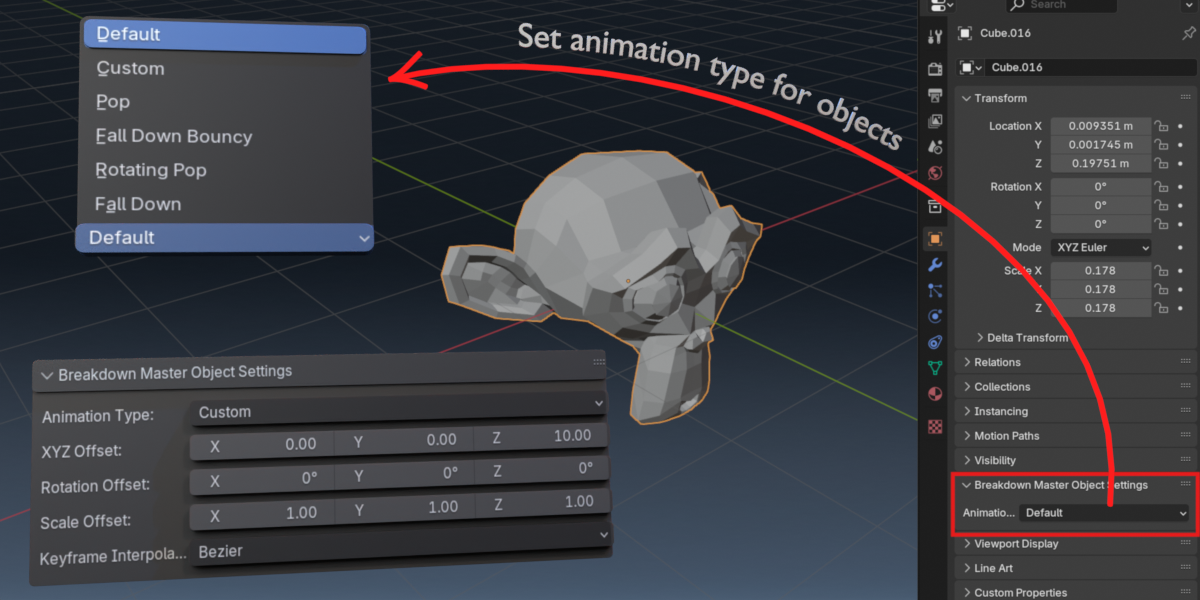
Object Properties Panel:
Each object has its own settings panel where you can override the global animation settings with custom options.
Usage Steps:
Select Objects:
Decide if you want to work with selected objects or the whole scene.Set Options:
Use the sidebar controls to choose your object types, animation speed, style, and any color or slider effects.Create Animation:
Click the Create Animation button. Your objects will animate in sequence without changing their original transforms.Clear Animation:
If needed, click Clear Animation to remove the changes and start over.
This simple UI makes it easy to quickly set up dynamic animations while keeping your base object data intact.
-
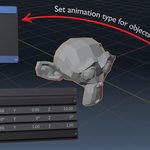
Update:
- Now users can override animation types of collections in collection properties tab.
- Select the collection in outliner -> Collection Tab->Breakdown Master
Quick Usage: (Speed up)
Extra Feature: (Sliding Animation)
Trailer Video: