 Jeff Walters
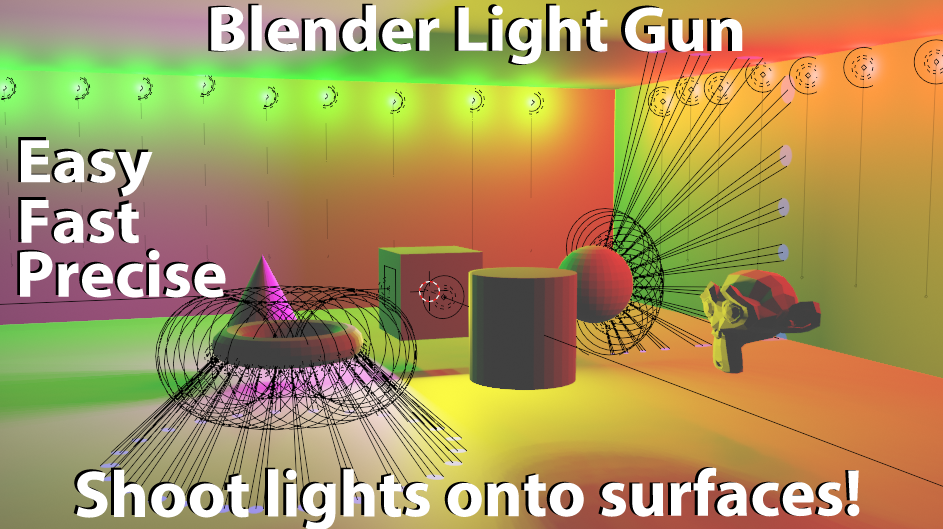
Video Demonstration of Blender Light Gun:
What is Blender Light Gun?
Blender Light Gun is an addon designed to remove the tedious task of manually placing lights in very precise locations within your Blender scene. By simply aiming your active camera in Fly Mode and pressing a single button you can shoot a light object of your choice wherever it is pointing!
How does it work:
Simply put: You use an active camera in your scene like a gun to aim and shoot lights onto surfaces with pinpoint accuracy or use the camera in other ways to create the exact light you want exactly where you want it.
More Complex: Blender Light Gun utilizes an active camera in your scene and raycasts an invisible line outwards from the center of it. Wherever that raycast collides and intersects with a MESH type object it then saves those XYZ coordinates and creates a light rotated to be facing Normal to that surface. This is only one of the light placement modes however. A full list of light placement modes will be listed below and shown in the demonstration video.
What are the features?
All features are shown in the YouTube video linked at the very top of this post, but features are also outlined below:
-Fly Mode during Camera mode to point and create lights
Using Fly Mode (Shift + ~) while in Camera Mode lets to instantly create any light you want wherever the crosshairs of your camera is pointing.
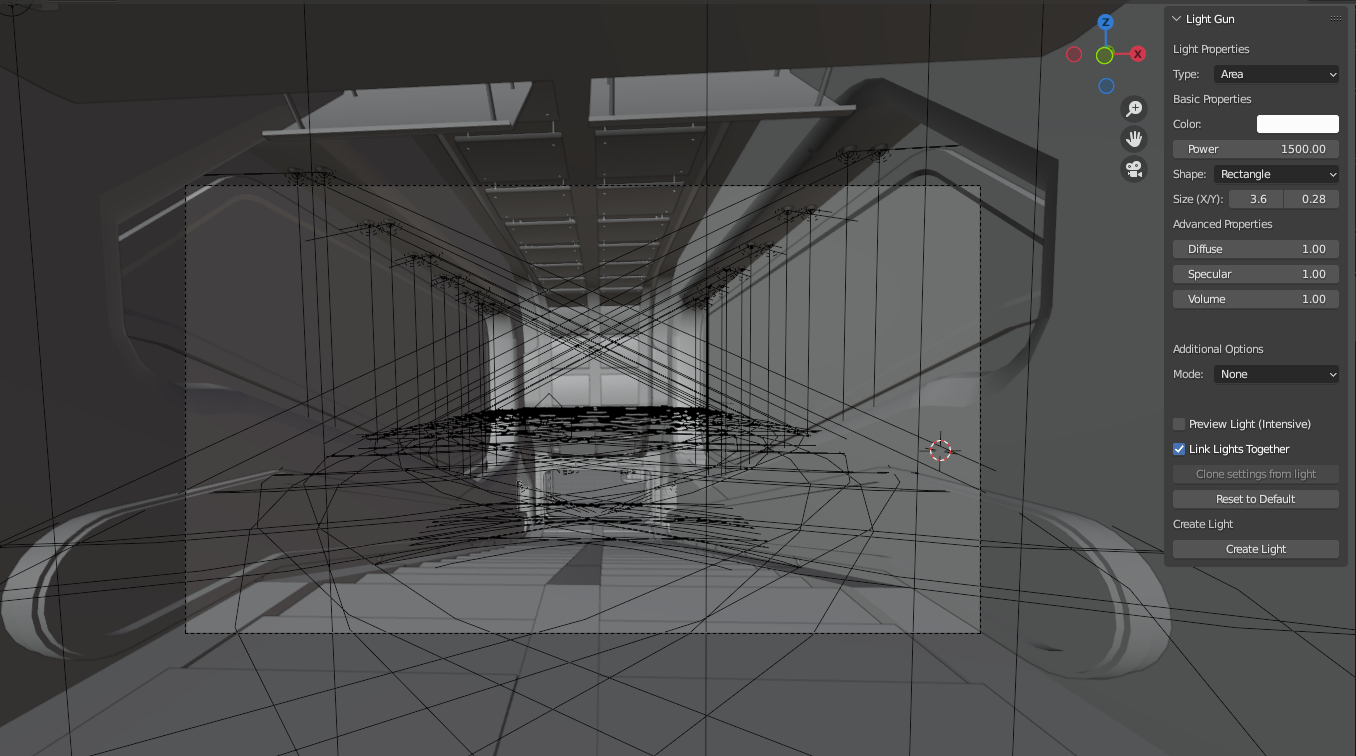
-The Interface
Red Zone: Panel section for editing the preferences of the light you want to generate
Green Zone: Panel section for changing Light Placement Modes (None, Orbit, or Camera)
Yellow Zone: Panel section for enabling Preview mode, Light Linking mode, cloning selected light settings over to panel, reset default button, and create light button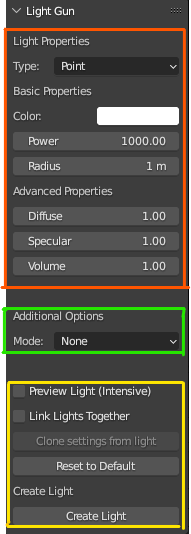
-"None" Light Placement Mode
(the standard light placement mode that creates lights rotated Normal to the surface they are created on)
["None" Placement Mode with Point lights]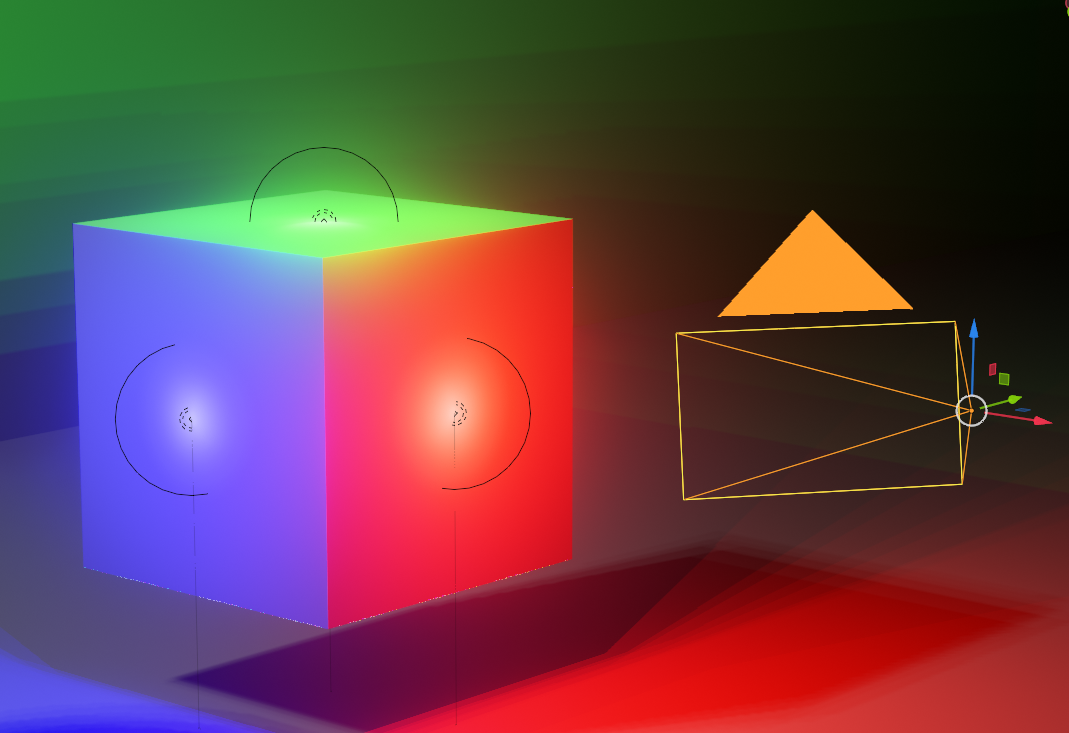
["None" Placement Mode with Spotlights]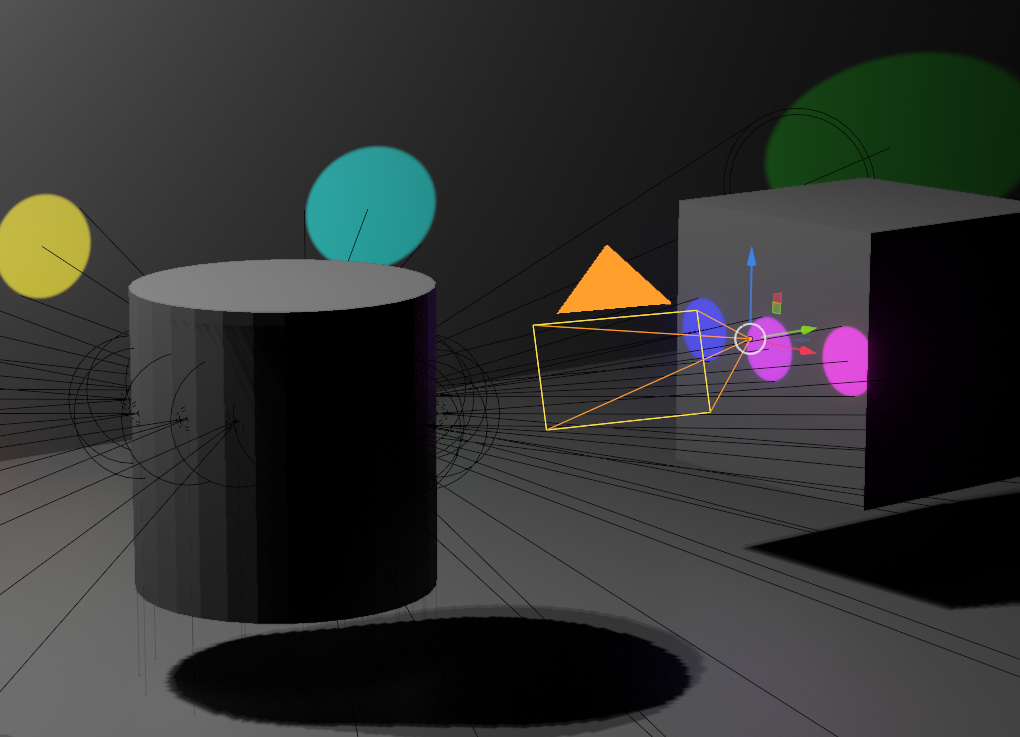
["None" Placement Mode with Area lights]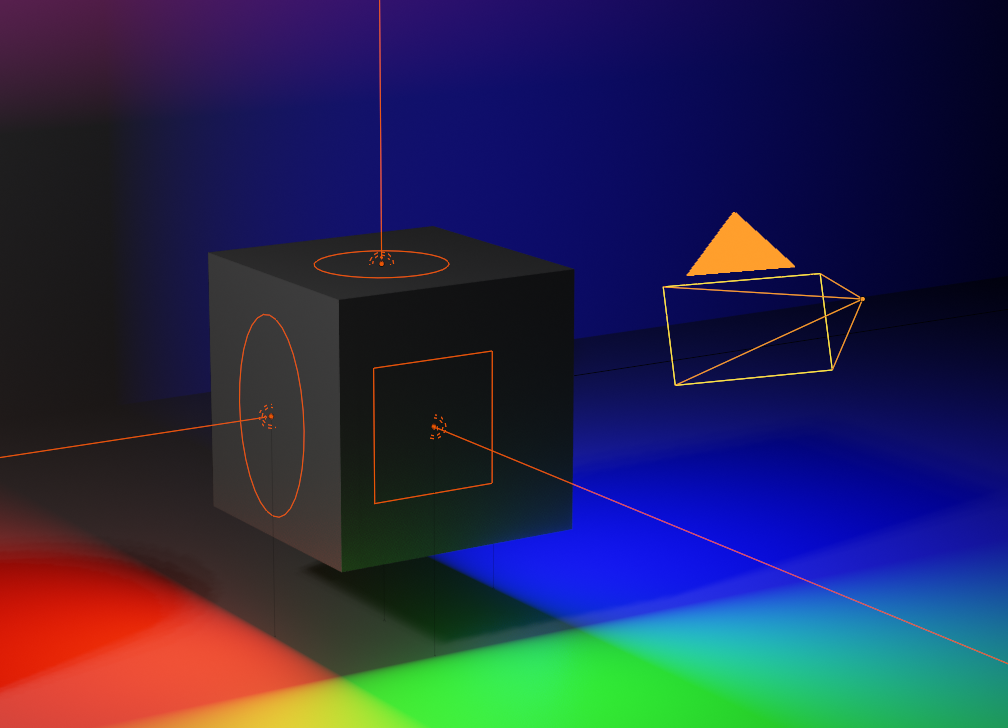
-"Orbit" Light Placement Mode
(additional light placement mode where your lights get created a user-specified distance away from the surface you point at which are then rotated to face that surface. These are parented to an Empty object which can be rotated to get more dynamic angles with the lights)
["Orbit" Placement Mode with Point lights]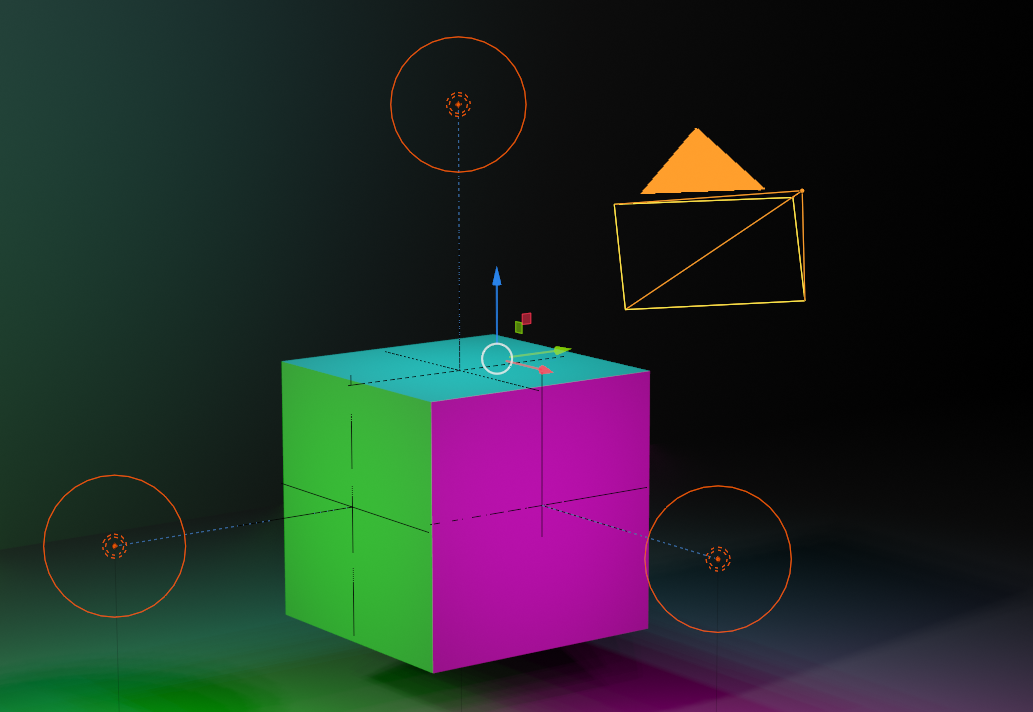
["Orbit" Placement Mode with Spotlights]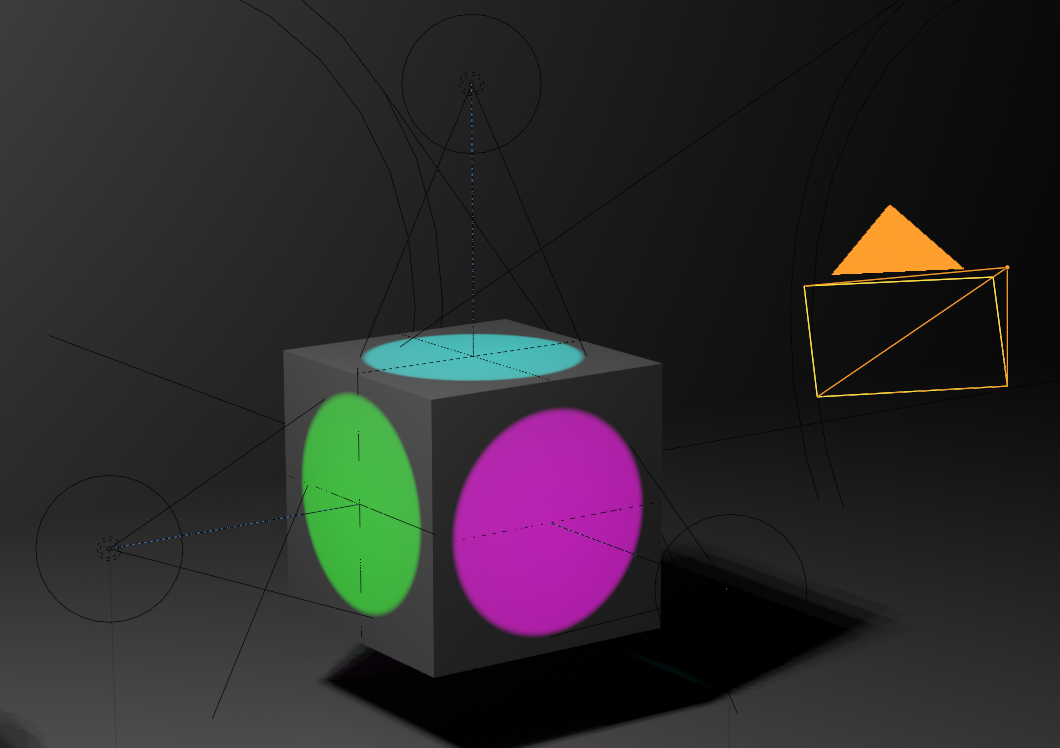
["Orbit" Placement Mode with Area lights]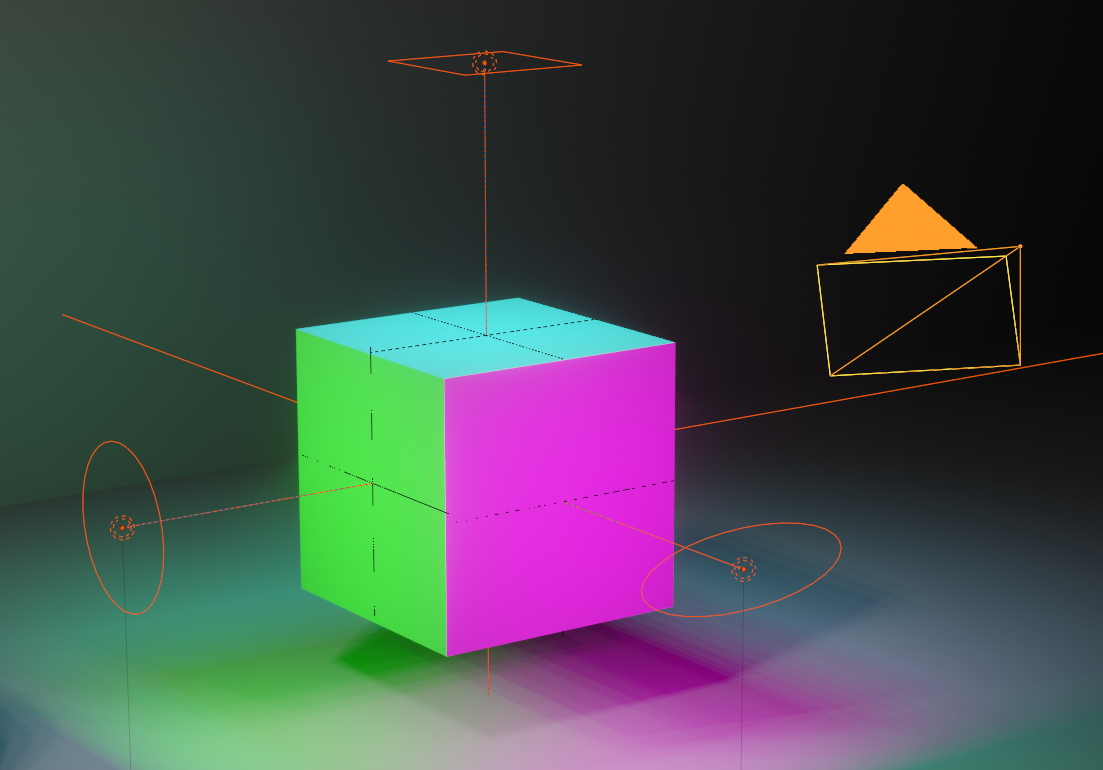
-"Camera" Placement Mode
(additional placement mode where the light is created at the exact location and rotation of the active camera. This allows the user to fly the camera to wherever they want and have a light created there. Very useful for Spotlights and Area lights where you want to make sure they are focused on a specific location.
["Camera" Placement Mode with Point lights]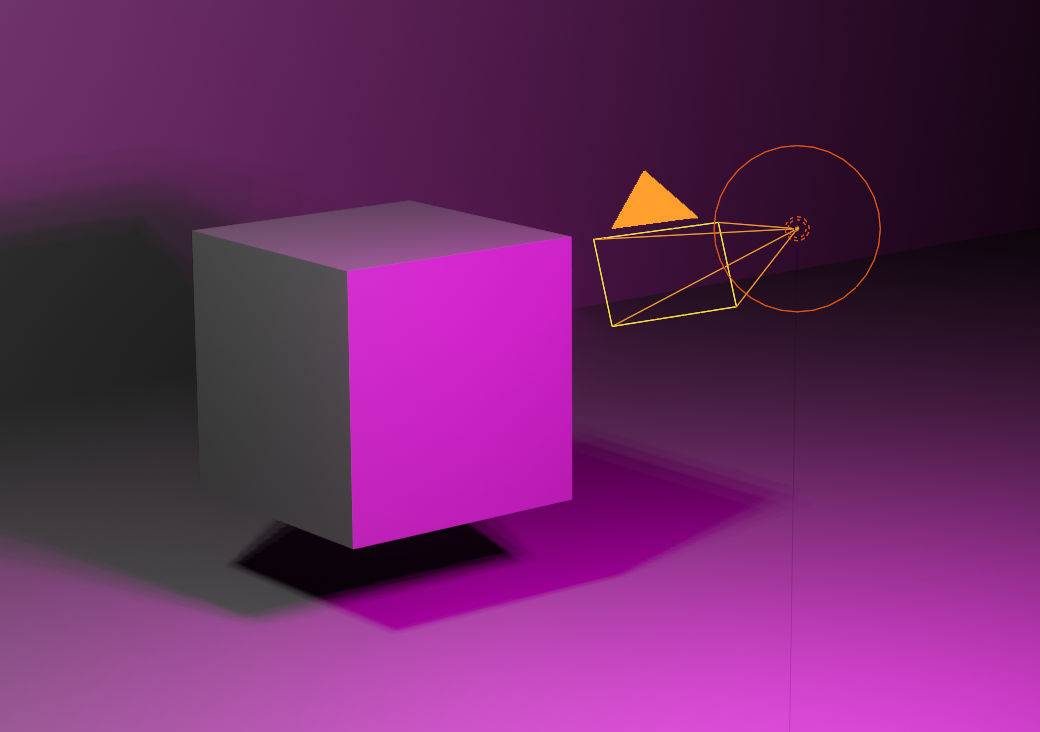
["Camera" Placement Mode with Spotlights]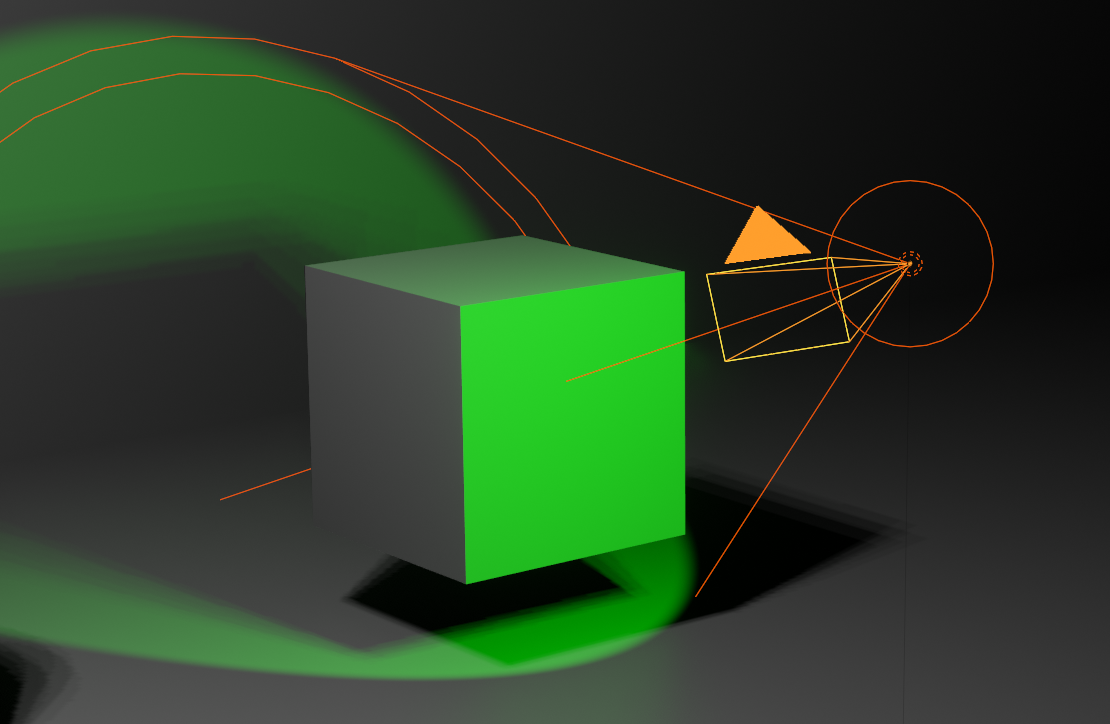
["Camera" Placement Mode with Area lights]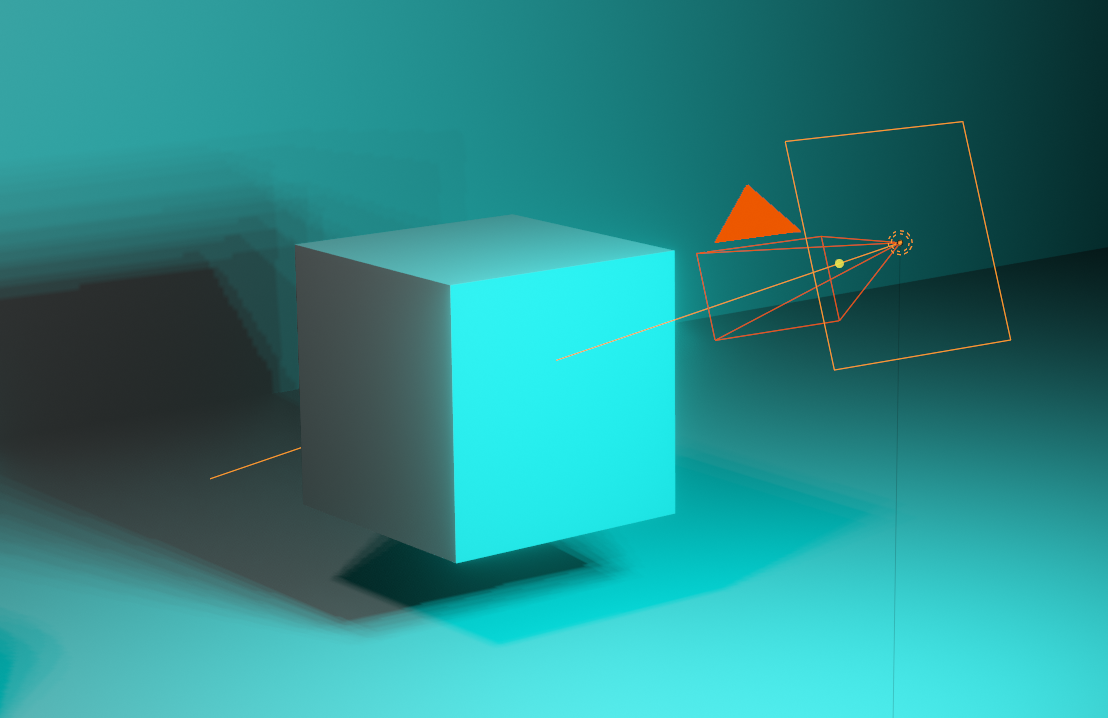
-Preview Mode
(a mode that enables a temporary light that gets updated in real time to reflect any changes to the settings panel. This gives the users a way to see how their light will look before committing to placing it in their scene. Please note that this move is very intensive in Blender so be weary about how complex your scenes are when using it. For best results in large scenes, aim your camera where you want the light and then enable Preview Mode. The intensive part is when it calculates where the light should be generated based on where the camera is looking and the surface of the object it is on)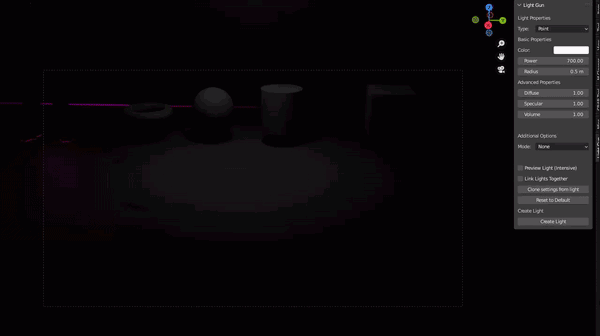
-Linked Light Mode
(user can easily specify if they want to link created lights, so they can all be edited at once)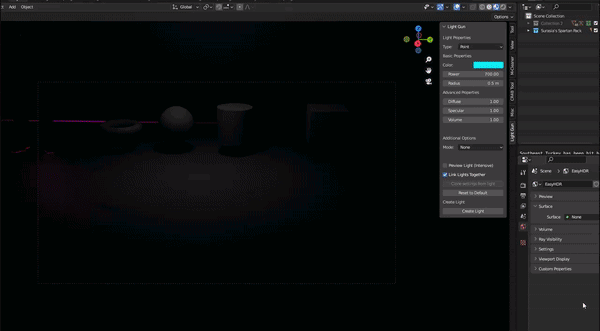
-Clone Settings from Light
The user can select any light in their scene and then click this button to copy all settings from that light into the Light Gun panel. This eliminates the need to manually copy over all settings of a light which saves a lot of time if there is a light you really like the look of
-Reset to Default
Button that resets the Light Gun settings panel back to default and clears the scene of any preview lights.
-Create Light
This button allows users to create a light, but if the user gets tired of going over to click the button each time, they can right click on the button and "Add Shortcut" to have it linked to any keyboard or mouse key they want for ease of use
Thank you
Thank you for taking the time to check out my add-on. I have spent about two to three months coding this and it was a lot of fun to work on. I hope you find it helpful for lighting your scenes! Please feel free to reach out for questions or suggestions for additions to this plugin as I already have a few in mind!
Updates and Changelog
[4/14/2023]
-Added the ability for the preview light to become hidden when you are not looking at a MESH object. This saves resources by not trying to place the preview light in the void if you accidentally look away from your scene.
-Changed it so that the raycast created from the camera ignores/passes through any objects that are set to Wireframe mode. This will allow users to still use 2D planes in front of the camera to add nice Cinematic FX to their renders, but not interfere with the raycast intersection math that occurs with the Light Gun addon.