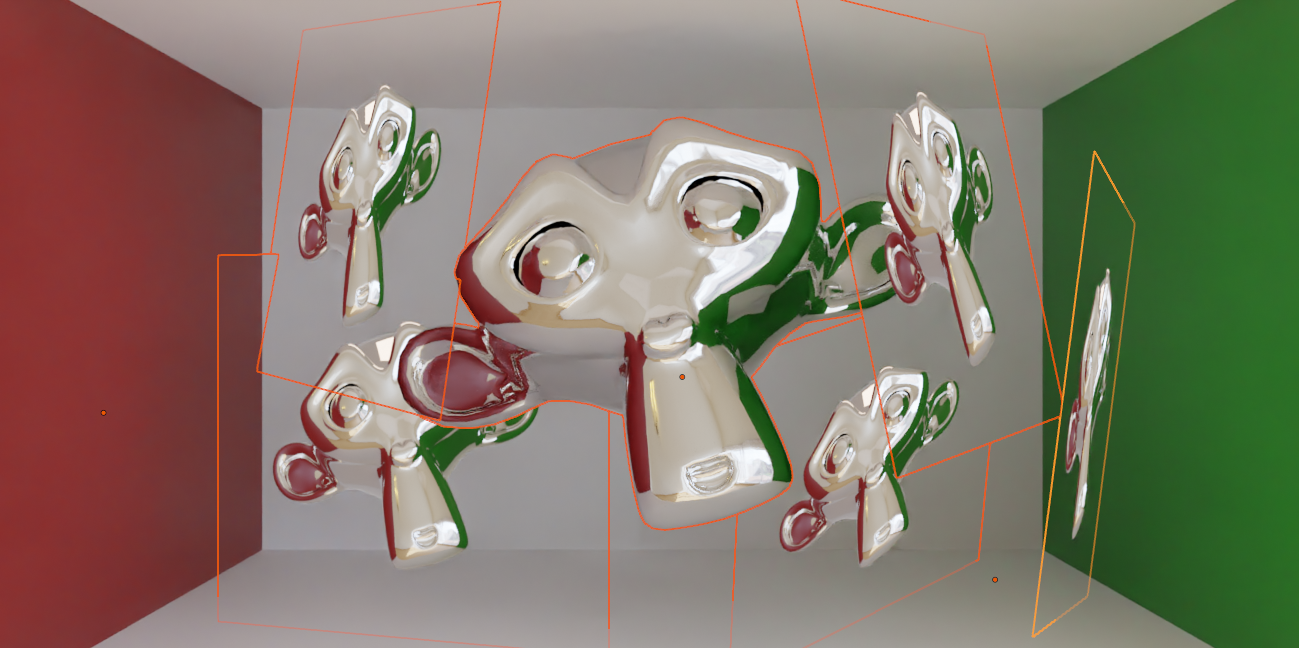
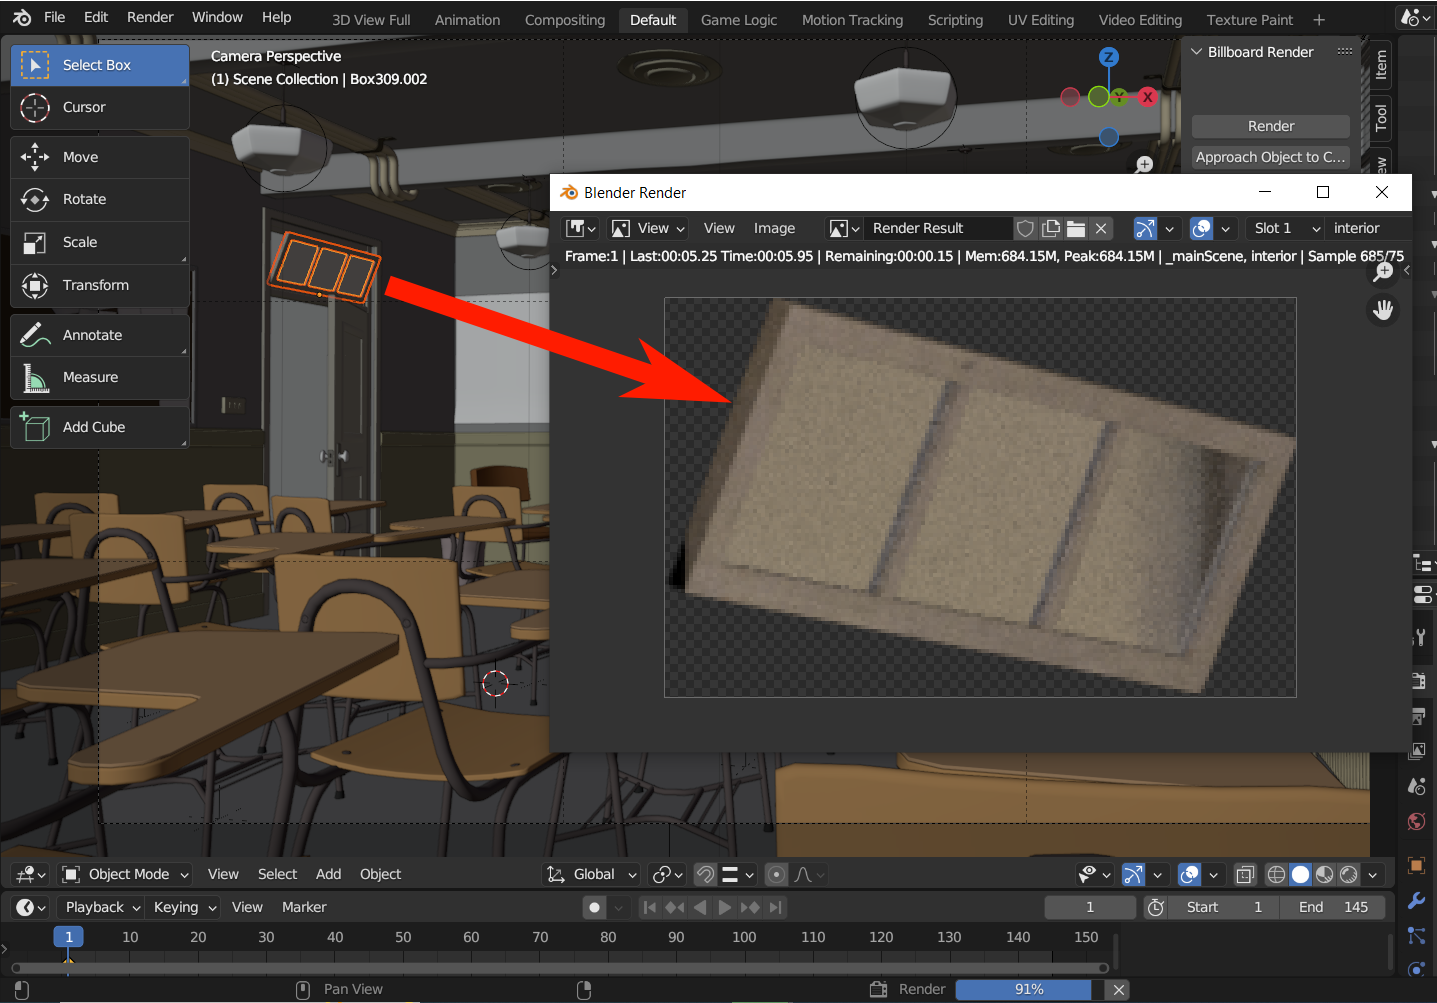
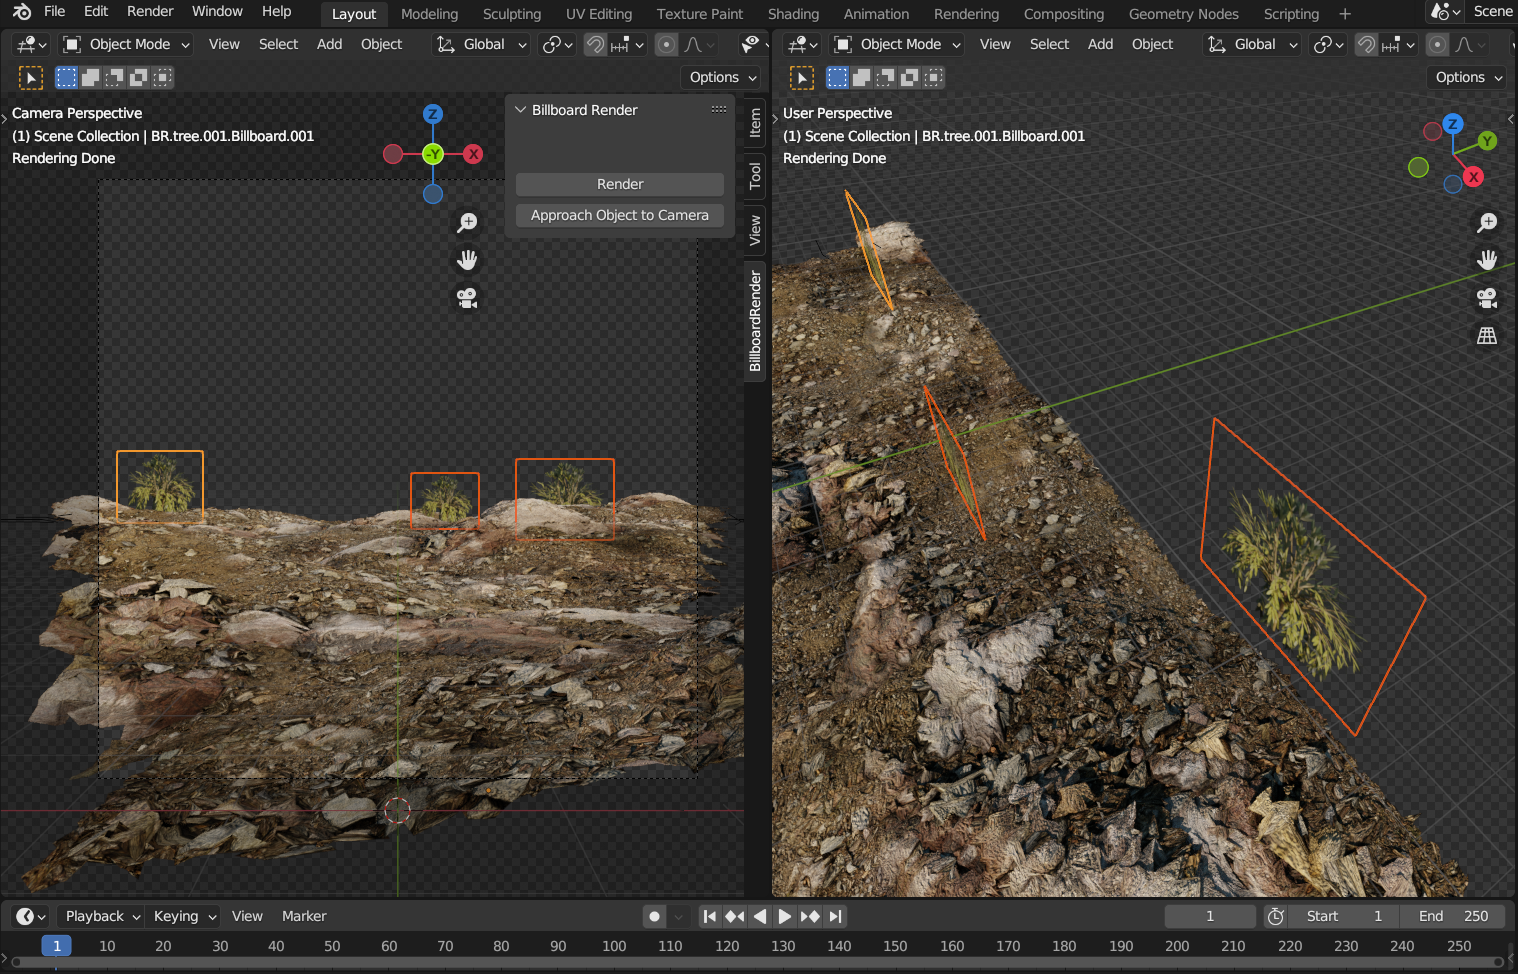
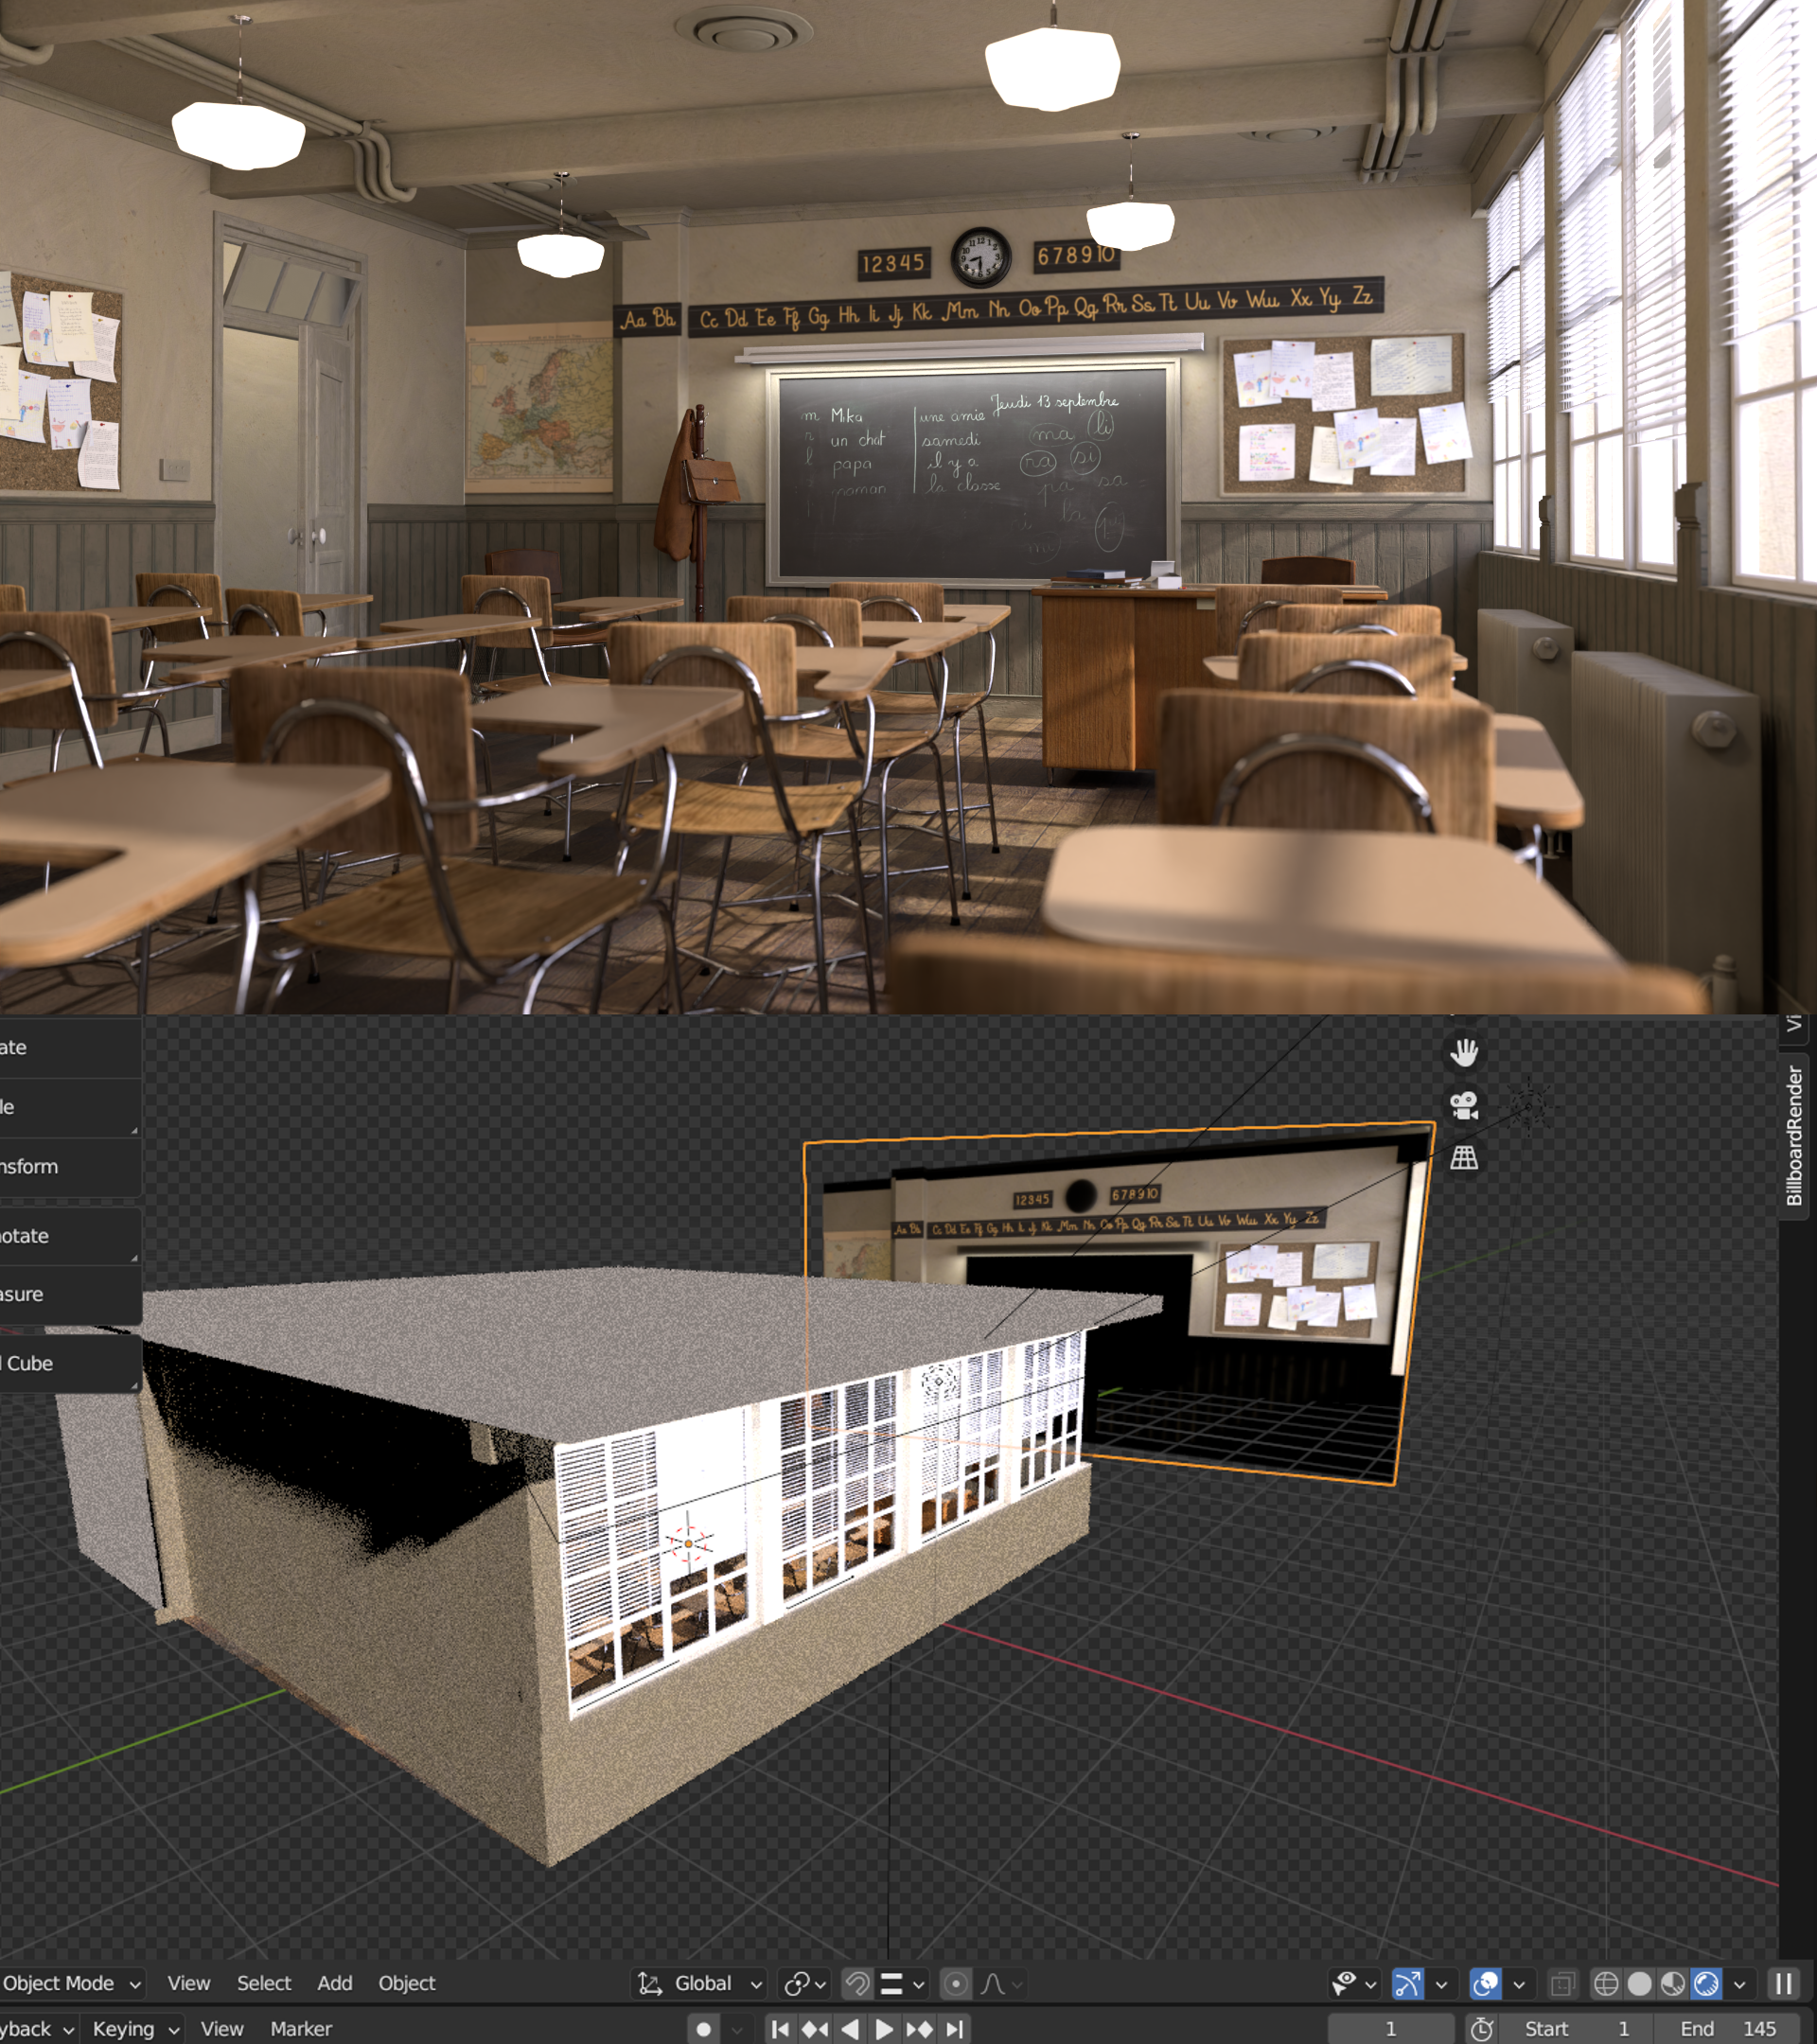
Not everything you see in a 3D render is what it seems, not everything that looks like a highly detailed mesh actually is, a very common feature in animation and video games (and even films) is replacing objects with "billboards", that is, planes that use a texture of the object it's intended to look like.
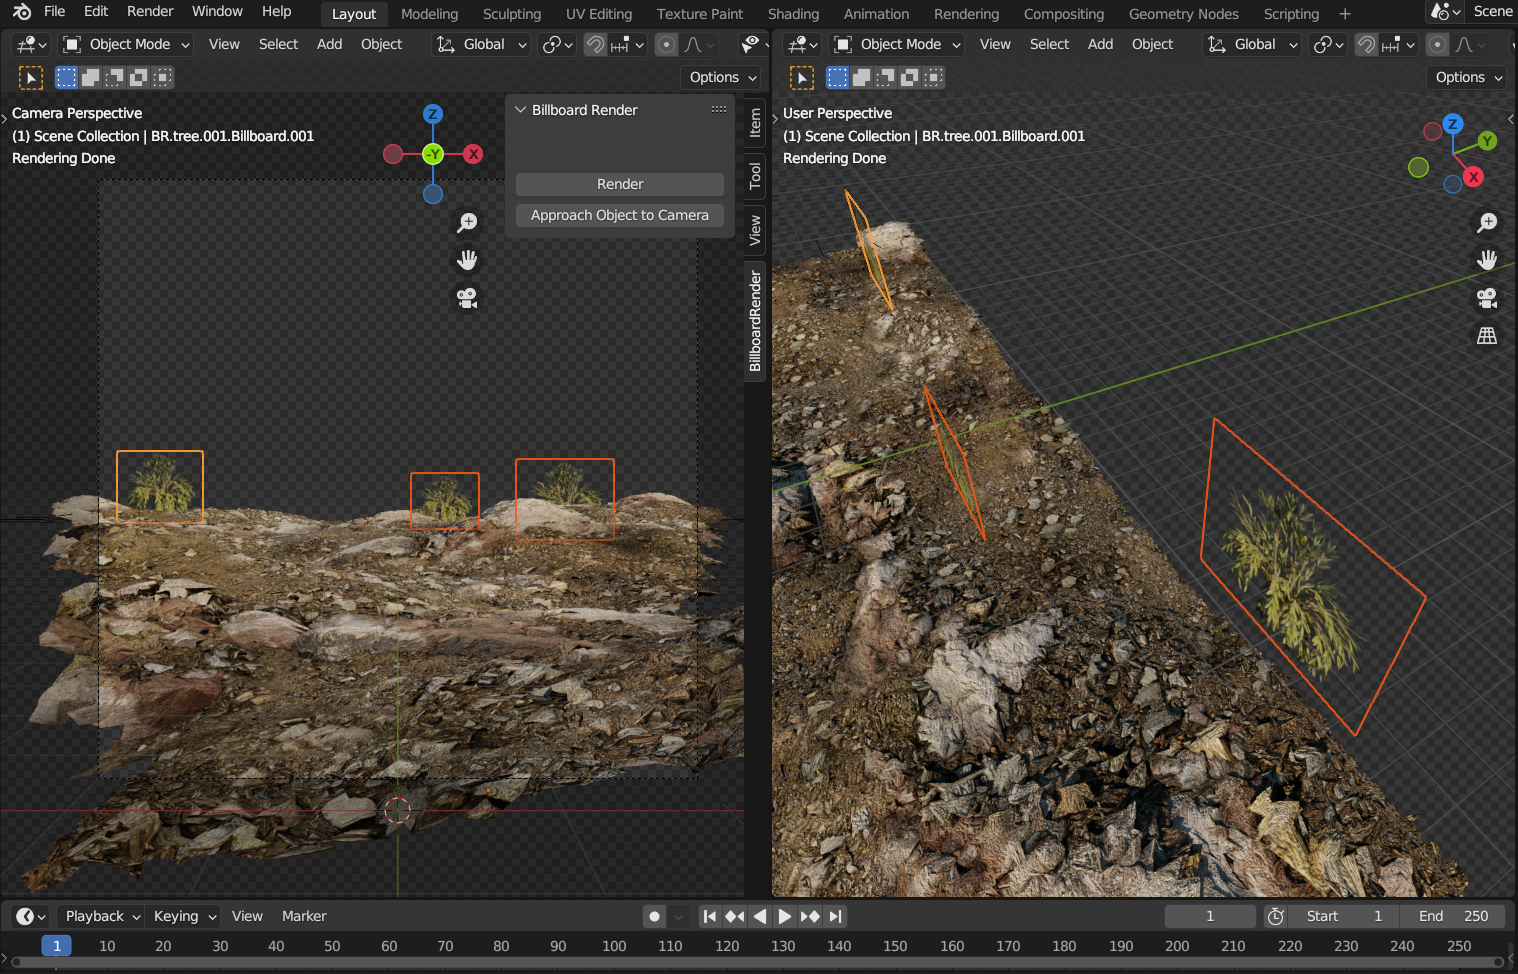
Using billboards has several advantages.
- It renders much faster. It's practically instantaneous, the hard work (getting the texture) is already done.
- Since it only uses one texture, it typically requires less memory to render.
- Rendering a single flat-shaded image plane is a straightforward task.
- They're easy to work with; what you see is what you get.
As long as the camera doesn't "look around" the billboard and it doesn't reflect or cast shadows onto other objects, it'll look fine (and when it does influence other objects, you can create another billboard for those objects too!). A very common use case for these is distant objects in the background.
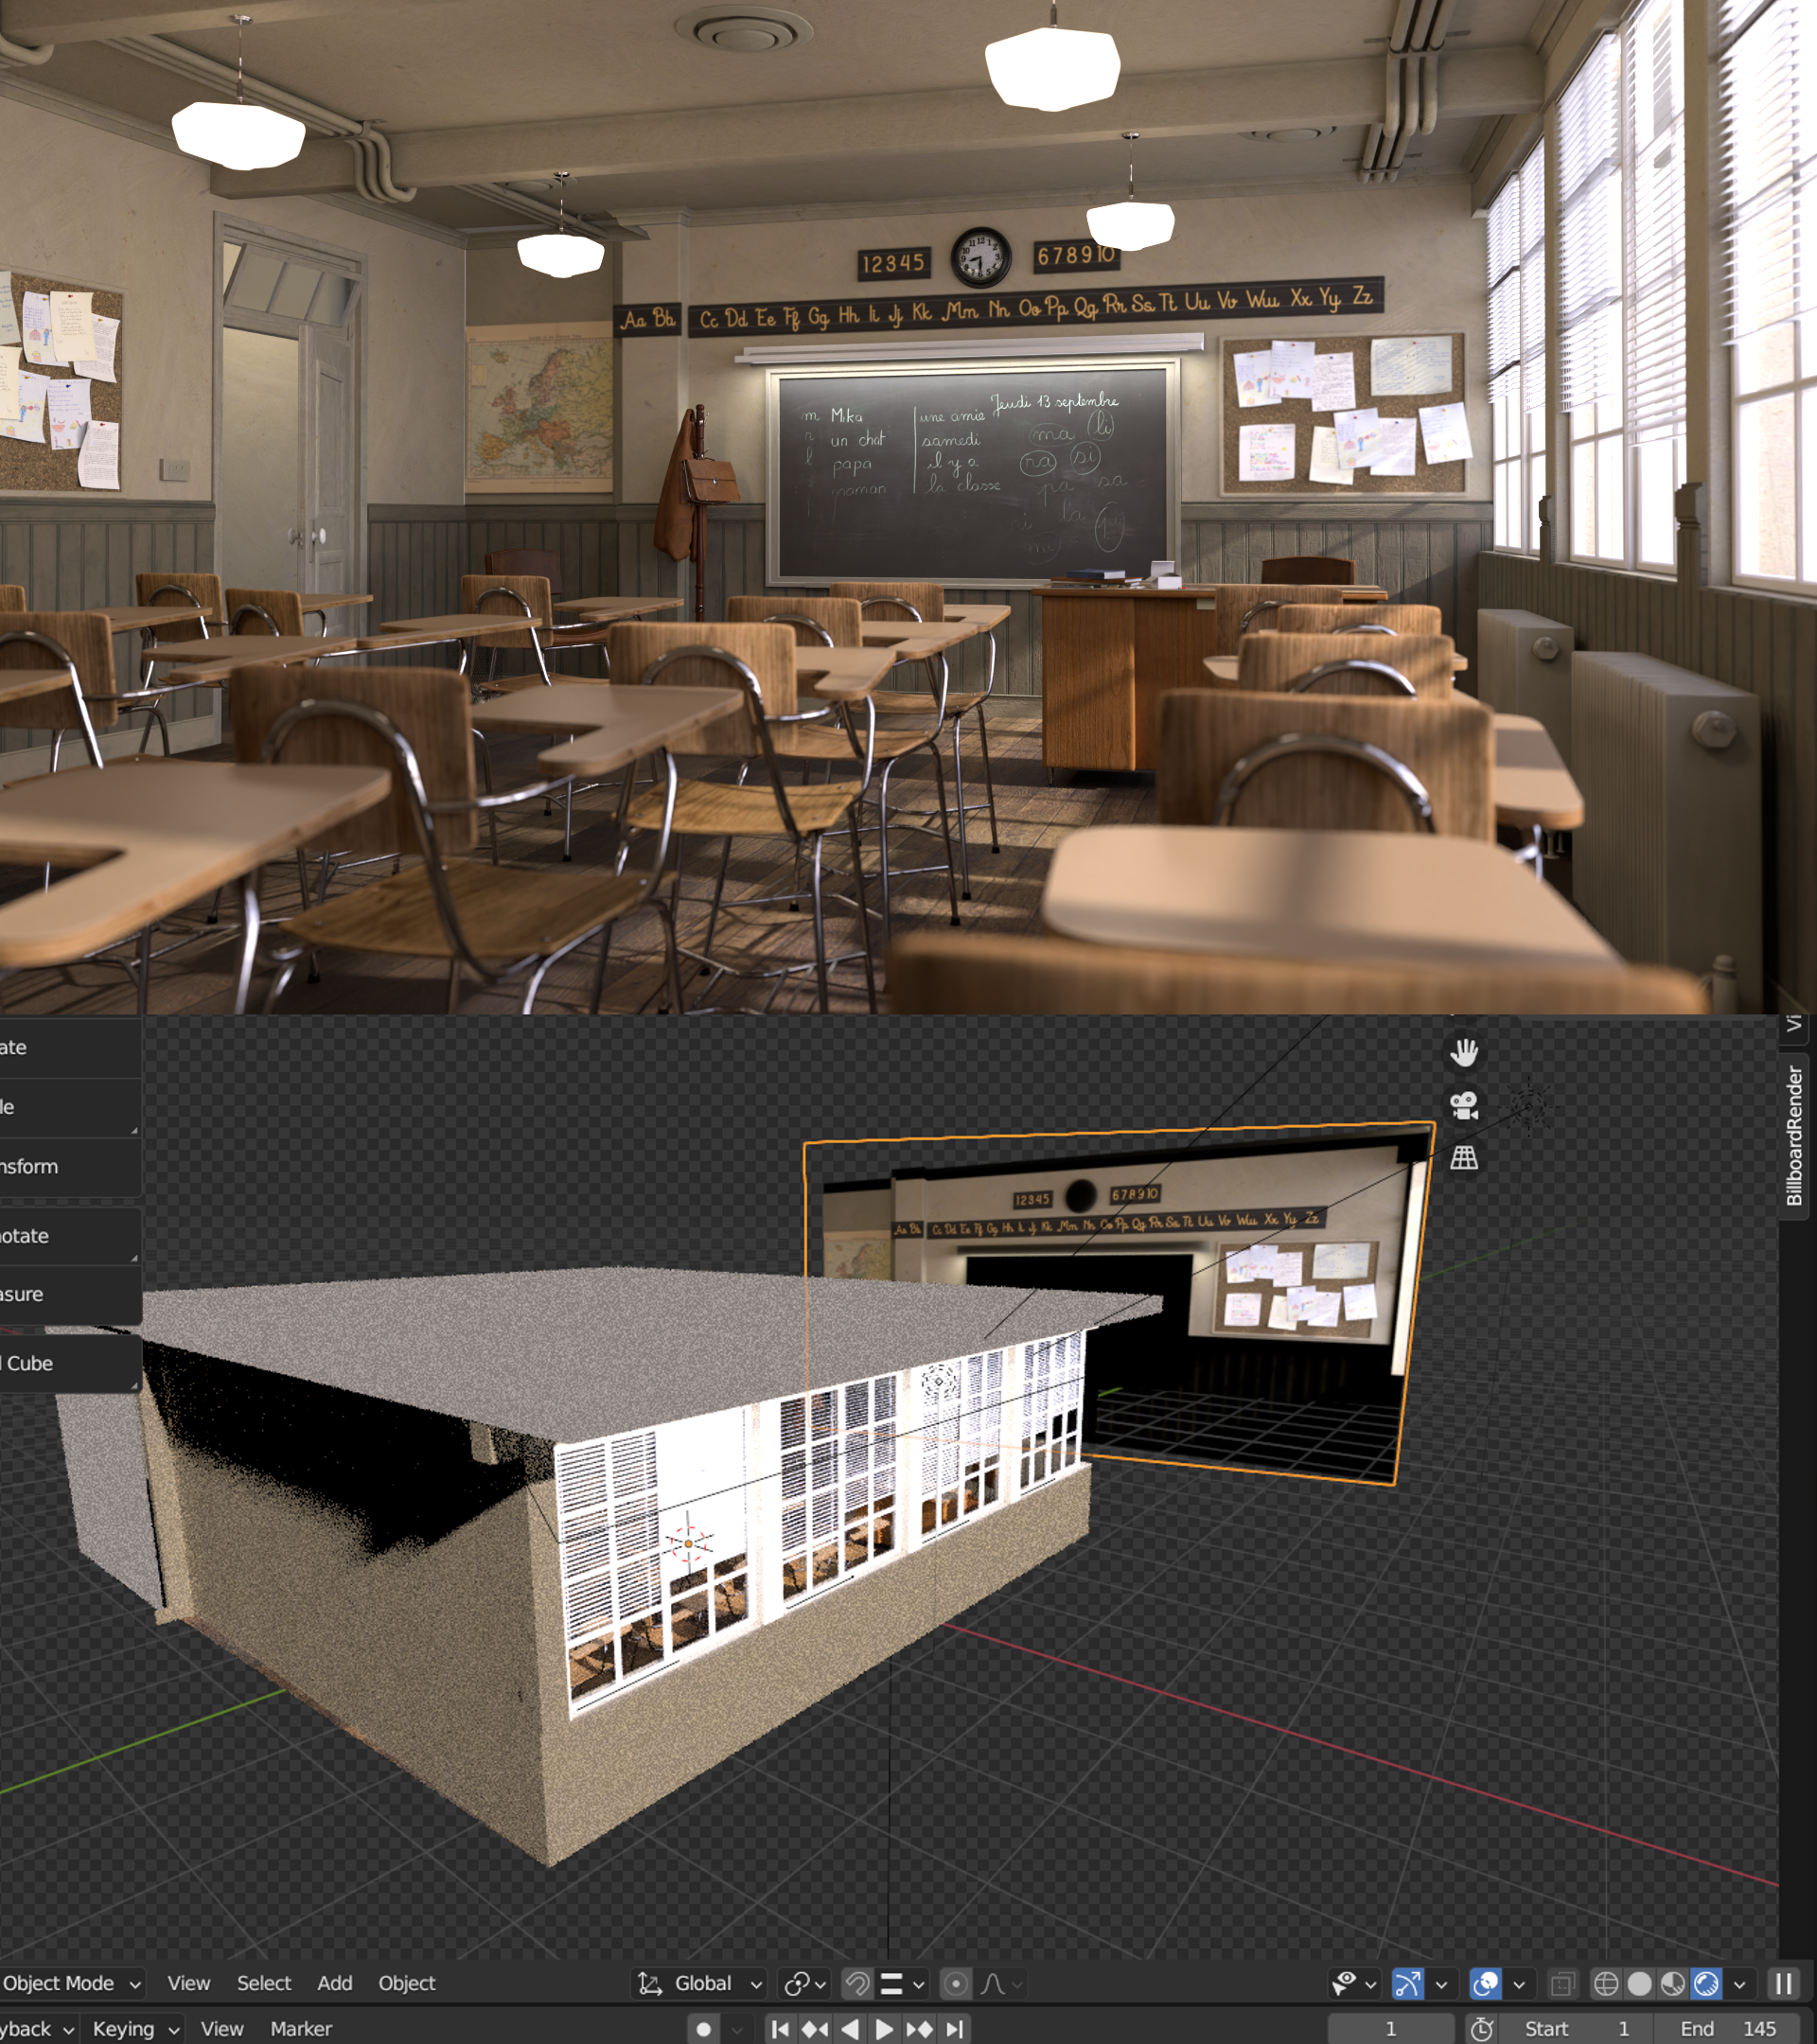
Can you tell the difference from the usual Classroom scene?
The Problem
However, you still need textures for your billboards. You can find many on the internet for trees, clouds and other common "background" objects, but what happens when what you need is something specific to your scene? Something like specific background buildings or characters? You can create a texture out of a render, but doing so correctly and creating a billboard out of it requires setting up the scene and then fiddling with image planes to make it look right. The point of using billboards was saving time and effort, not add to it.
The Solution
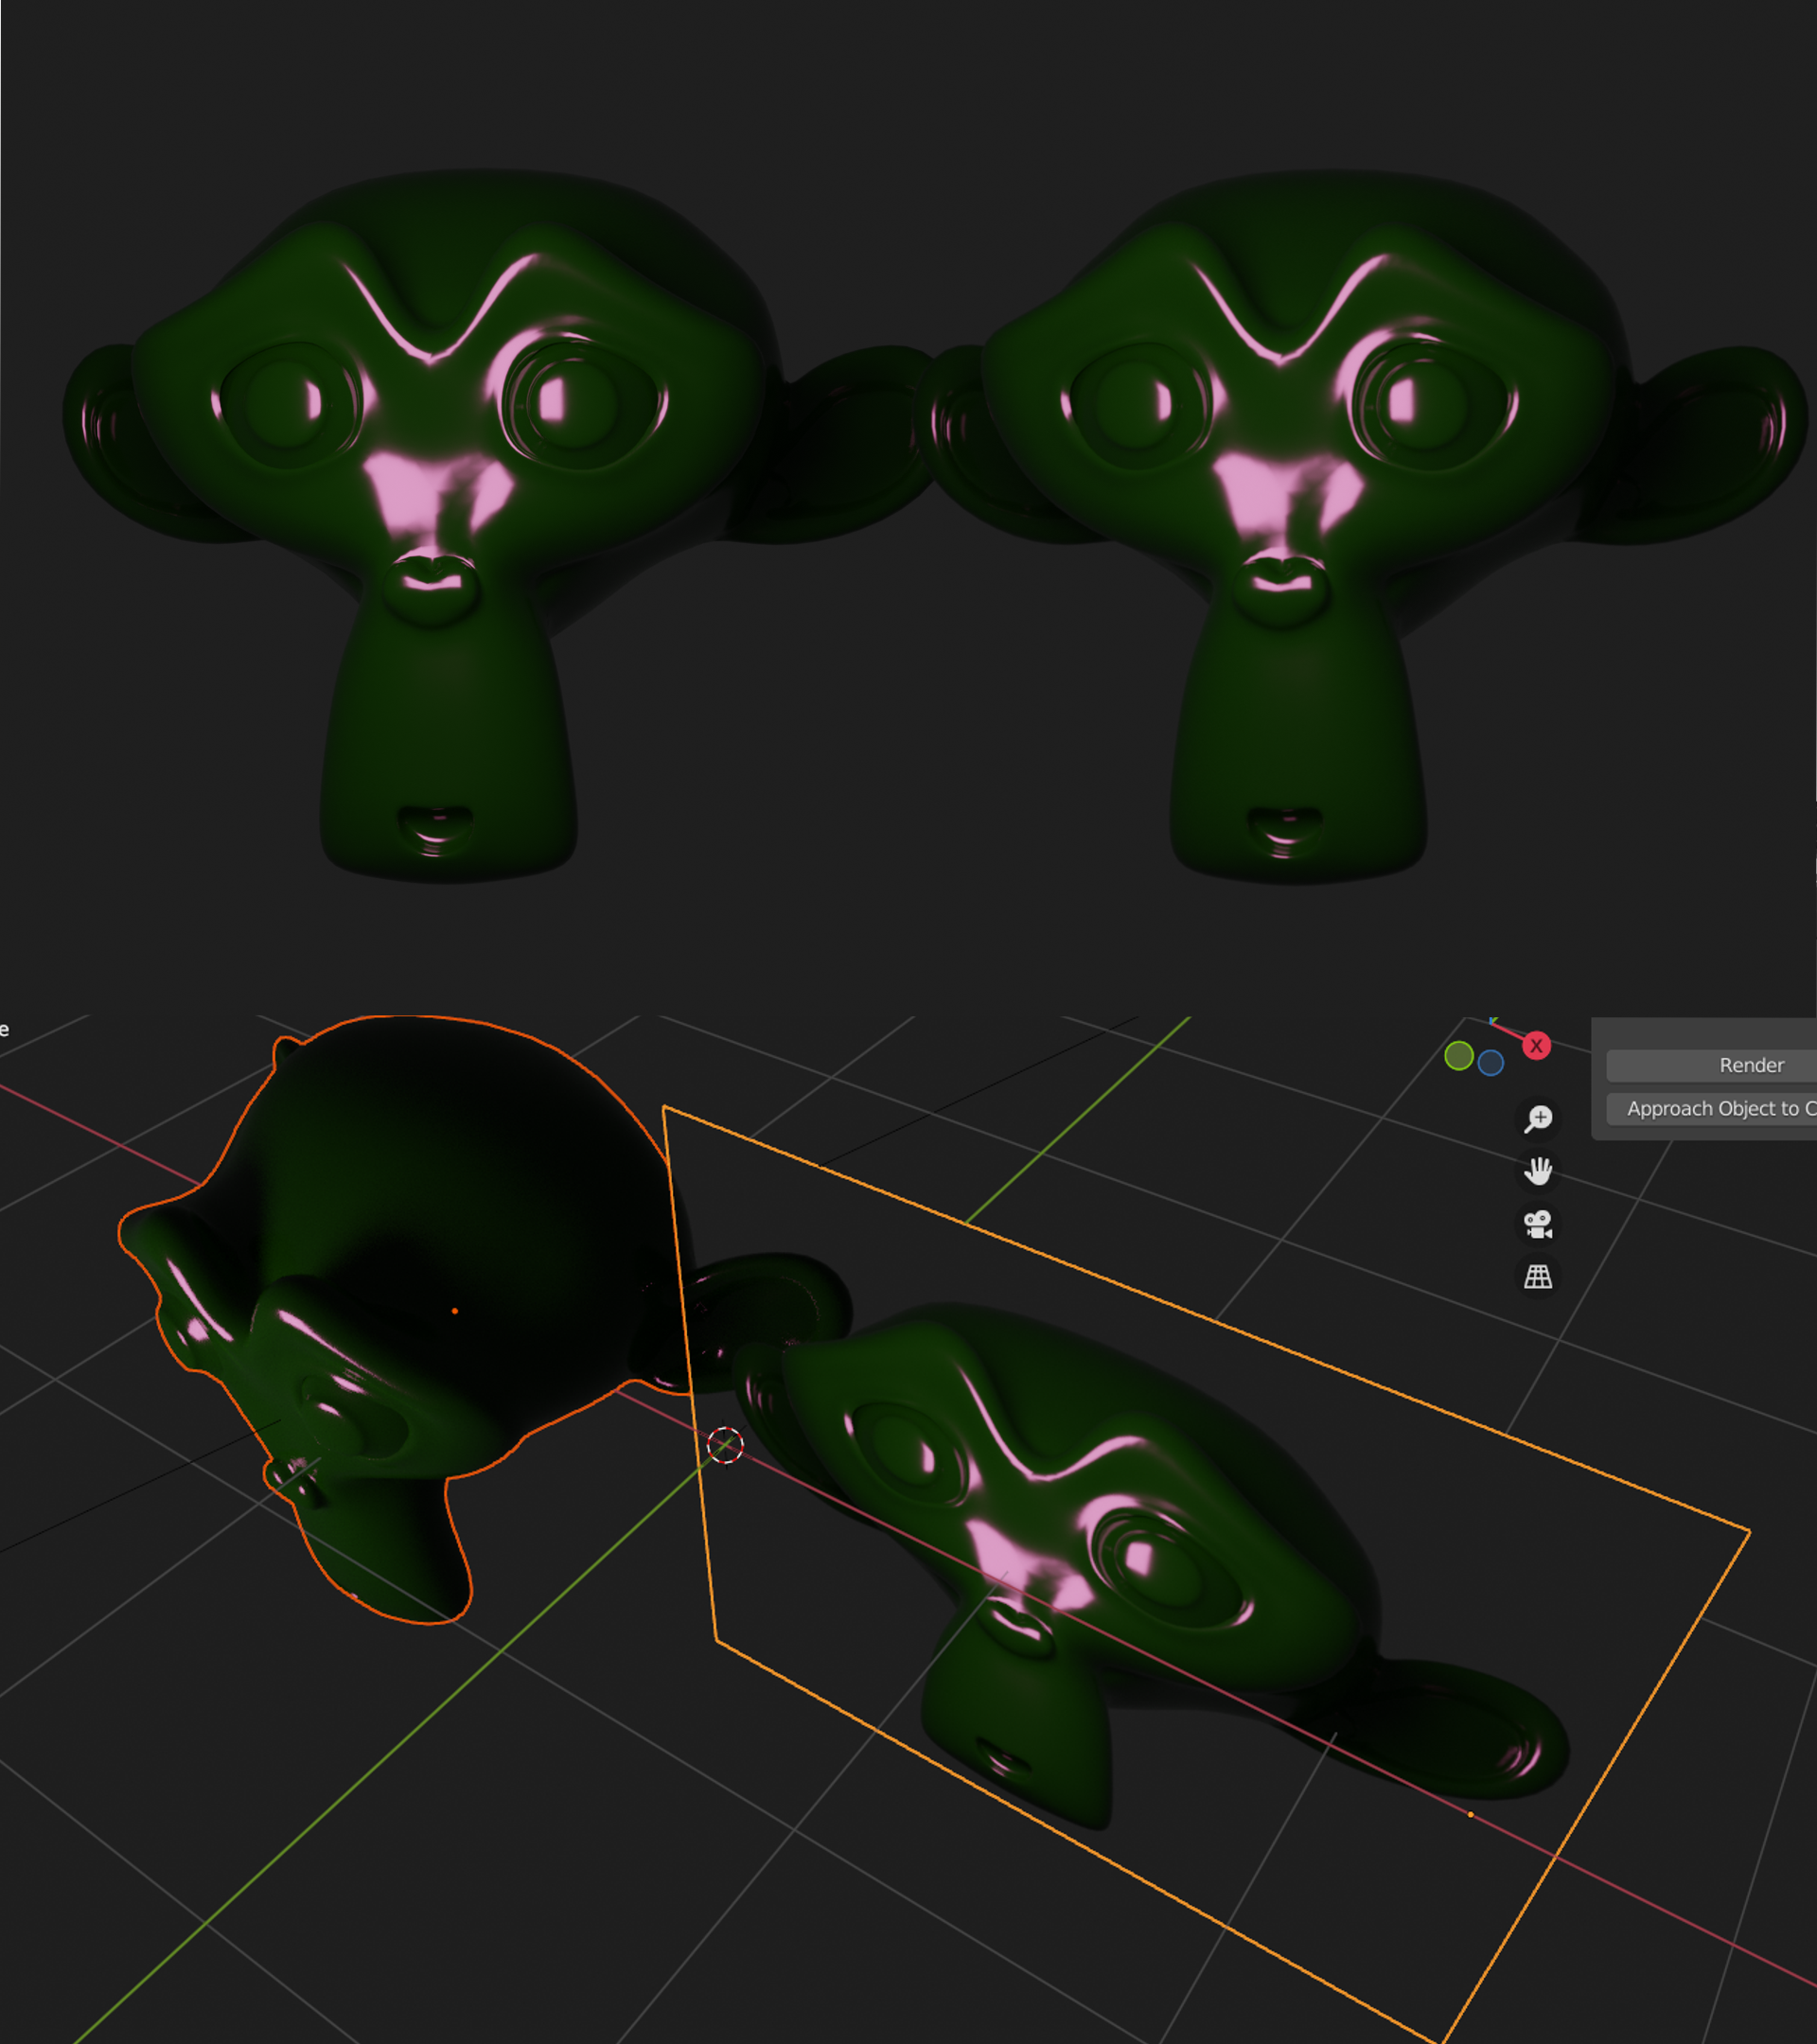
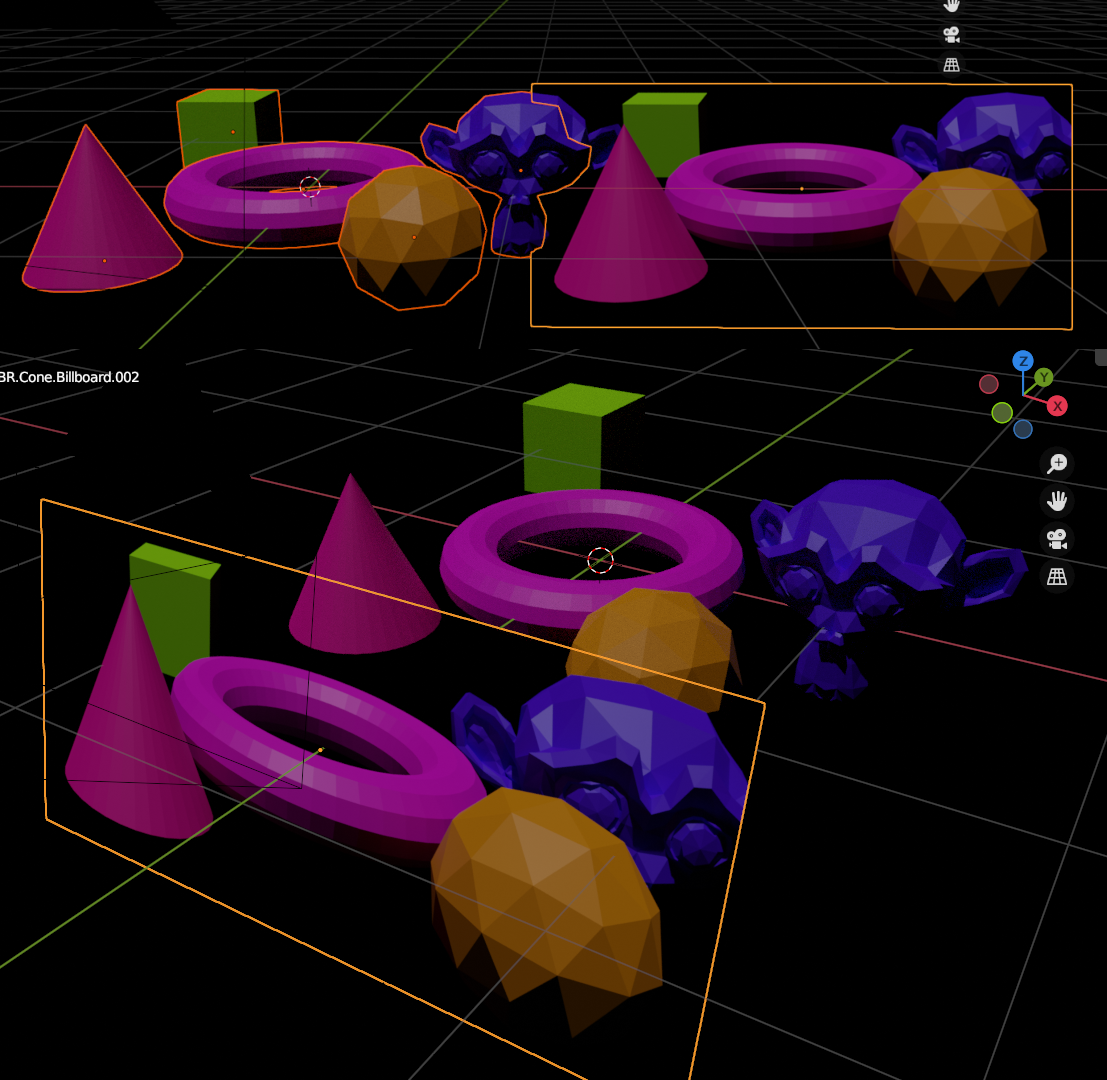
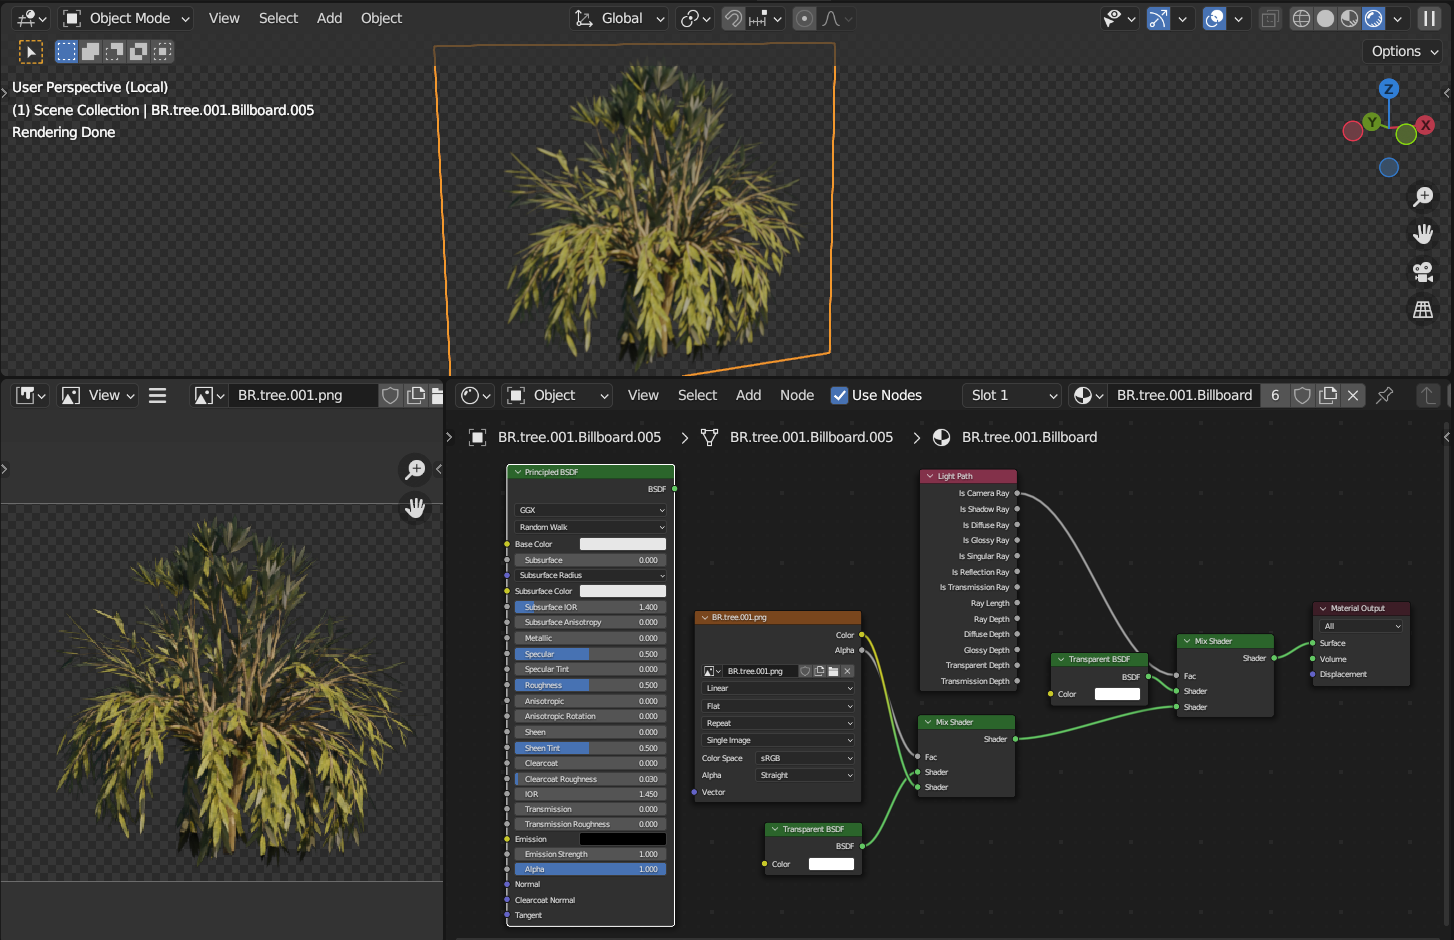
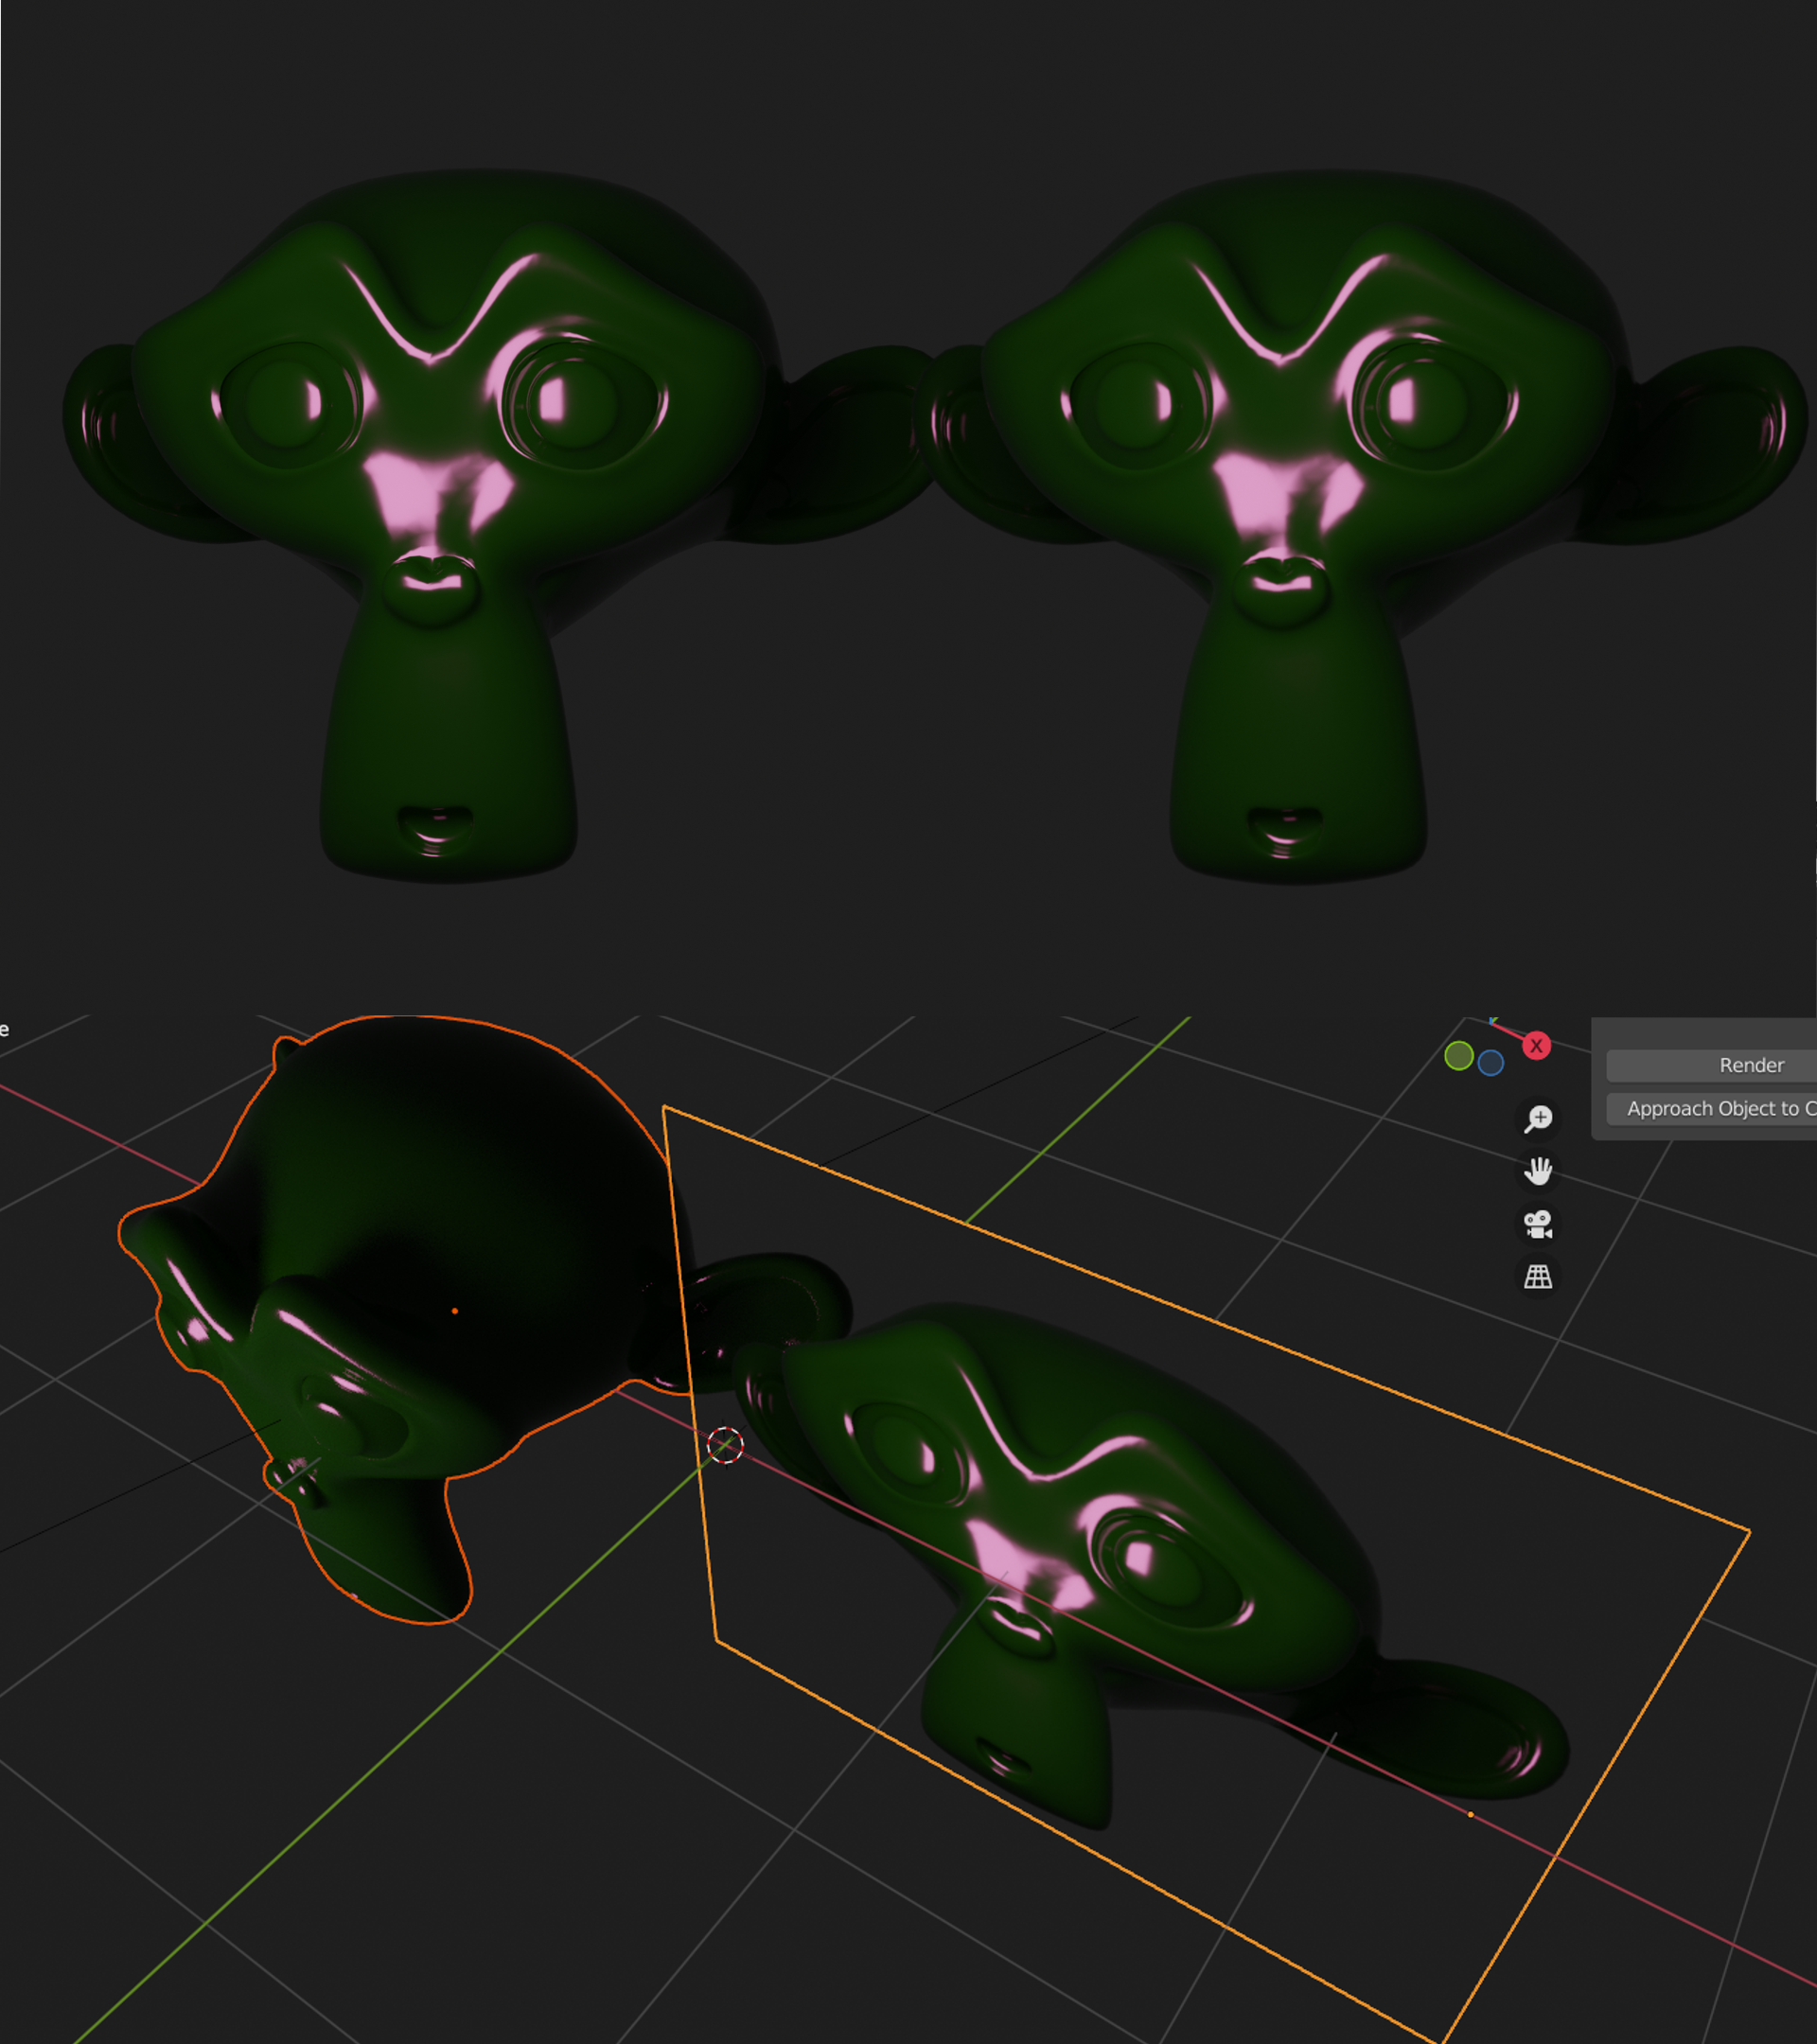
Enter Billboard Render - Image Planes. This addon offers a one-click solution to that problem, pressing its "Render" button will set everything so that Blender renders the selected object(s) and (if in Cycles), when it finishes it'll use the resulting render as a texture to create a (rectangular) plane positioned exactly such that it looks identical to the original object from the point of view of the camera, allowing you to replace it easily and quickly. If you're using Cycles, in addition it'll also isolate the object(s) for the render such that it's the only thing showing up in the resulting billboard texture.
How to use
As with other addons, you install it through the Edit → Preferences → Addon → Install option.
There isn't much to using the addon, just pressing the "Render" button in the 3D View's BillboardRender tab (not the usual Render button in the Render Properties section) will create a still billboard. The only real catch is that it does not work on an unsaved file (because it needs to have a working directory prepared, that's where it'll save the resulting rendered image).
New in version 1.2:
The "Animated" option will make it so that an animated billboard is created instead (based on Blender's animation render). If you use this keep in mind that you should not edit the scene while it's being rendered (just like with usual animated renders) and that the resulting billboard will be a larger one that encompasses the entirety of the camera's view.
Notes:
- The billboard object, its material and its image texture work like any other in Blender and can be freely modified afterwards.
- Although the billboard looks like the original object, it's still a flat plane and won't intersect with other objects the same way as the original, for this reason if you need it to avoid intersections there's an "Approach Object to Camera" operator that will move/resize the object so that it's closer to (or farther from) the active camera while still looking the same from that camera's point of view. By the way, you can use it for (mesh) objects besides billboards if you need to.
- Sometimes you want the billboard to follow the camera (for example, in animations using a moving camera), the easiest way to achieve this is to have the "Parent to Camera" option enabled before rendering the billboard, but if it's already rendered you can parent the billboard to the camerathe usual way.
- The feature to exclude non-selected objects from the render is only available in Cycles, so you'll have to use it unless there are no other objects close to the object you want to render (from the camera's point of view) or if you're okay with showing parts of other objects. That said, nothing stops you from creating a billboard in Cycles then use it in Eevee.
- After it starts rendering you can keep working on your scene (if it's not an animation), when the render finishes the billboard will be created automatically. However, do avoid using the "Billboard Renderer Objects" and "Billboard Indirect Objects" collections, you may delete them afterwards but the addon requires them to be there when the render is done so as to be able to function correctly.
Known issues
- If you render a billboard while in render view mode, under some circumstances you'll have to change screens (e.g. by selecting one of the tabs above, like "Layout" or "Shading").
- Under some circumstances Blender will throw a wrong context error when modifying the billboard's material, re-rendering the object solves the issue.
Changelog
- 1.3: Is now usable in Blender 4.2. Added several color management types, including AgX.
- 1.2: Added animated billboards feature. Added "Parent to Camera" feature. Bug fixes.
- 1.1: Reworked naming system to better handle long names. Added info box to main UI panel.
- 1.0: First main release
